Rushing through Proko courses
After finishing Drawabox, I tried to learn drawing the human figure with the Proko courses. I went through the free videos of the Figure and Head drawing courses and did a lot of exercises.
General views on Proko
Proko courses concentrate on drawing a human figure. There is a couple of them, concentrating on the general figure, head, and specific parts of the anatomy. Each course consists of very detailed videos showing anatomical details and specific techniques for drawing them. The courses have paid and free versions; for the free versions, some of the videos are shorter or unavailable.
During the school closure due to pandemic, Proko offered an extension to his typically week-long free trial (which contains one full paid lesson from each course) to a month. I felt like the extra content of the paid lesson was not worth it, especially for a beginner like me, as the free videos are still quite long and detailed and there are literally hundreds of them available: more than I had time to watch. However, the trial came with lots of example drawings to the lesson, which I used while doing the other lessons.
In general, the Proko courses (especially the free videos) have less structure than the drawabox course. There is no “do this exercise 17 times and move over”, but rather “after watching this lesson on hands, draw some hands”. I approached the course with the deliberate practice approach, aiming to do lots of lame drawings and improving in the process.
I ended up following two courses from Proko: Figure Drawing and Portrait Drawing, as well as watching his Drawing Basics videos (which cover similar topics as drawabox on shapes, perspective, etc.).
Figure drawing
Videos from the Figure drawing course are presented at the top of Proko’s video library and it is a recommended course to start from. This is where I started too.
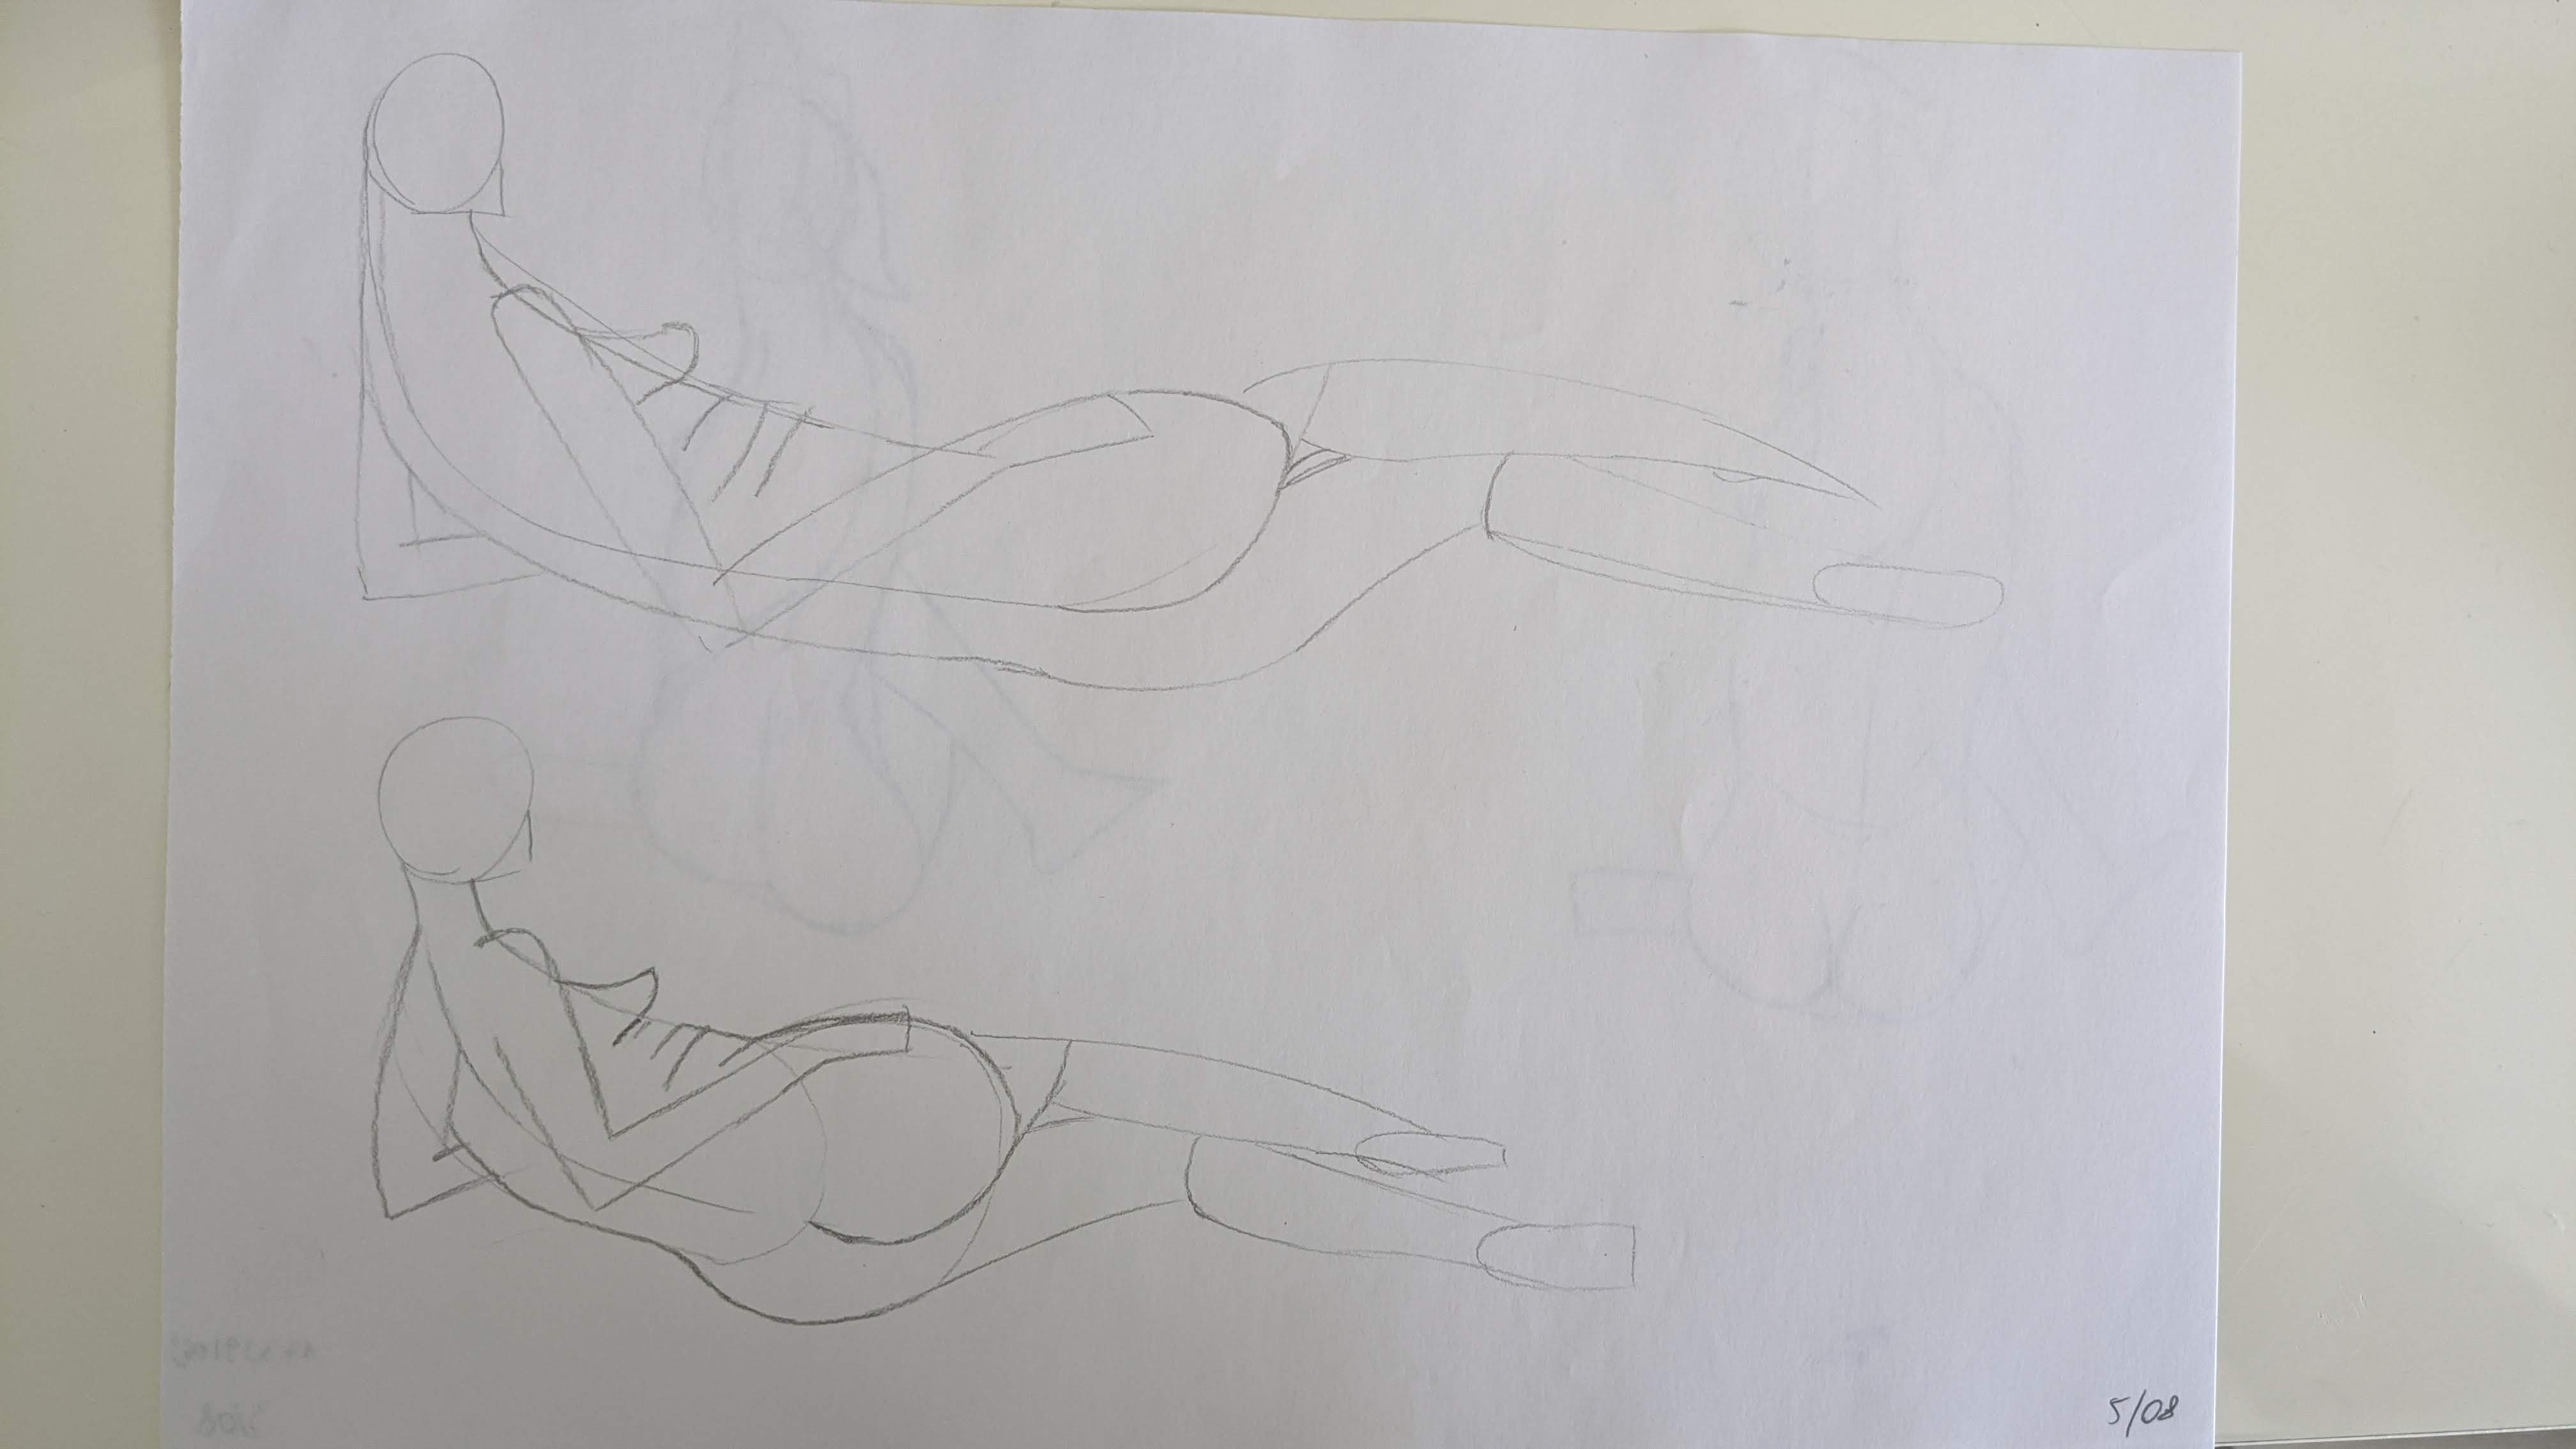
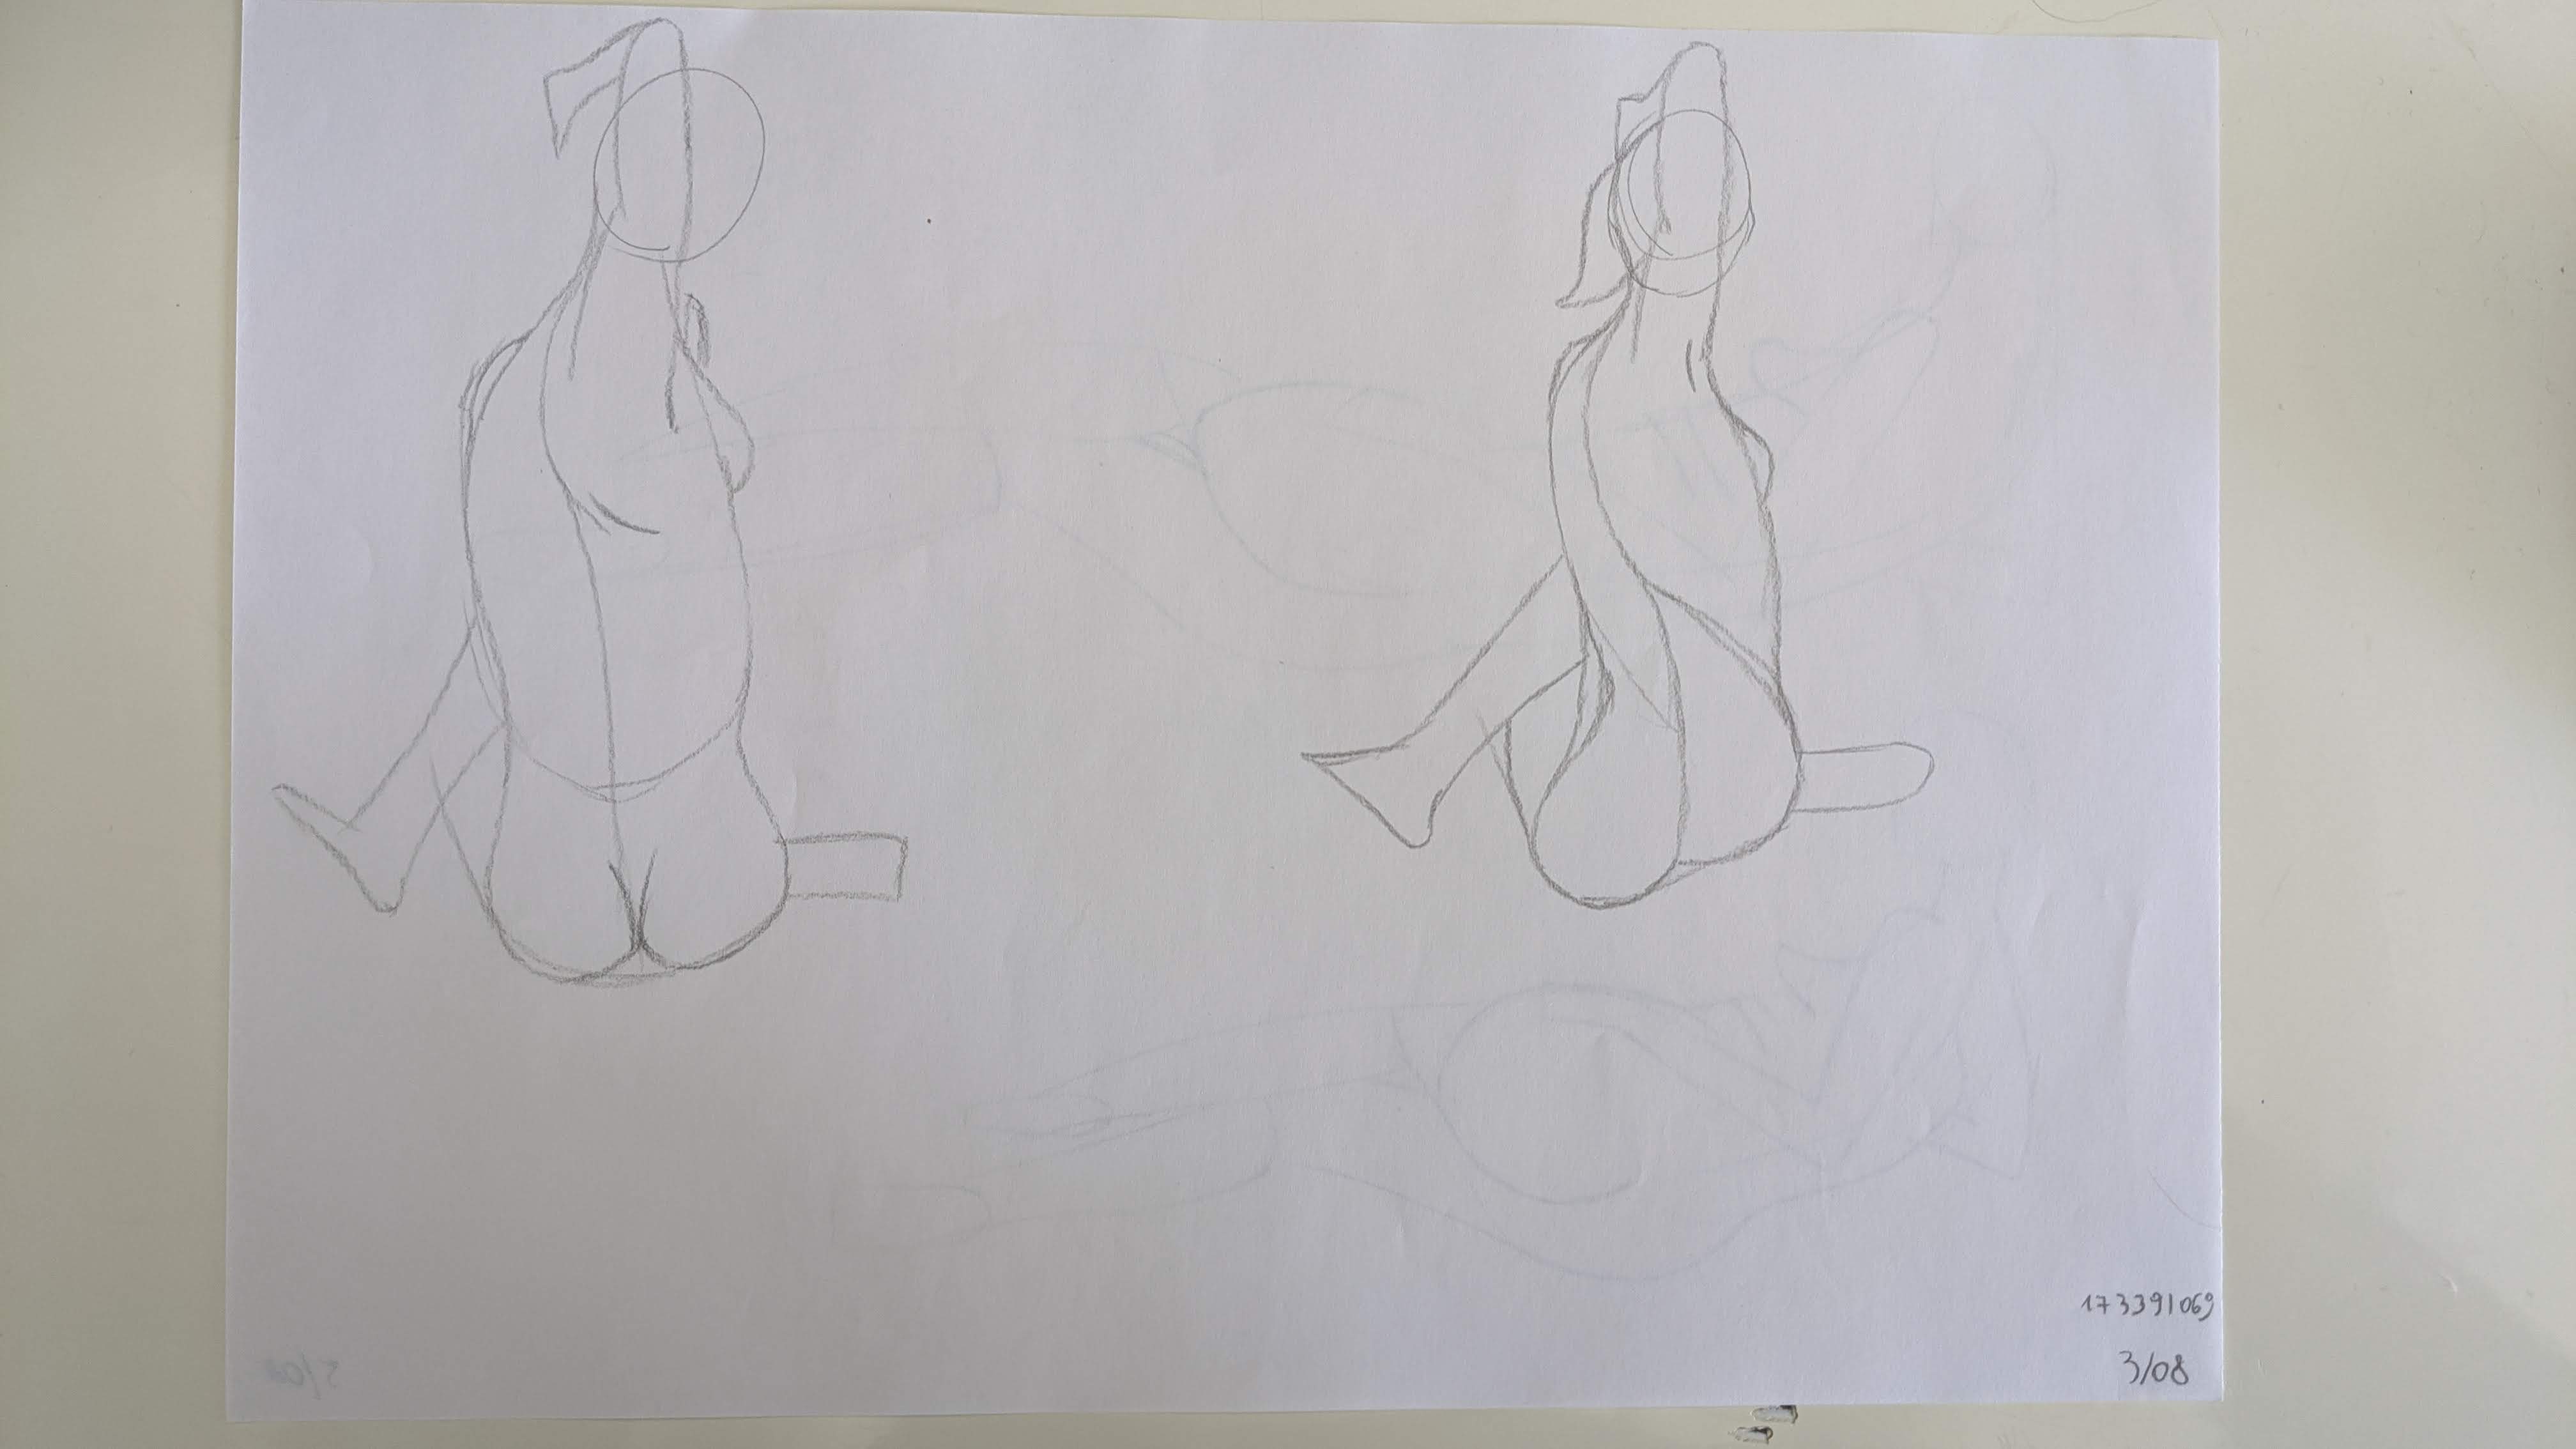
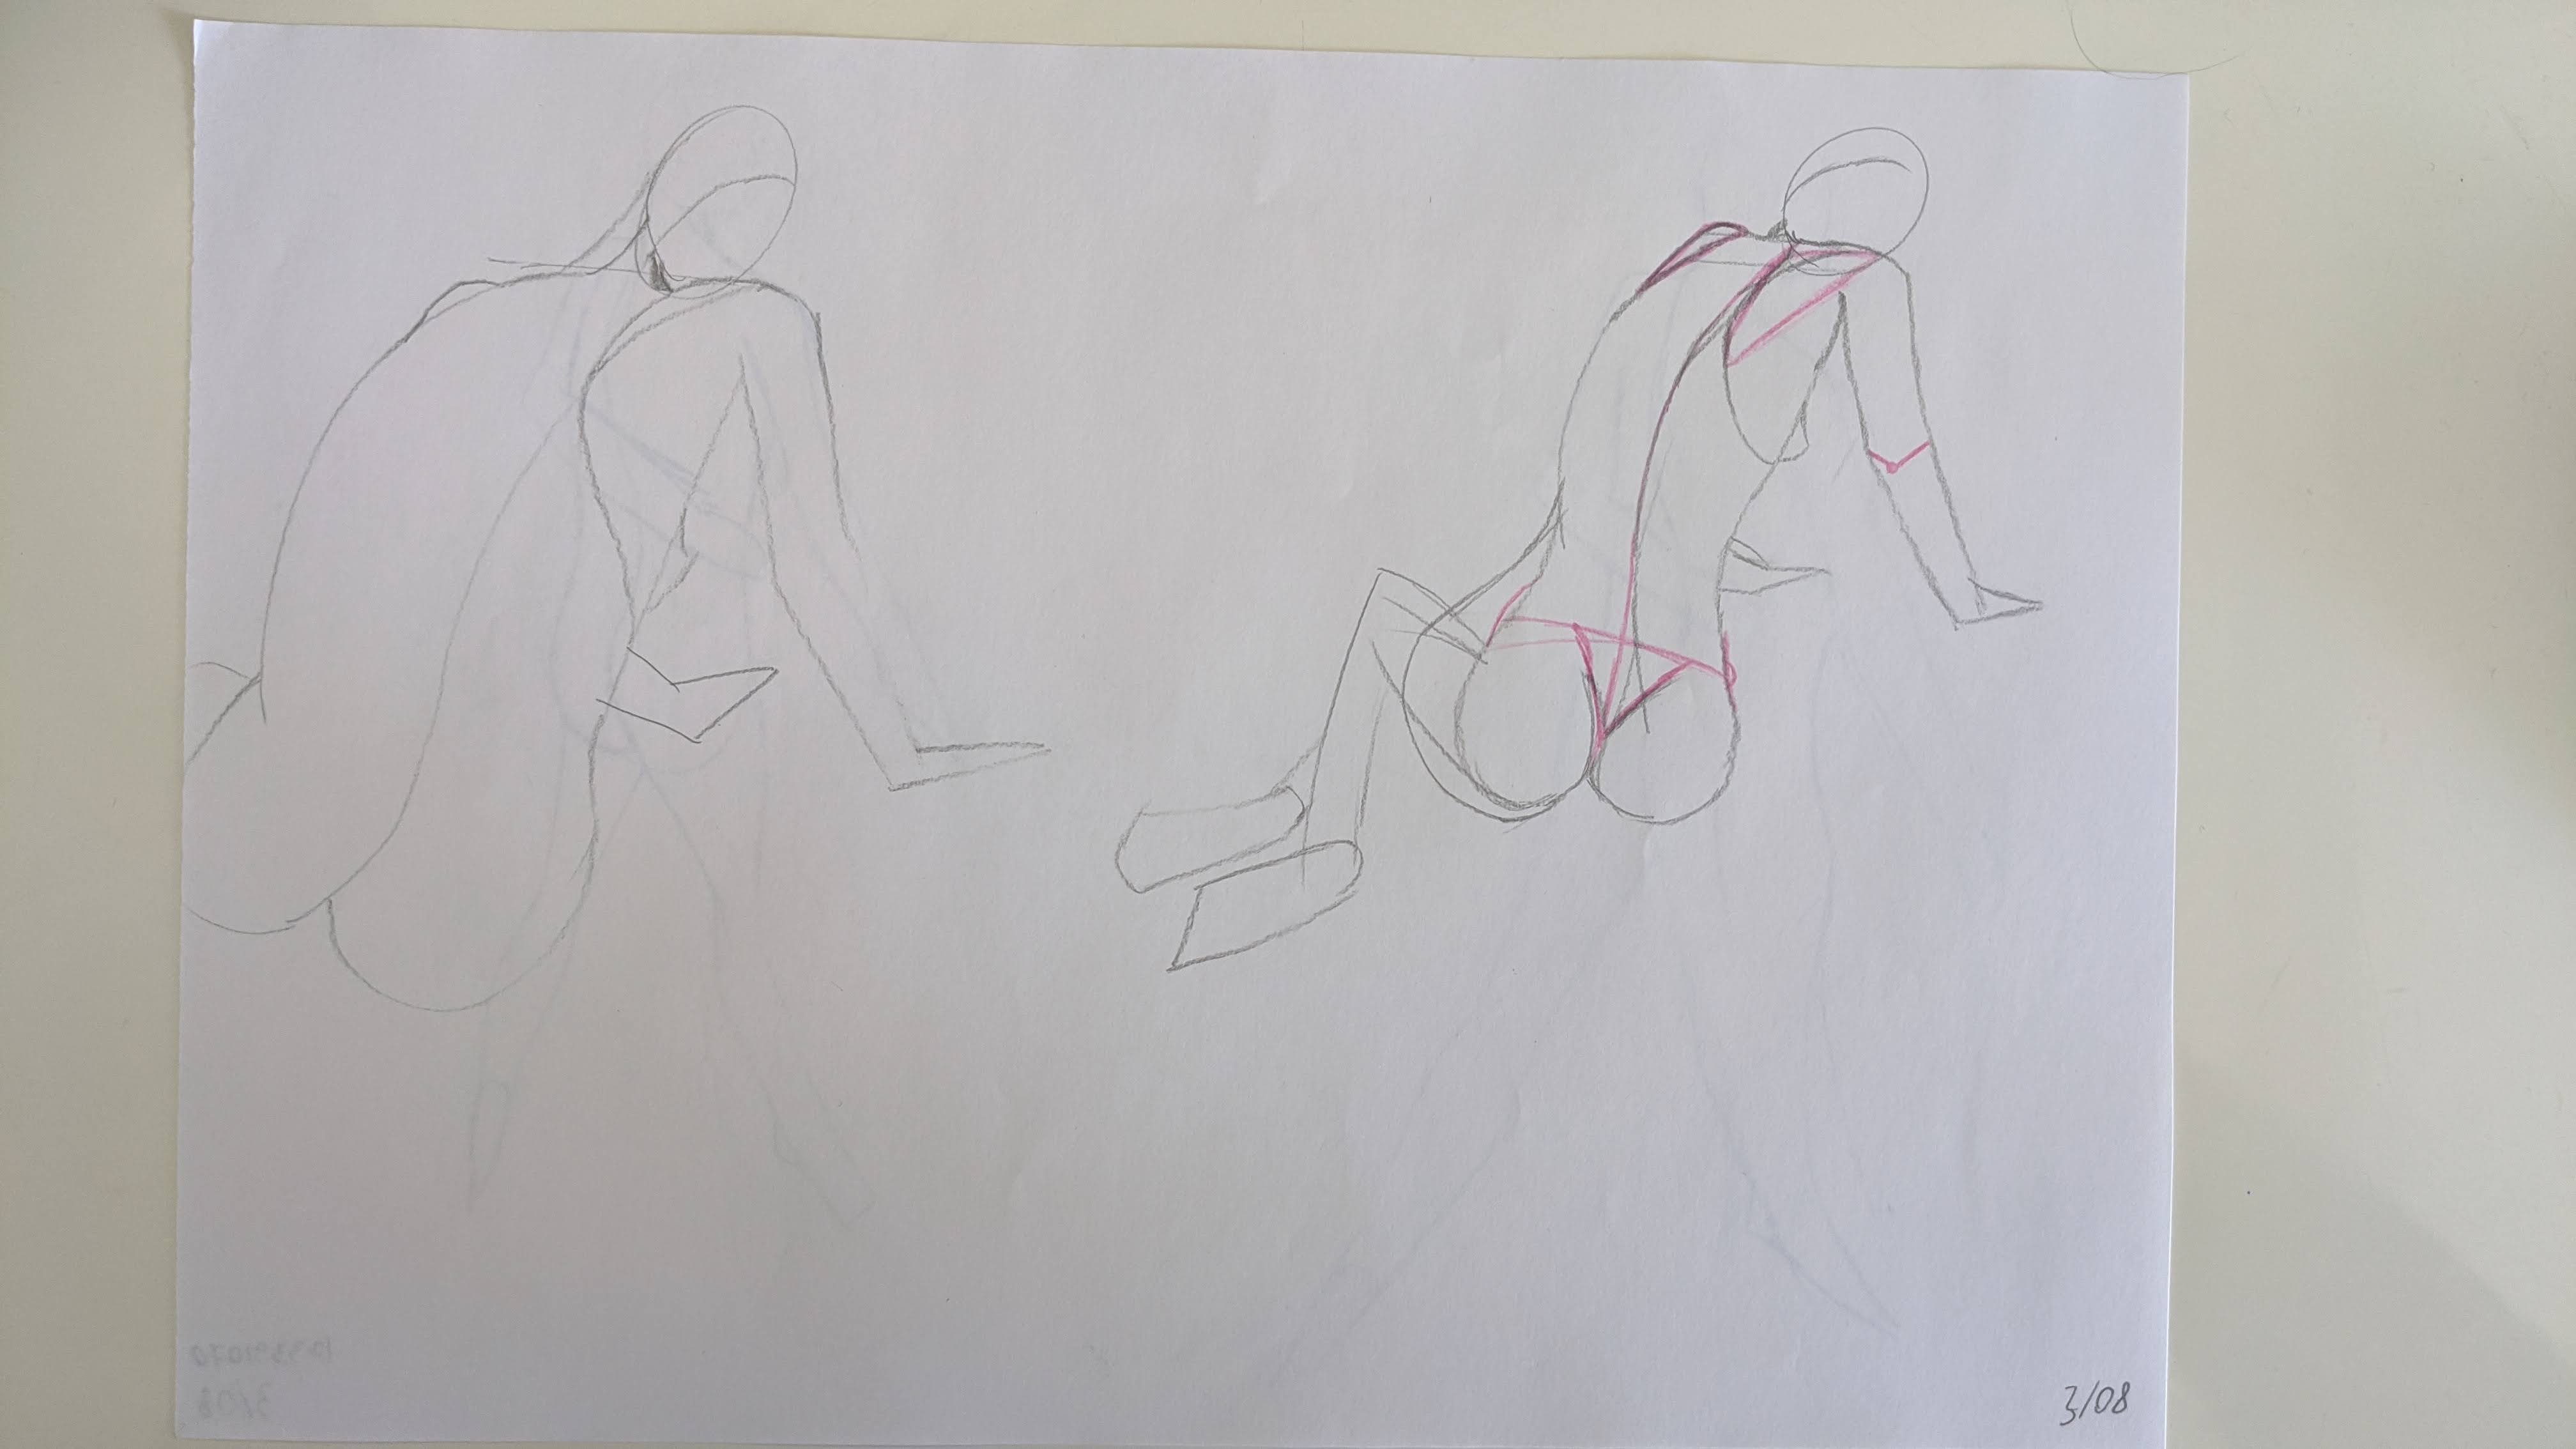
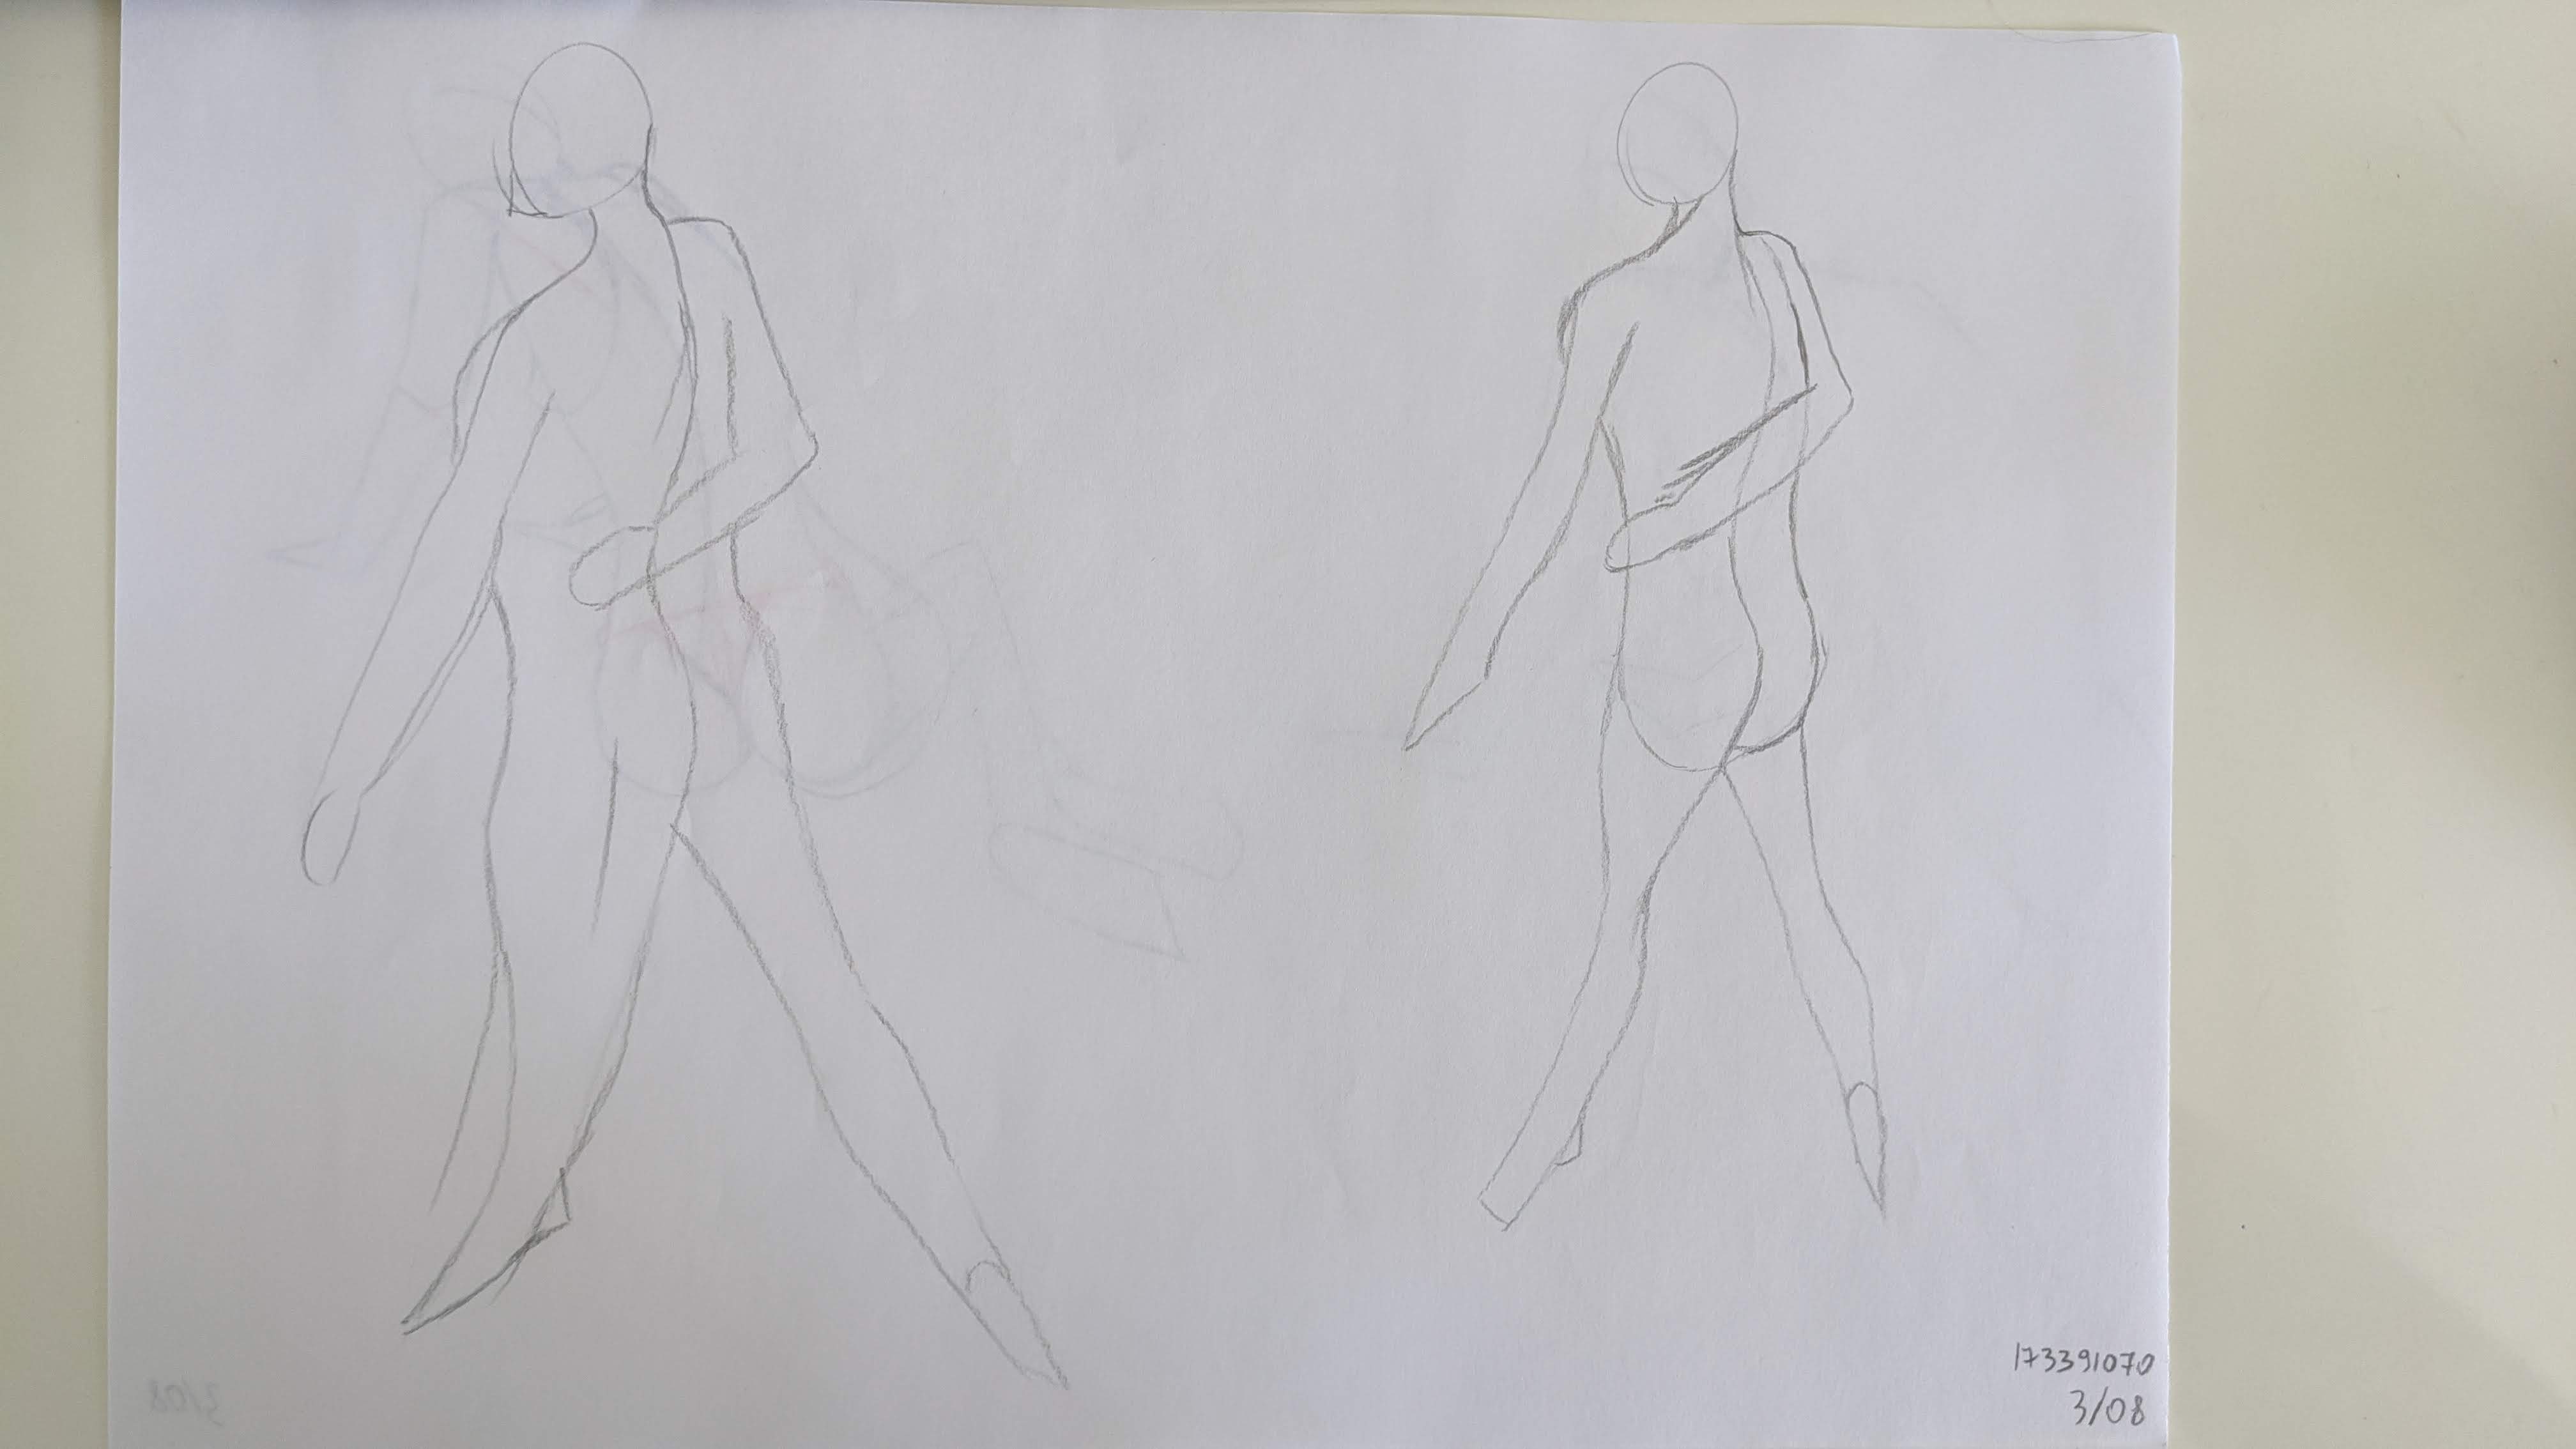
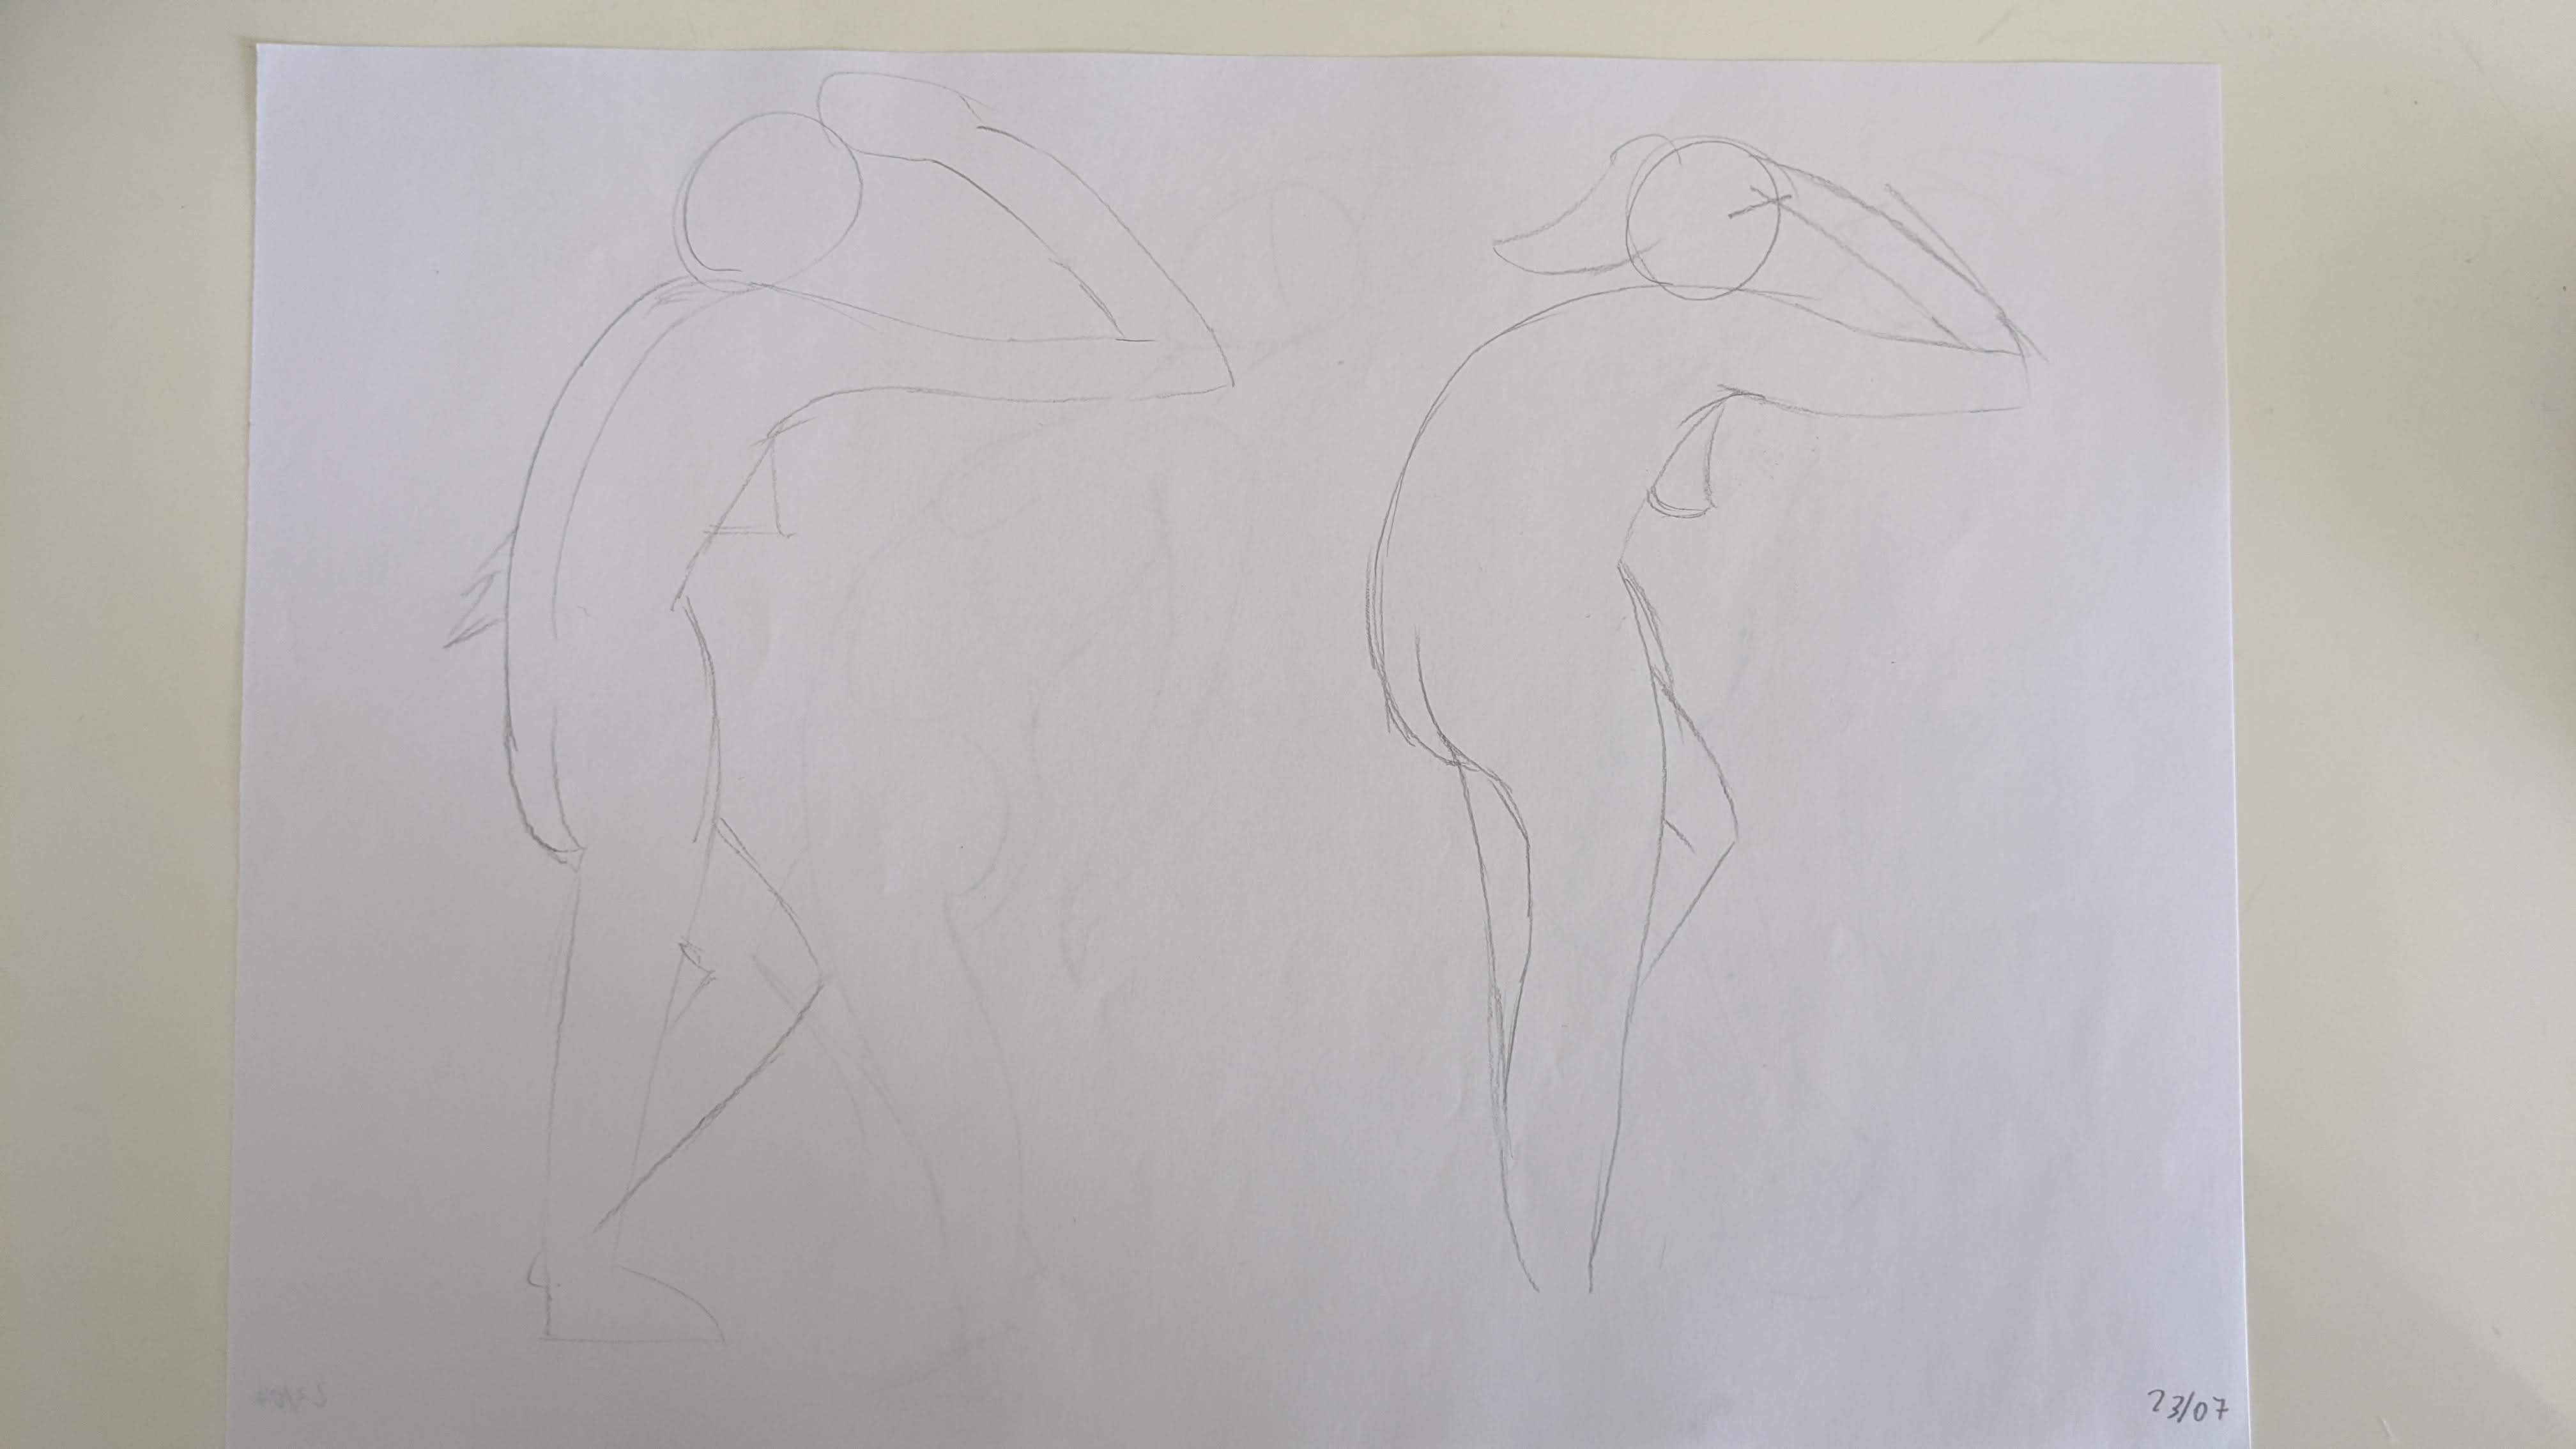
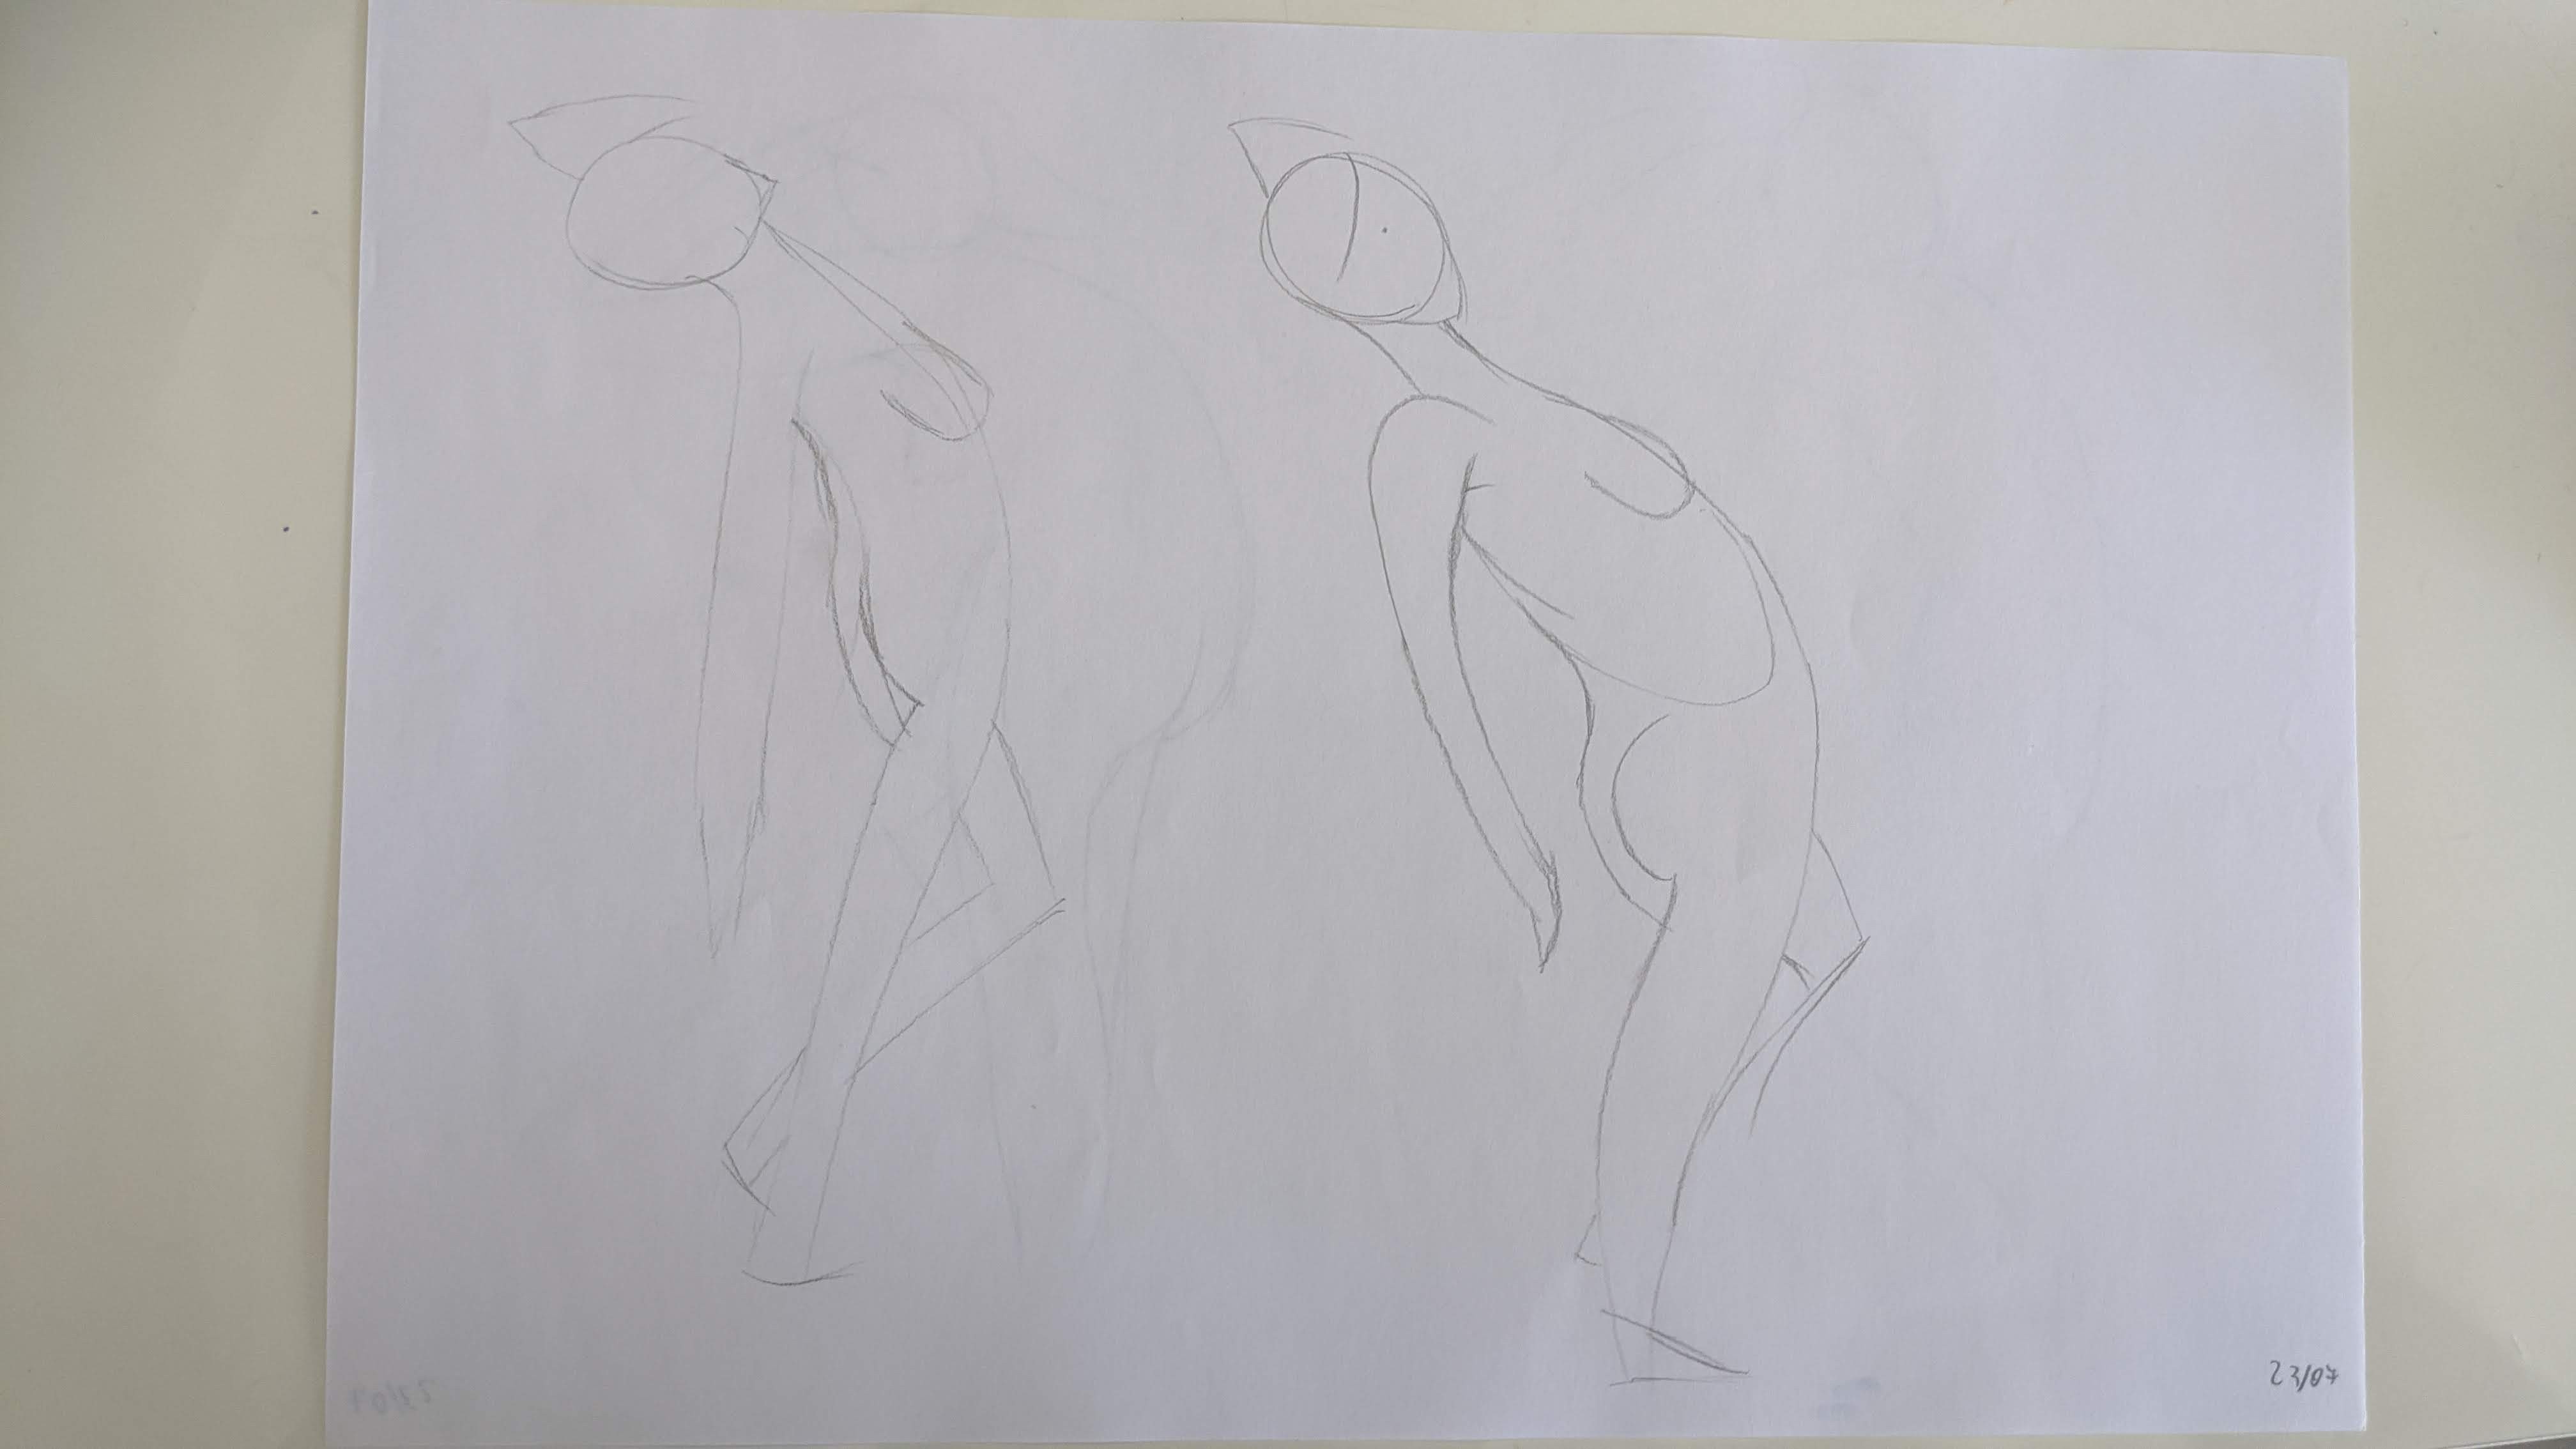
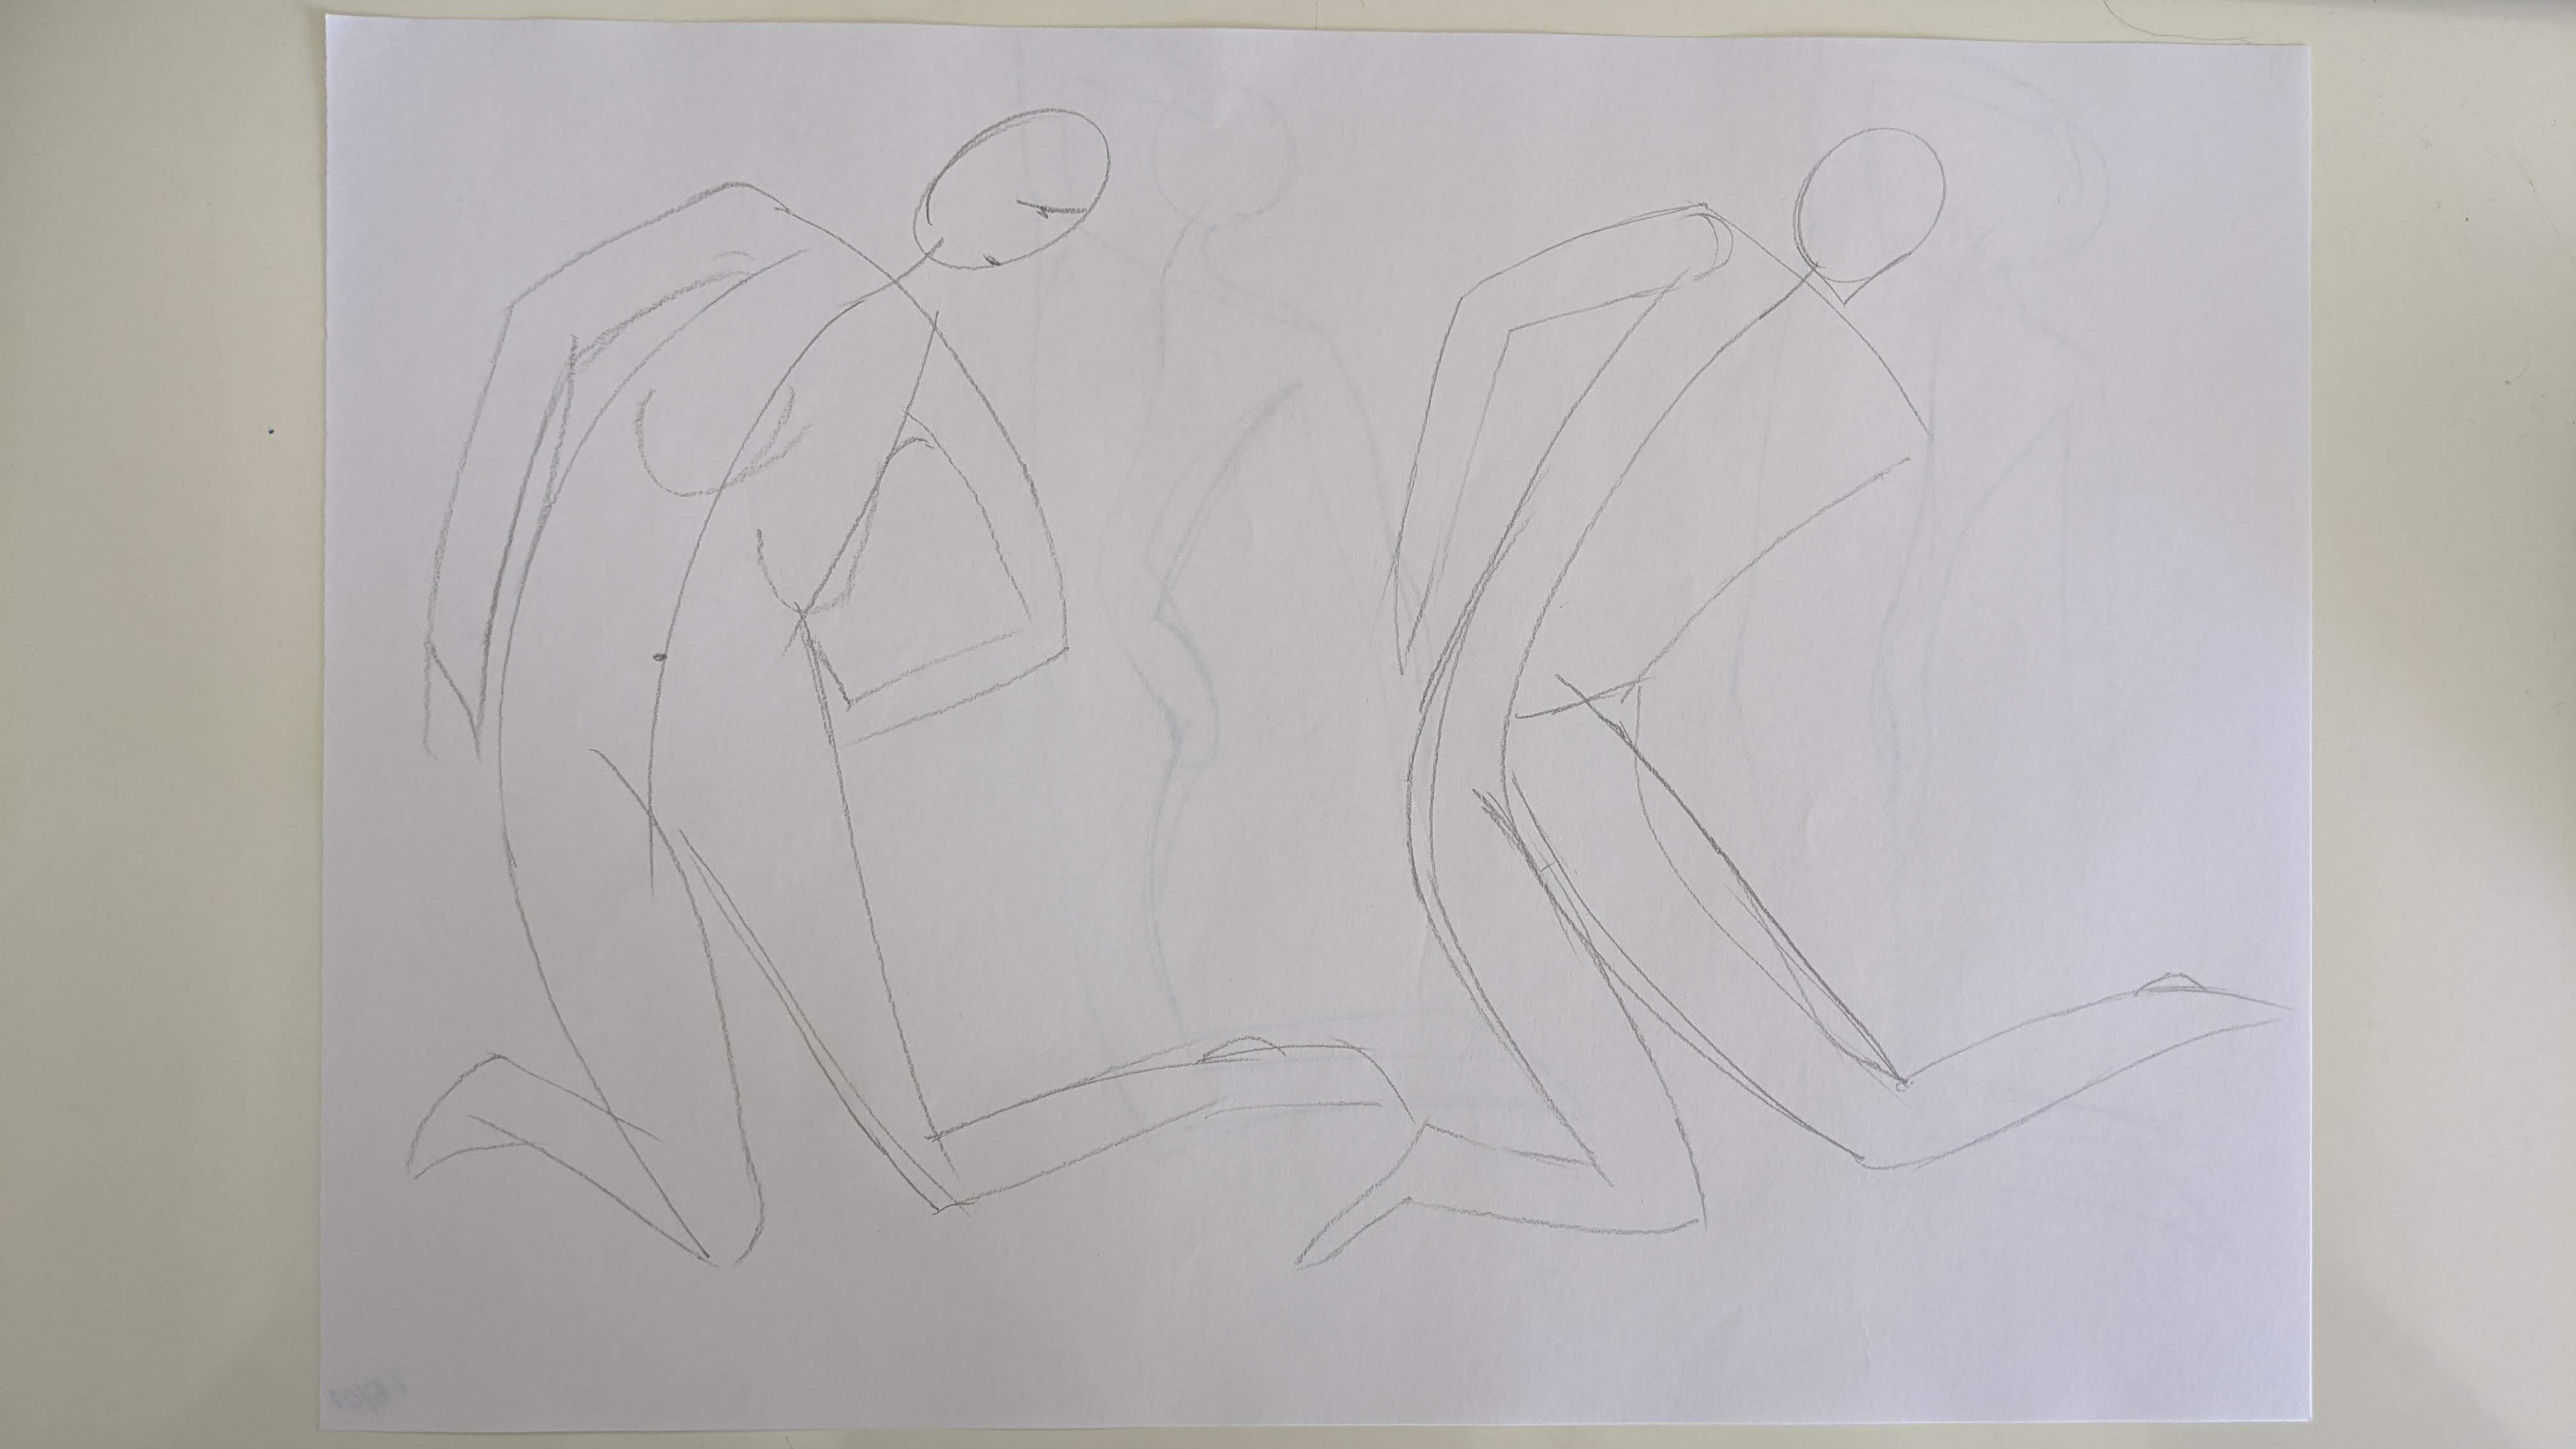
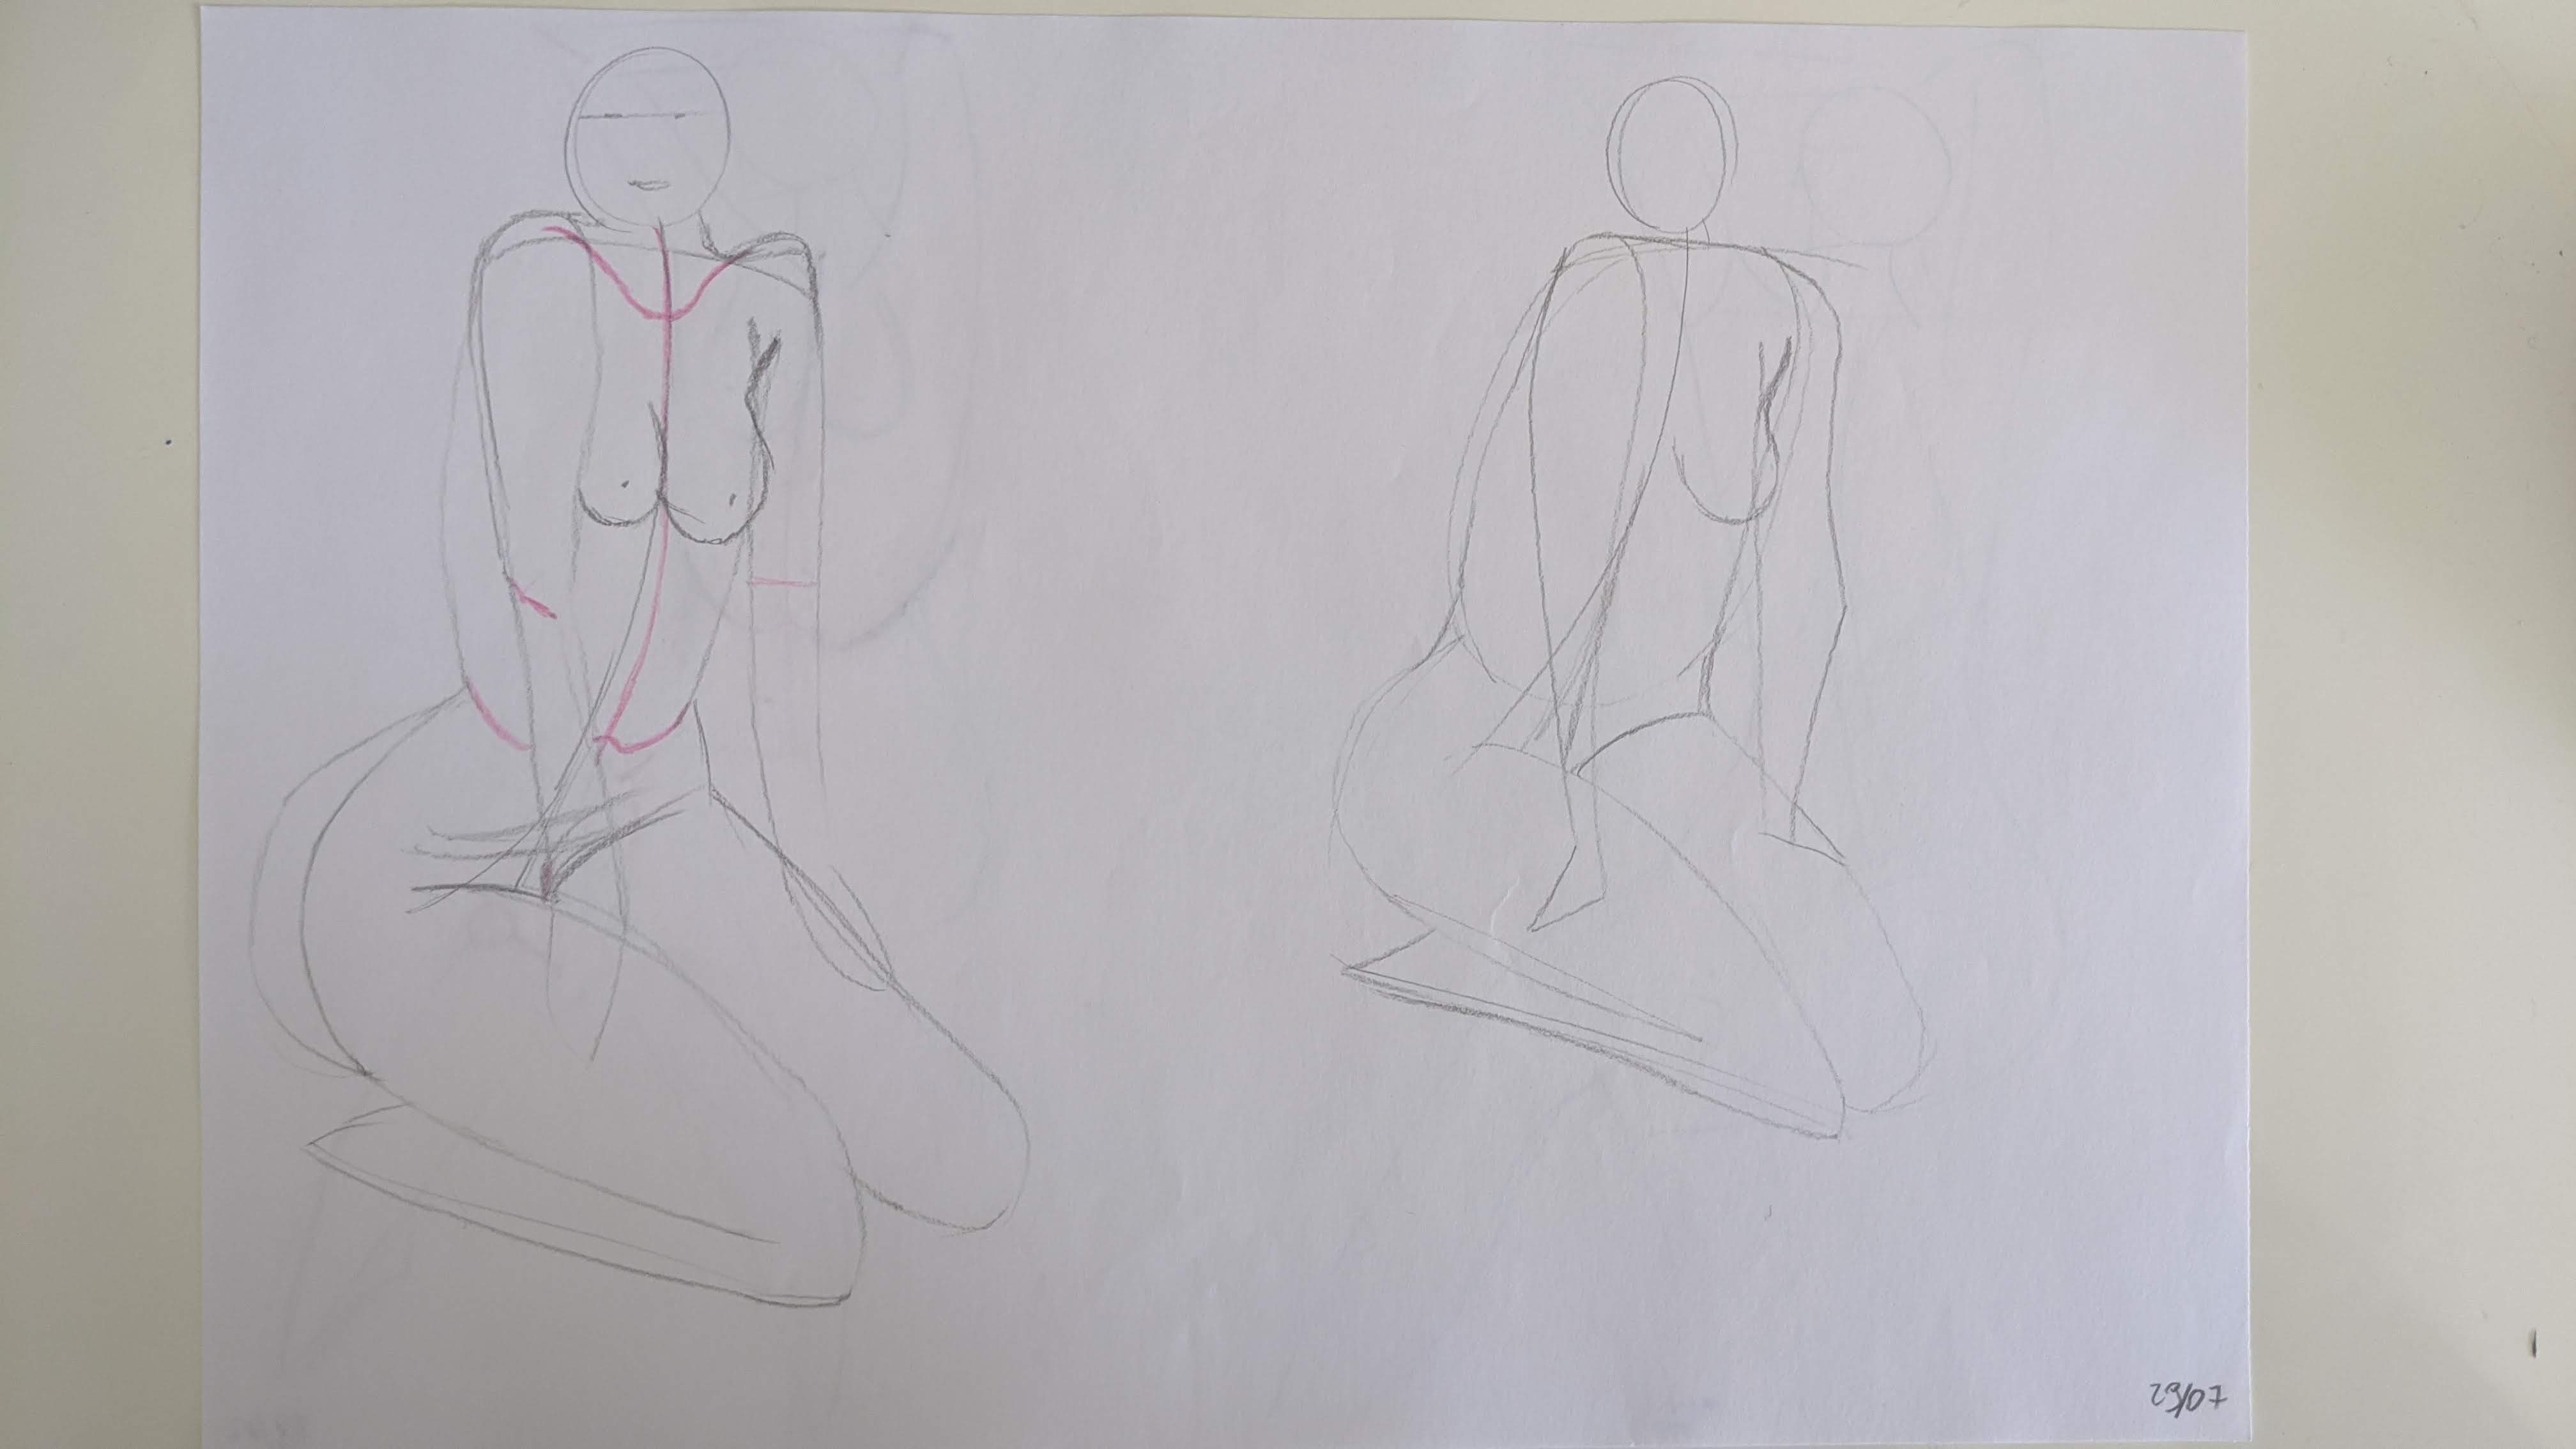
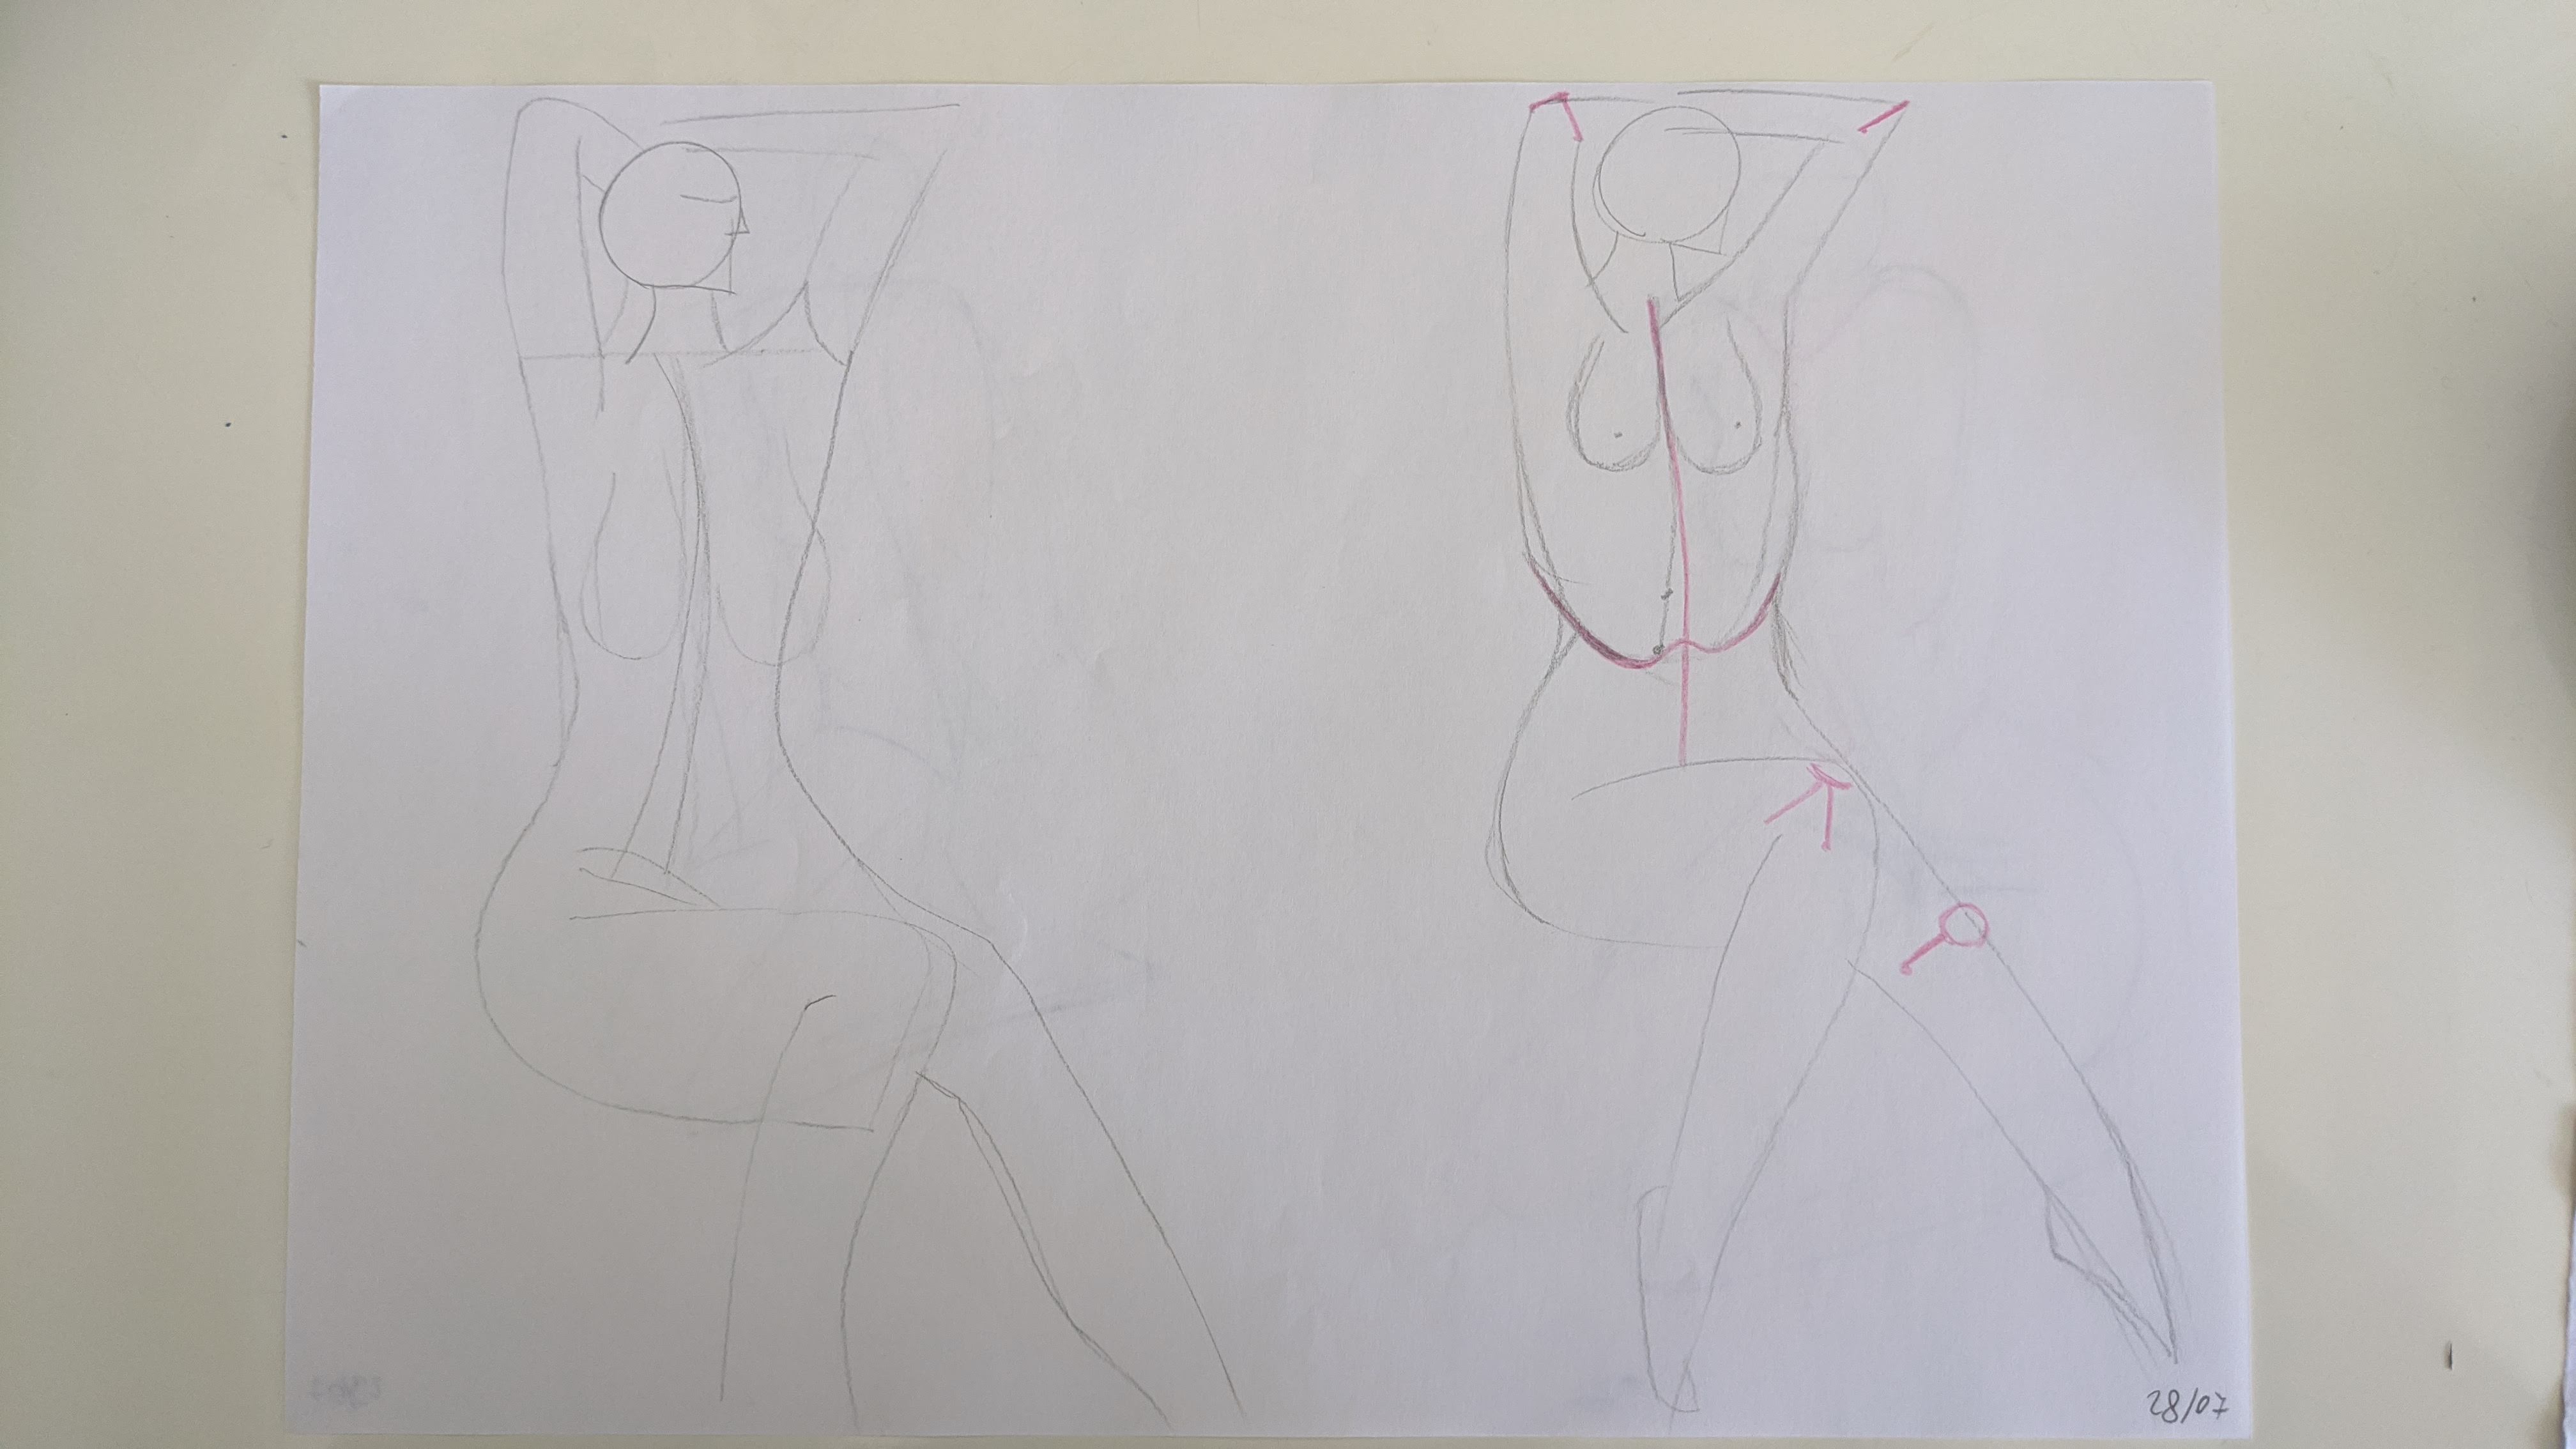
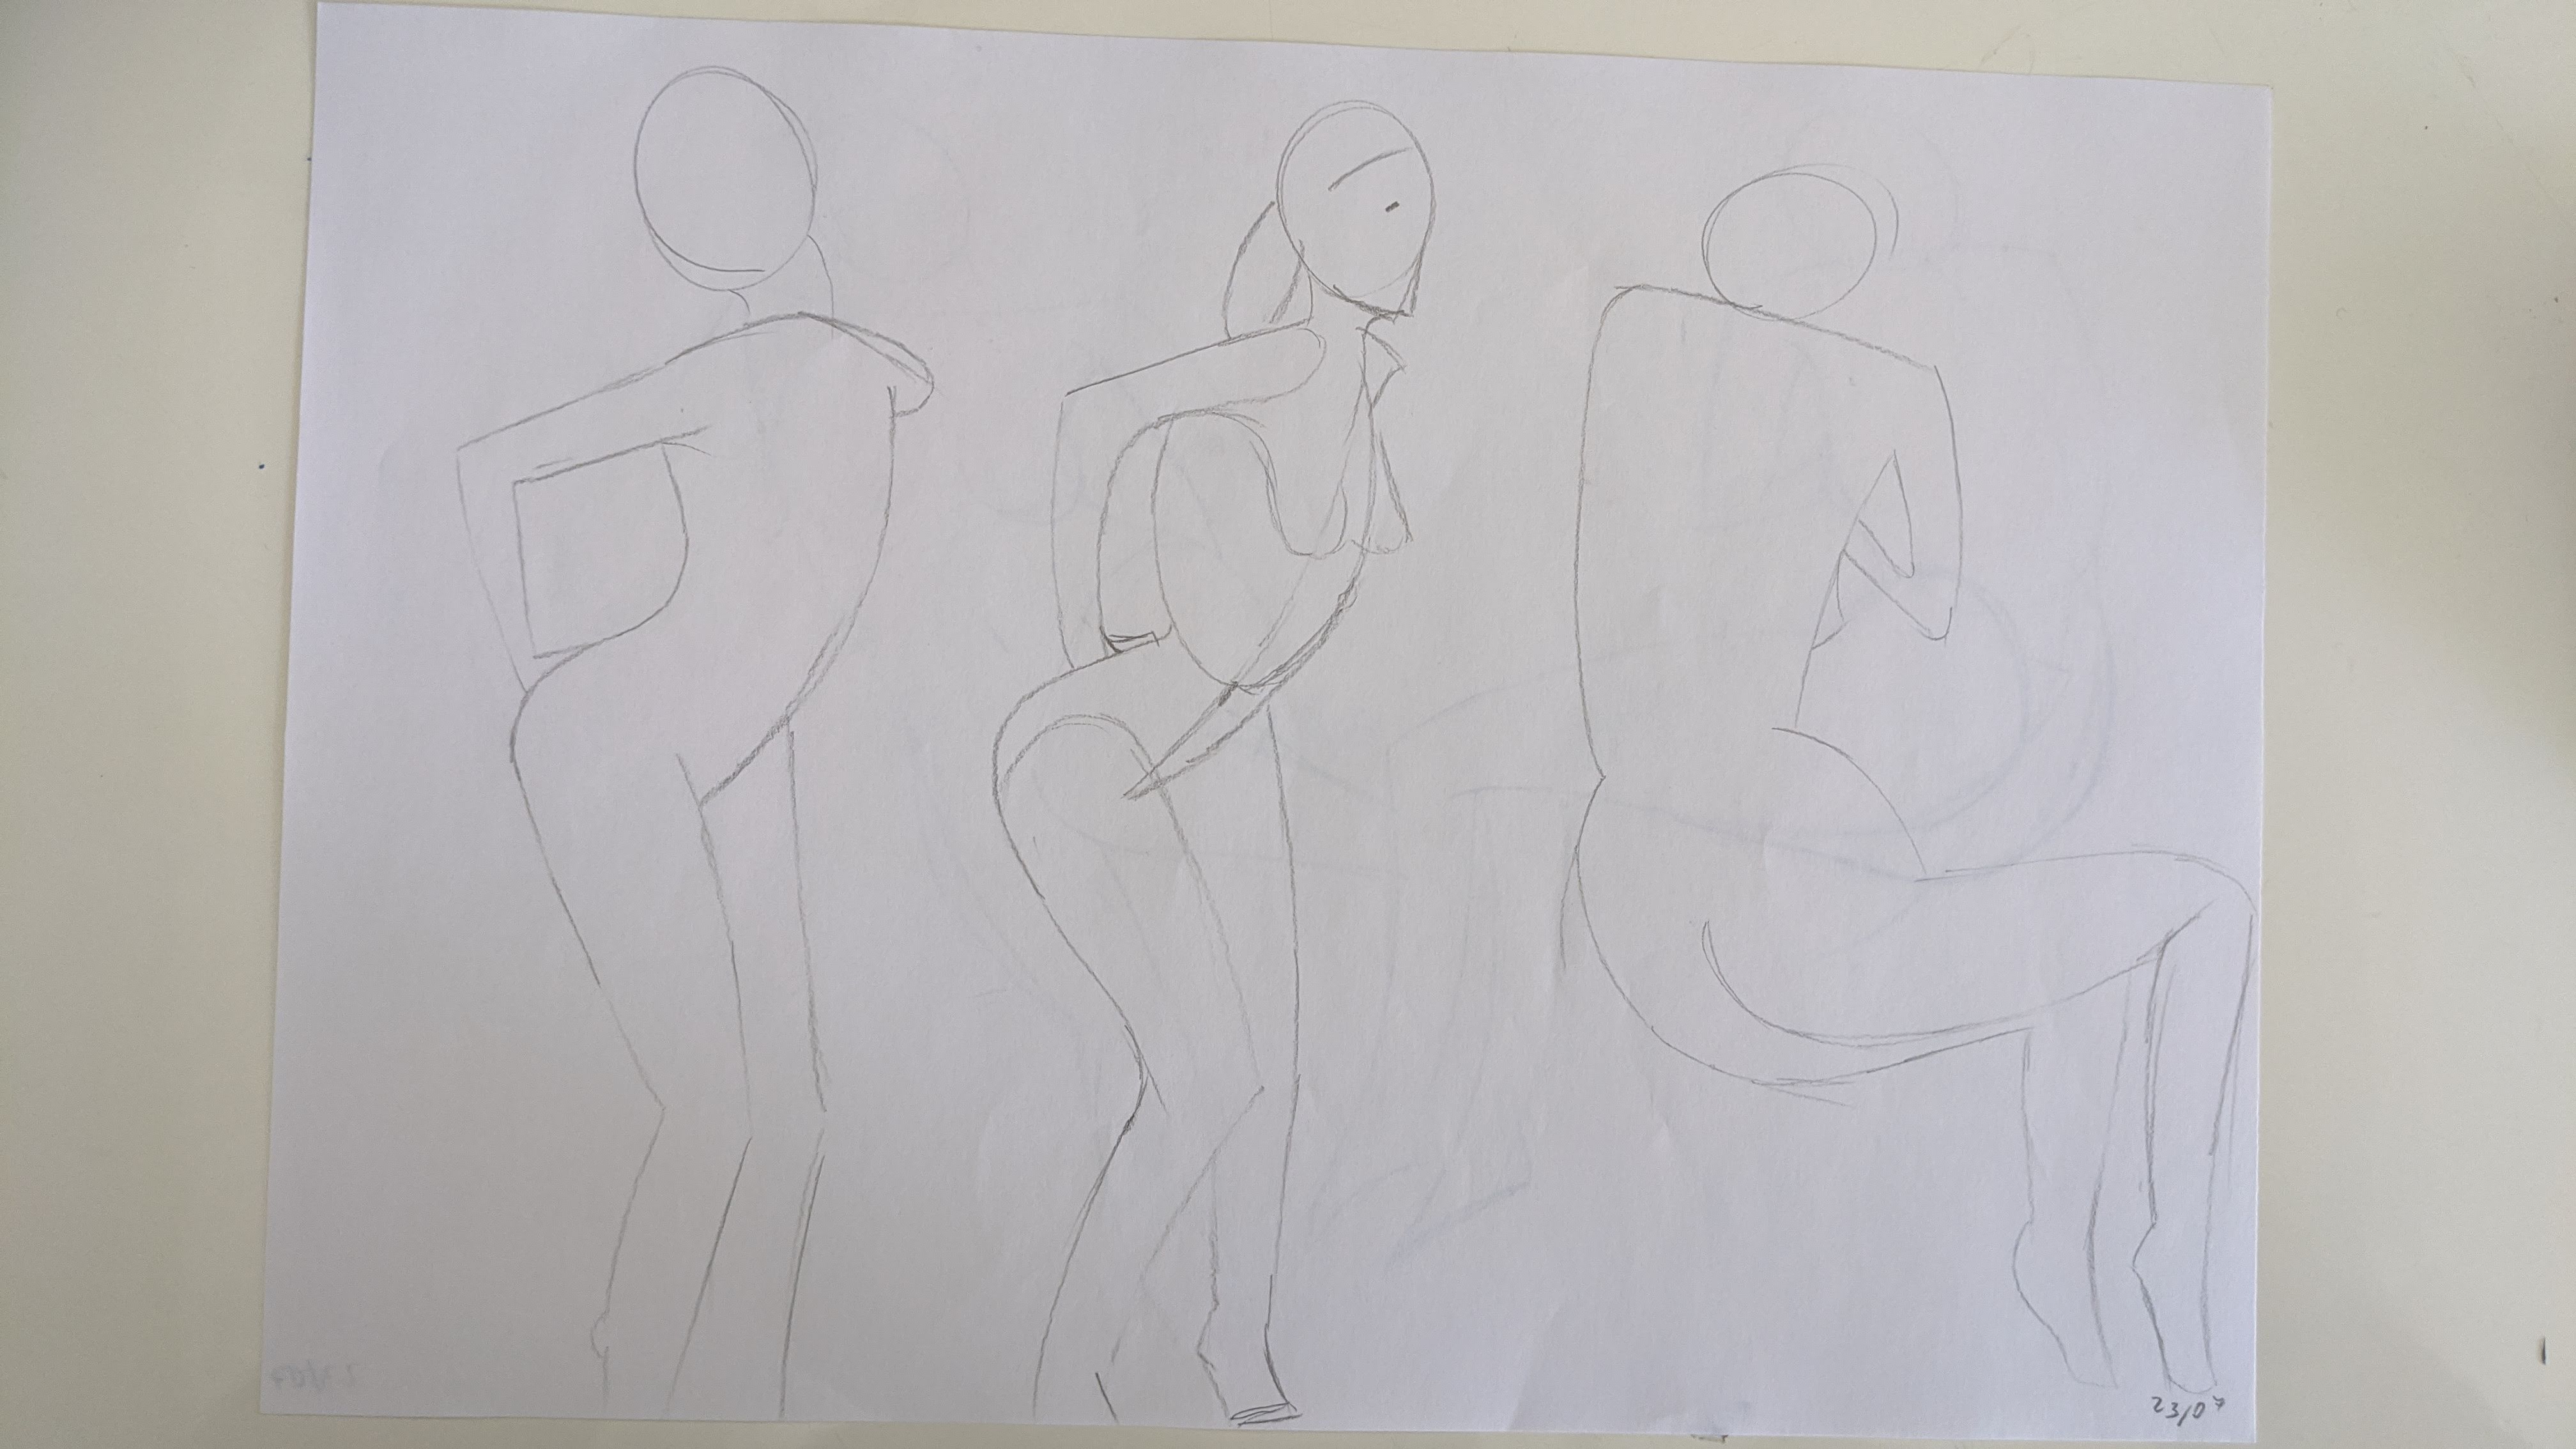
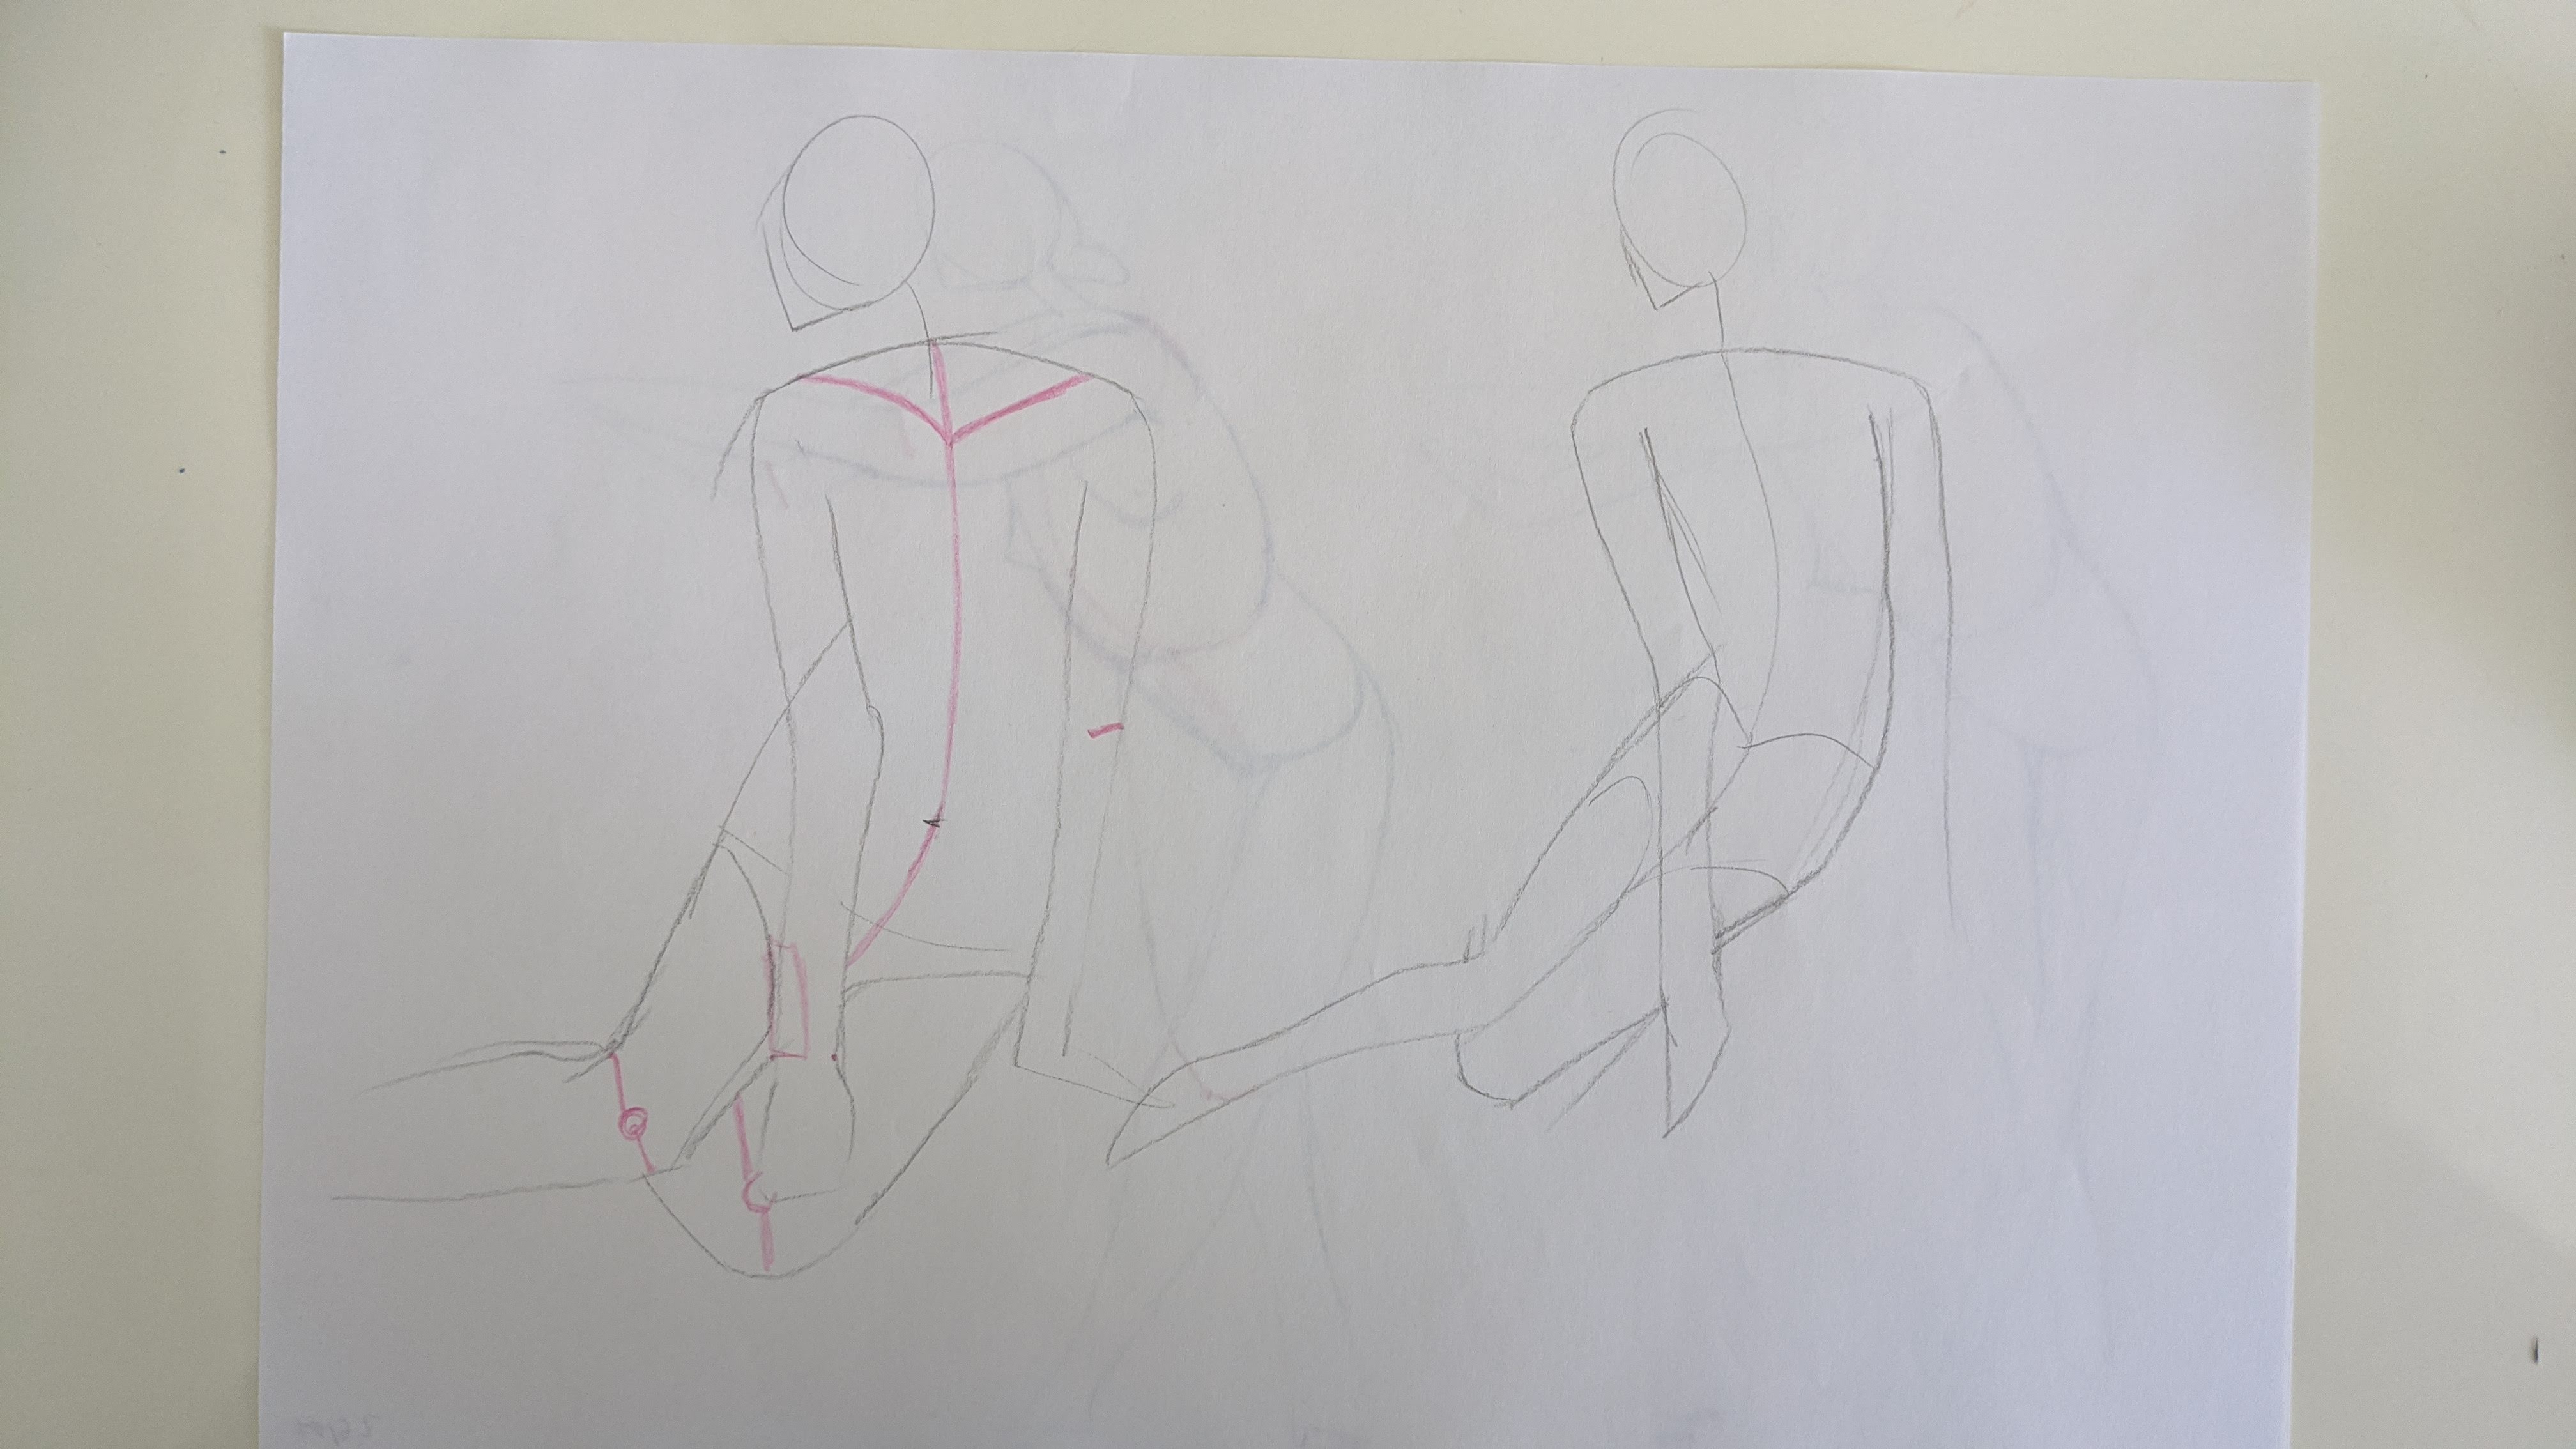
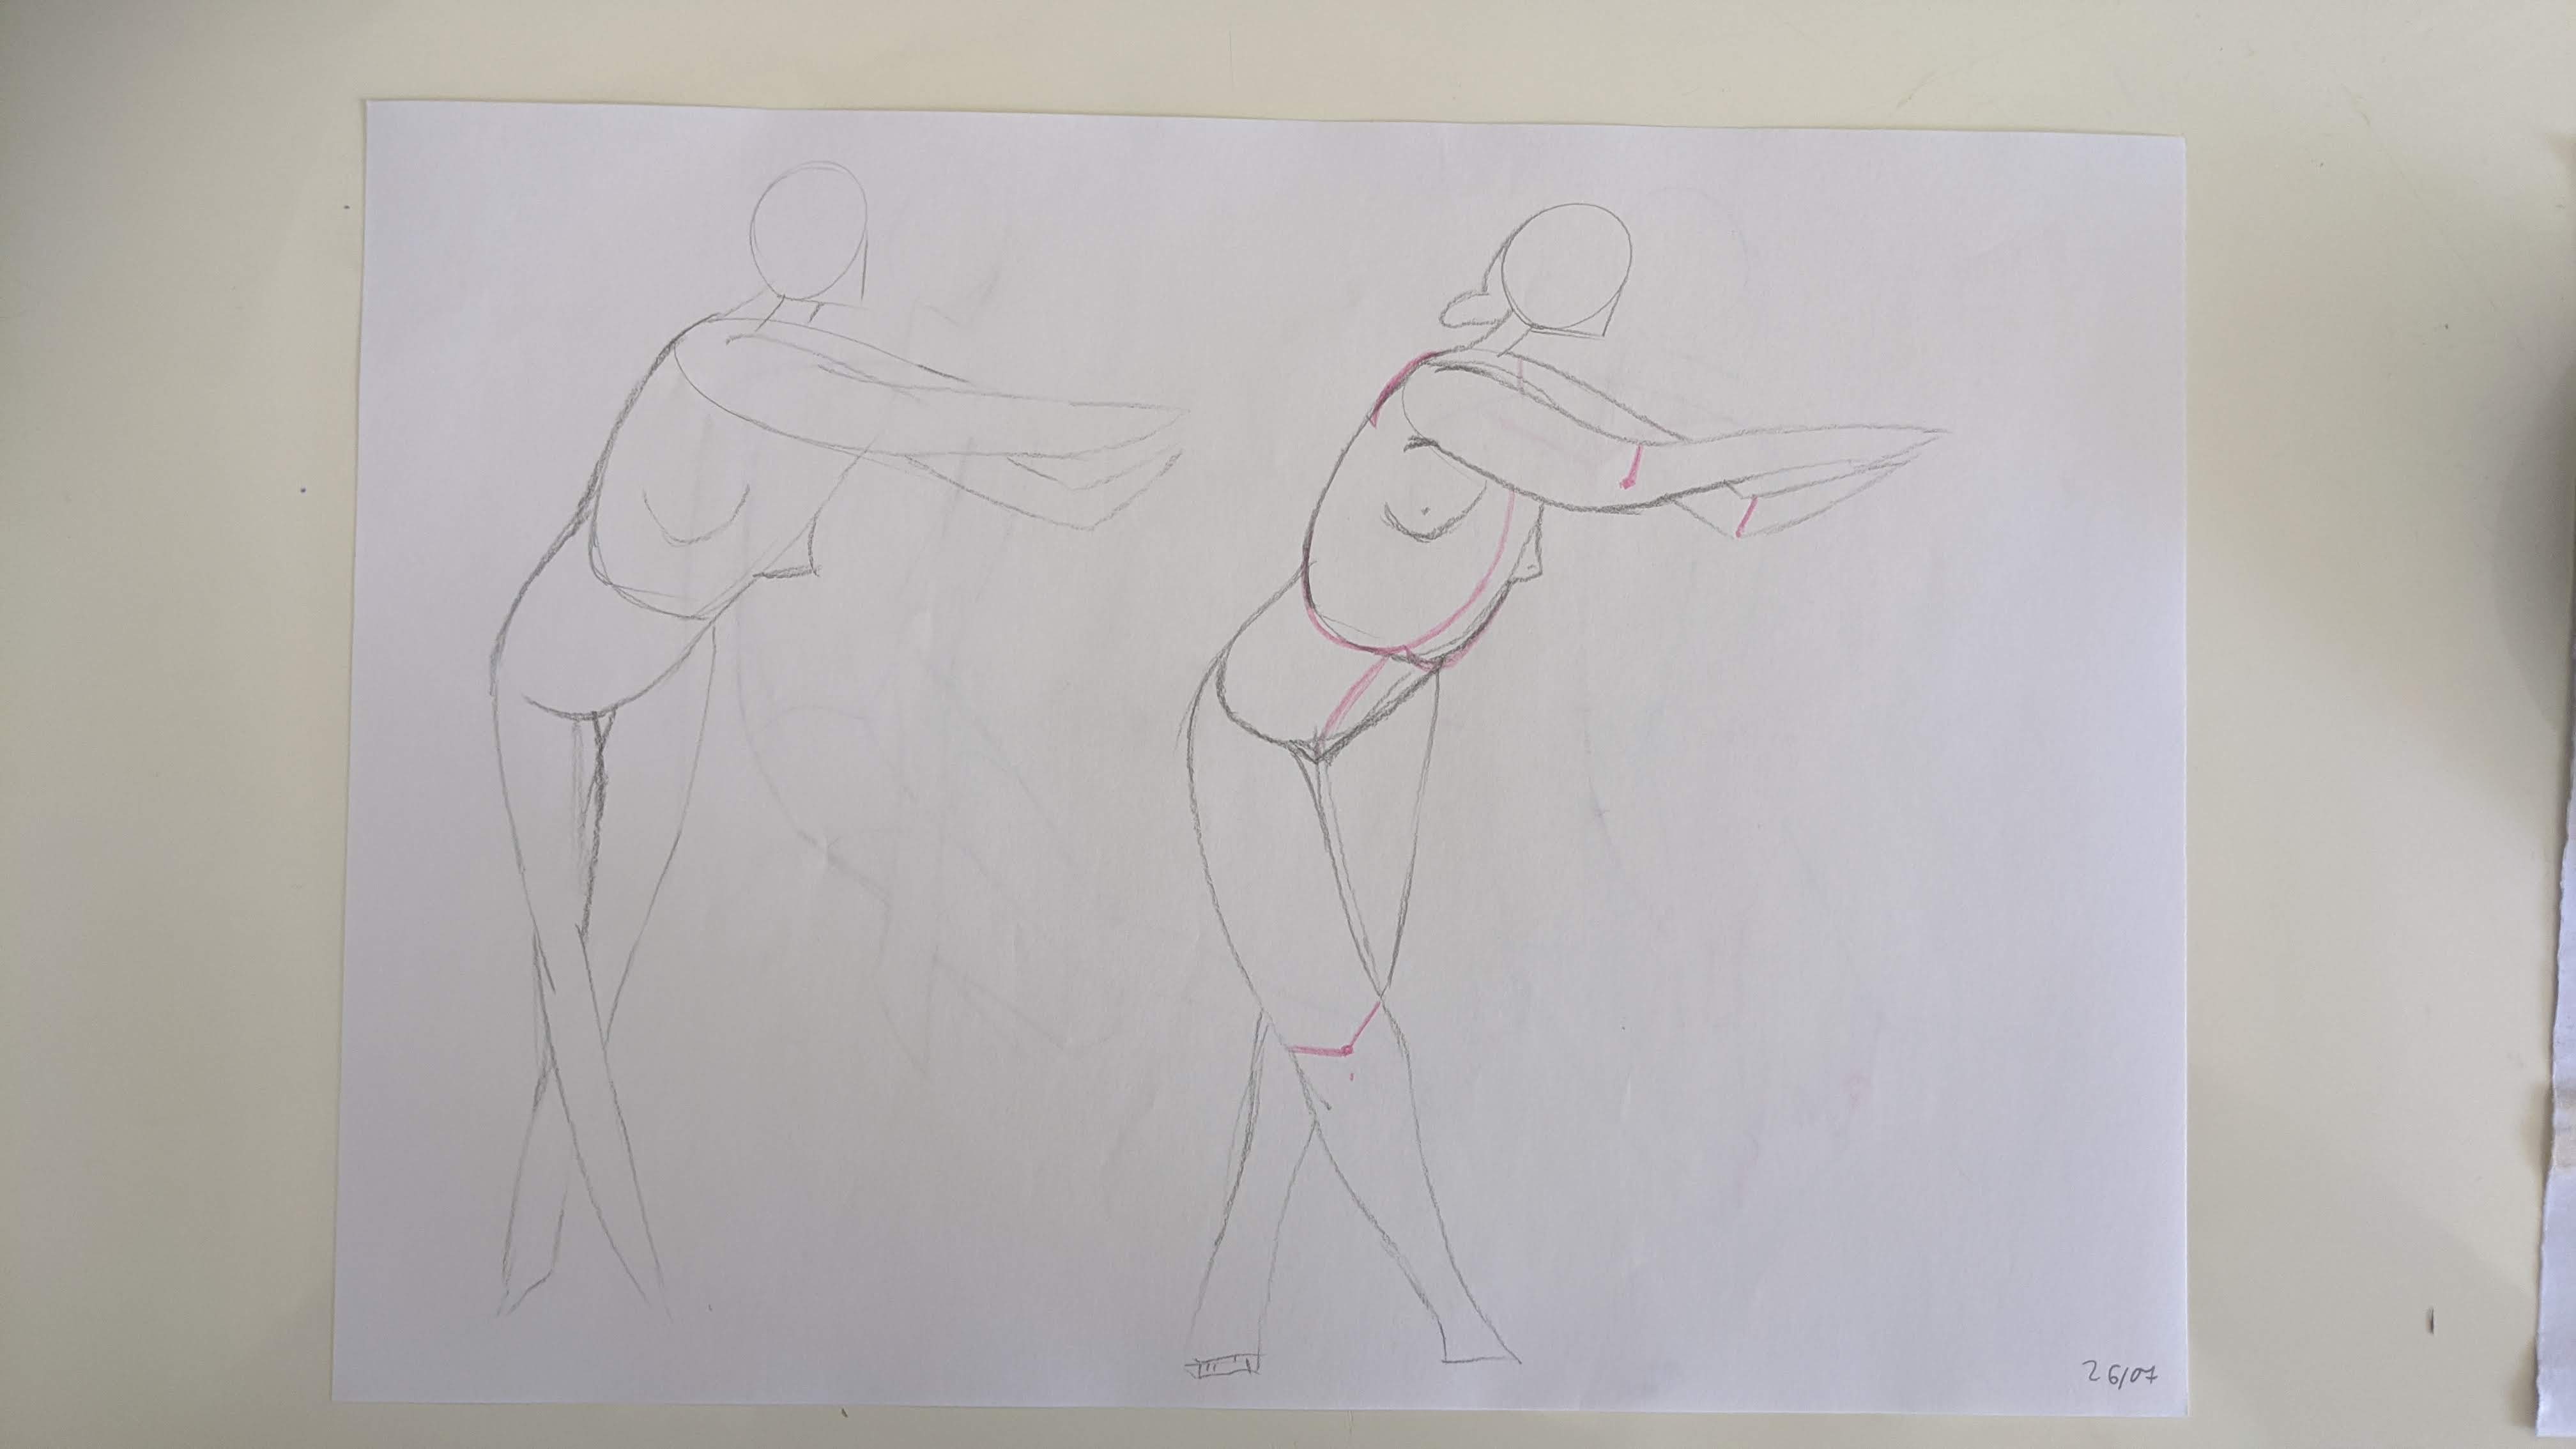
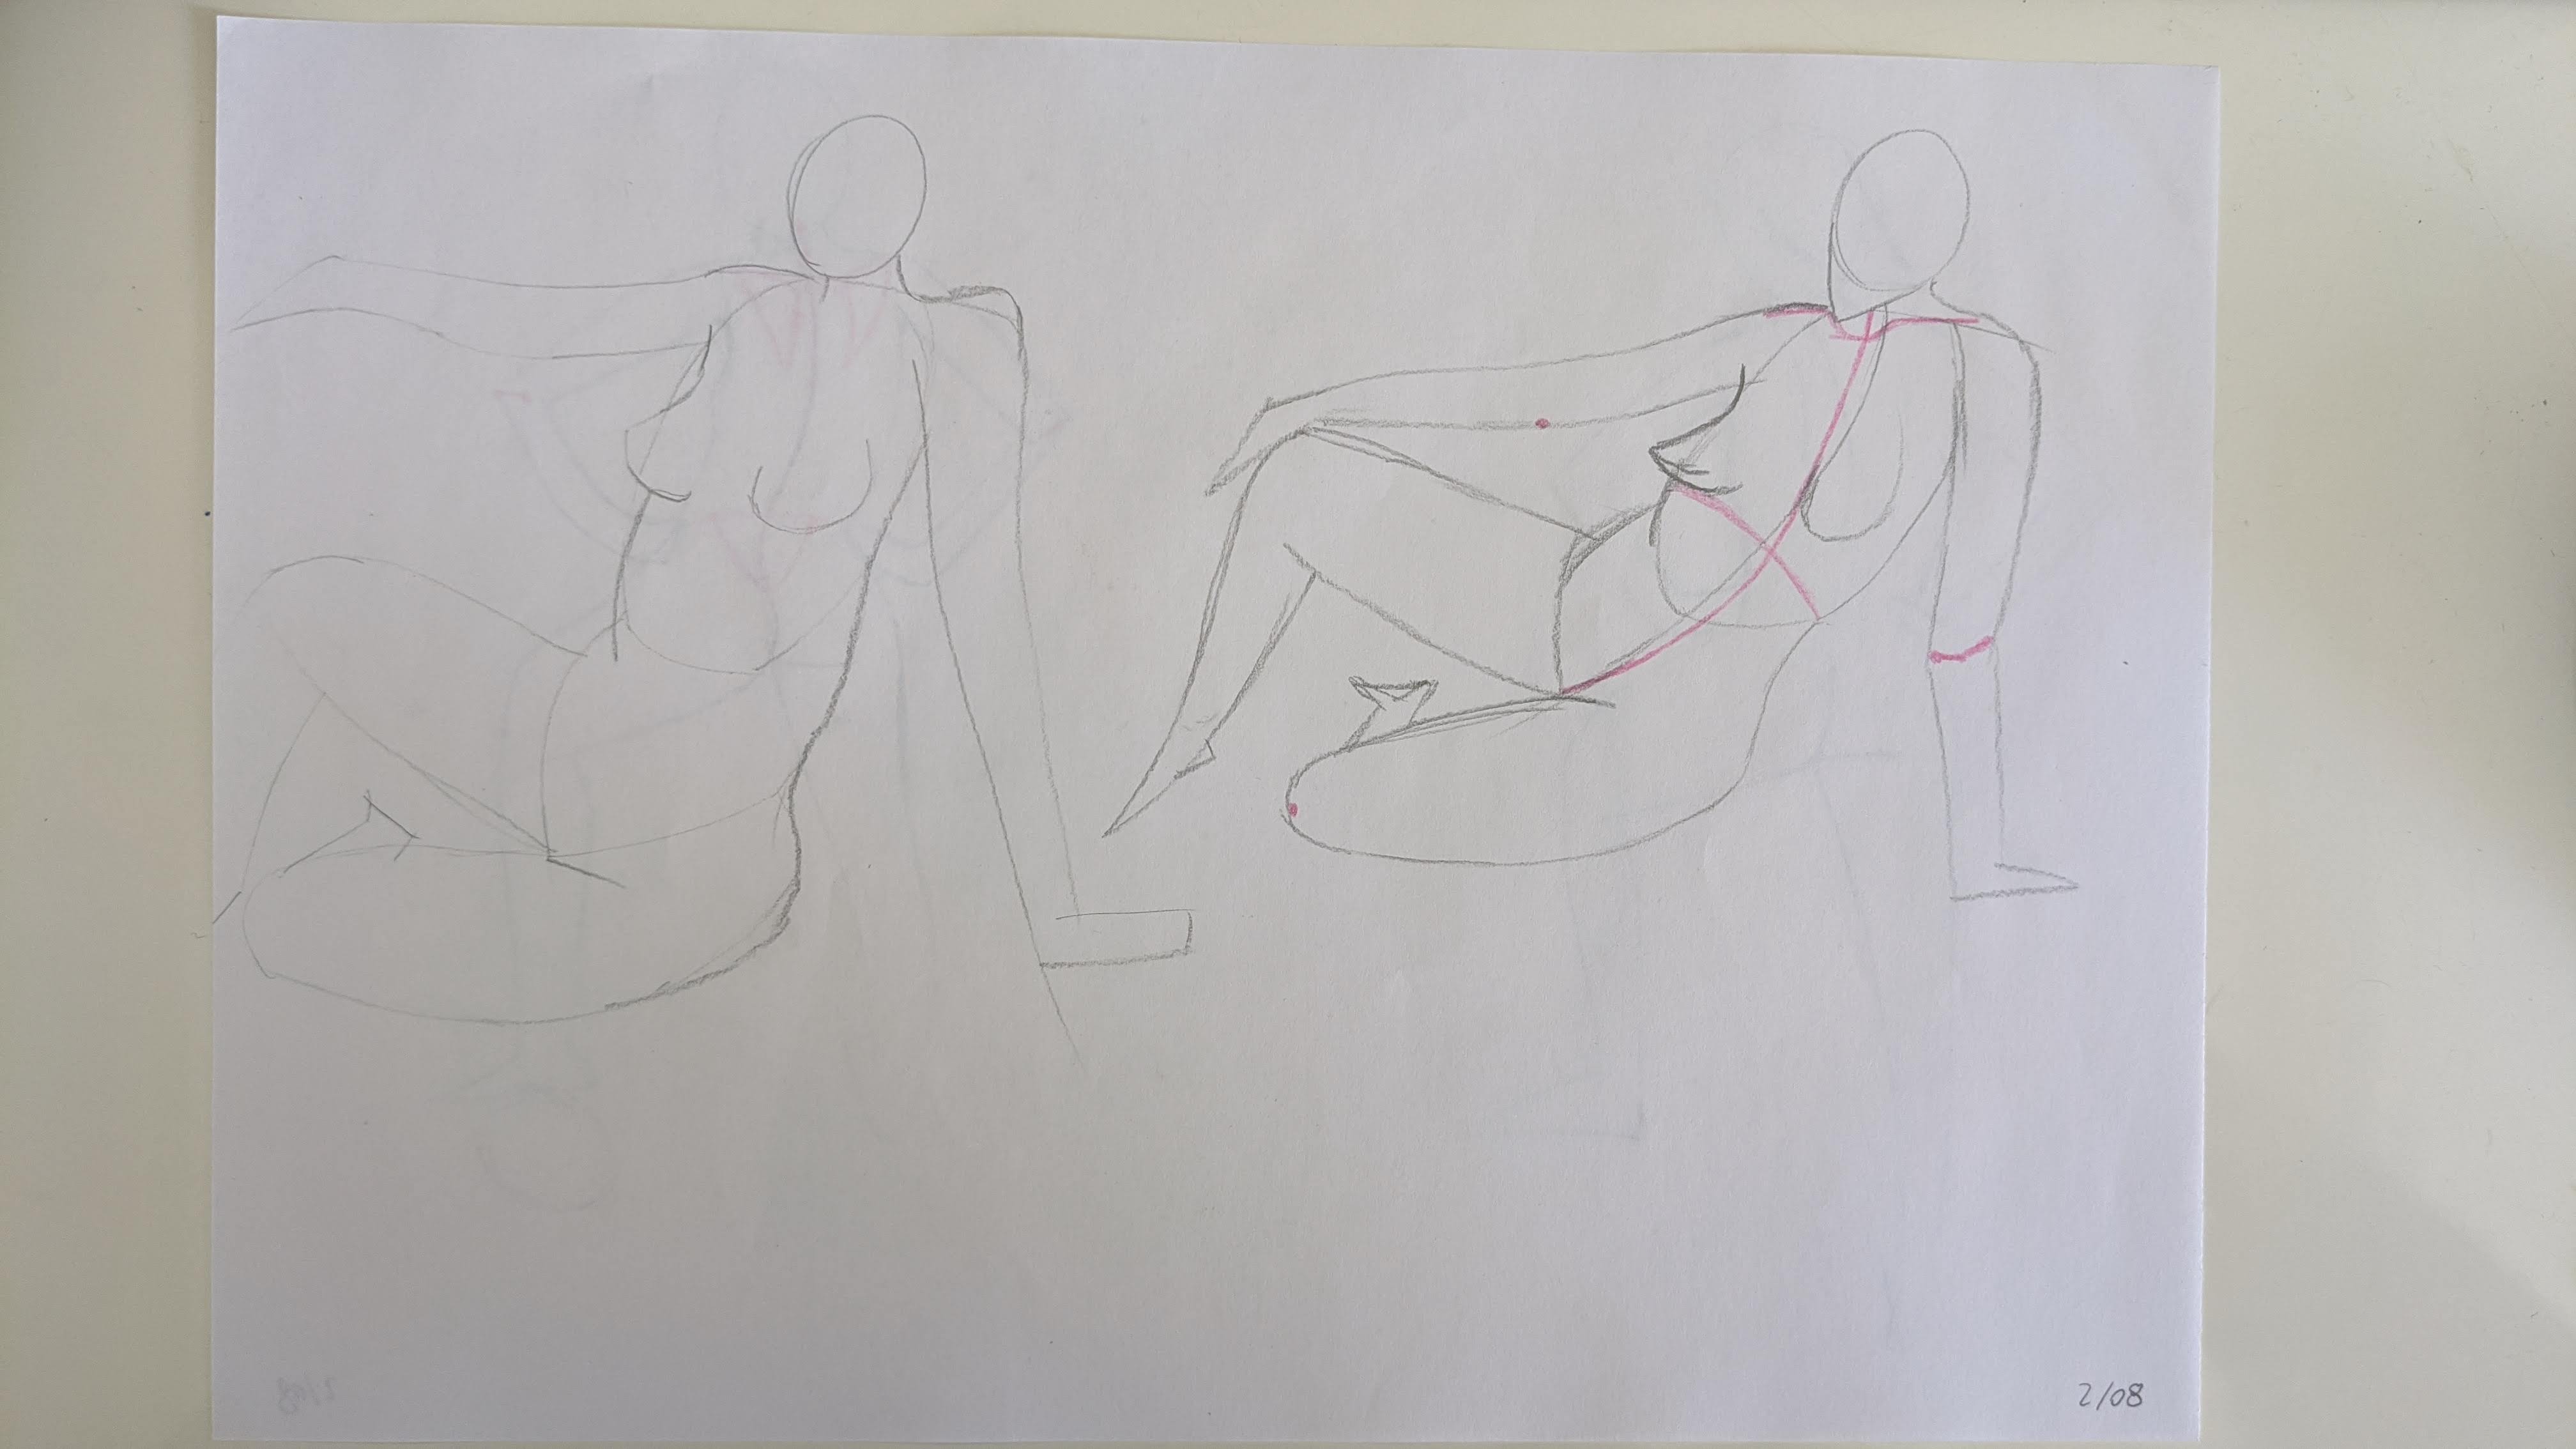
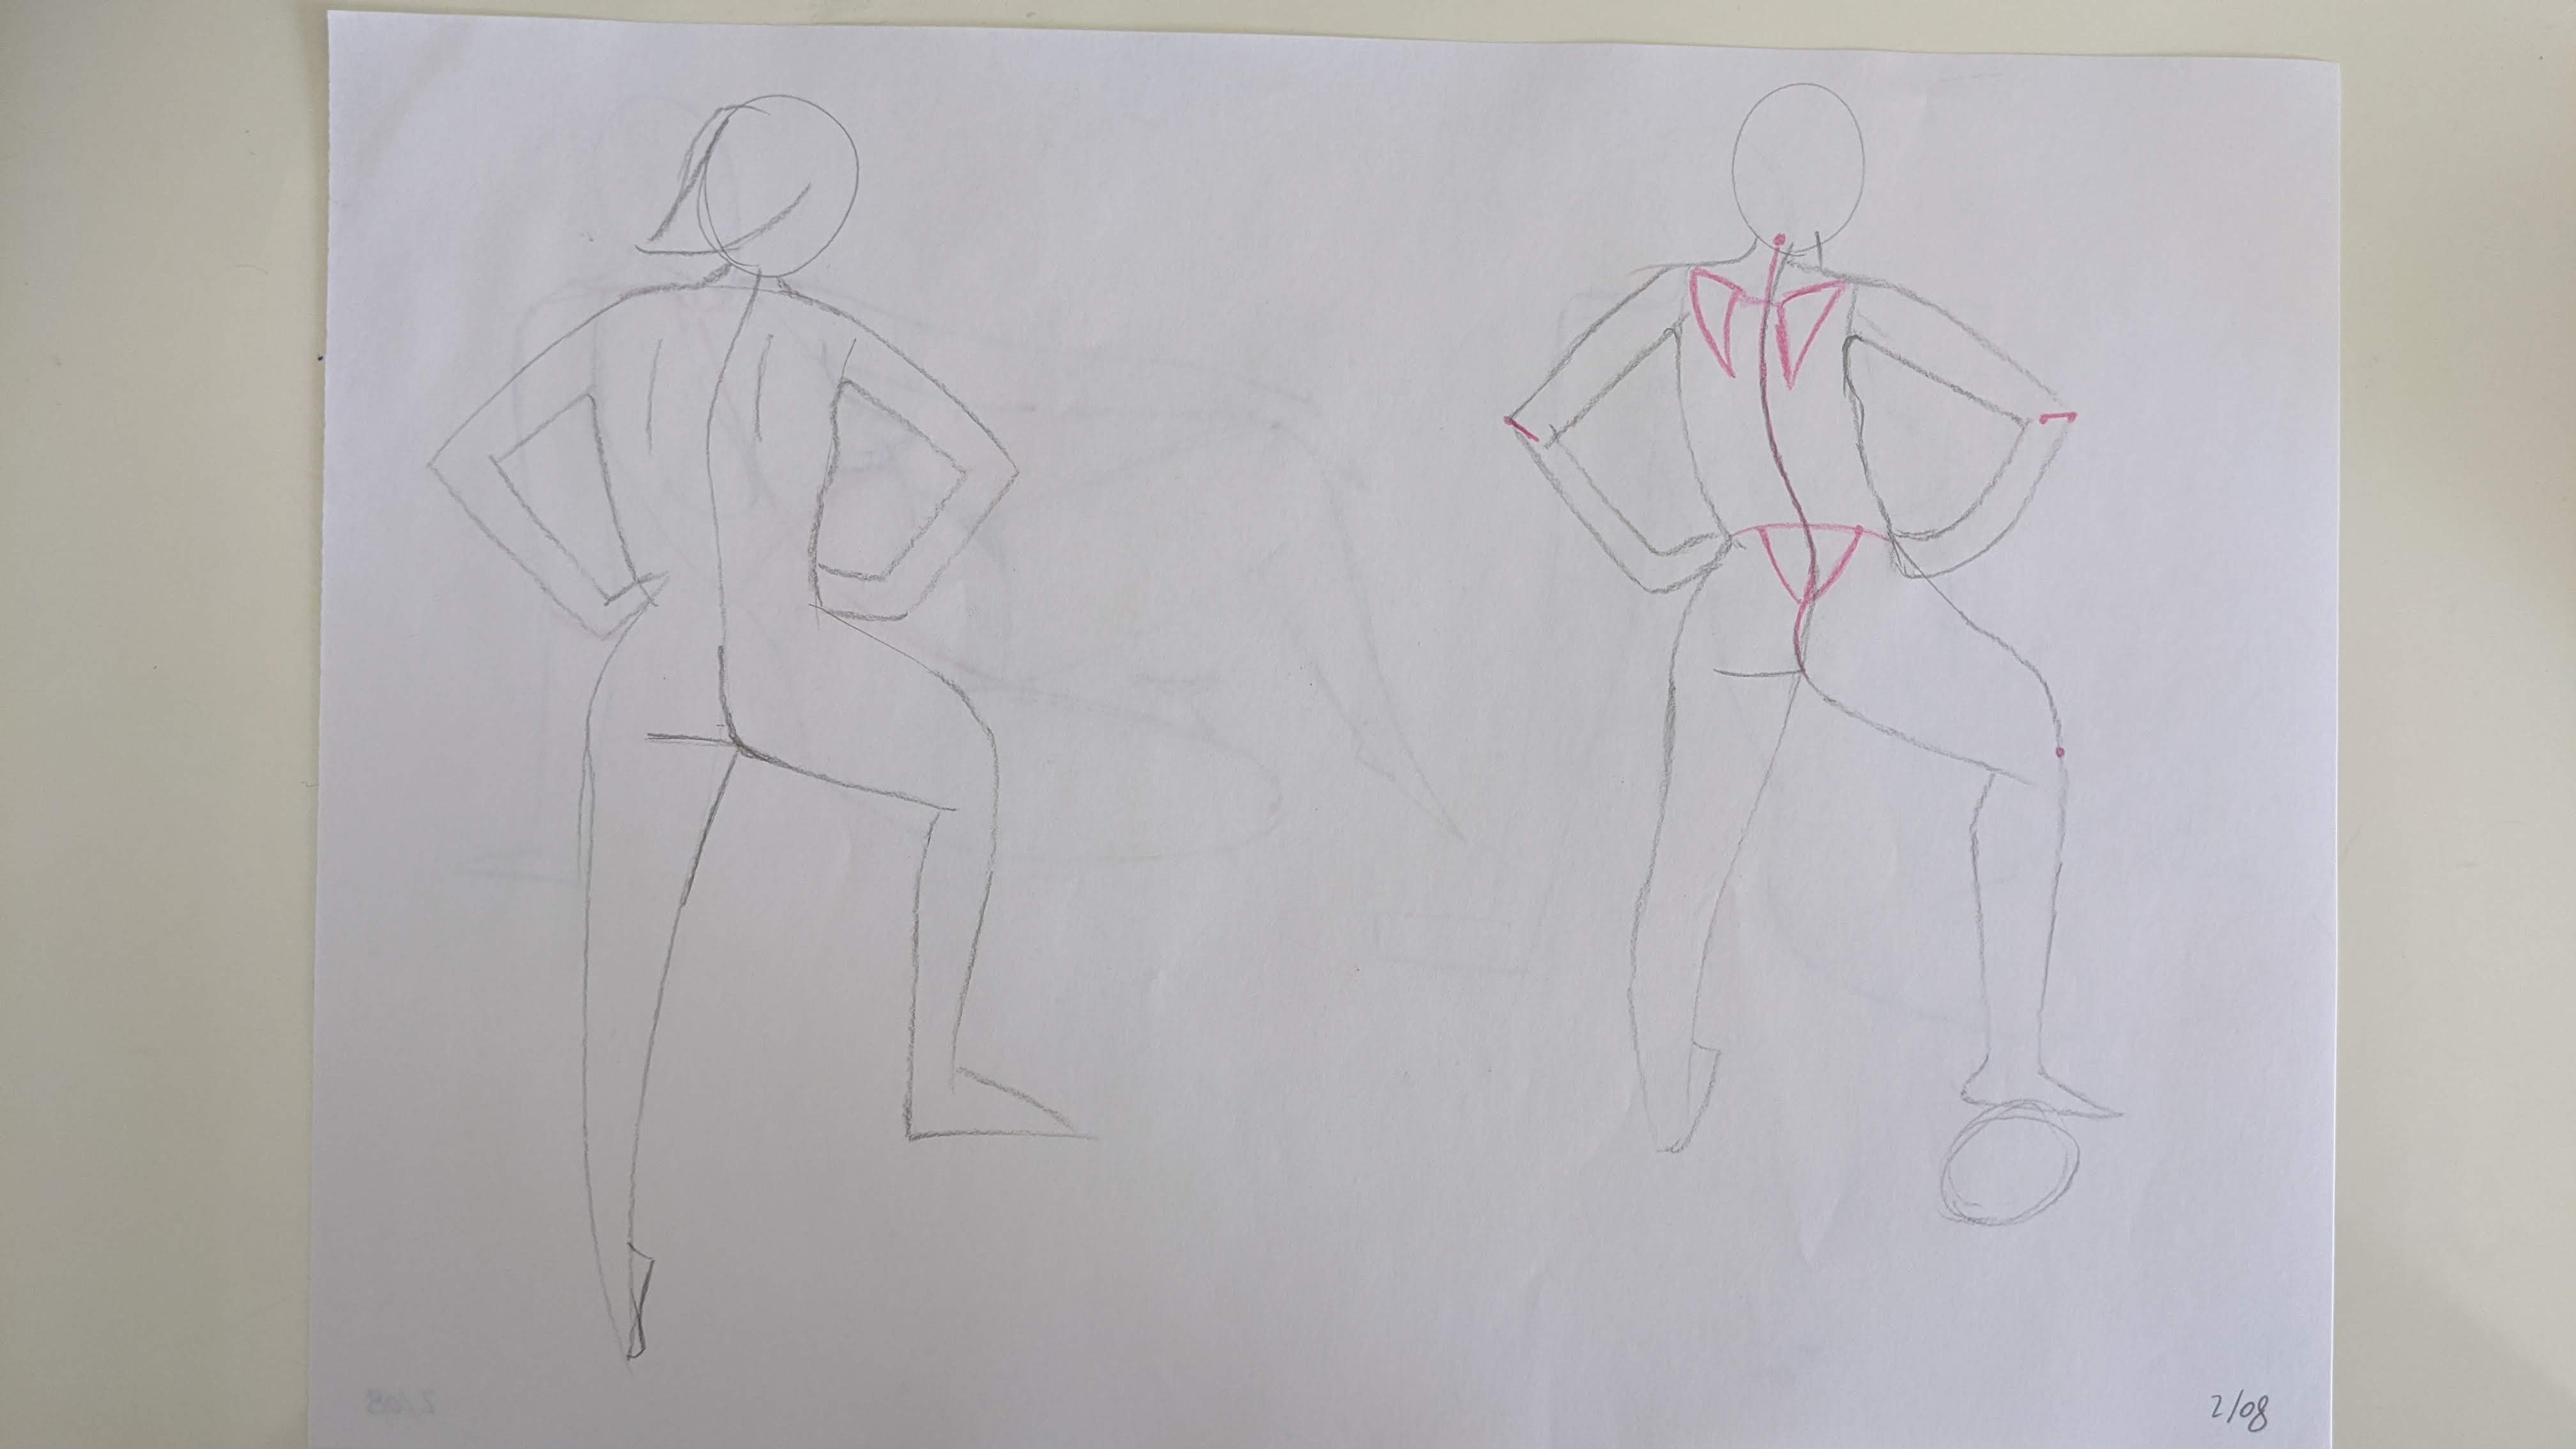
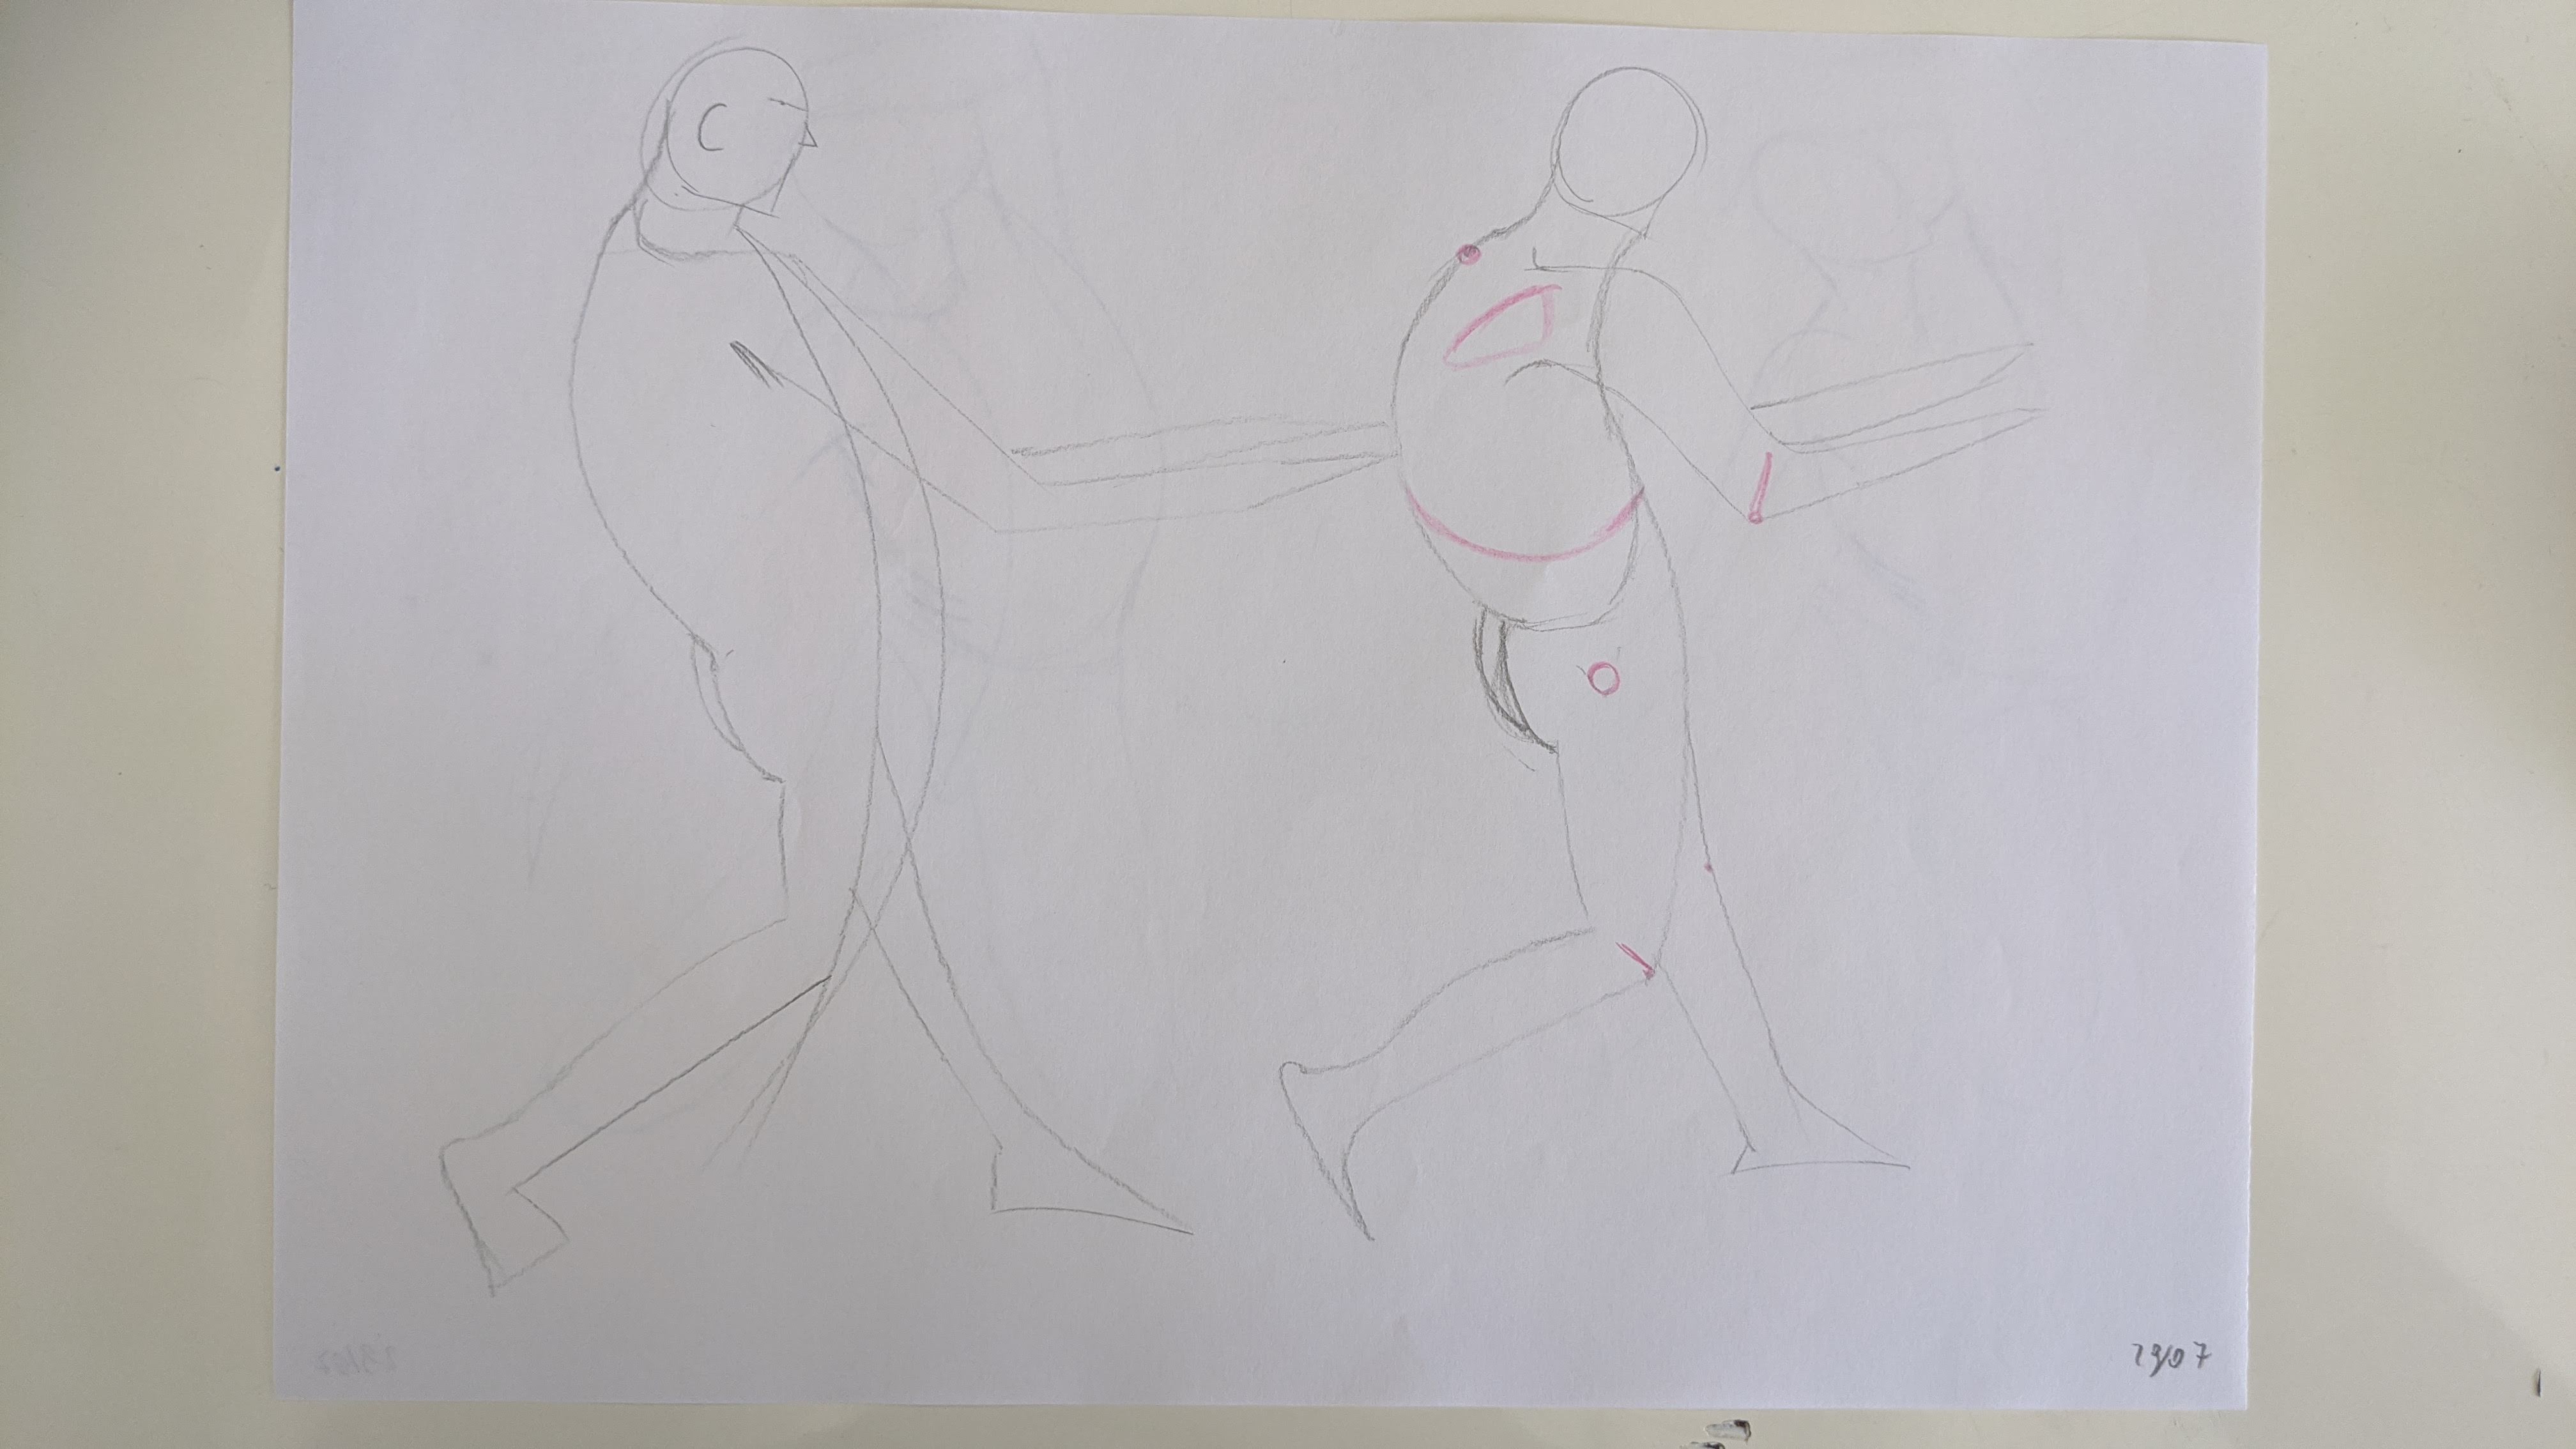
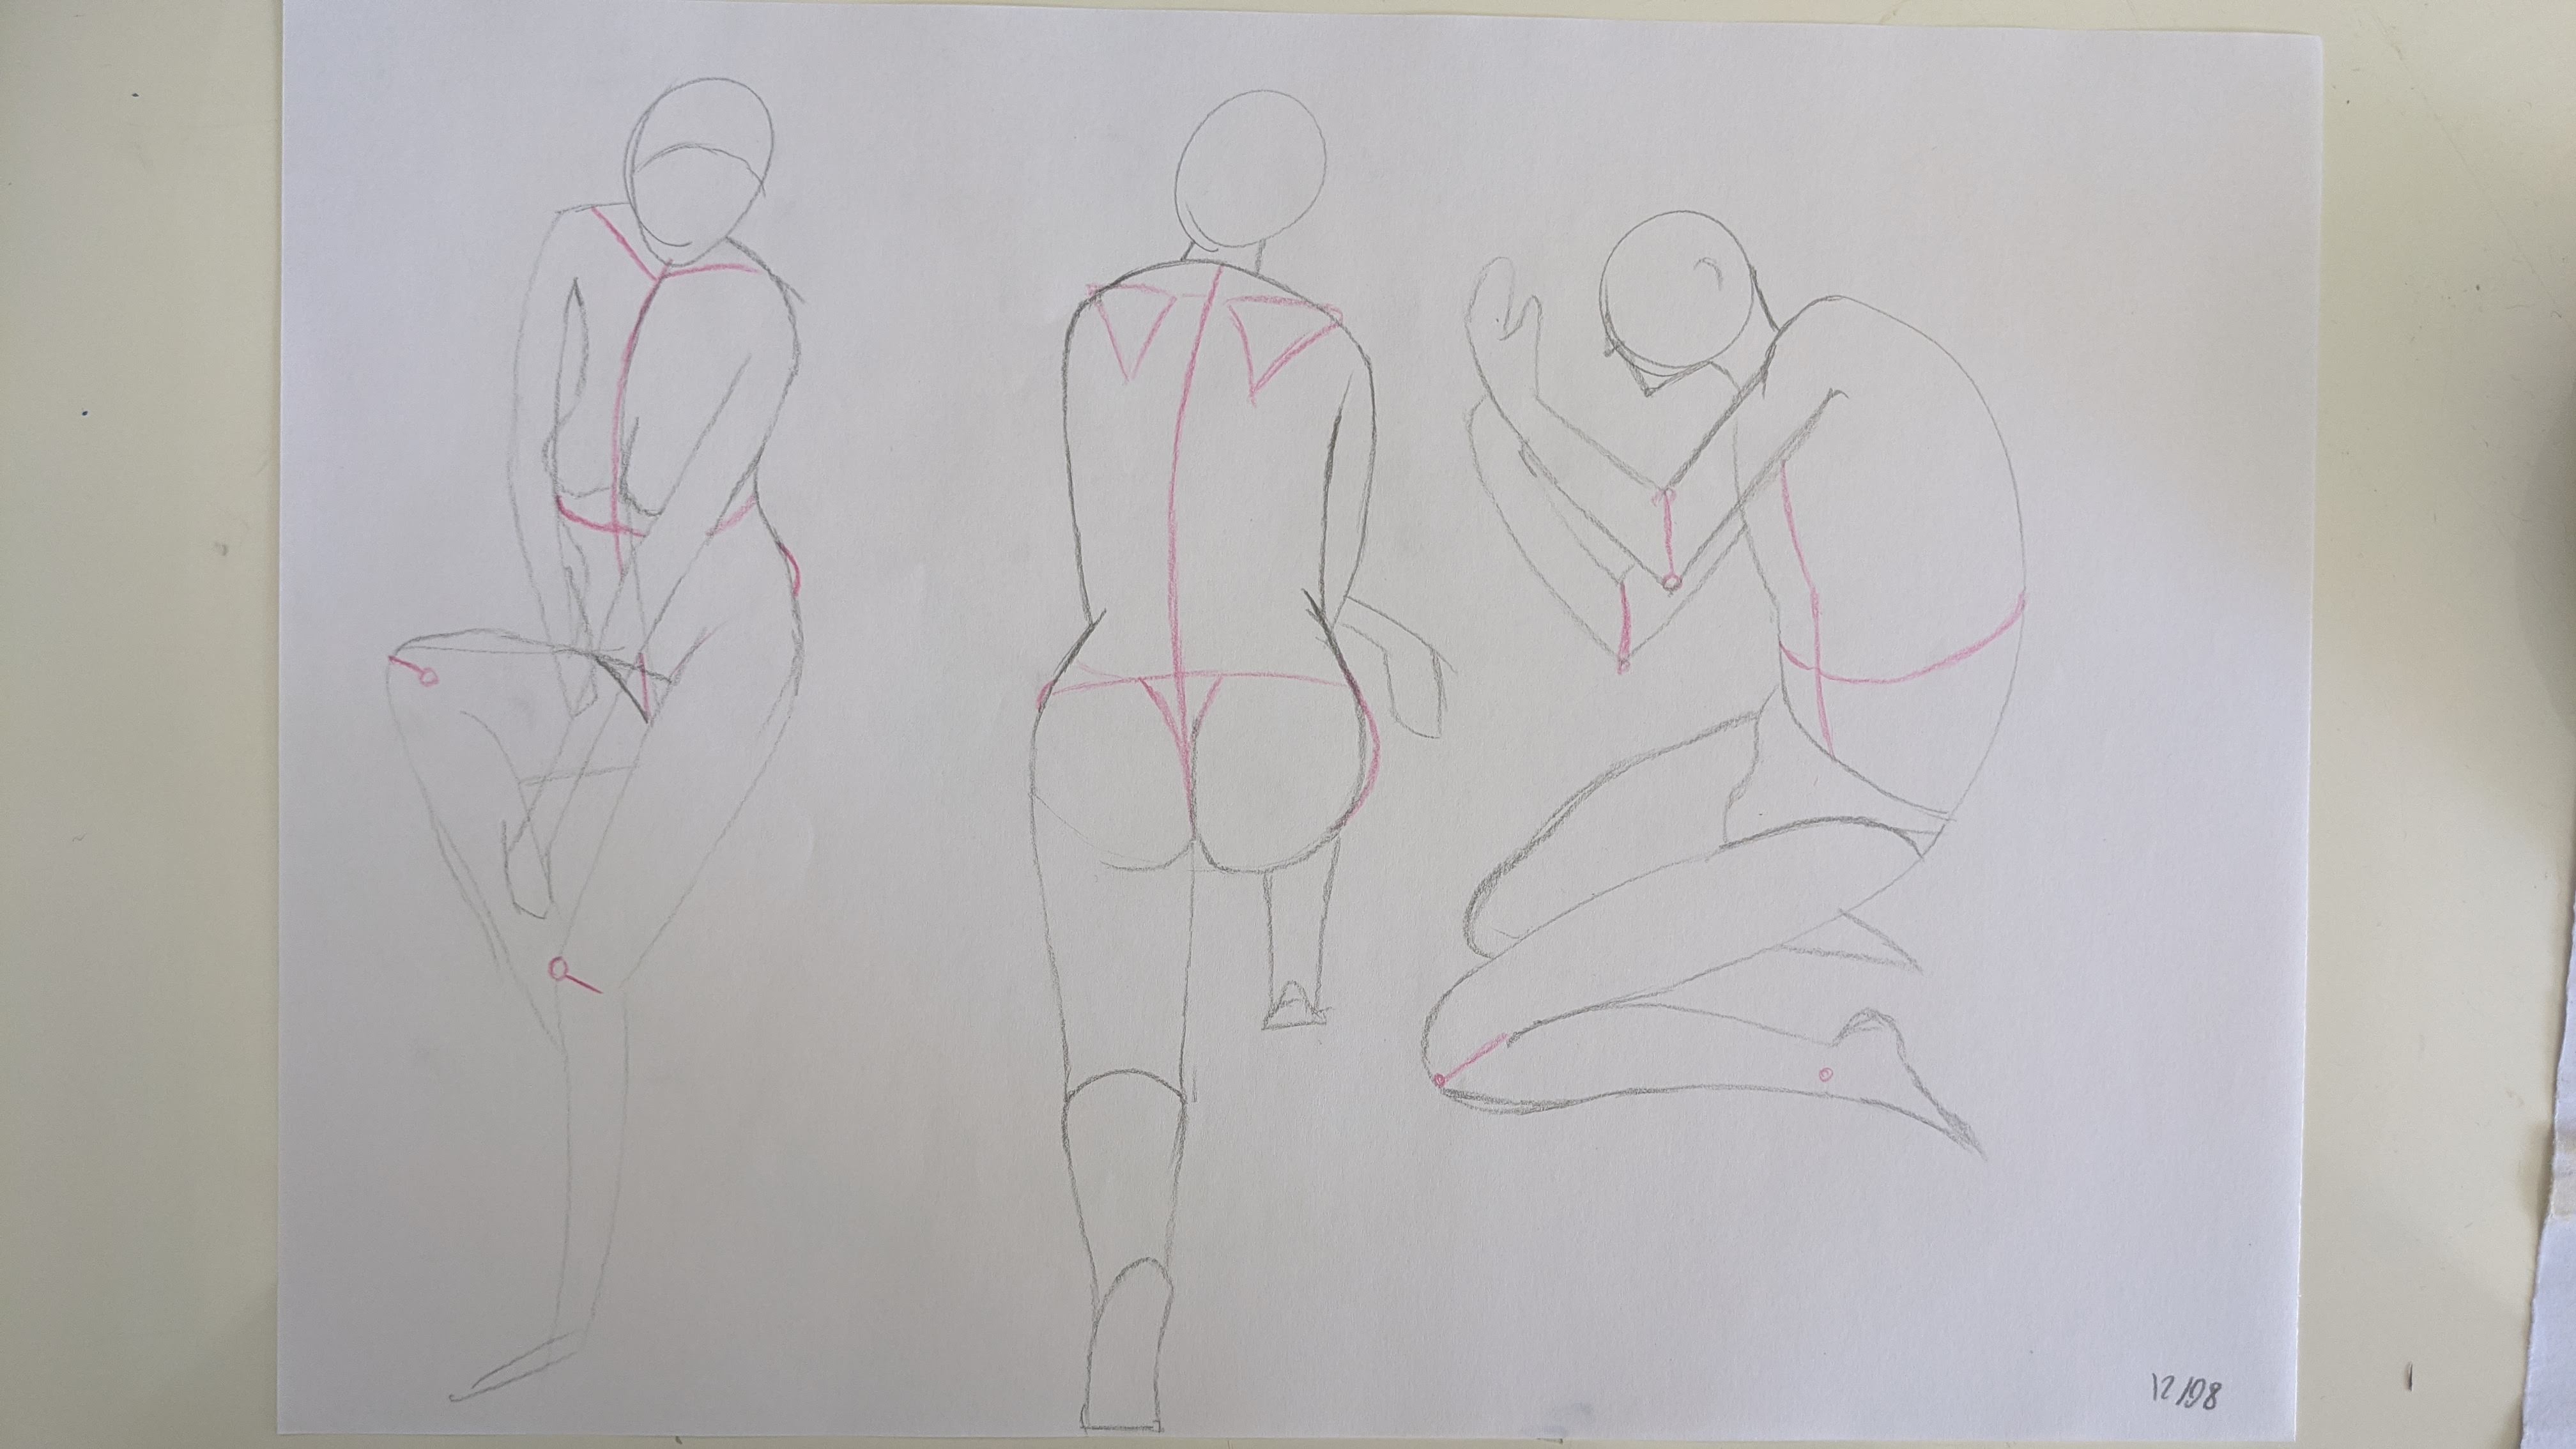
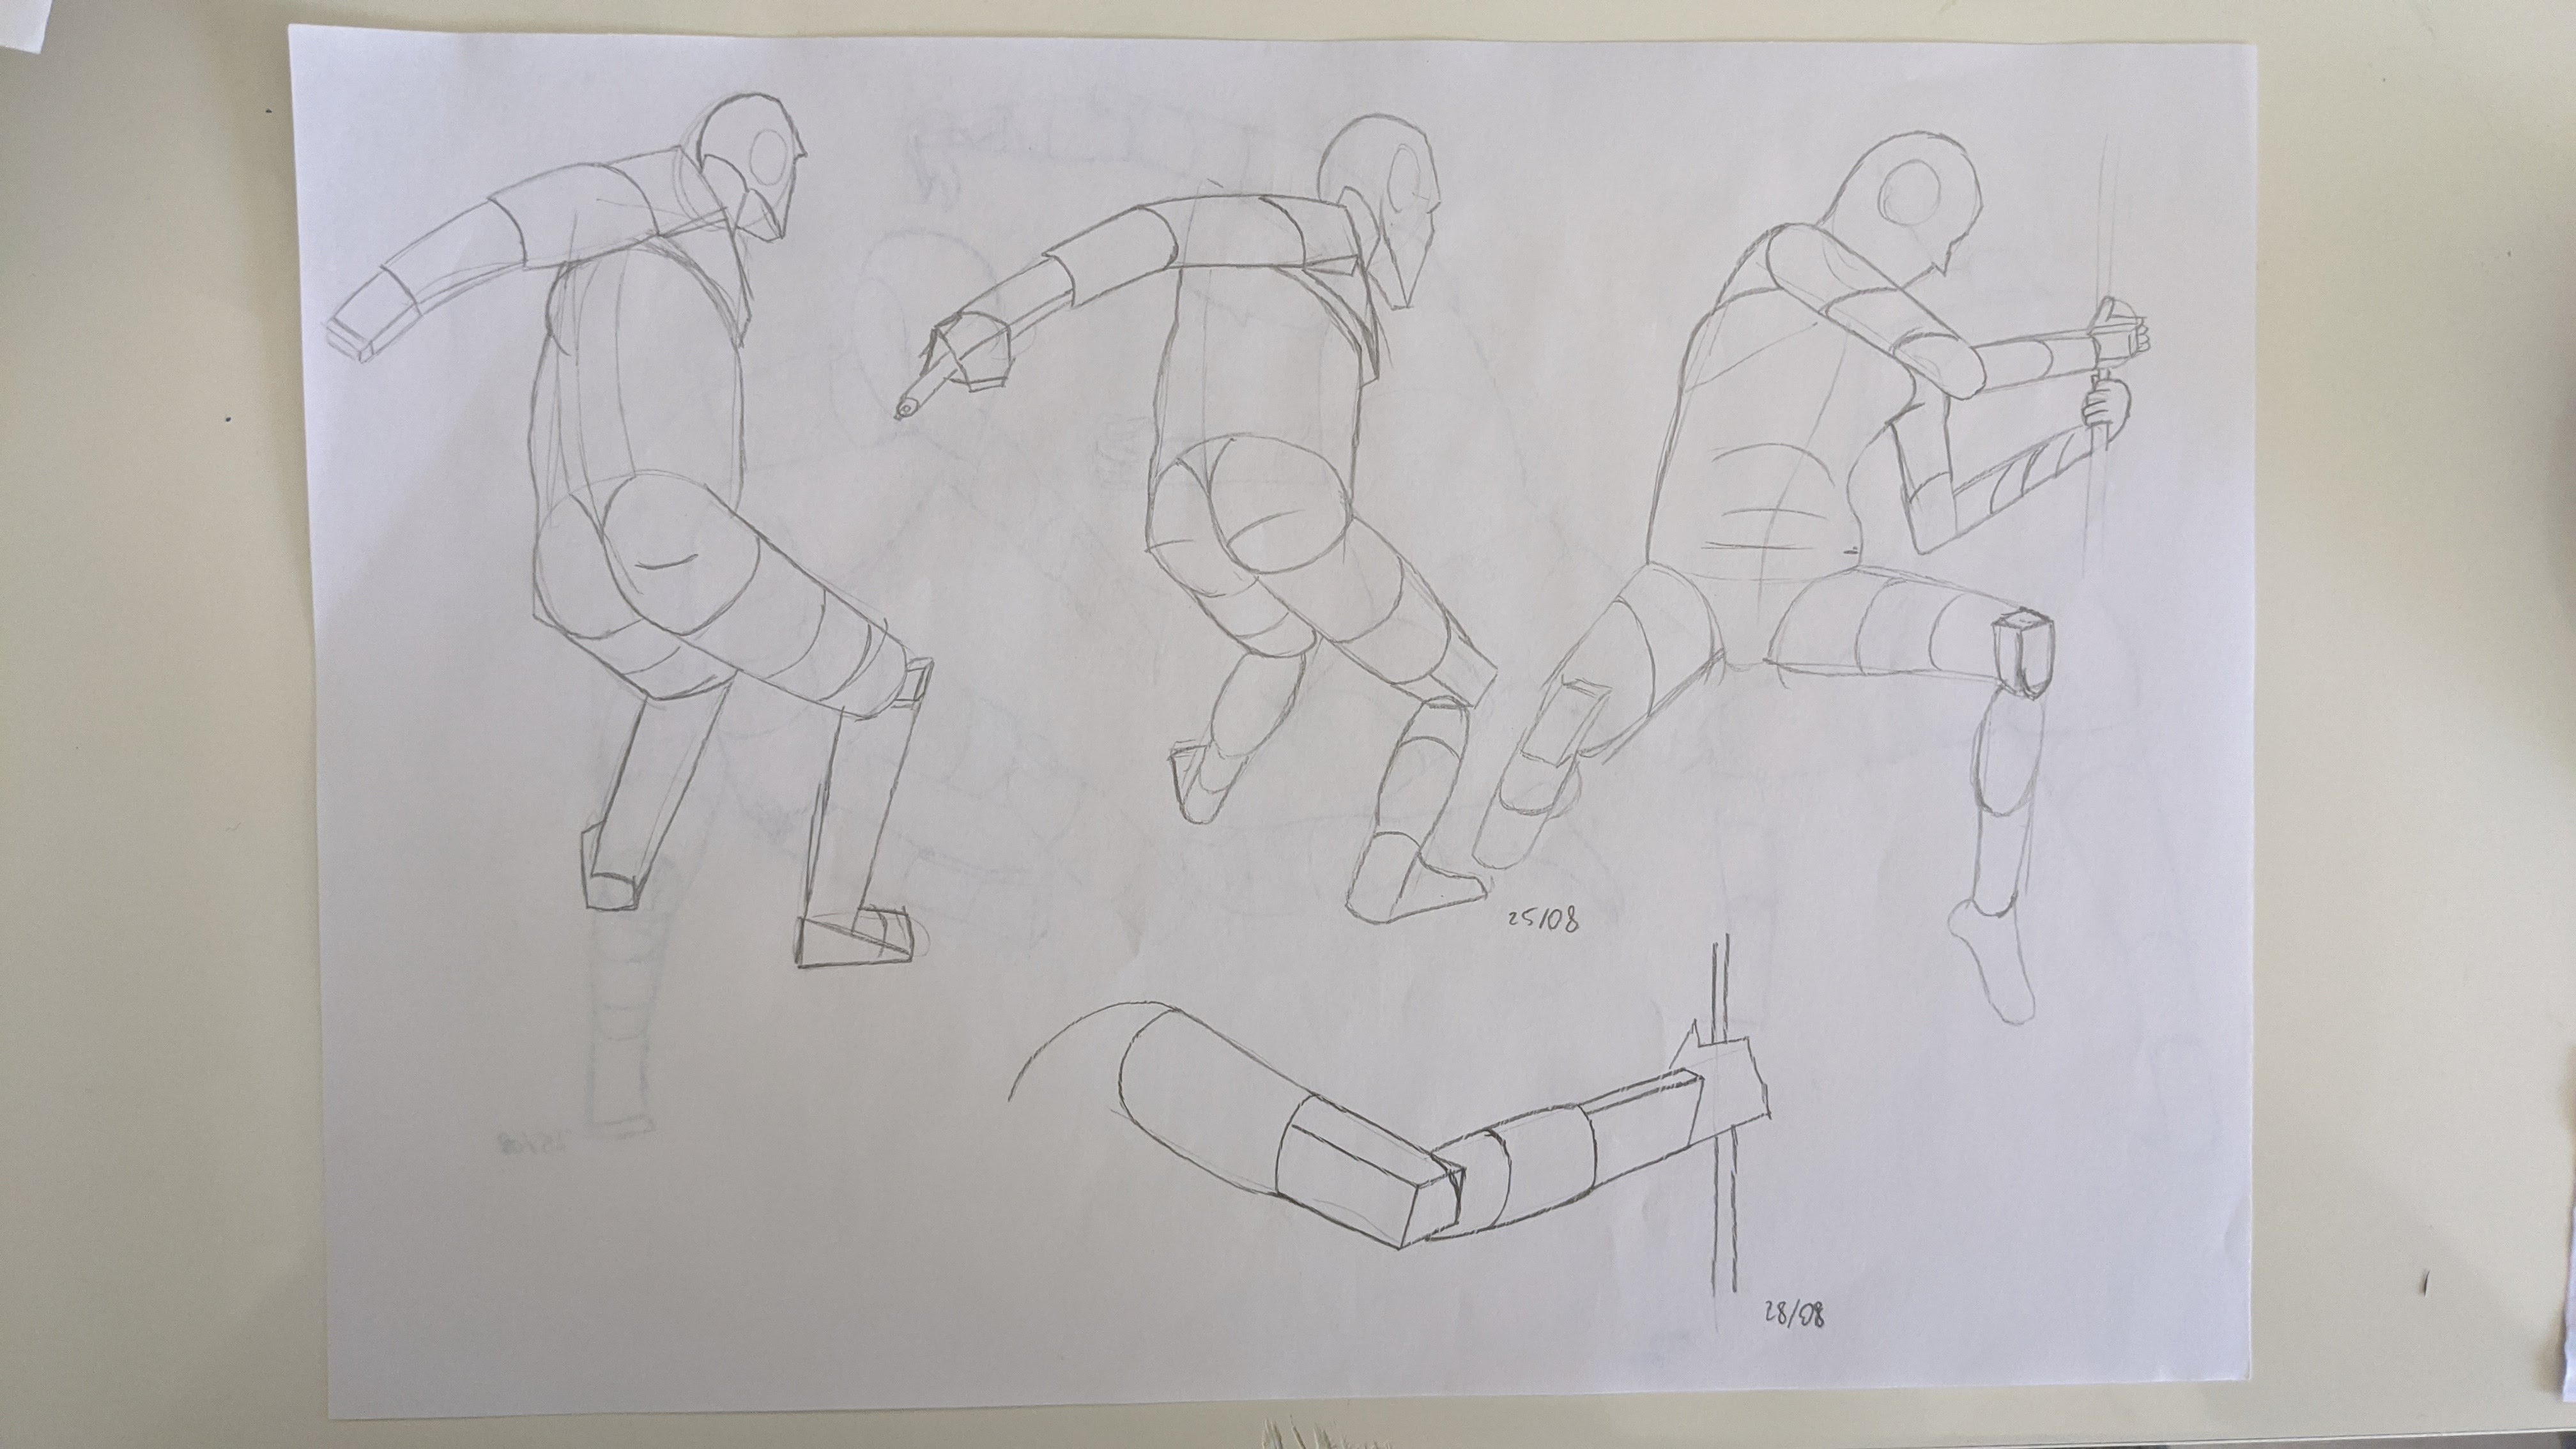
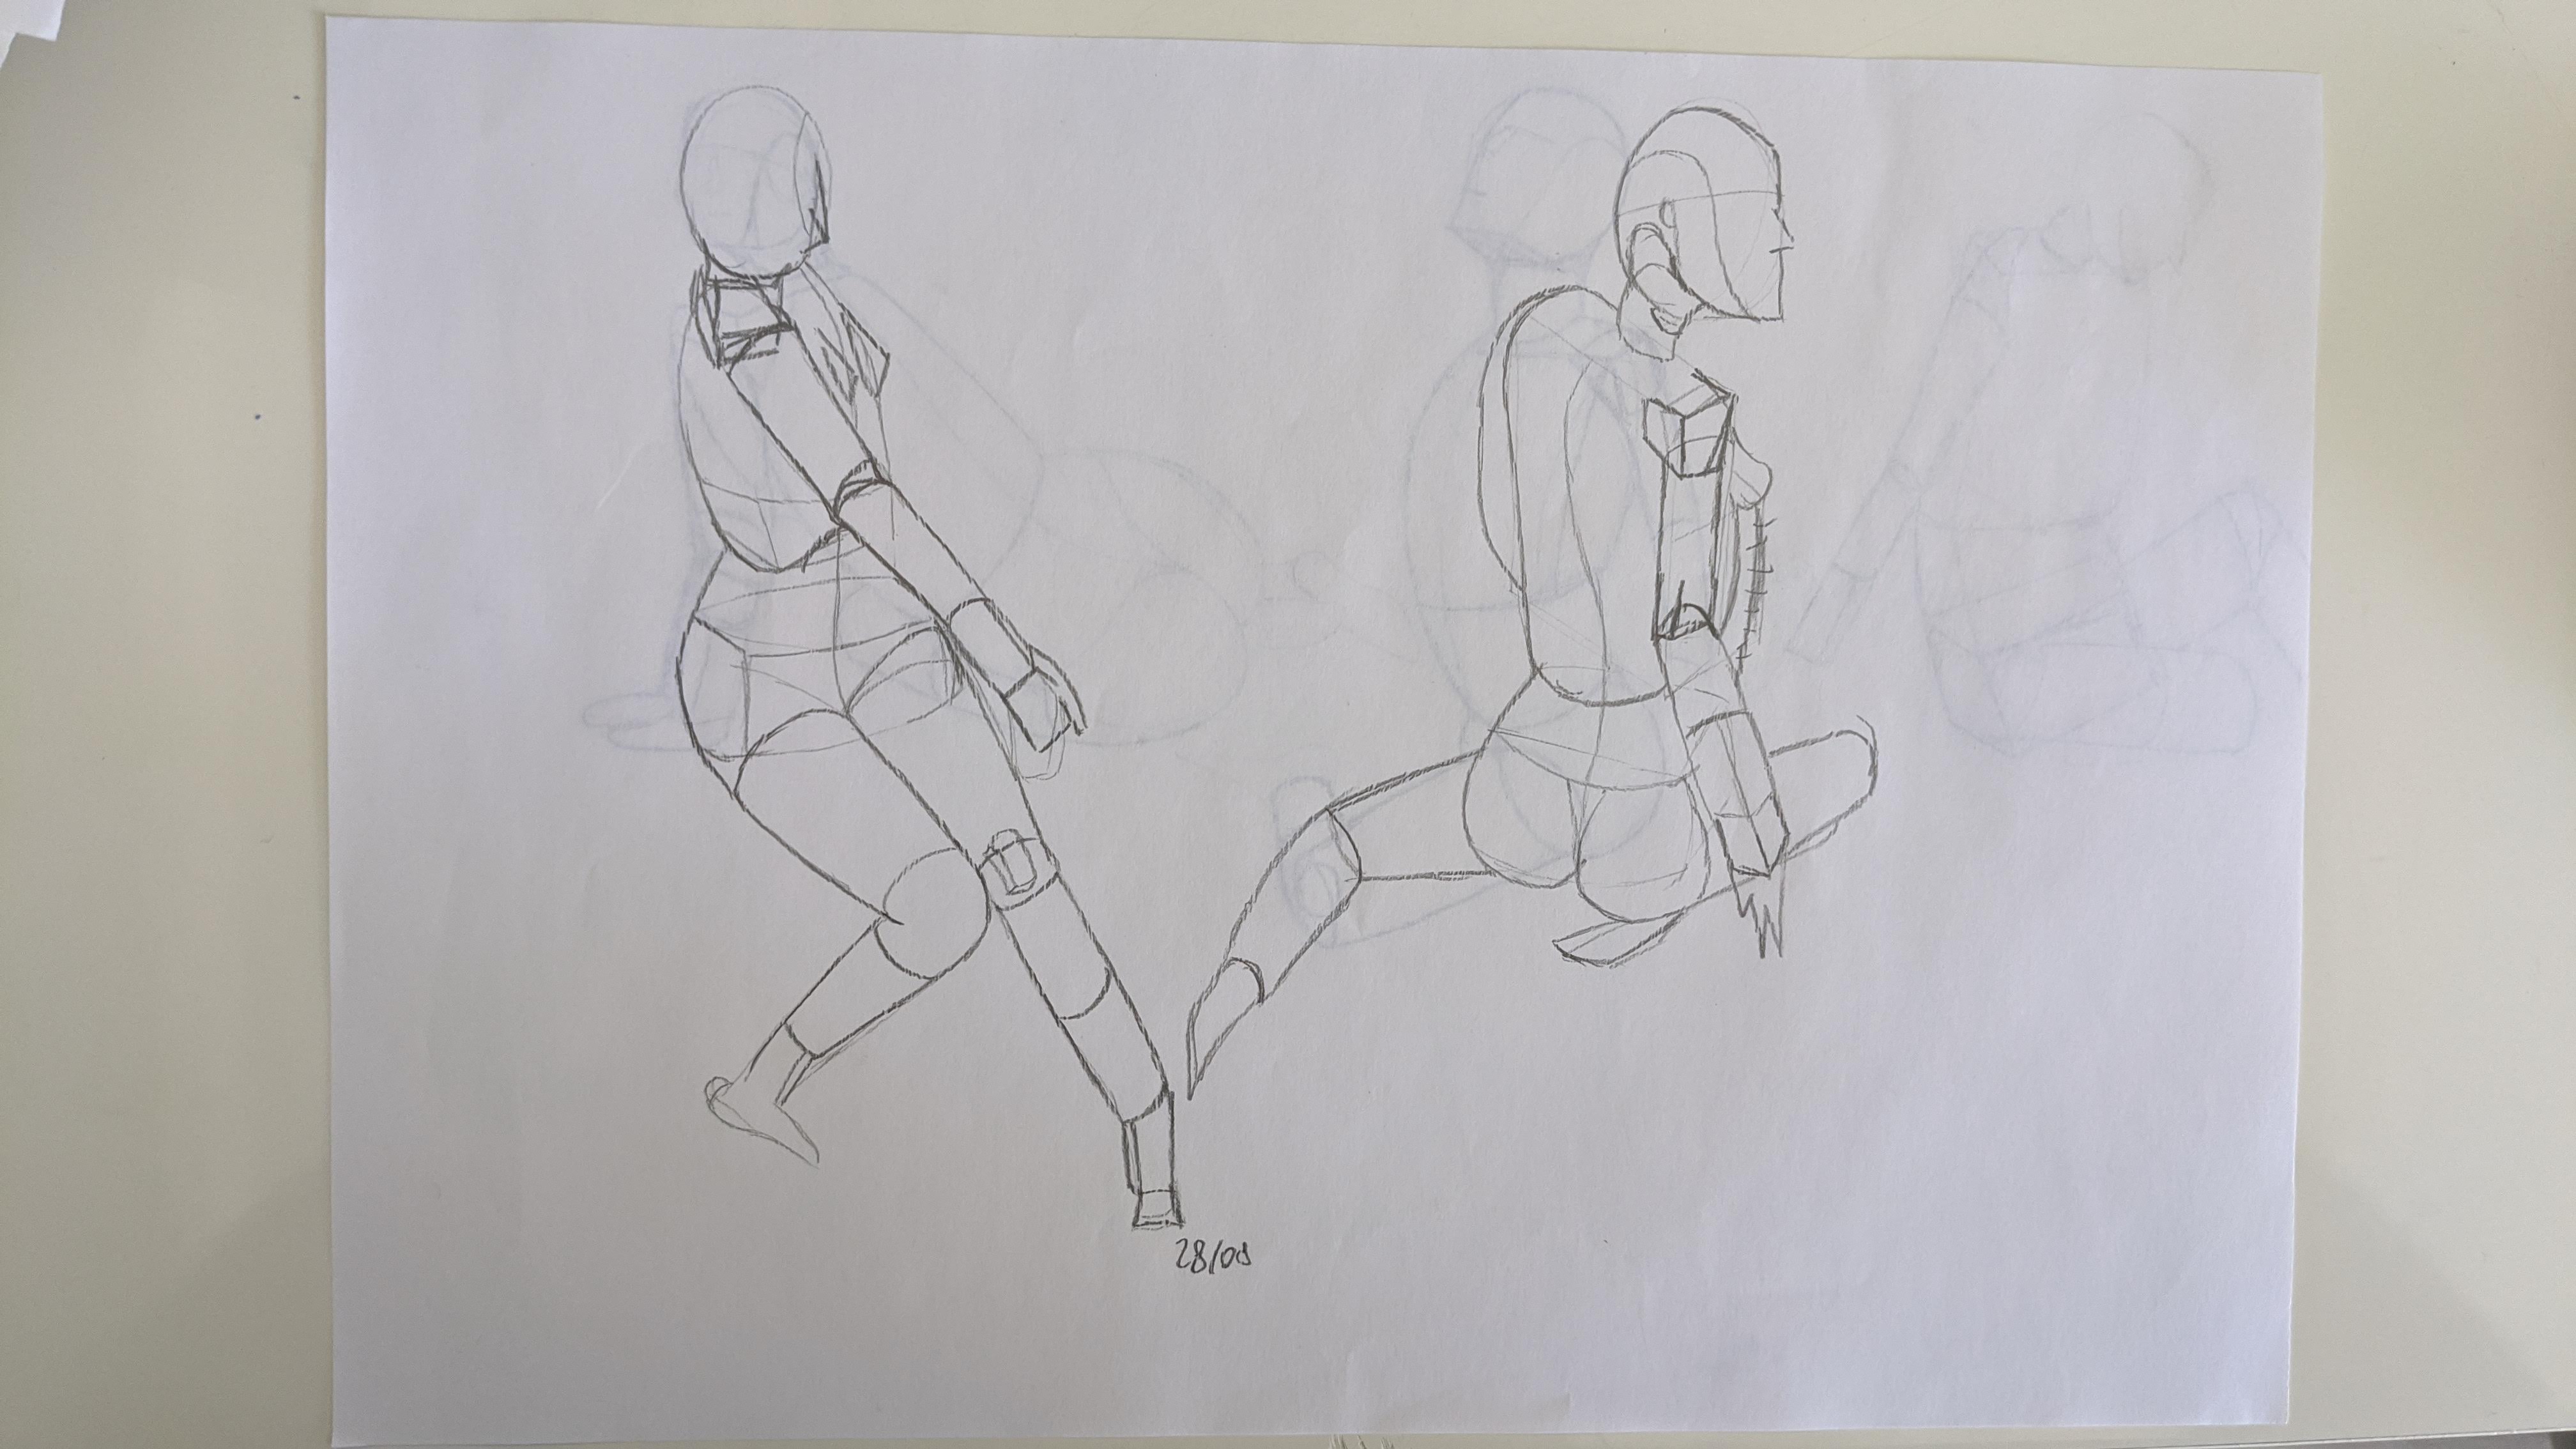
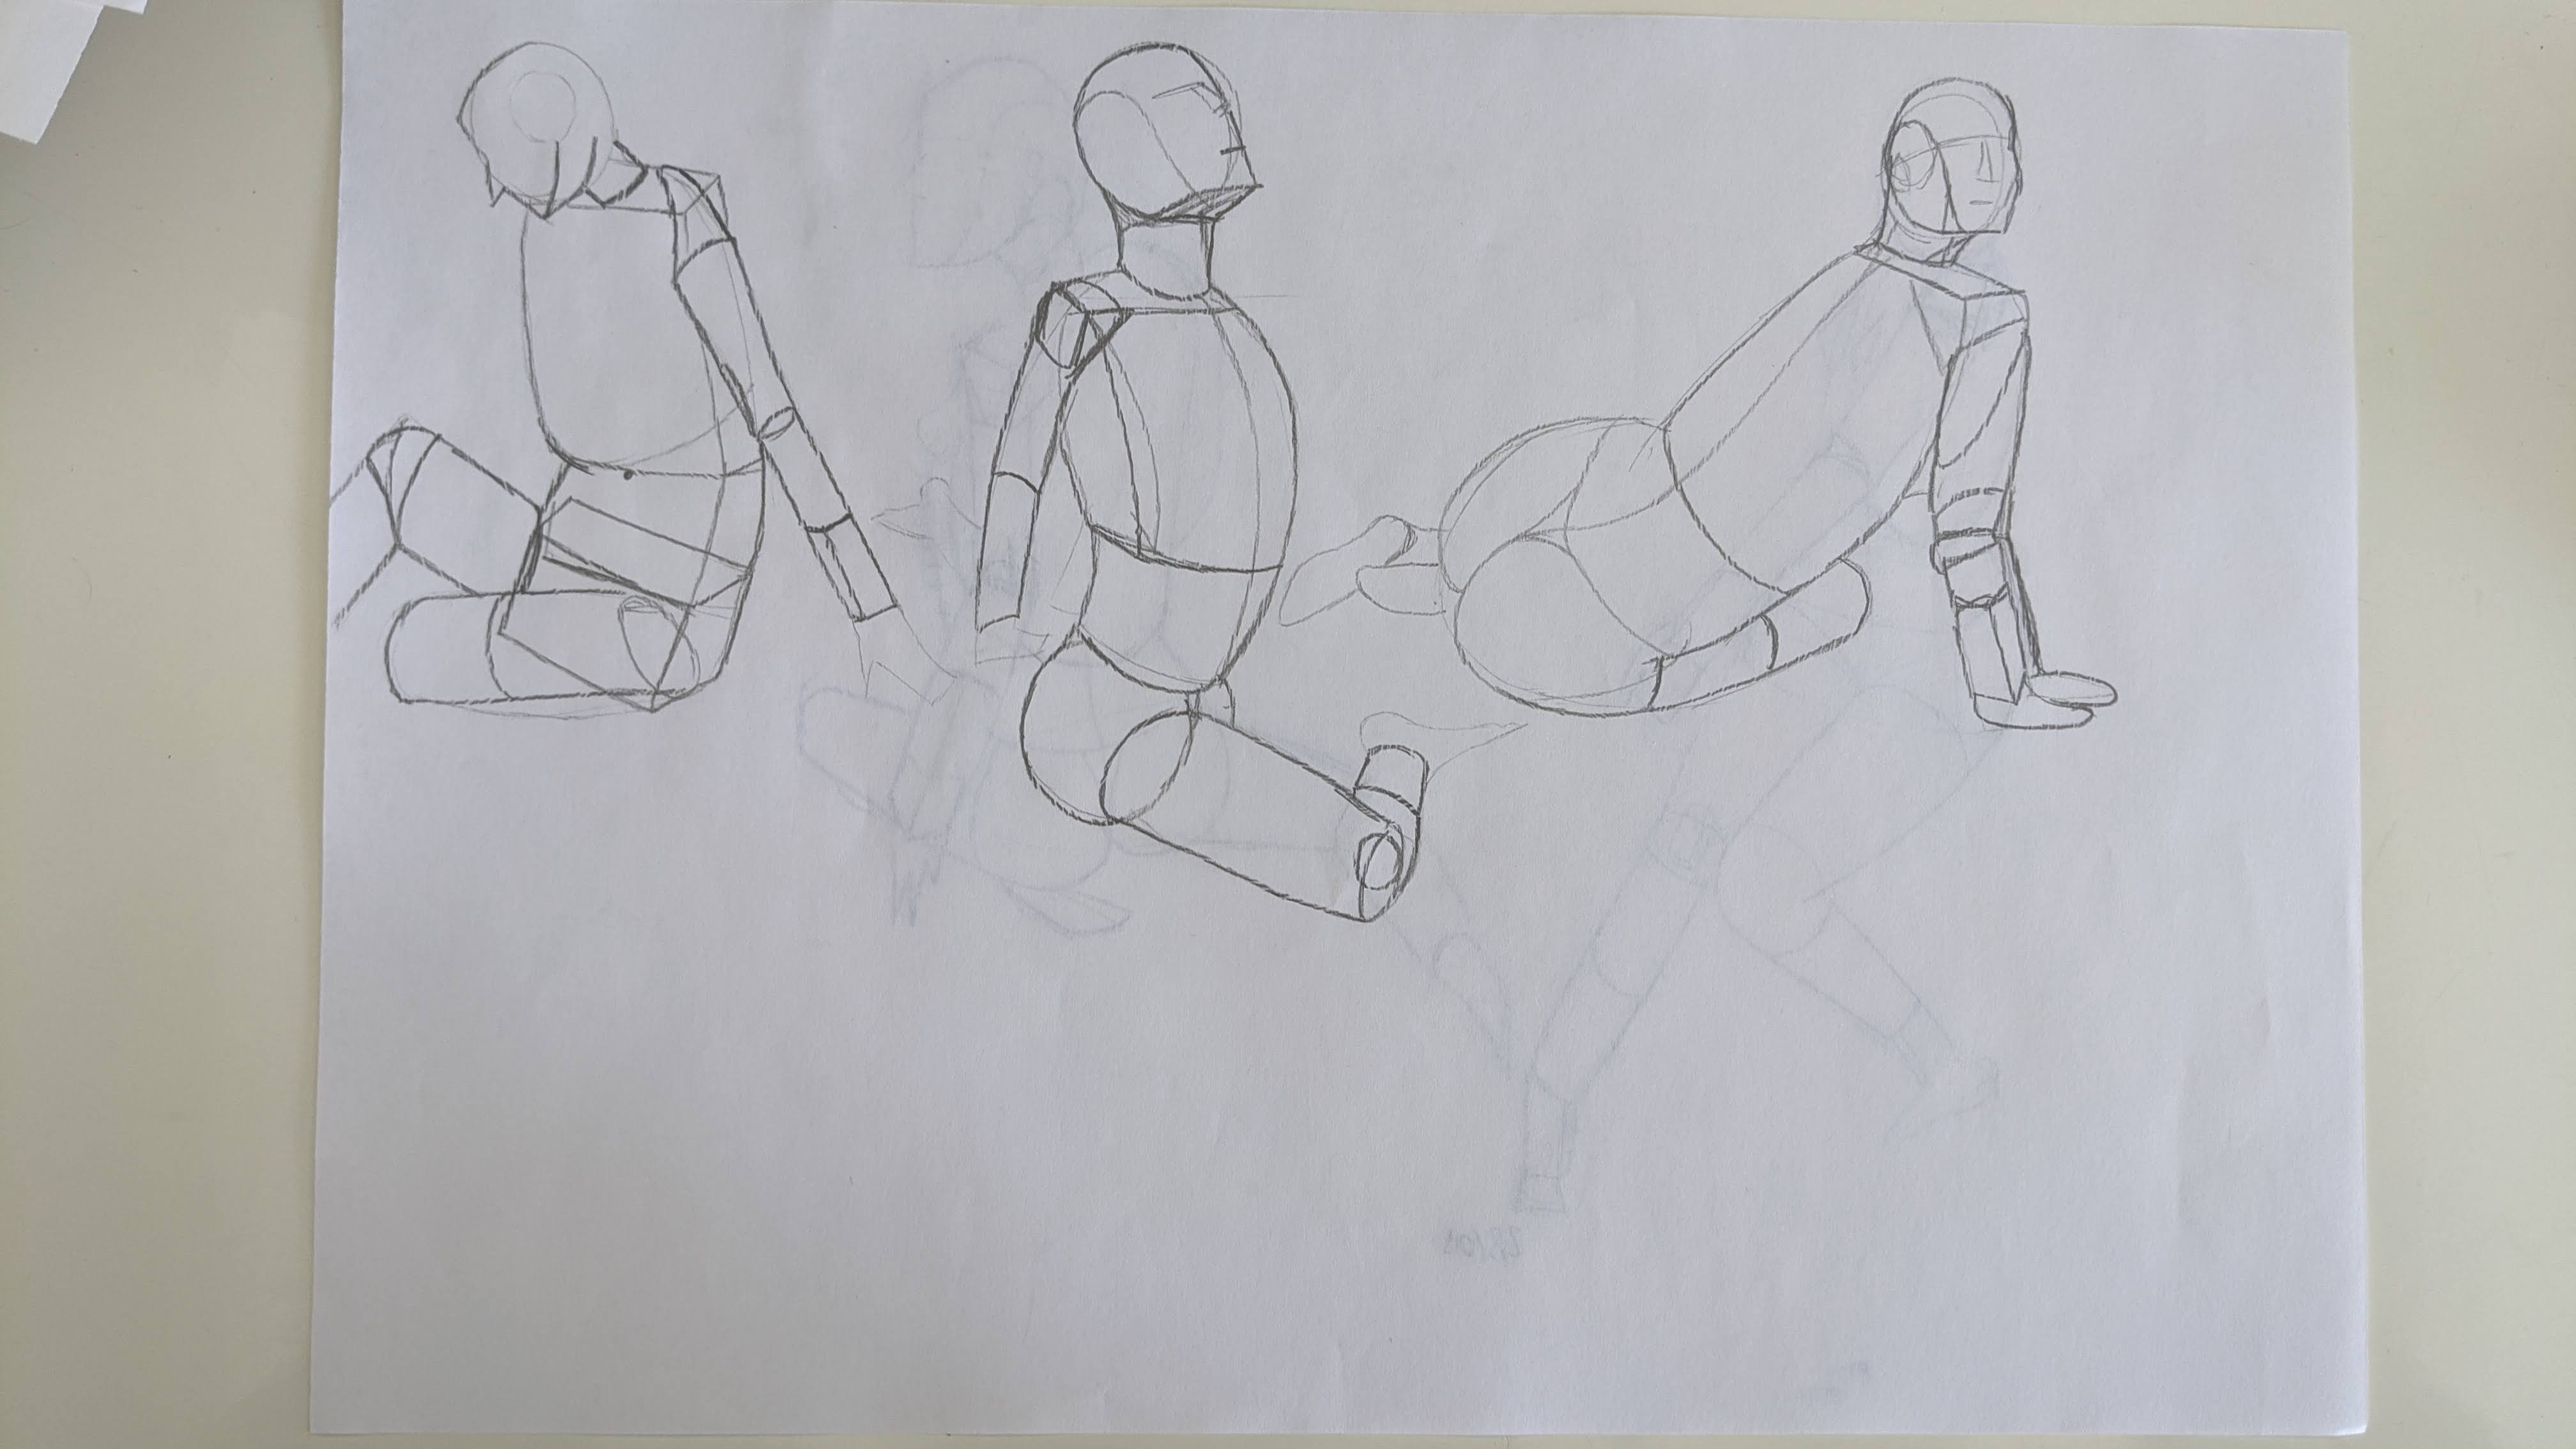
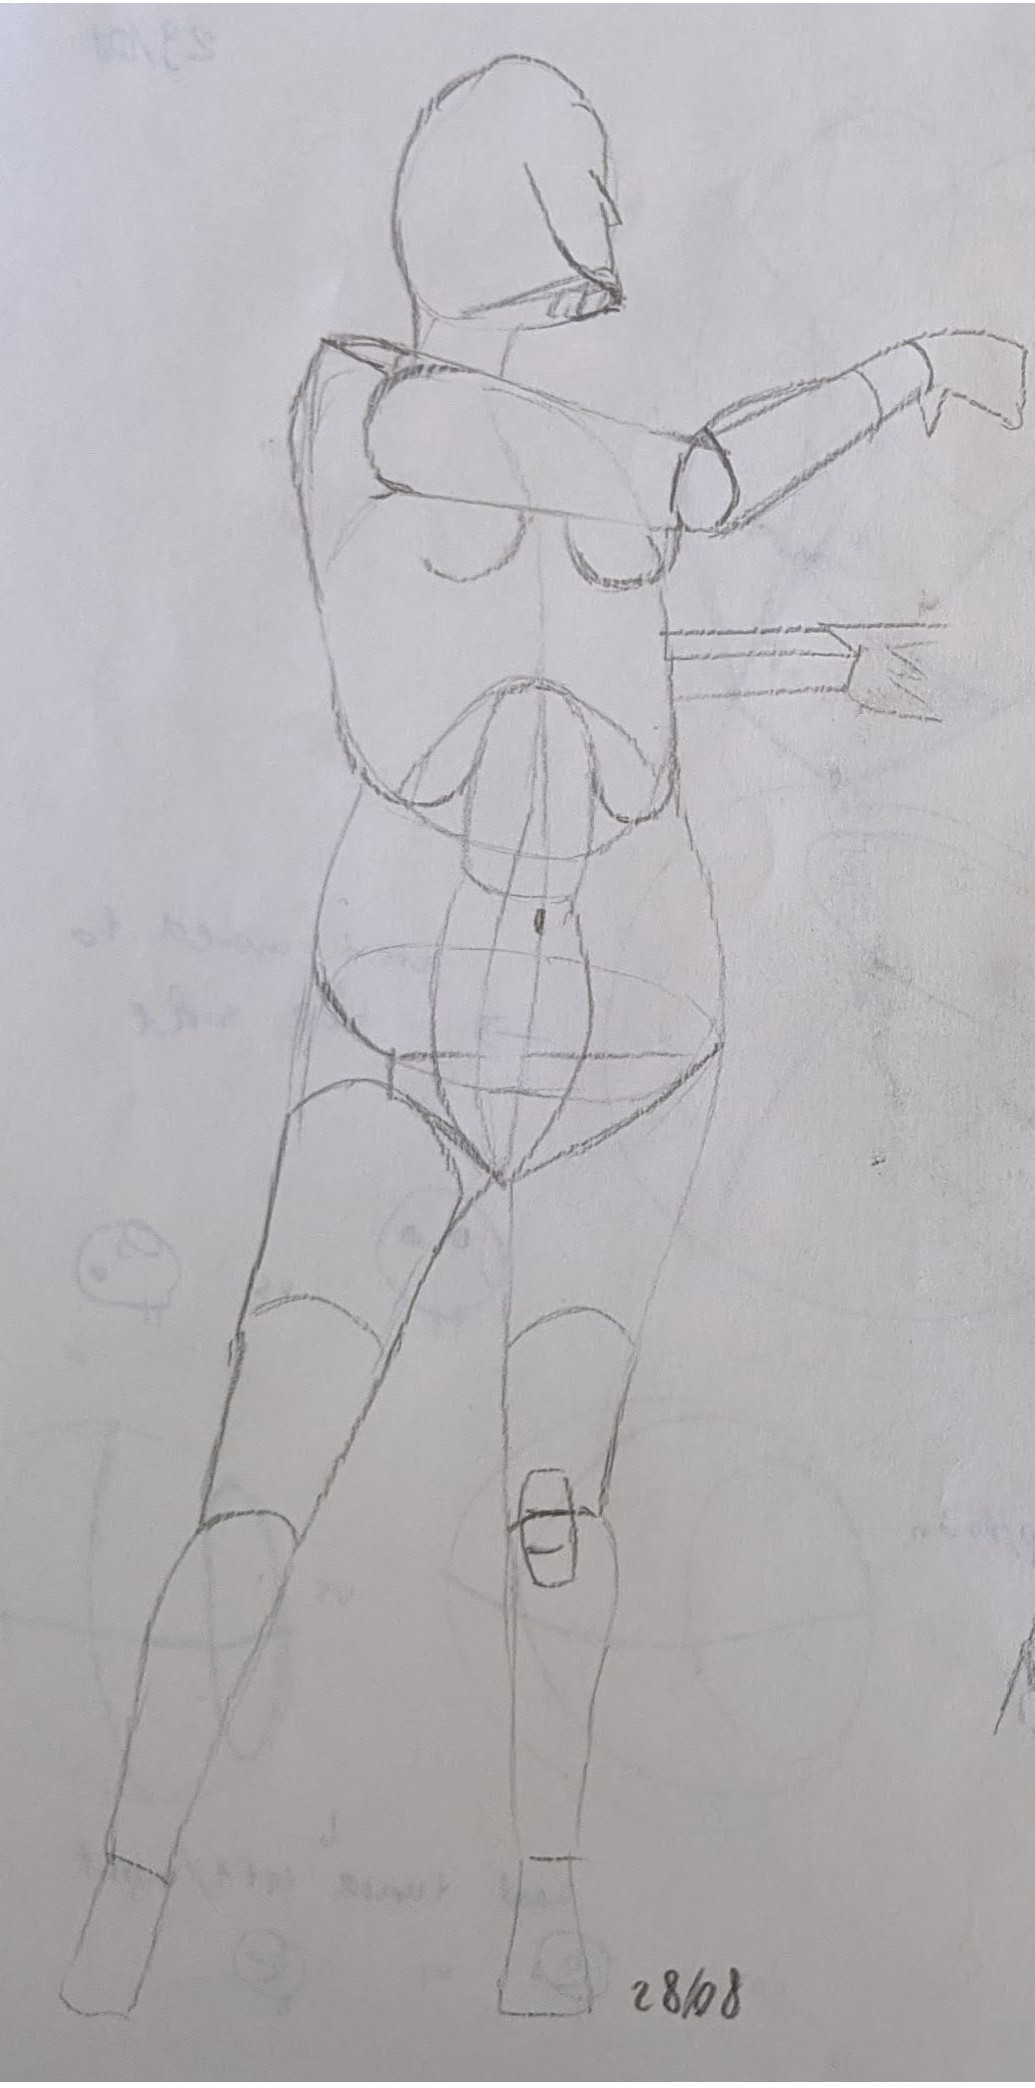
Gesture
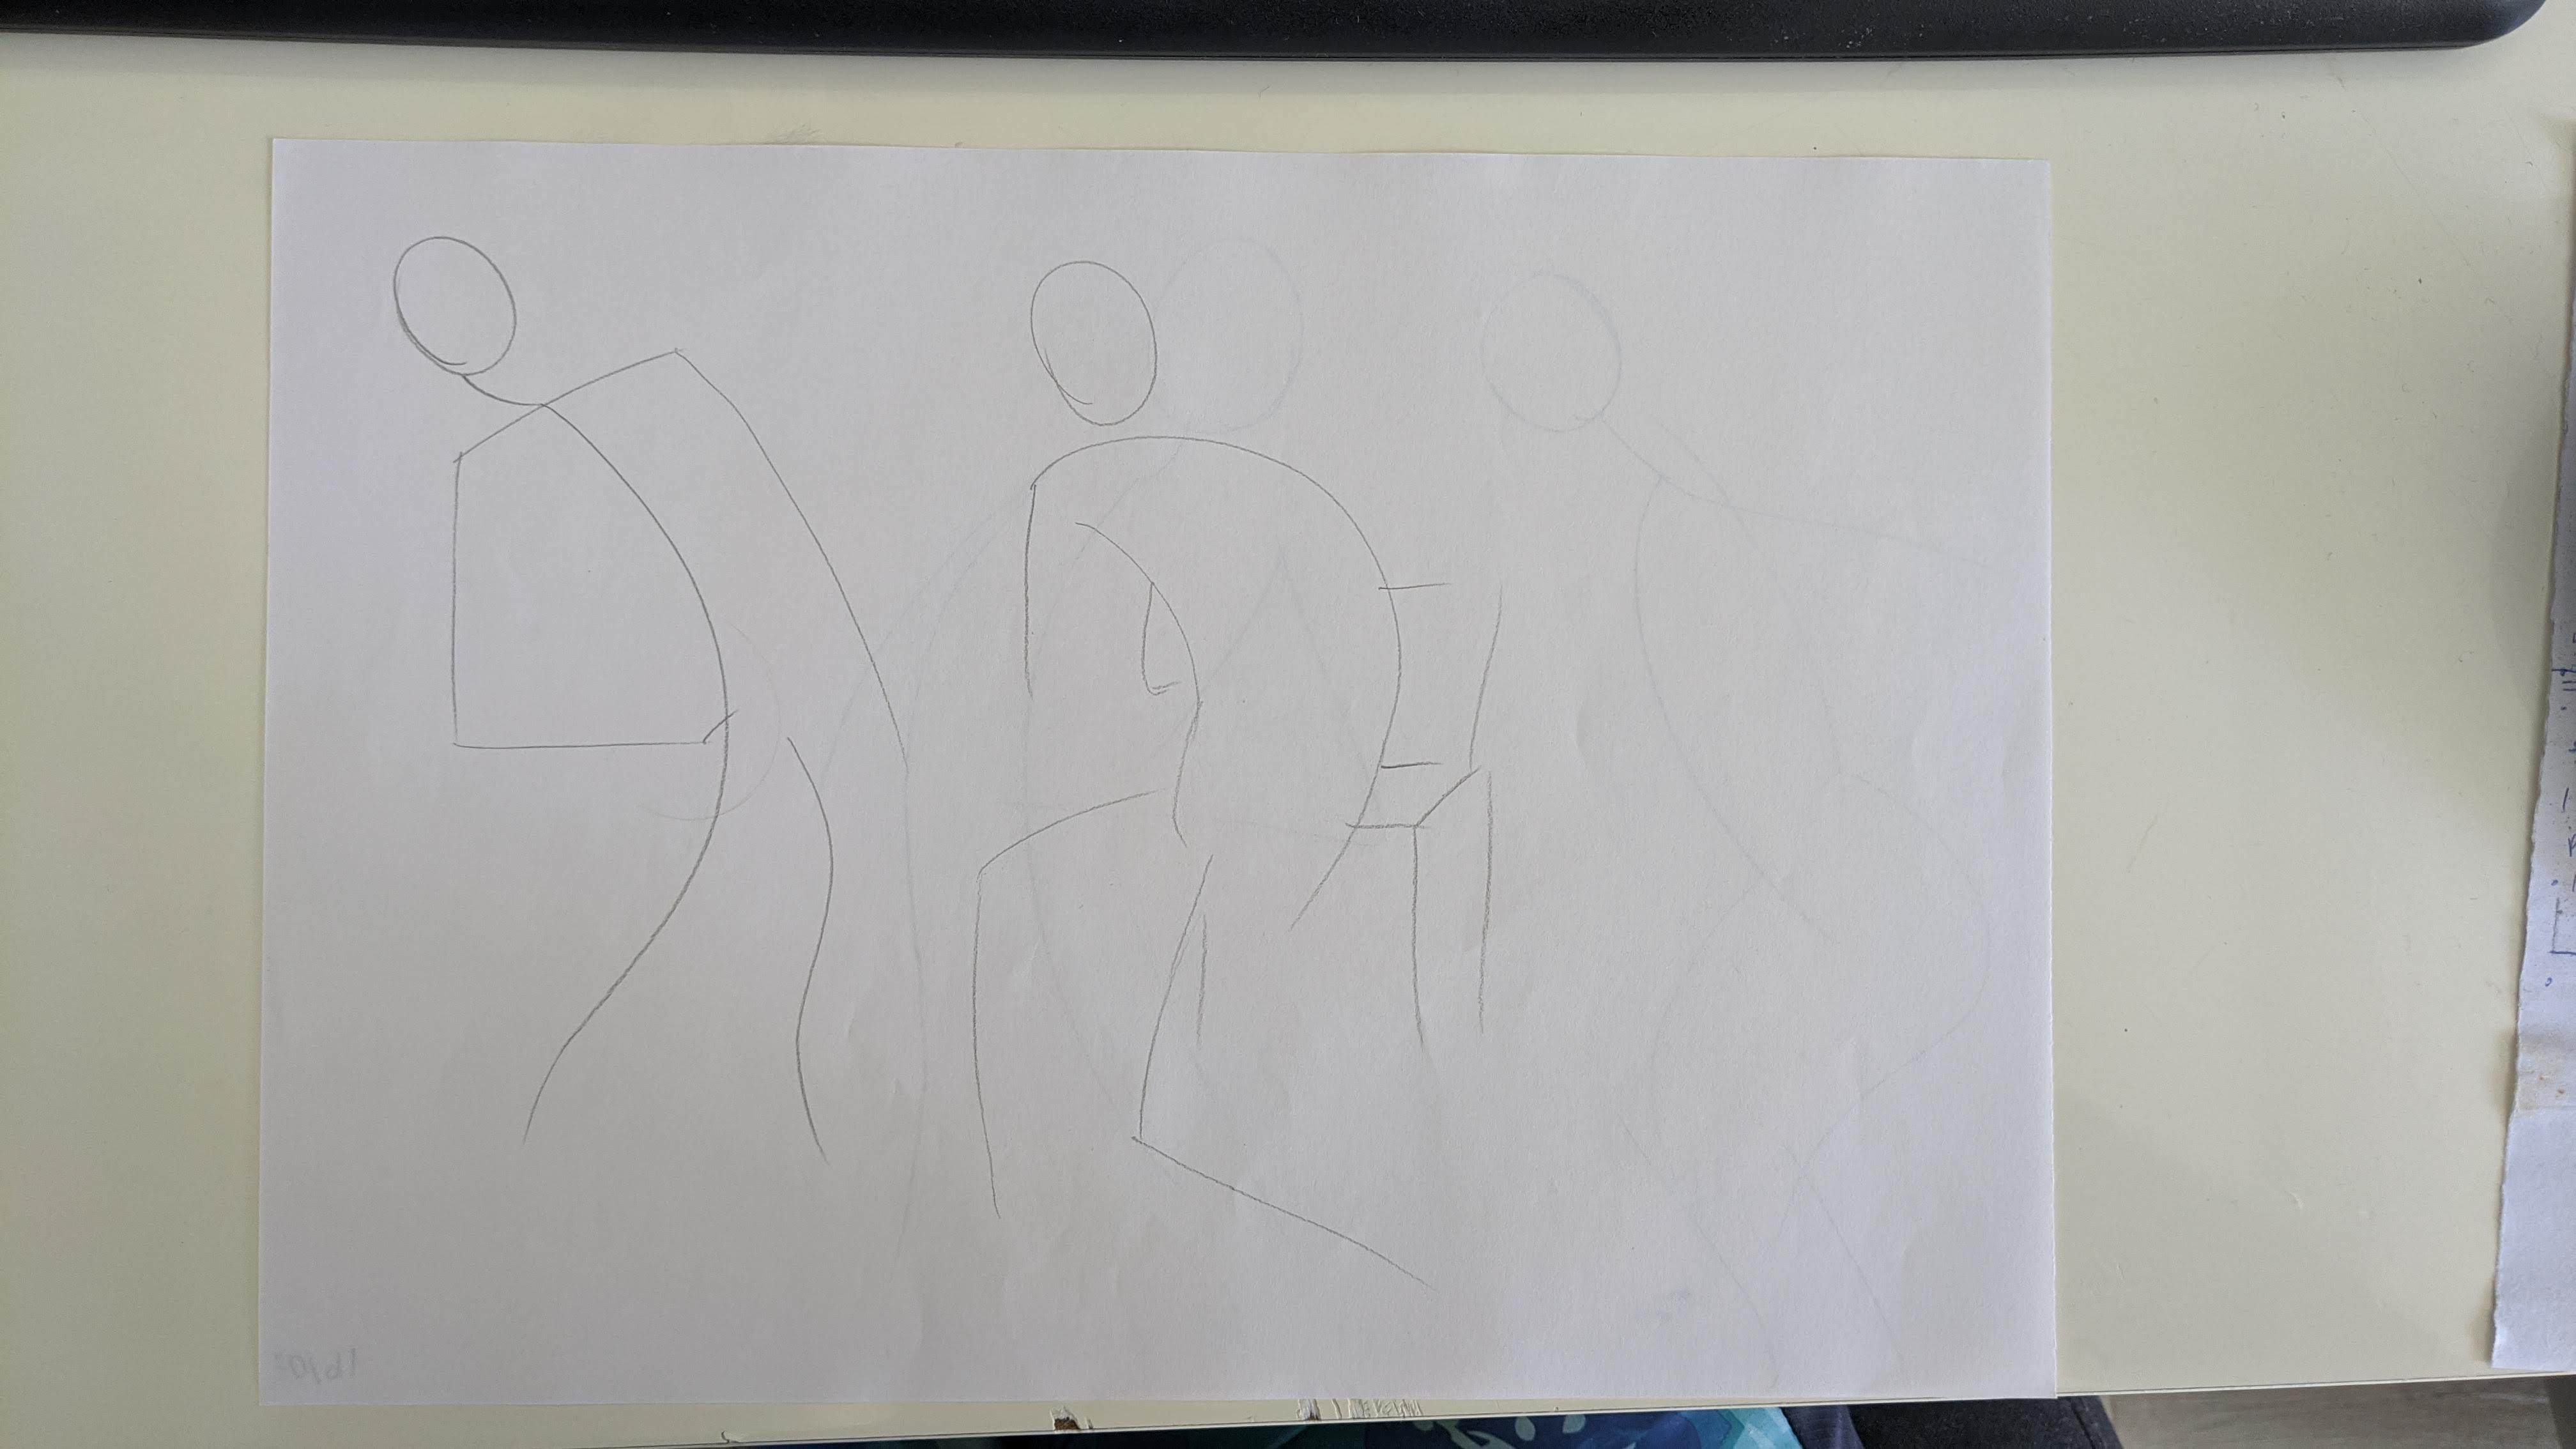
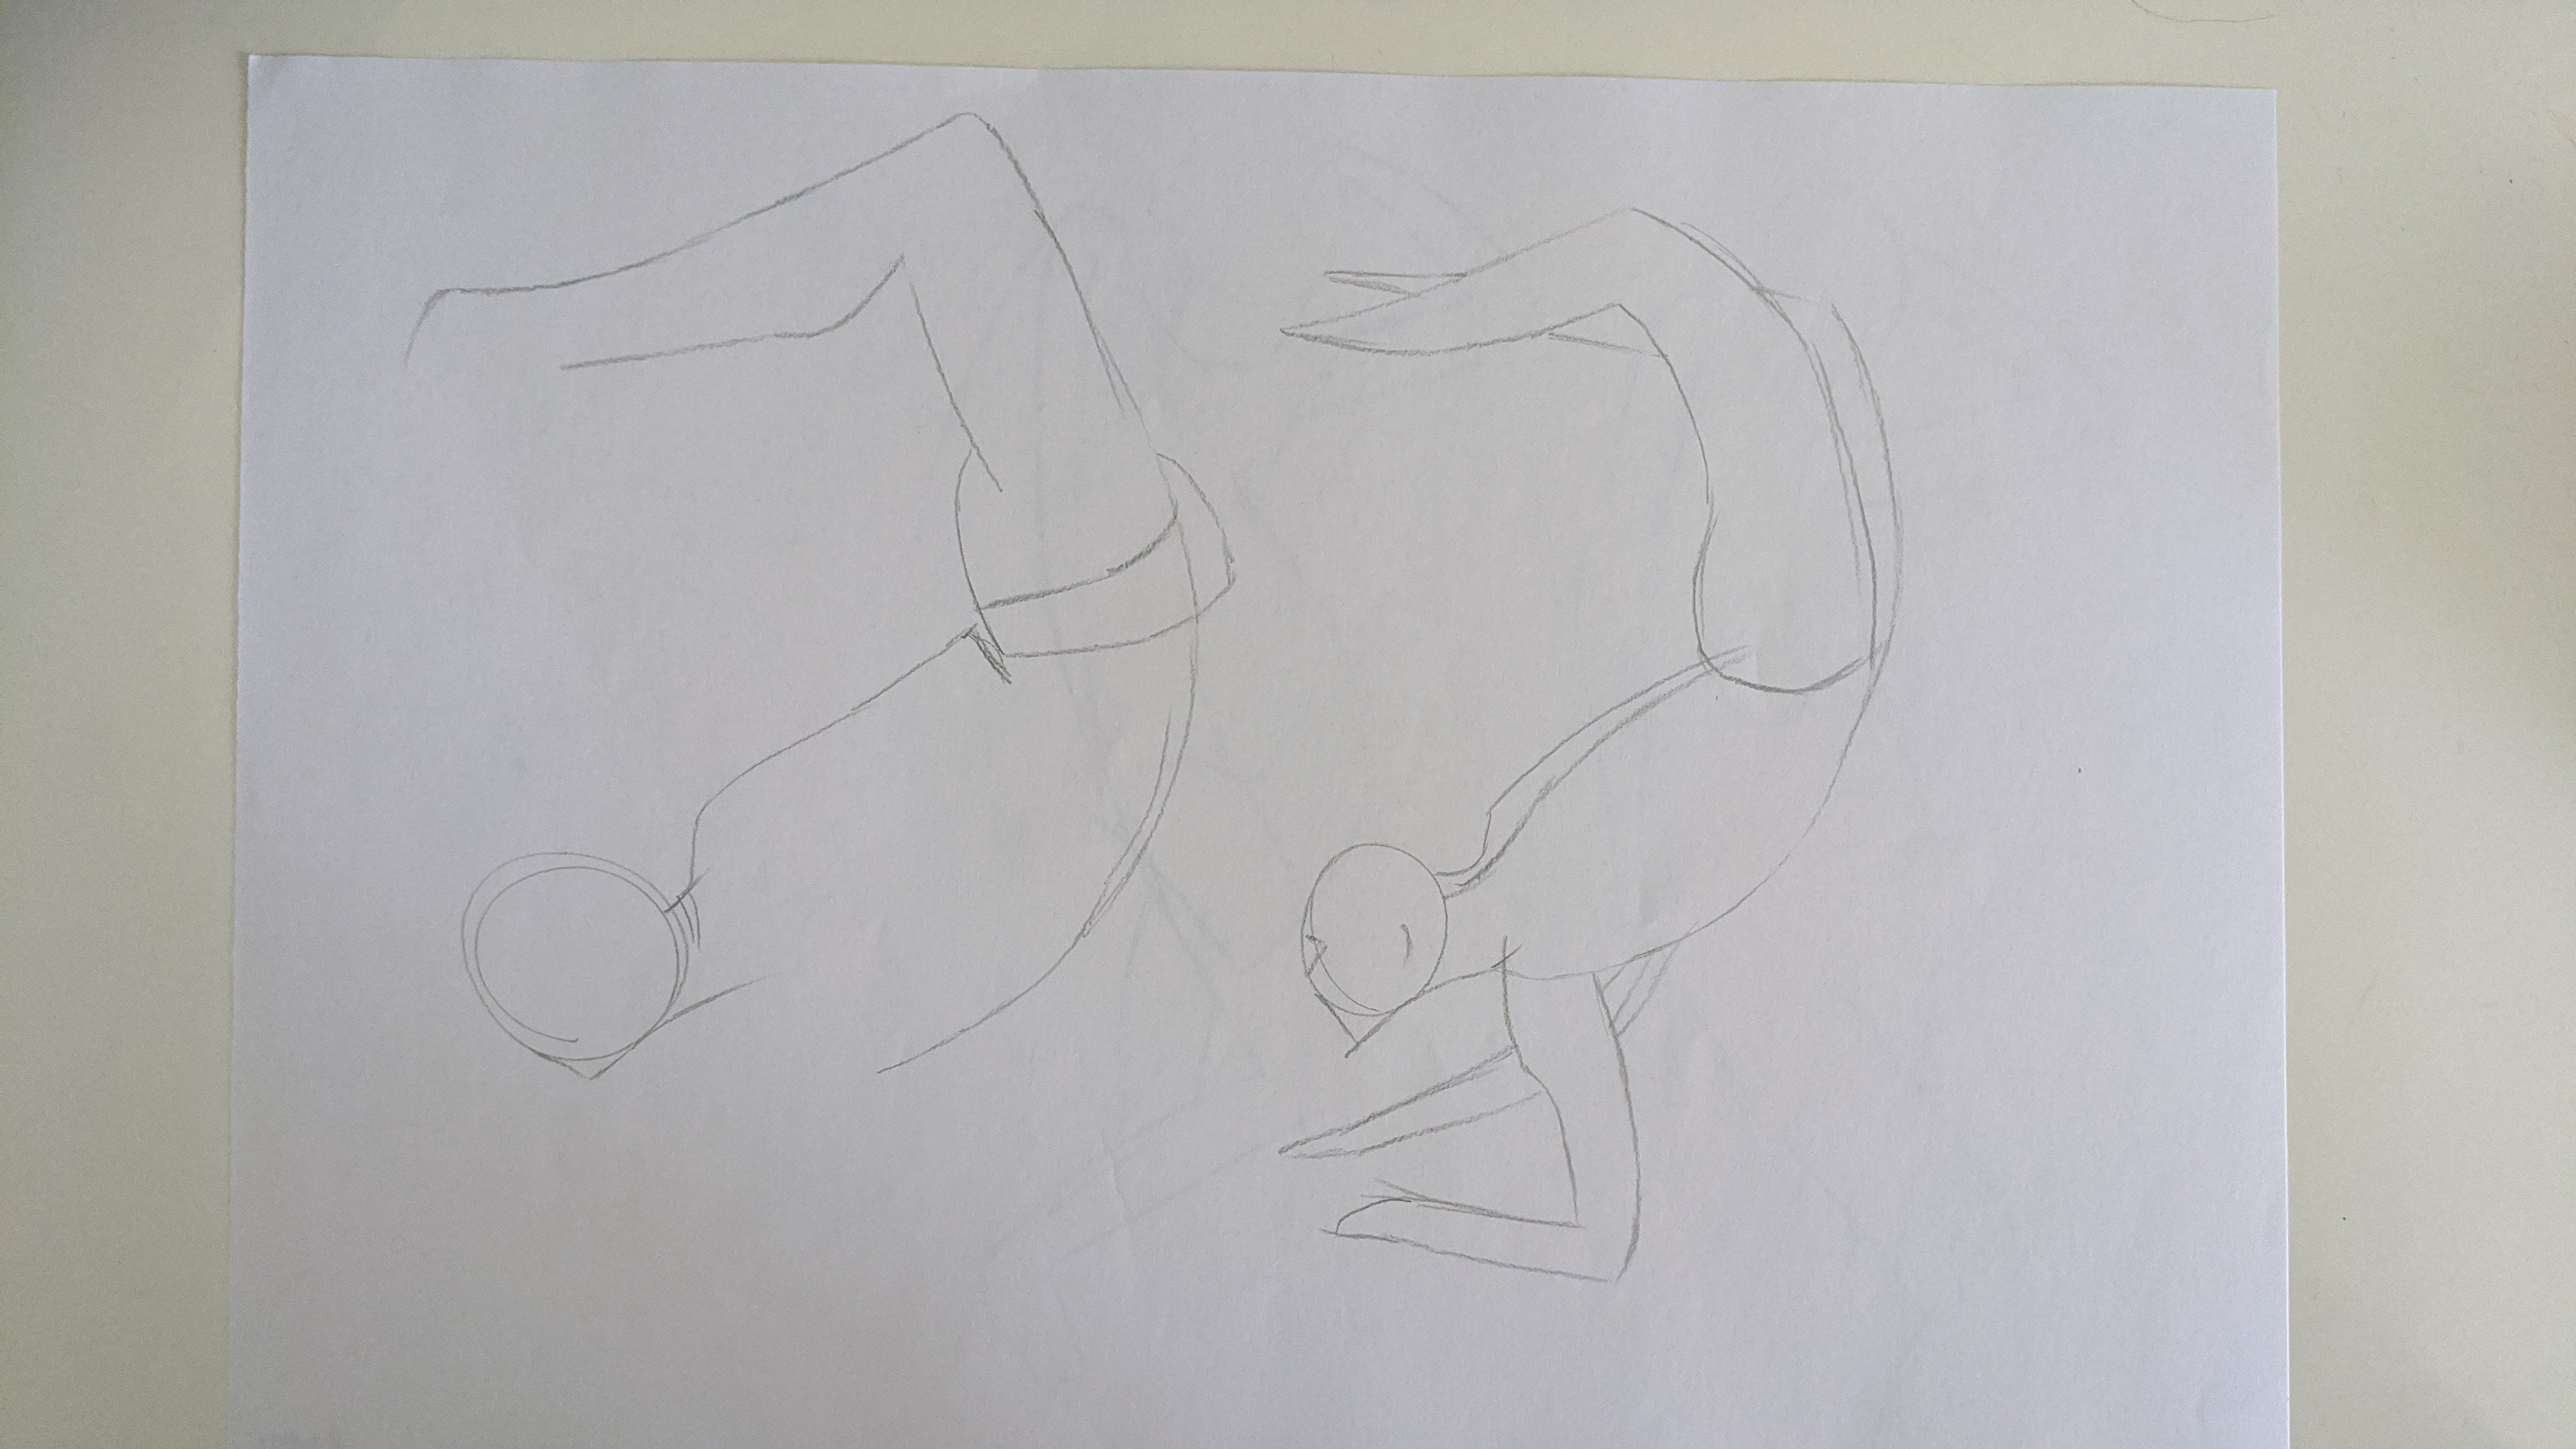
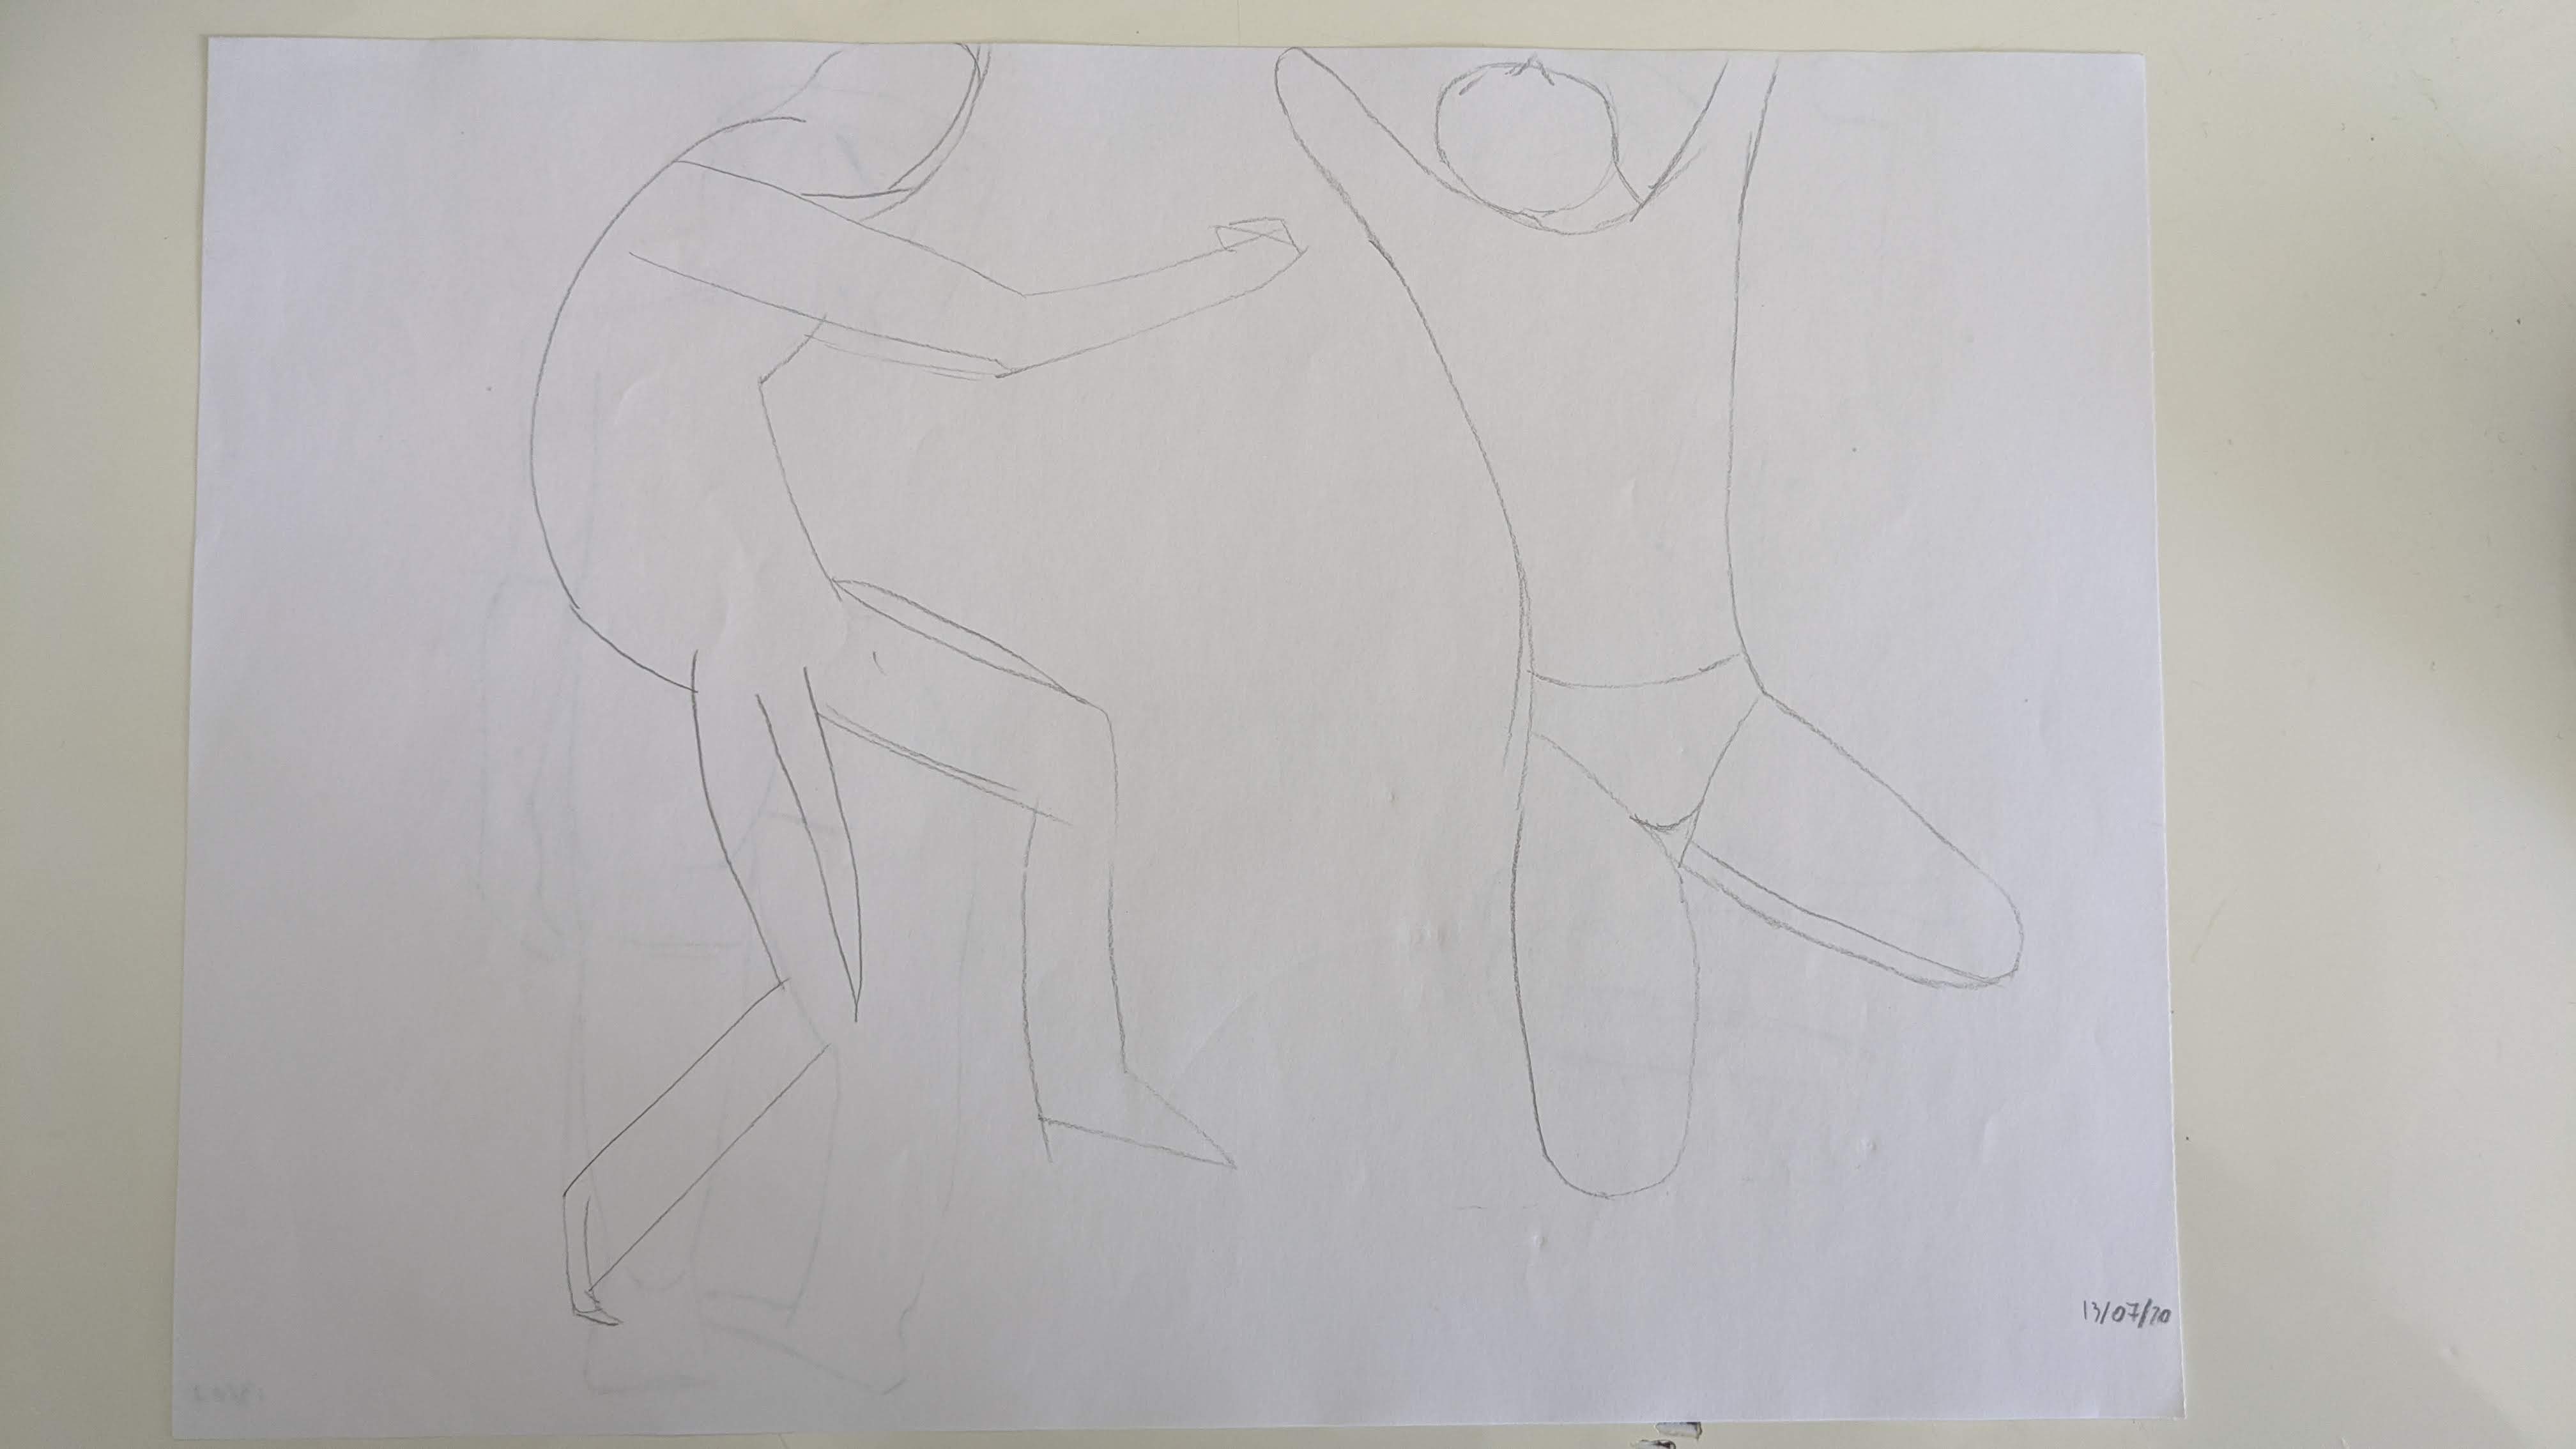
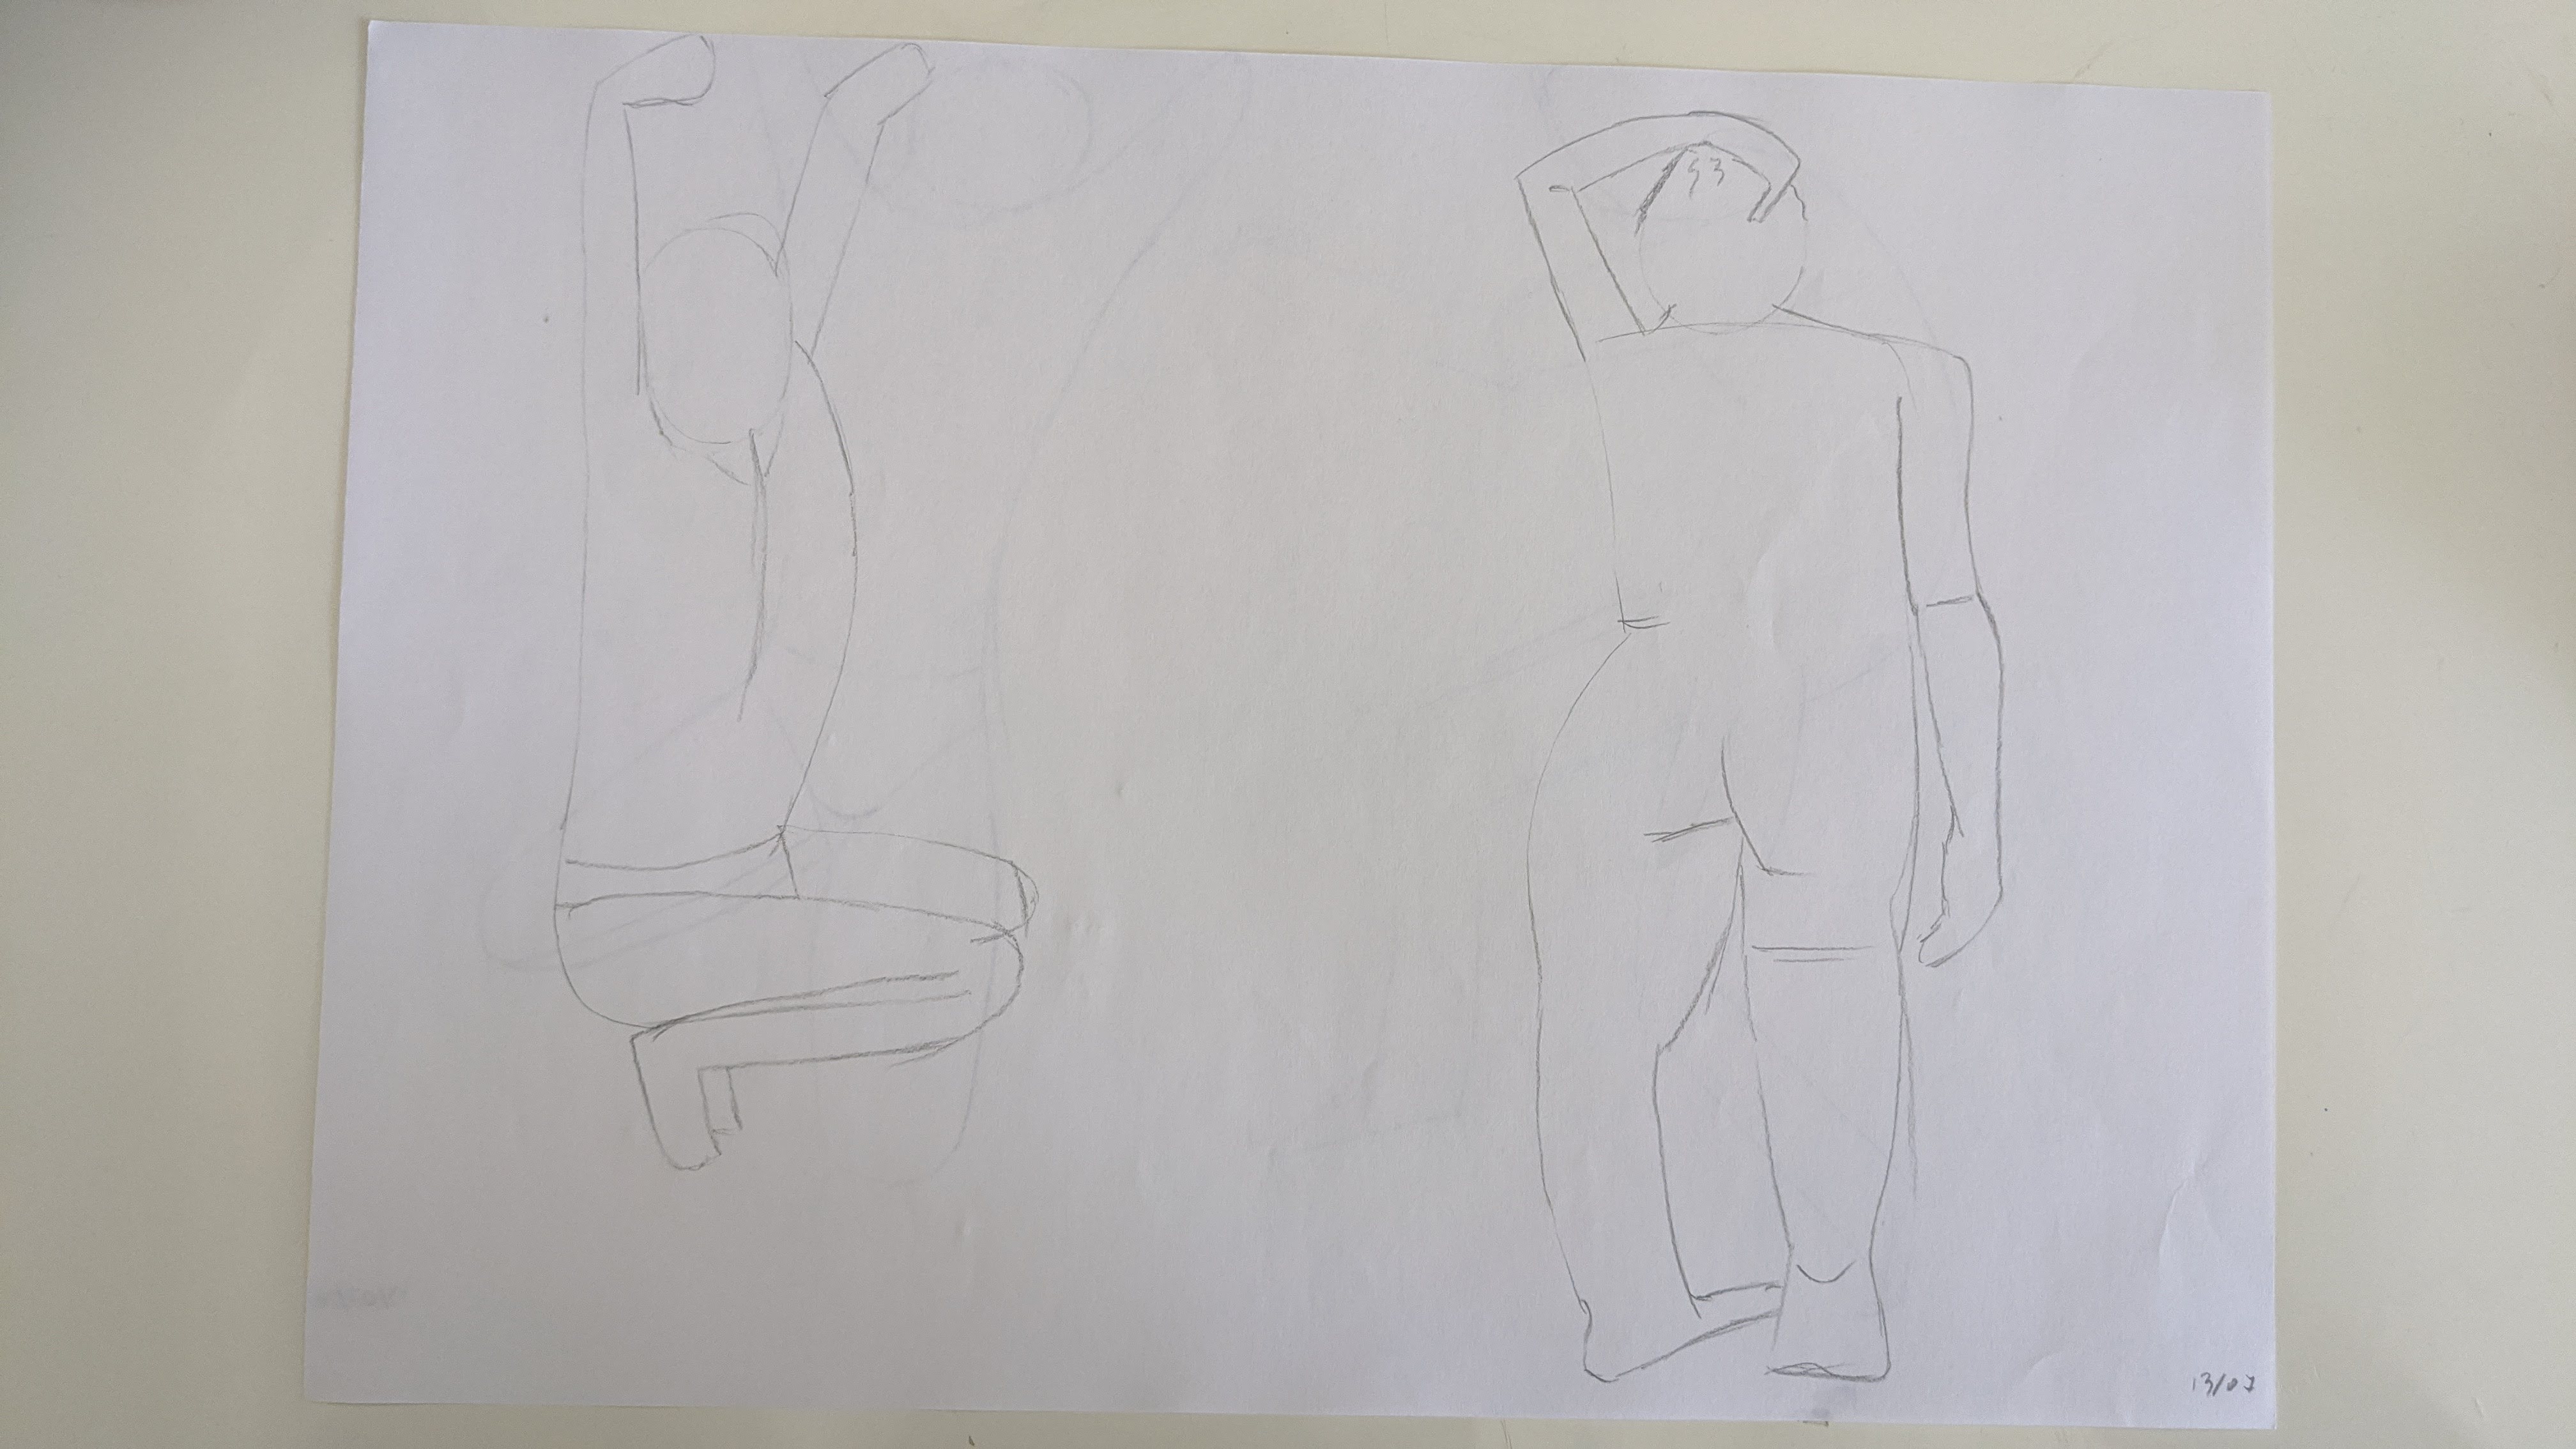
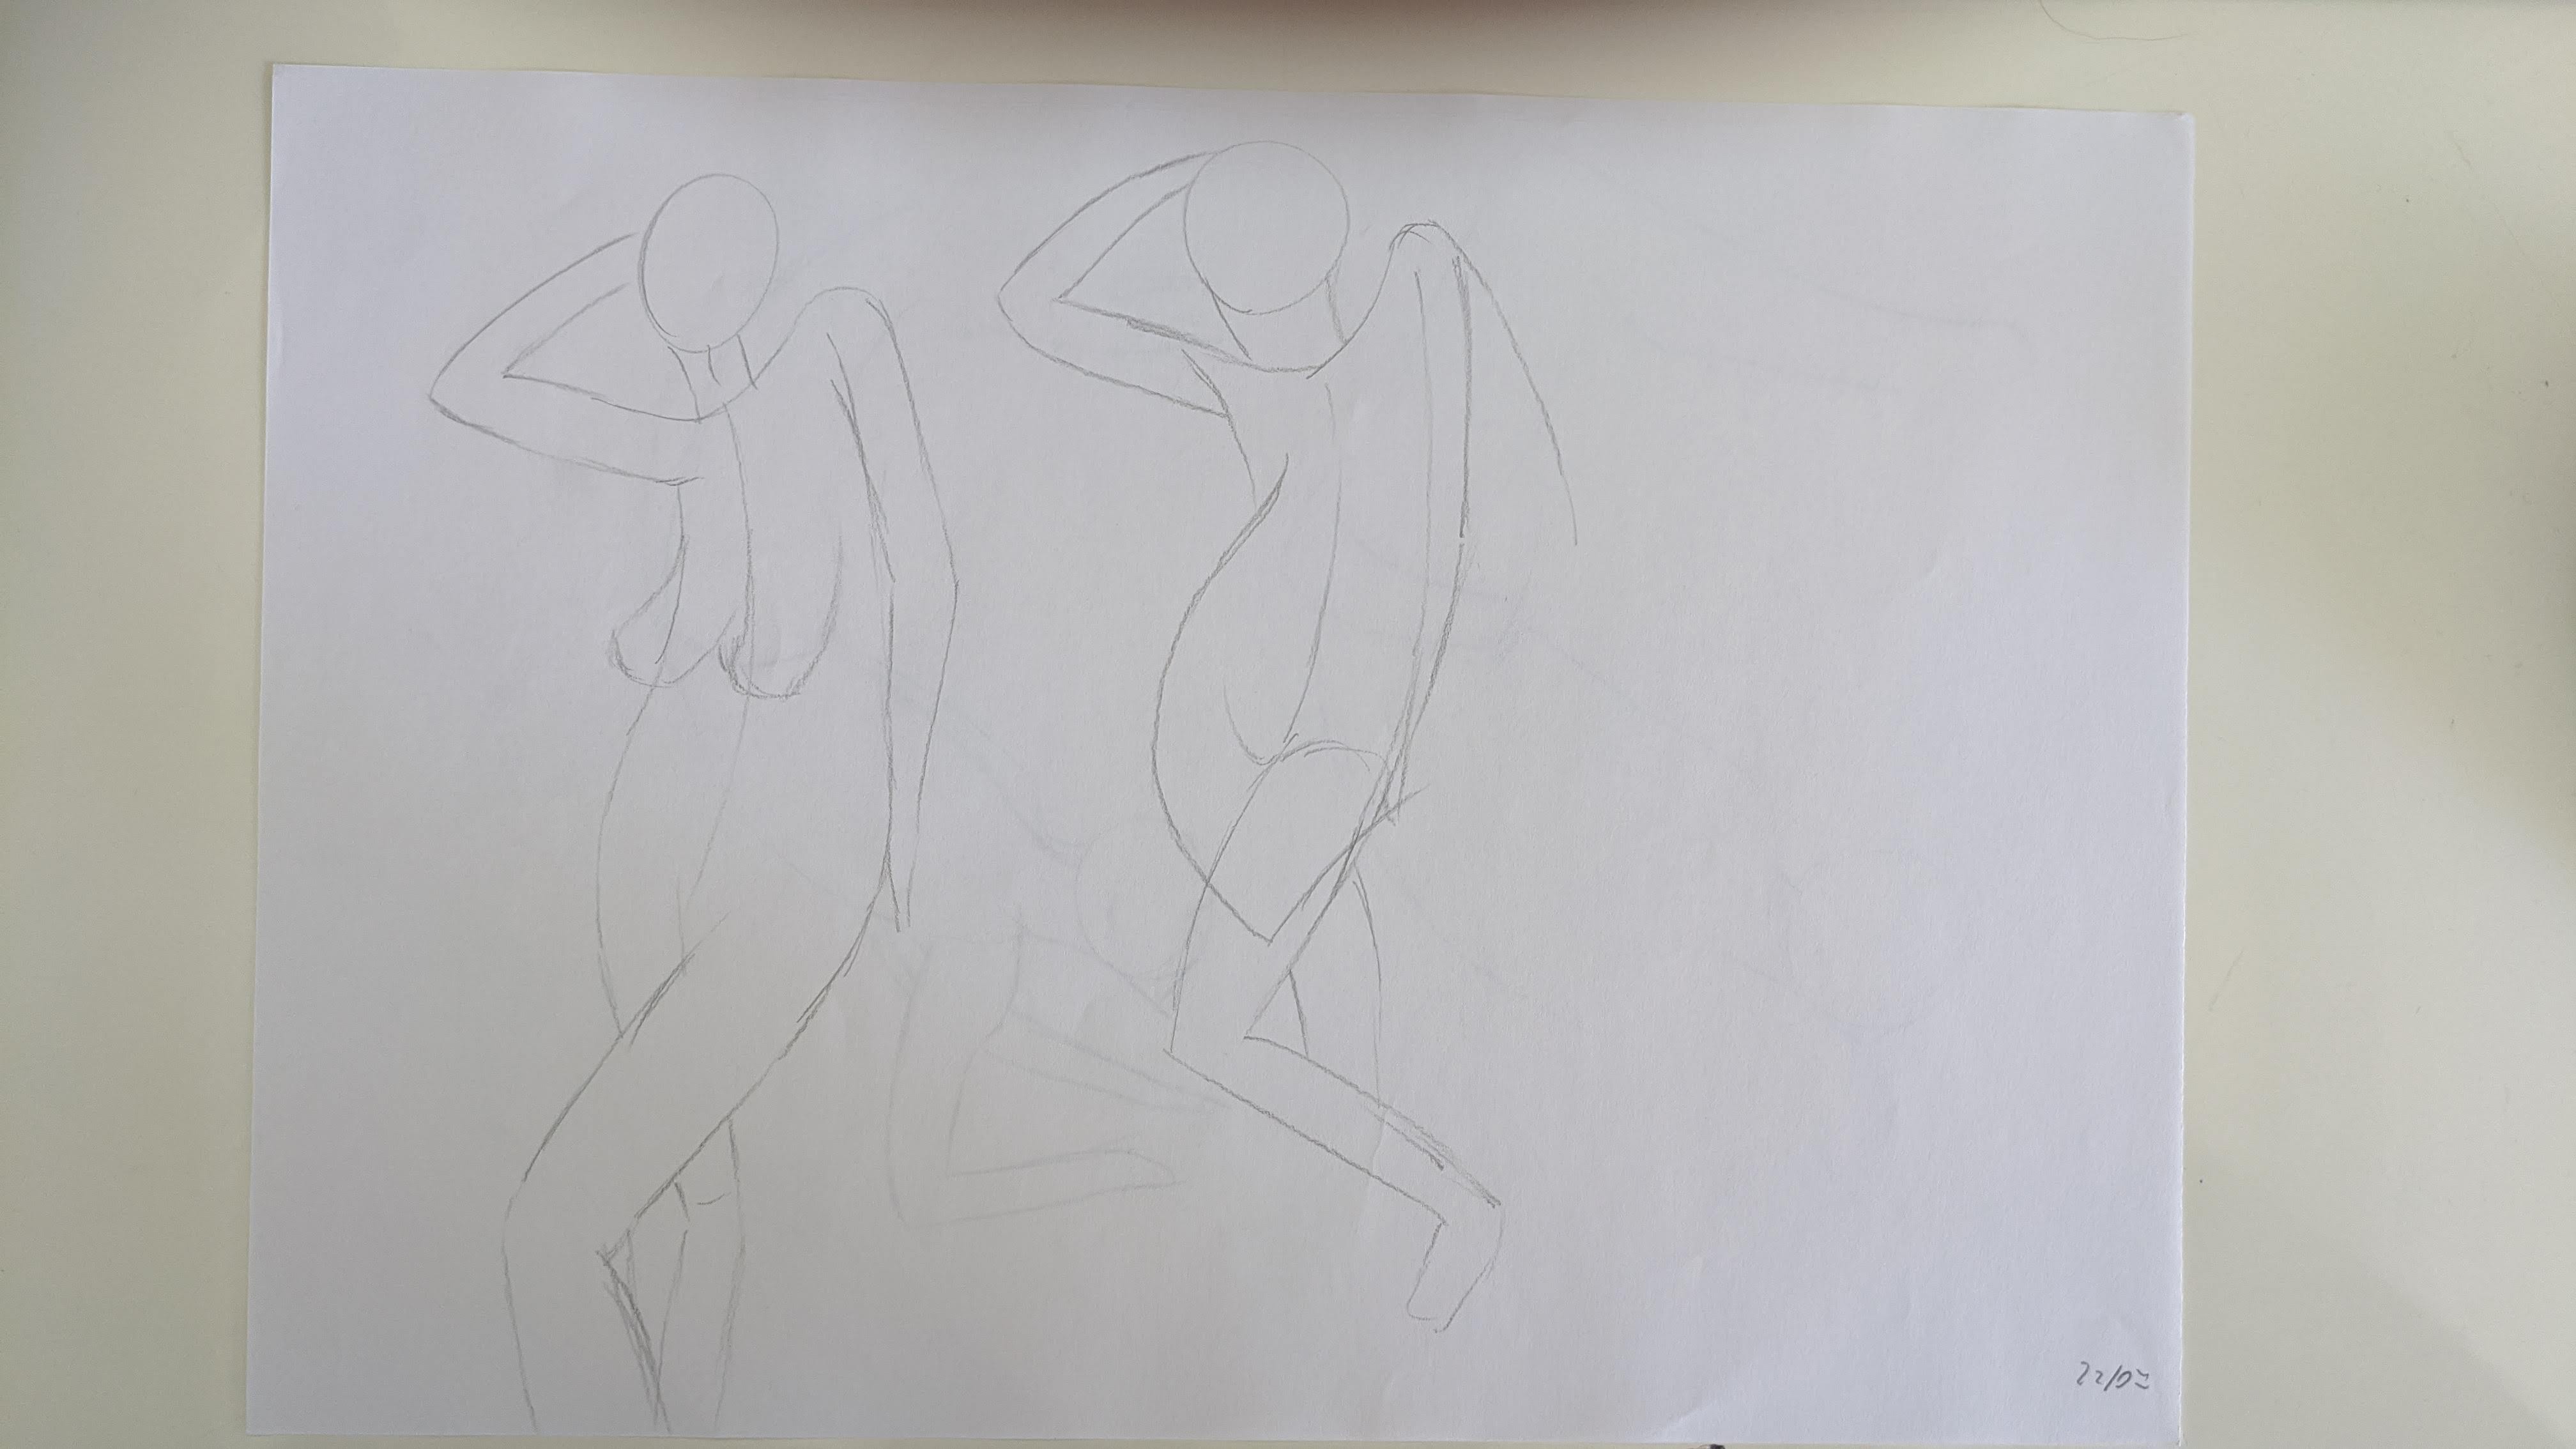
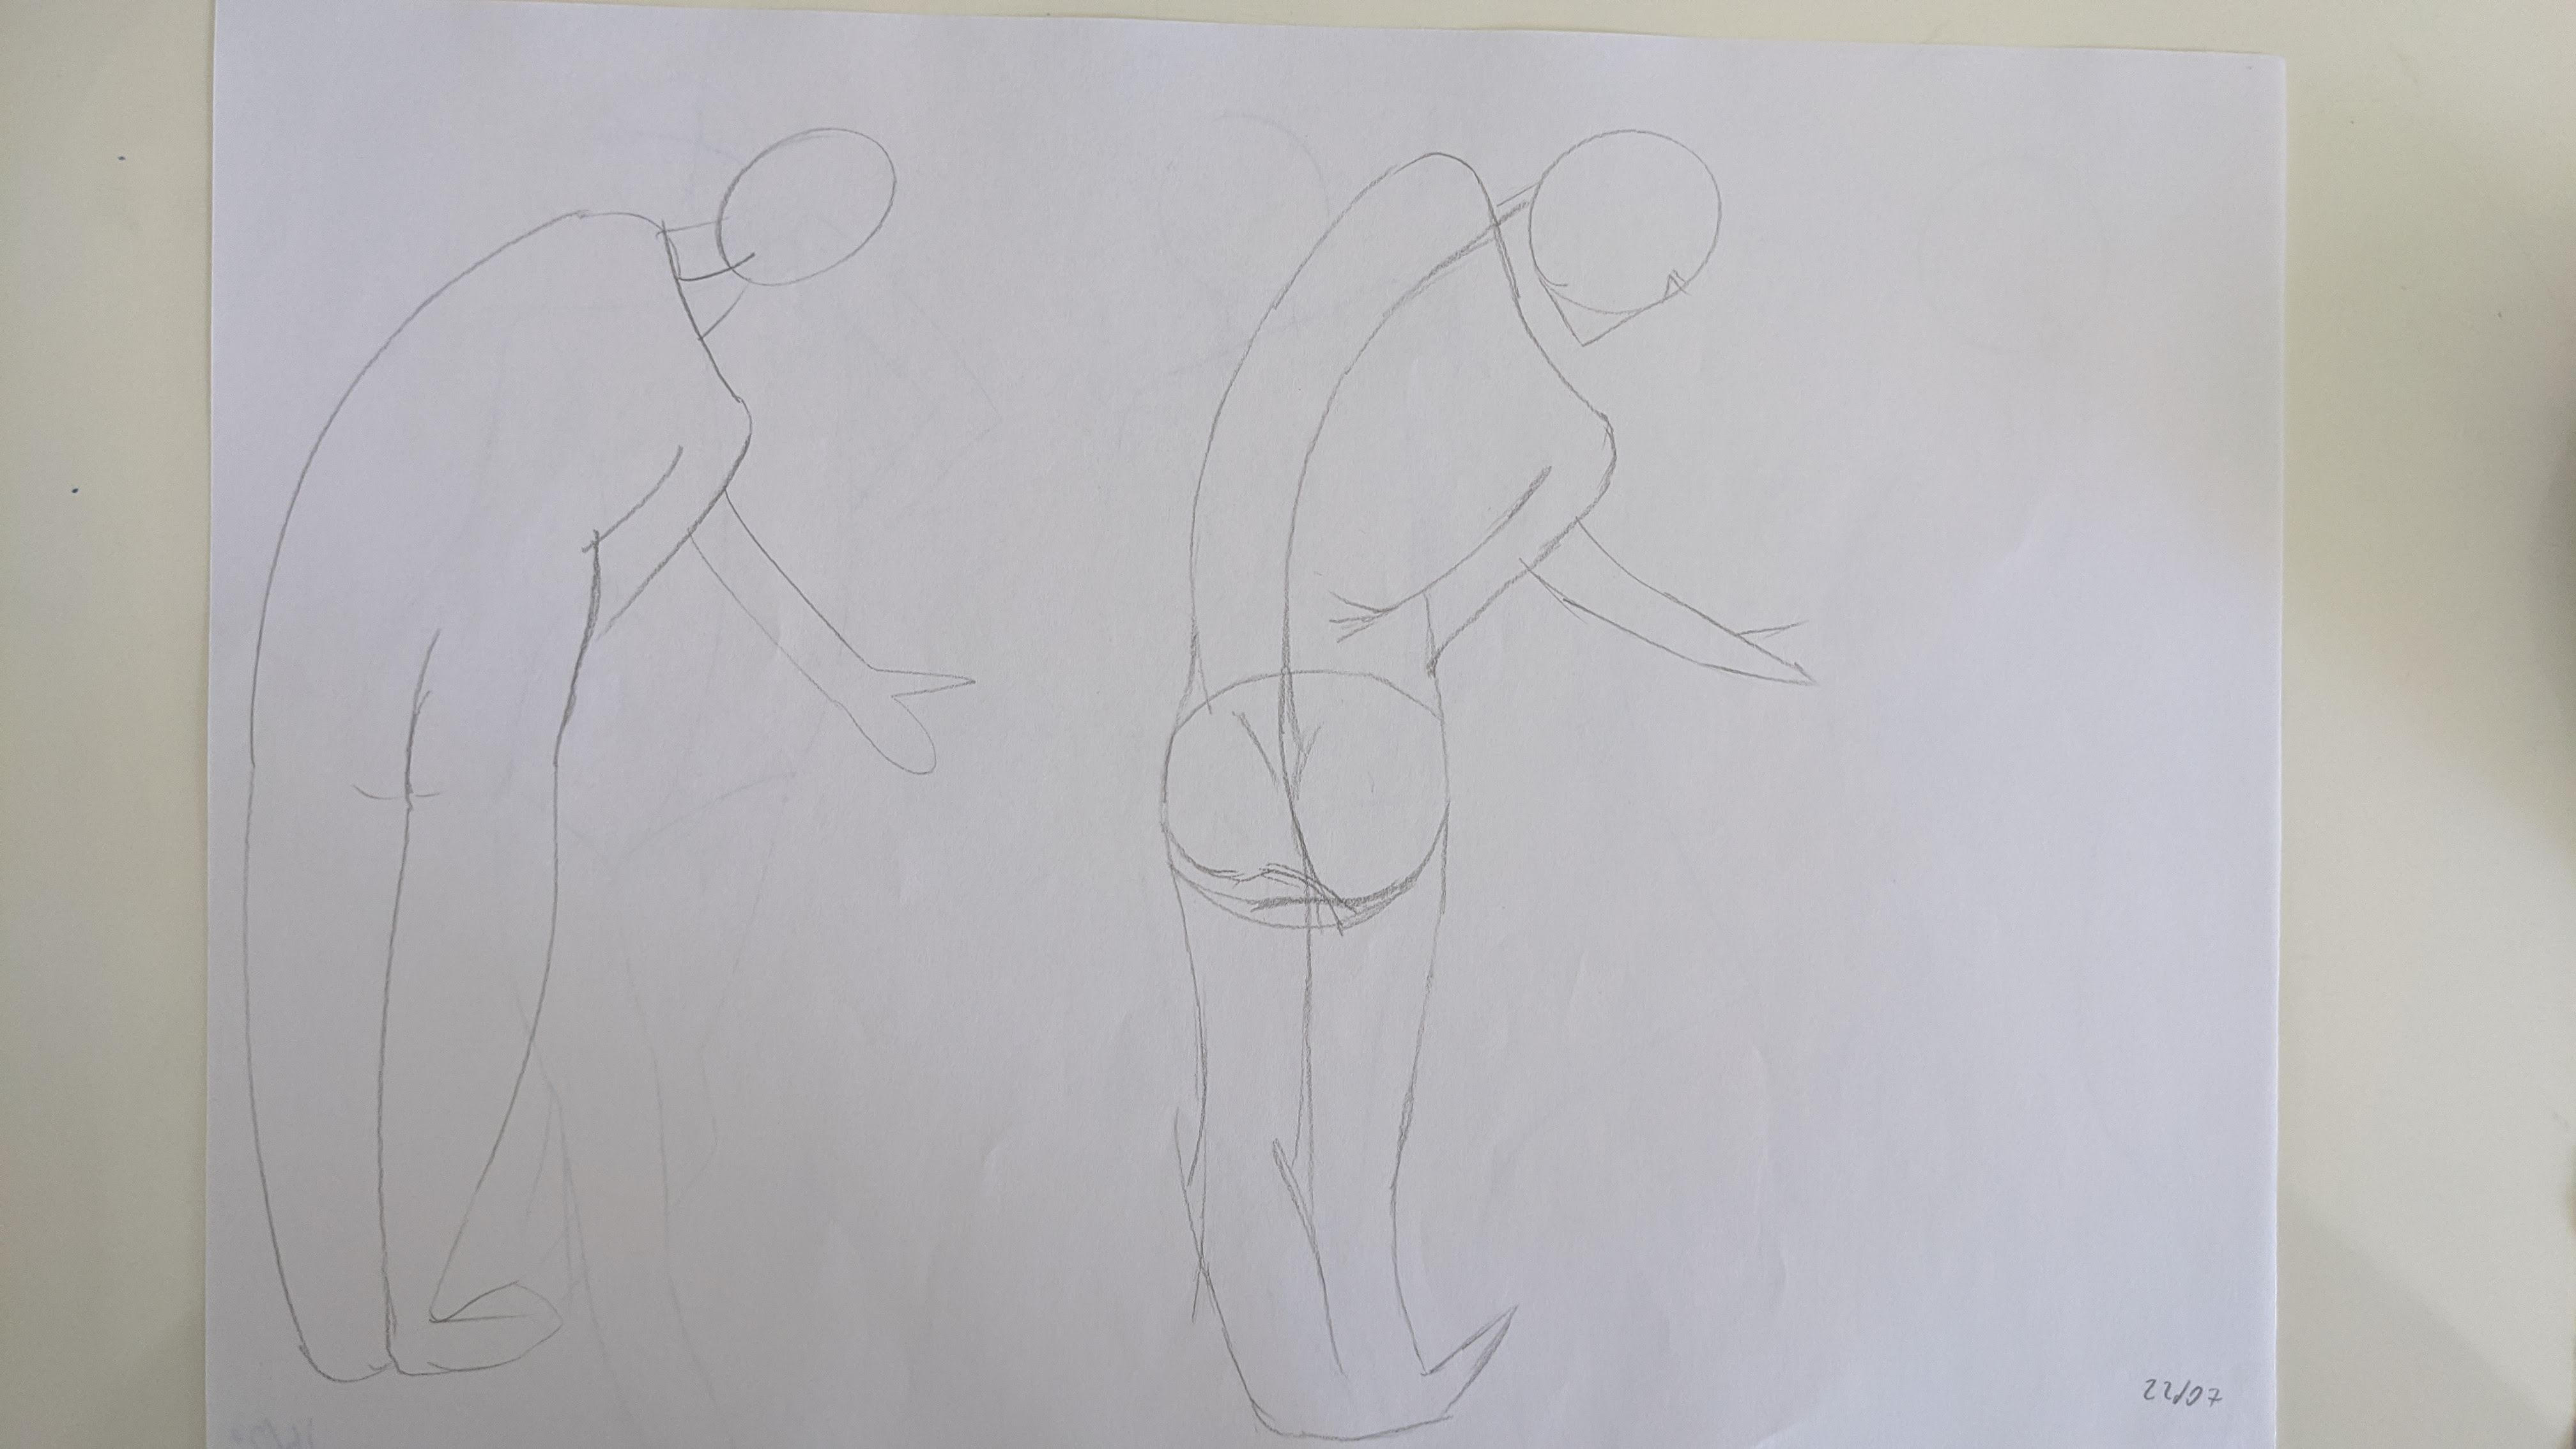
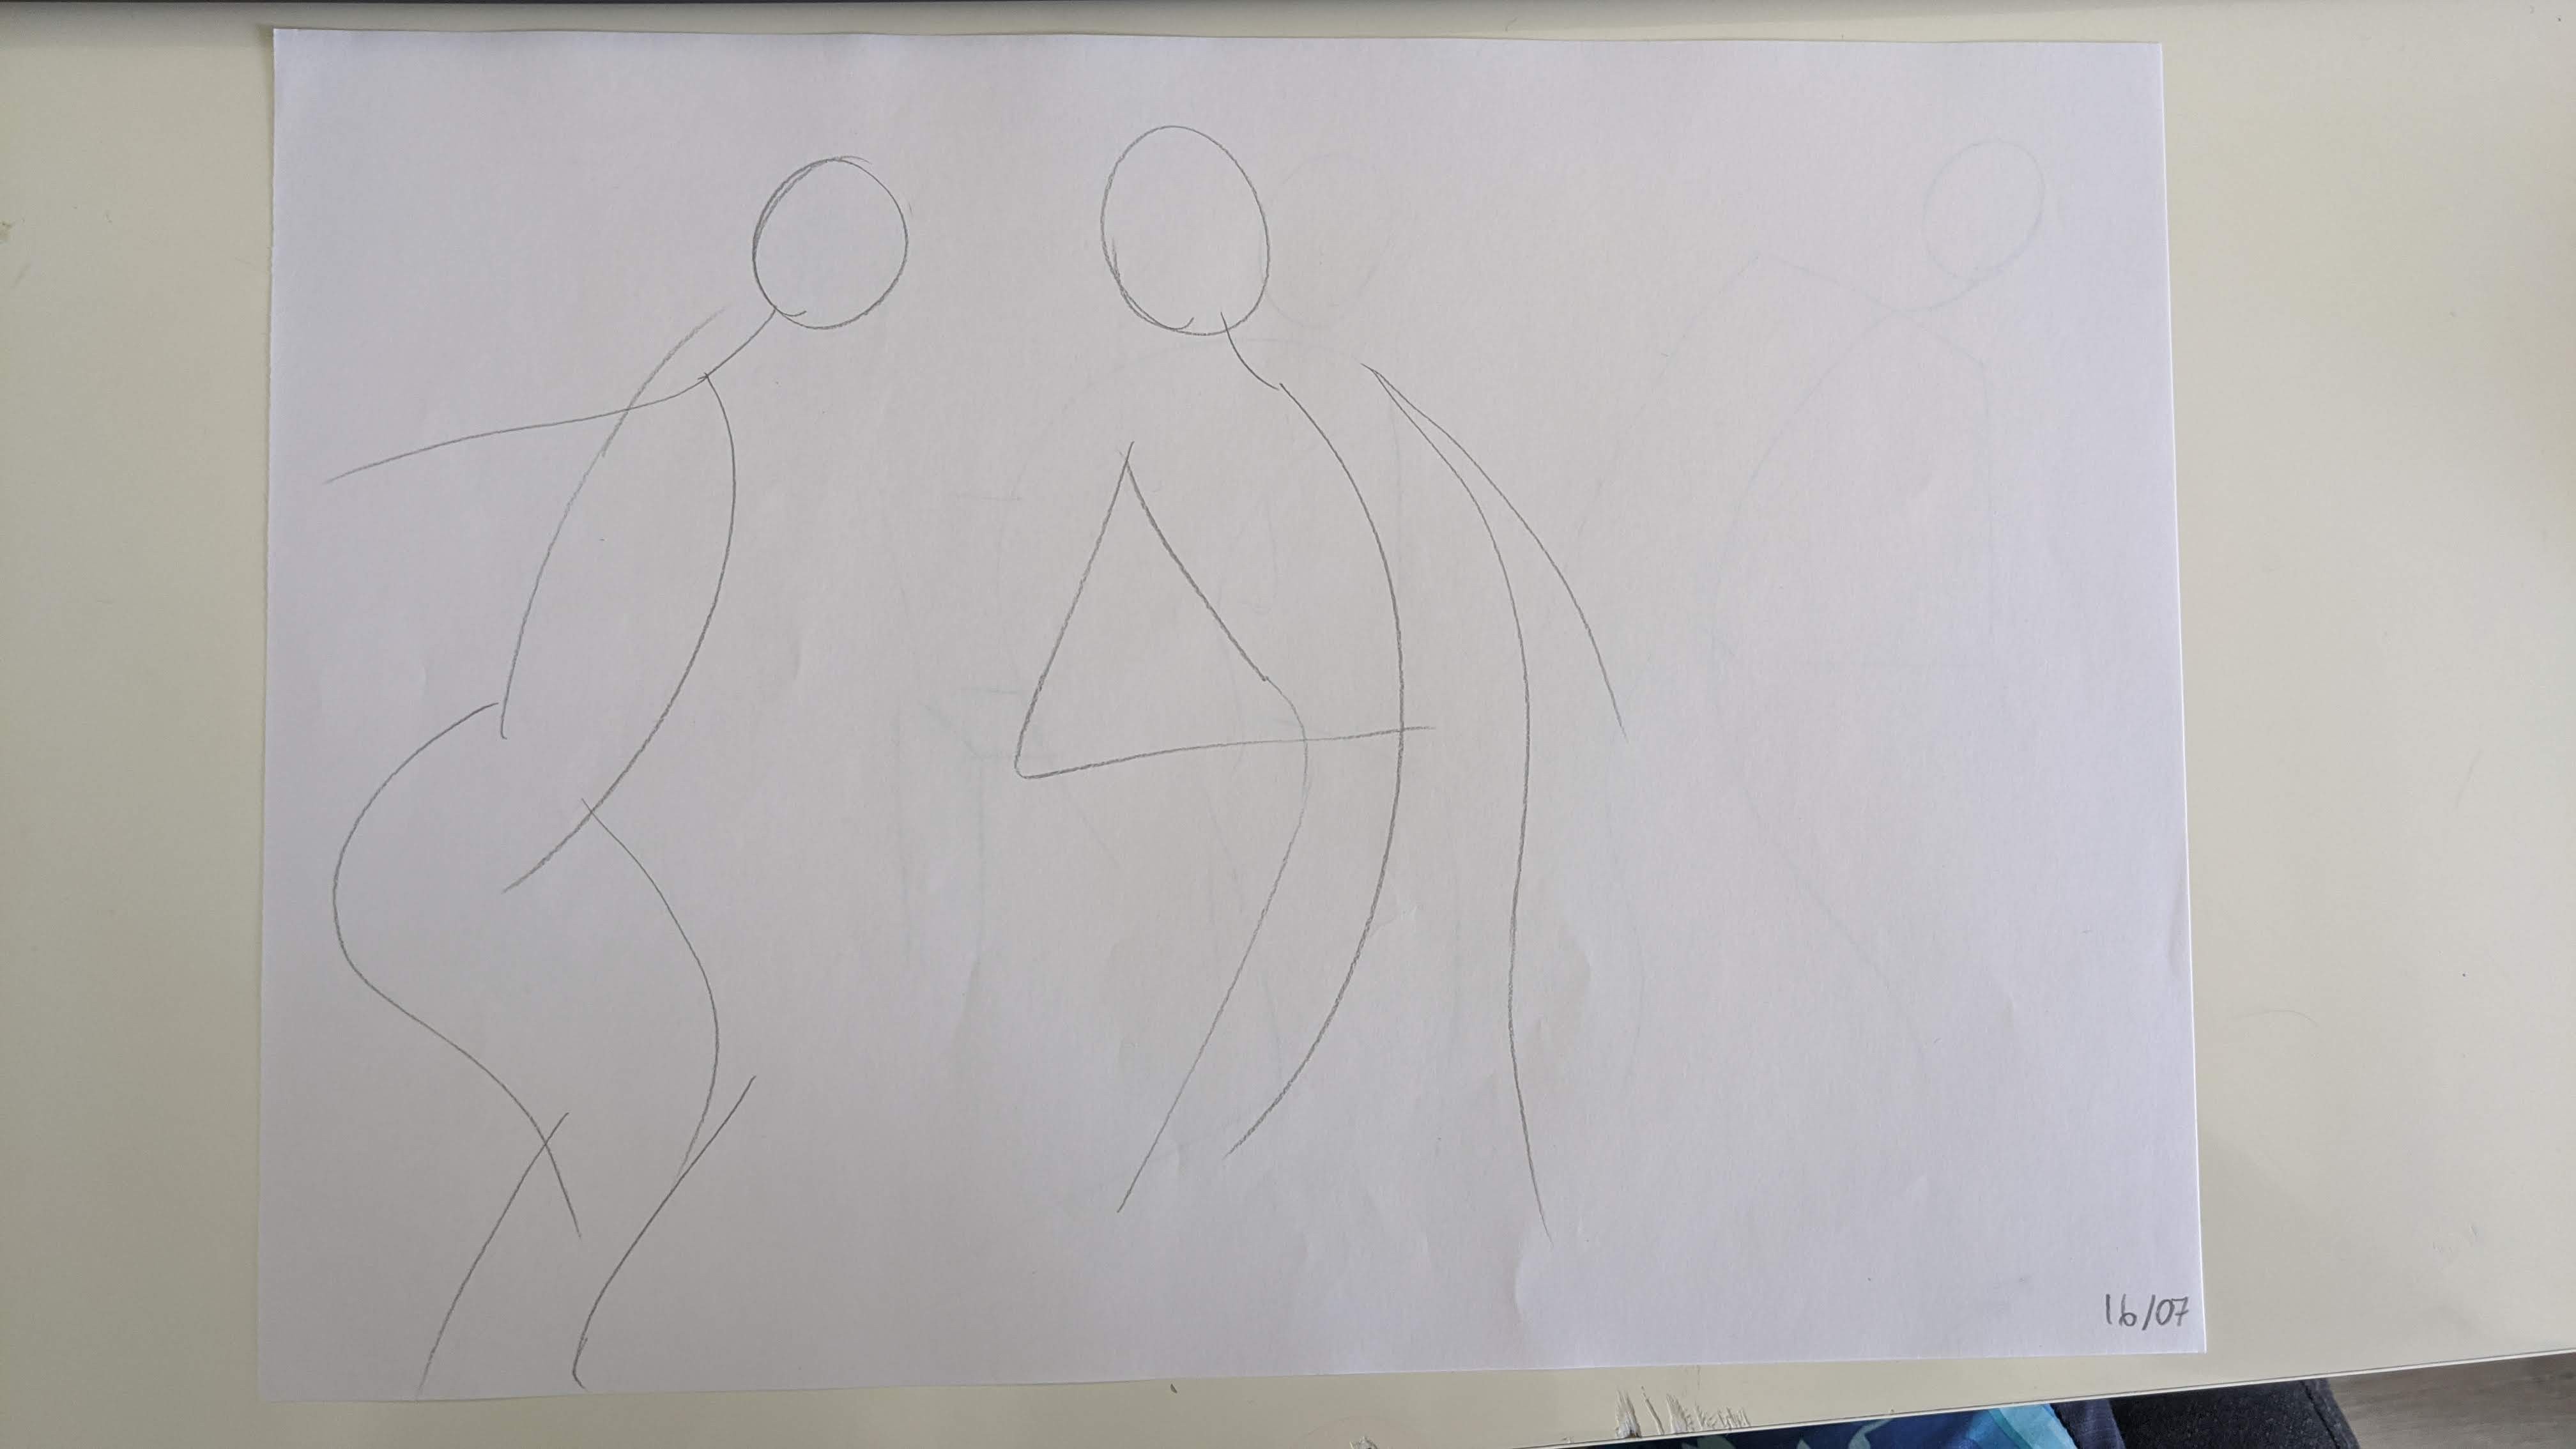
The first and most time-consuming lesson from the course is on drawing gesture. Gesture is the flow of the pose, the ability to describe what the person is doing without accurately depicting the anatomical details. The lesson stresses the importance of following the general flow, using simple lines, as opposed to tracing the contour of the figure.
The lesson proposes timed exercises to draw the gesture: to take a picture with the model, and plan to draw the gesture in 30 seconds or 2 minutes. Depending on the planned time-length, the gesture should have more or fewer details. As it was hard for me to plan such short drawings, I extended the timings to 1 and 5 minutes and drew the gestures slightly more detailed than on the presented examples.
The full version of this lesson was part of the trial, so it contained lots of example drawings, which I used for my exercises: I started with drawing them (in a timed manner) on my own, then looked at how Proko was drawing them, looking for mistakes in my drawings, and making yet another timed-exercise for a given photo, hopeful to fix the original issues.
I decided to draw along with all the presented example drawings, which there was around 20; this exercise definitely improved my feeling of human anatomy and the ability to express the pose in a small number of lines.
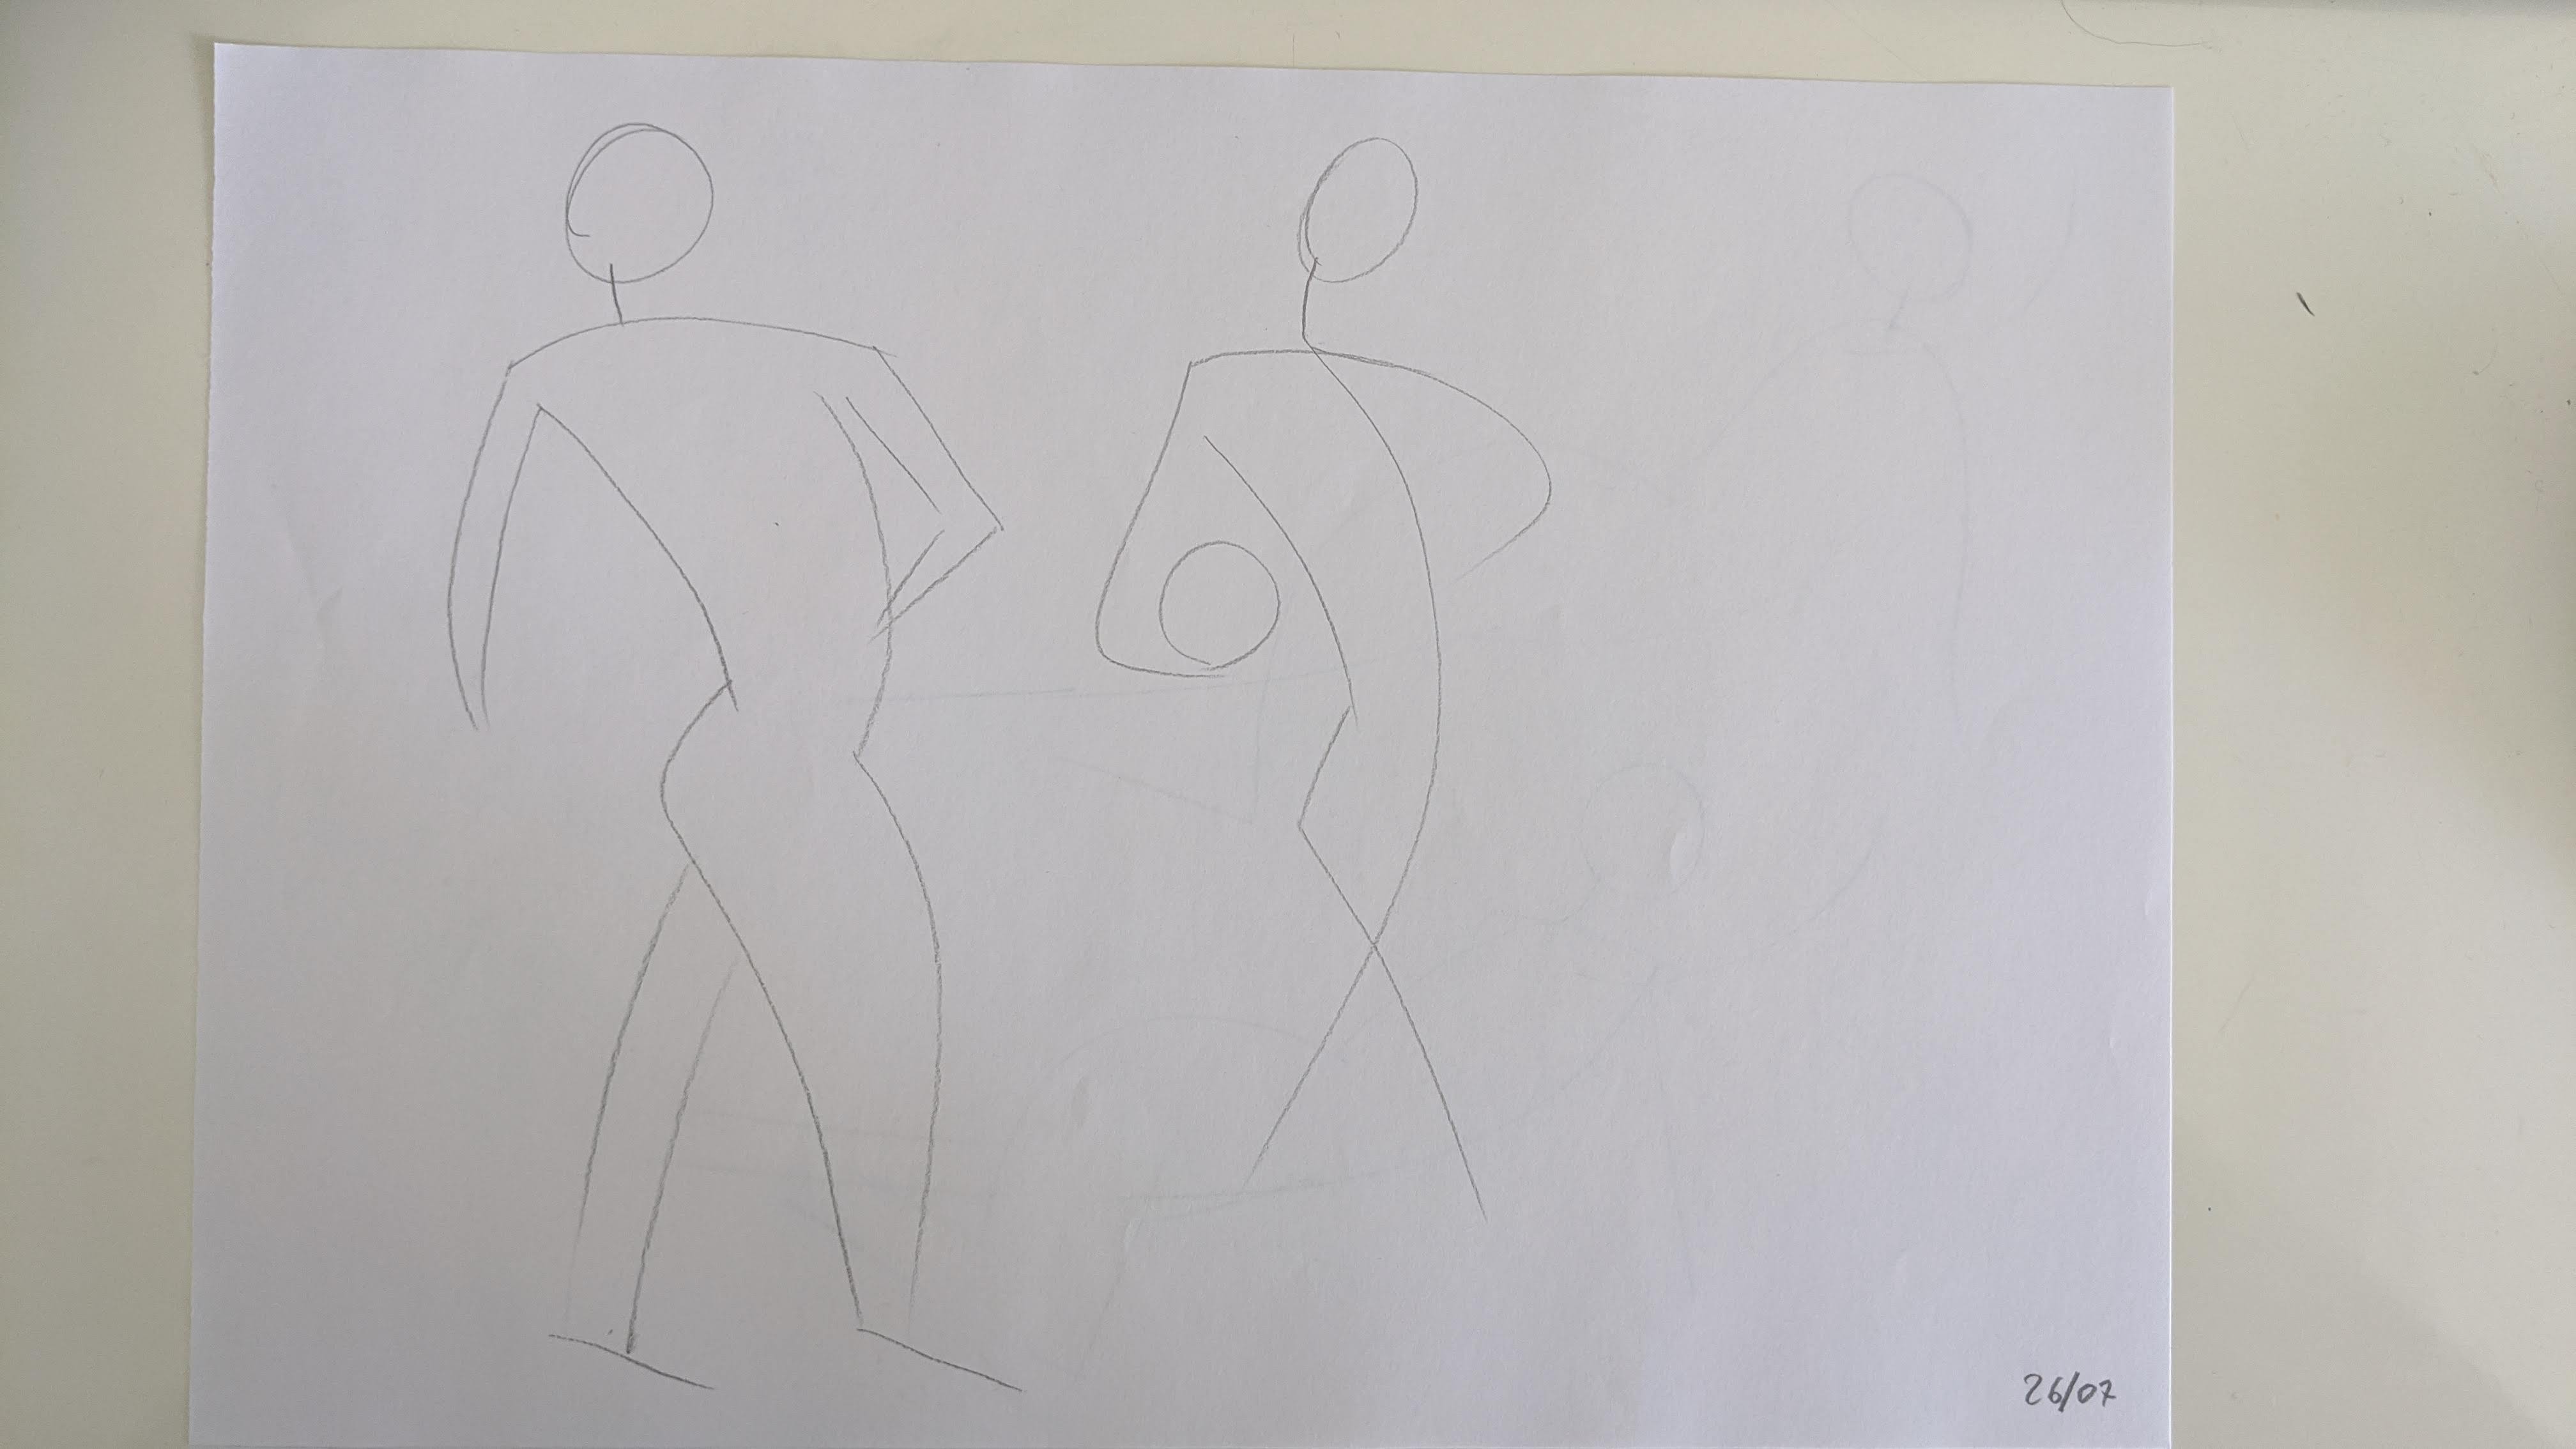
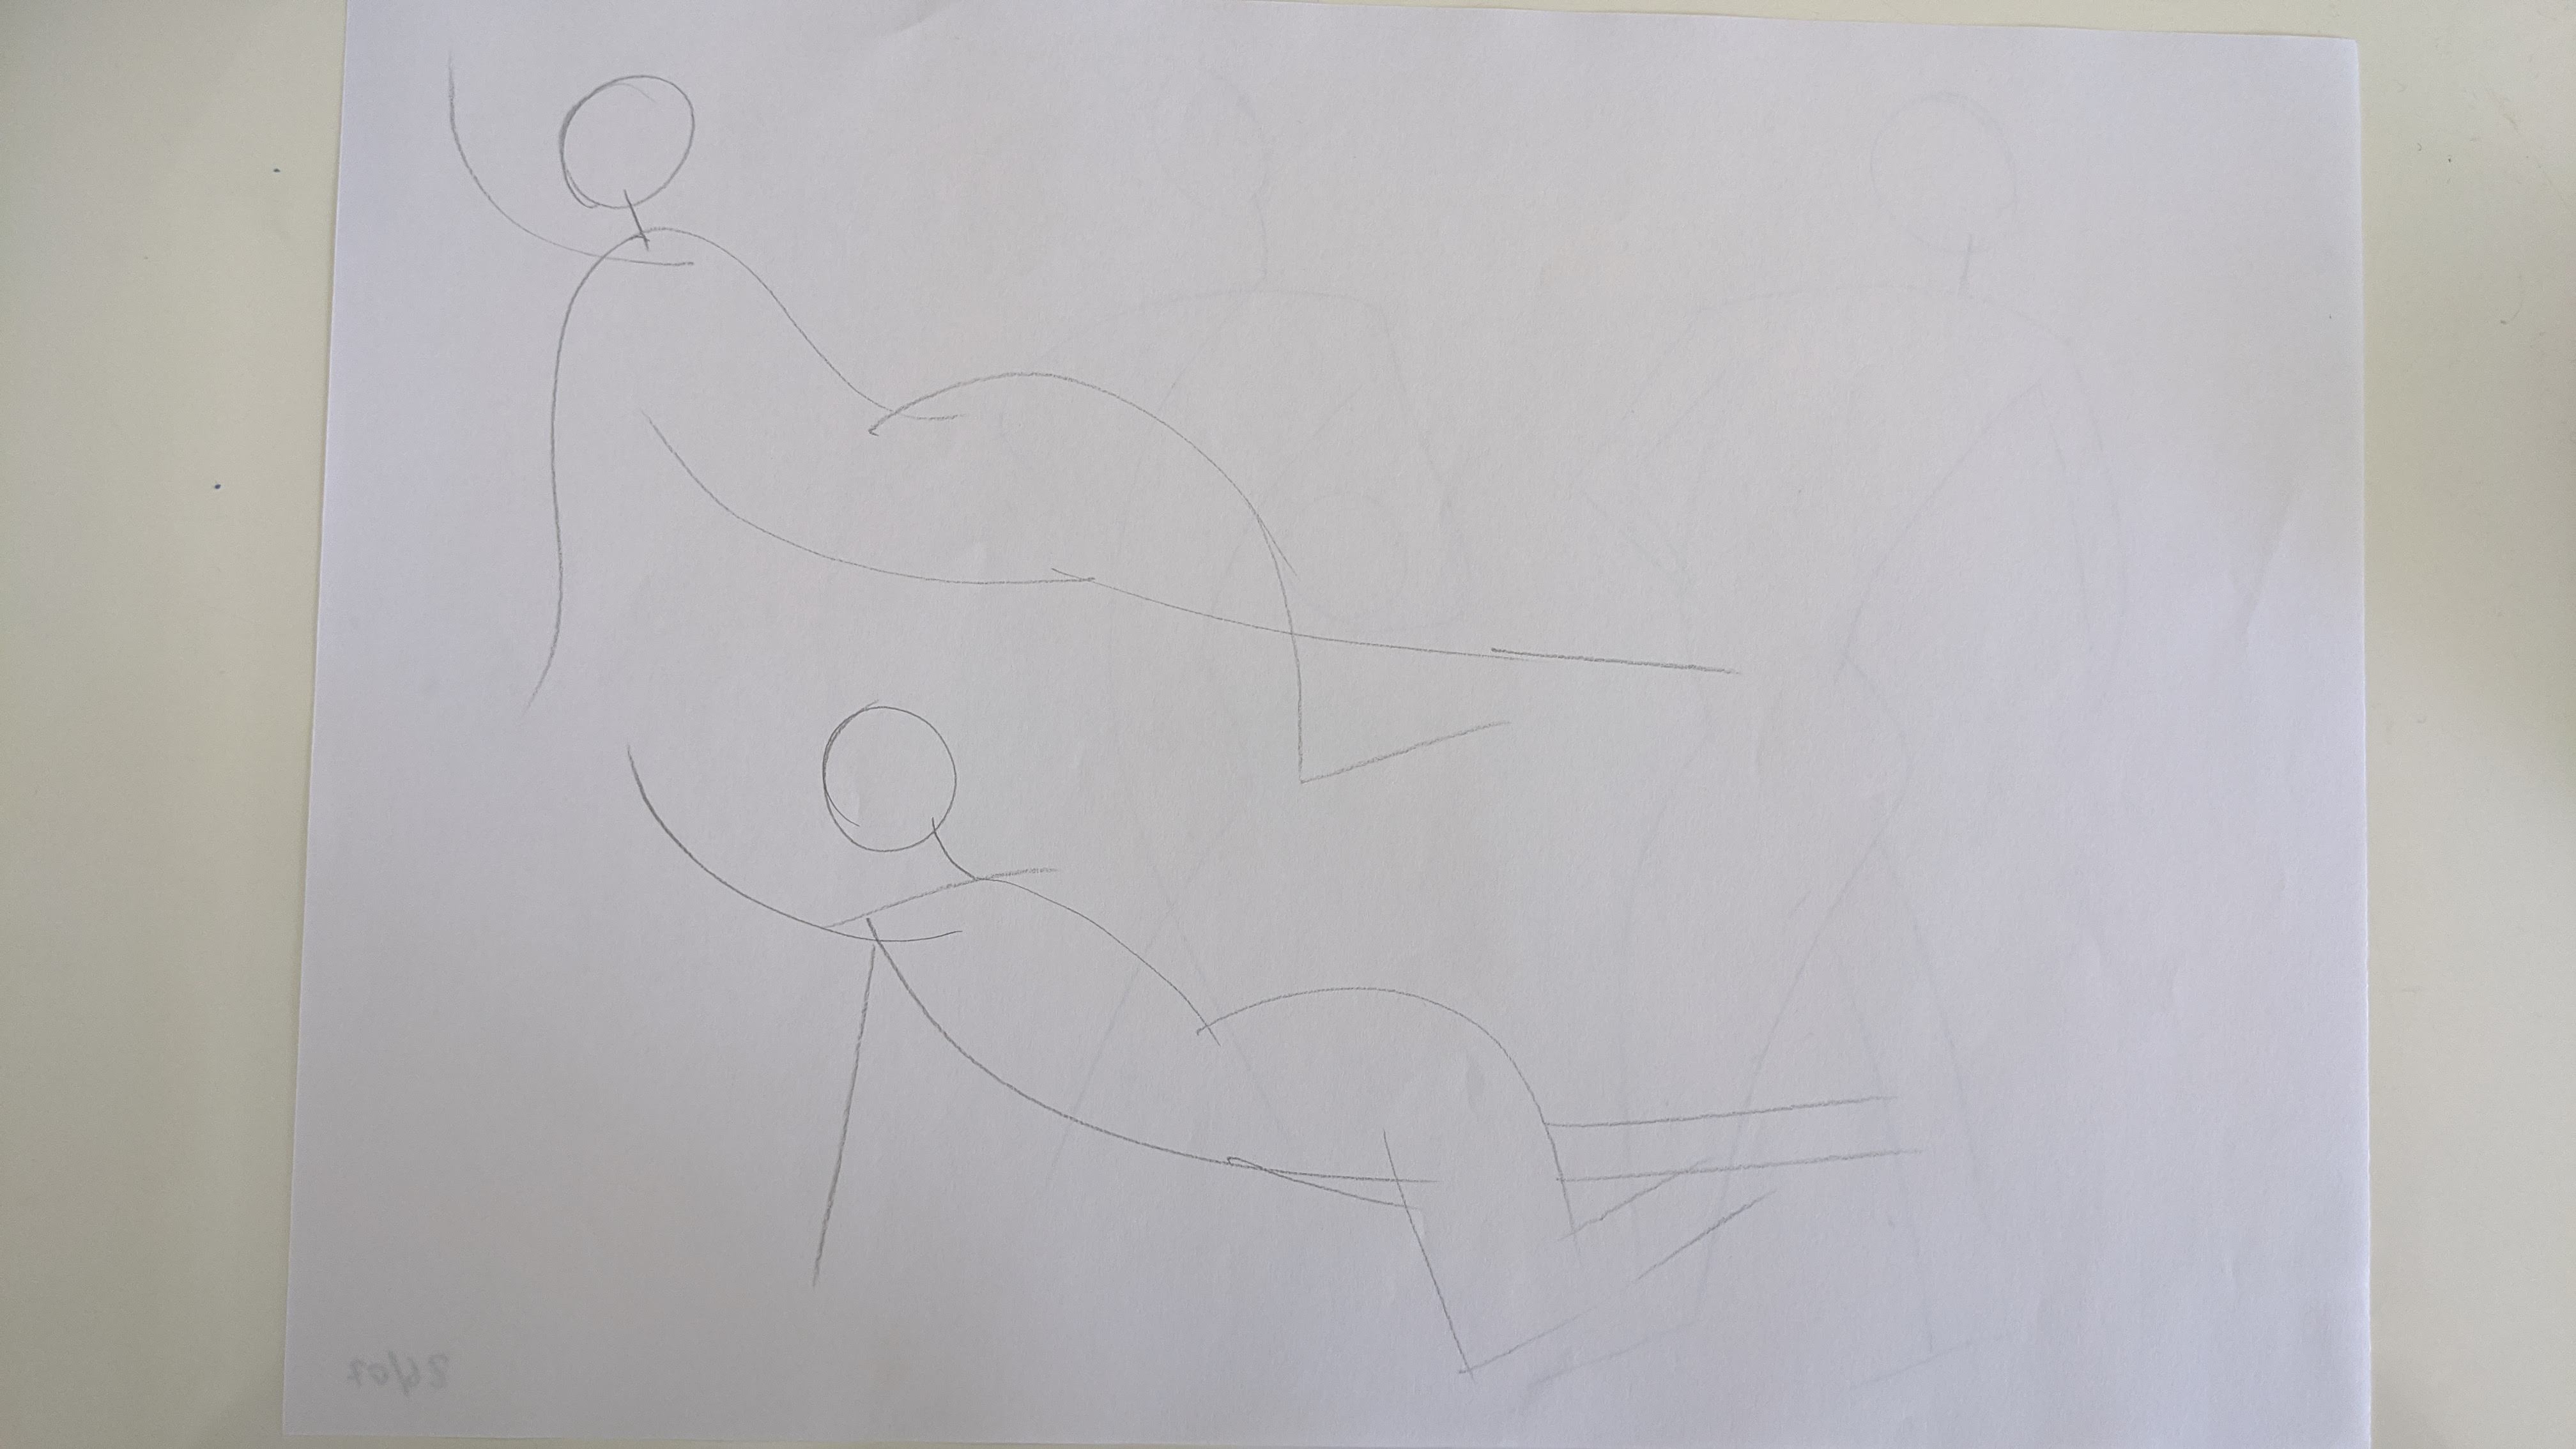
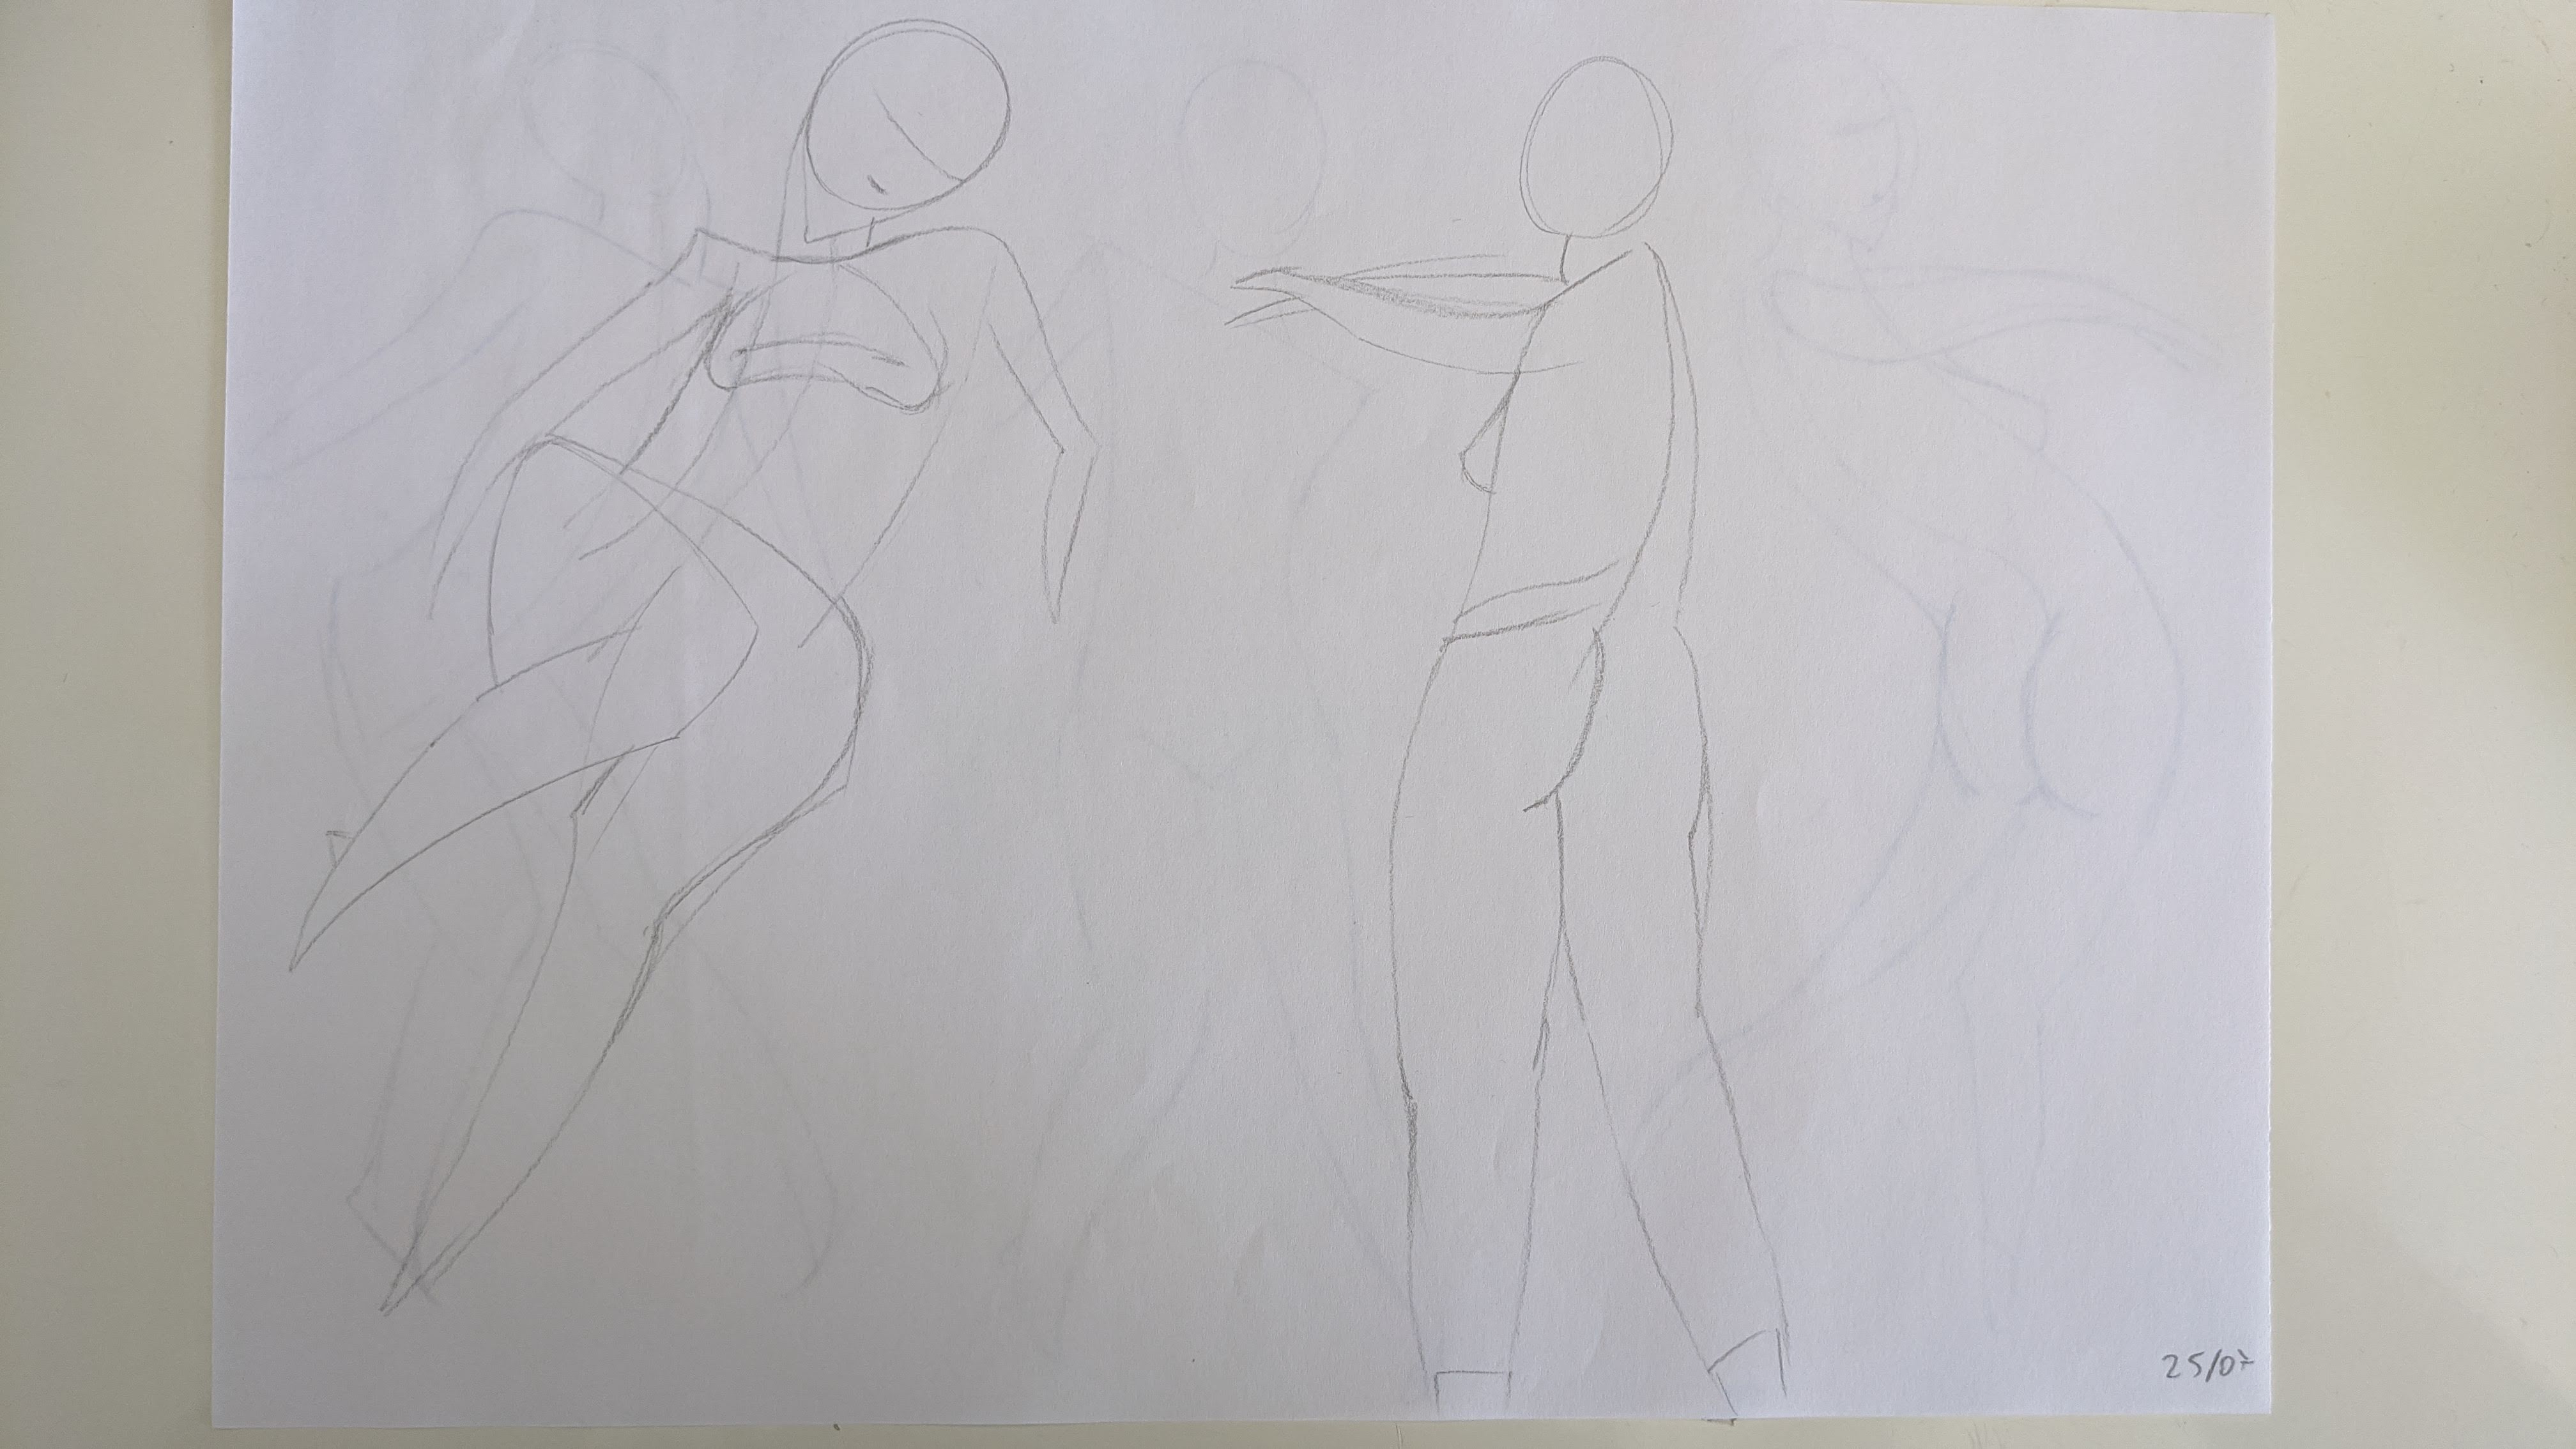
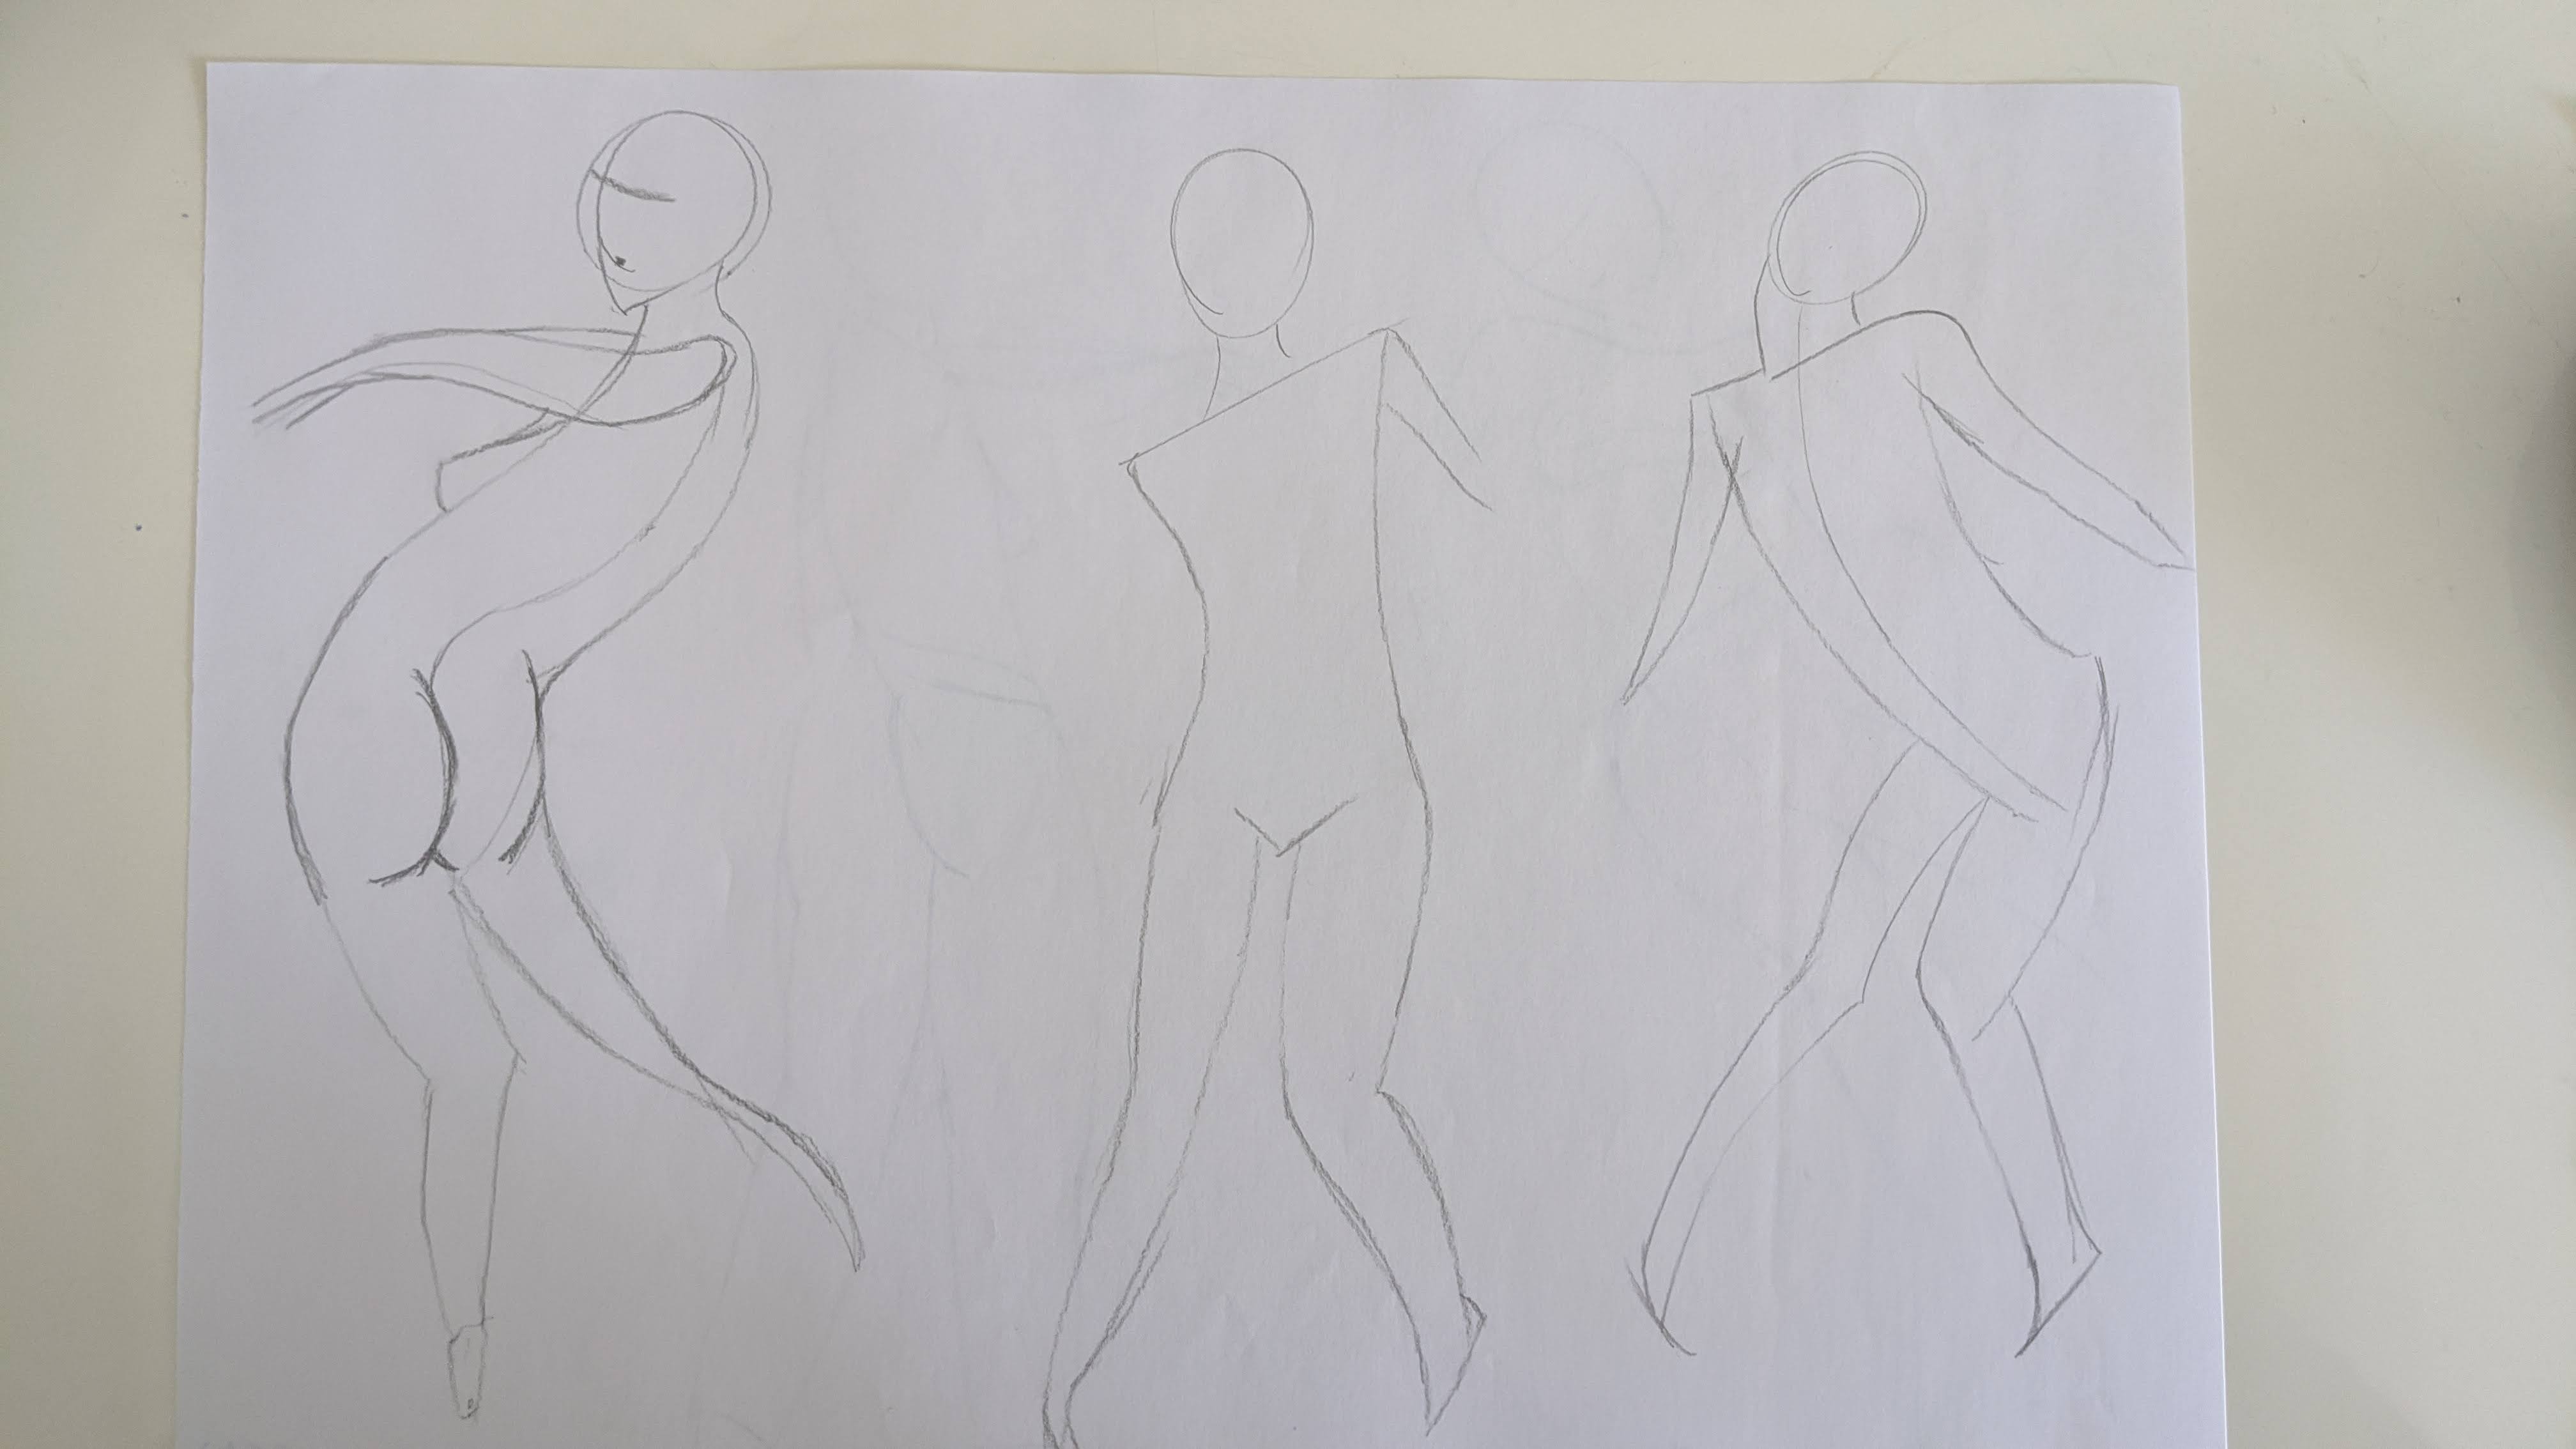
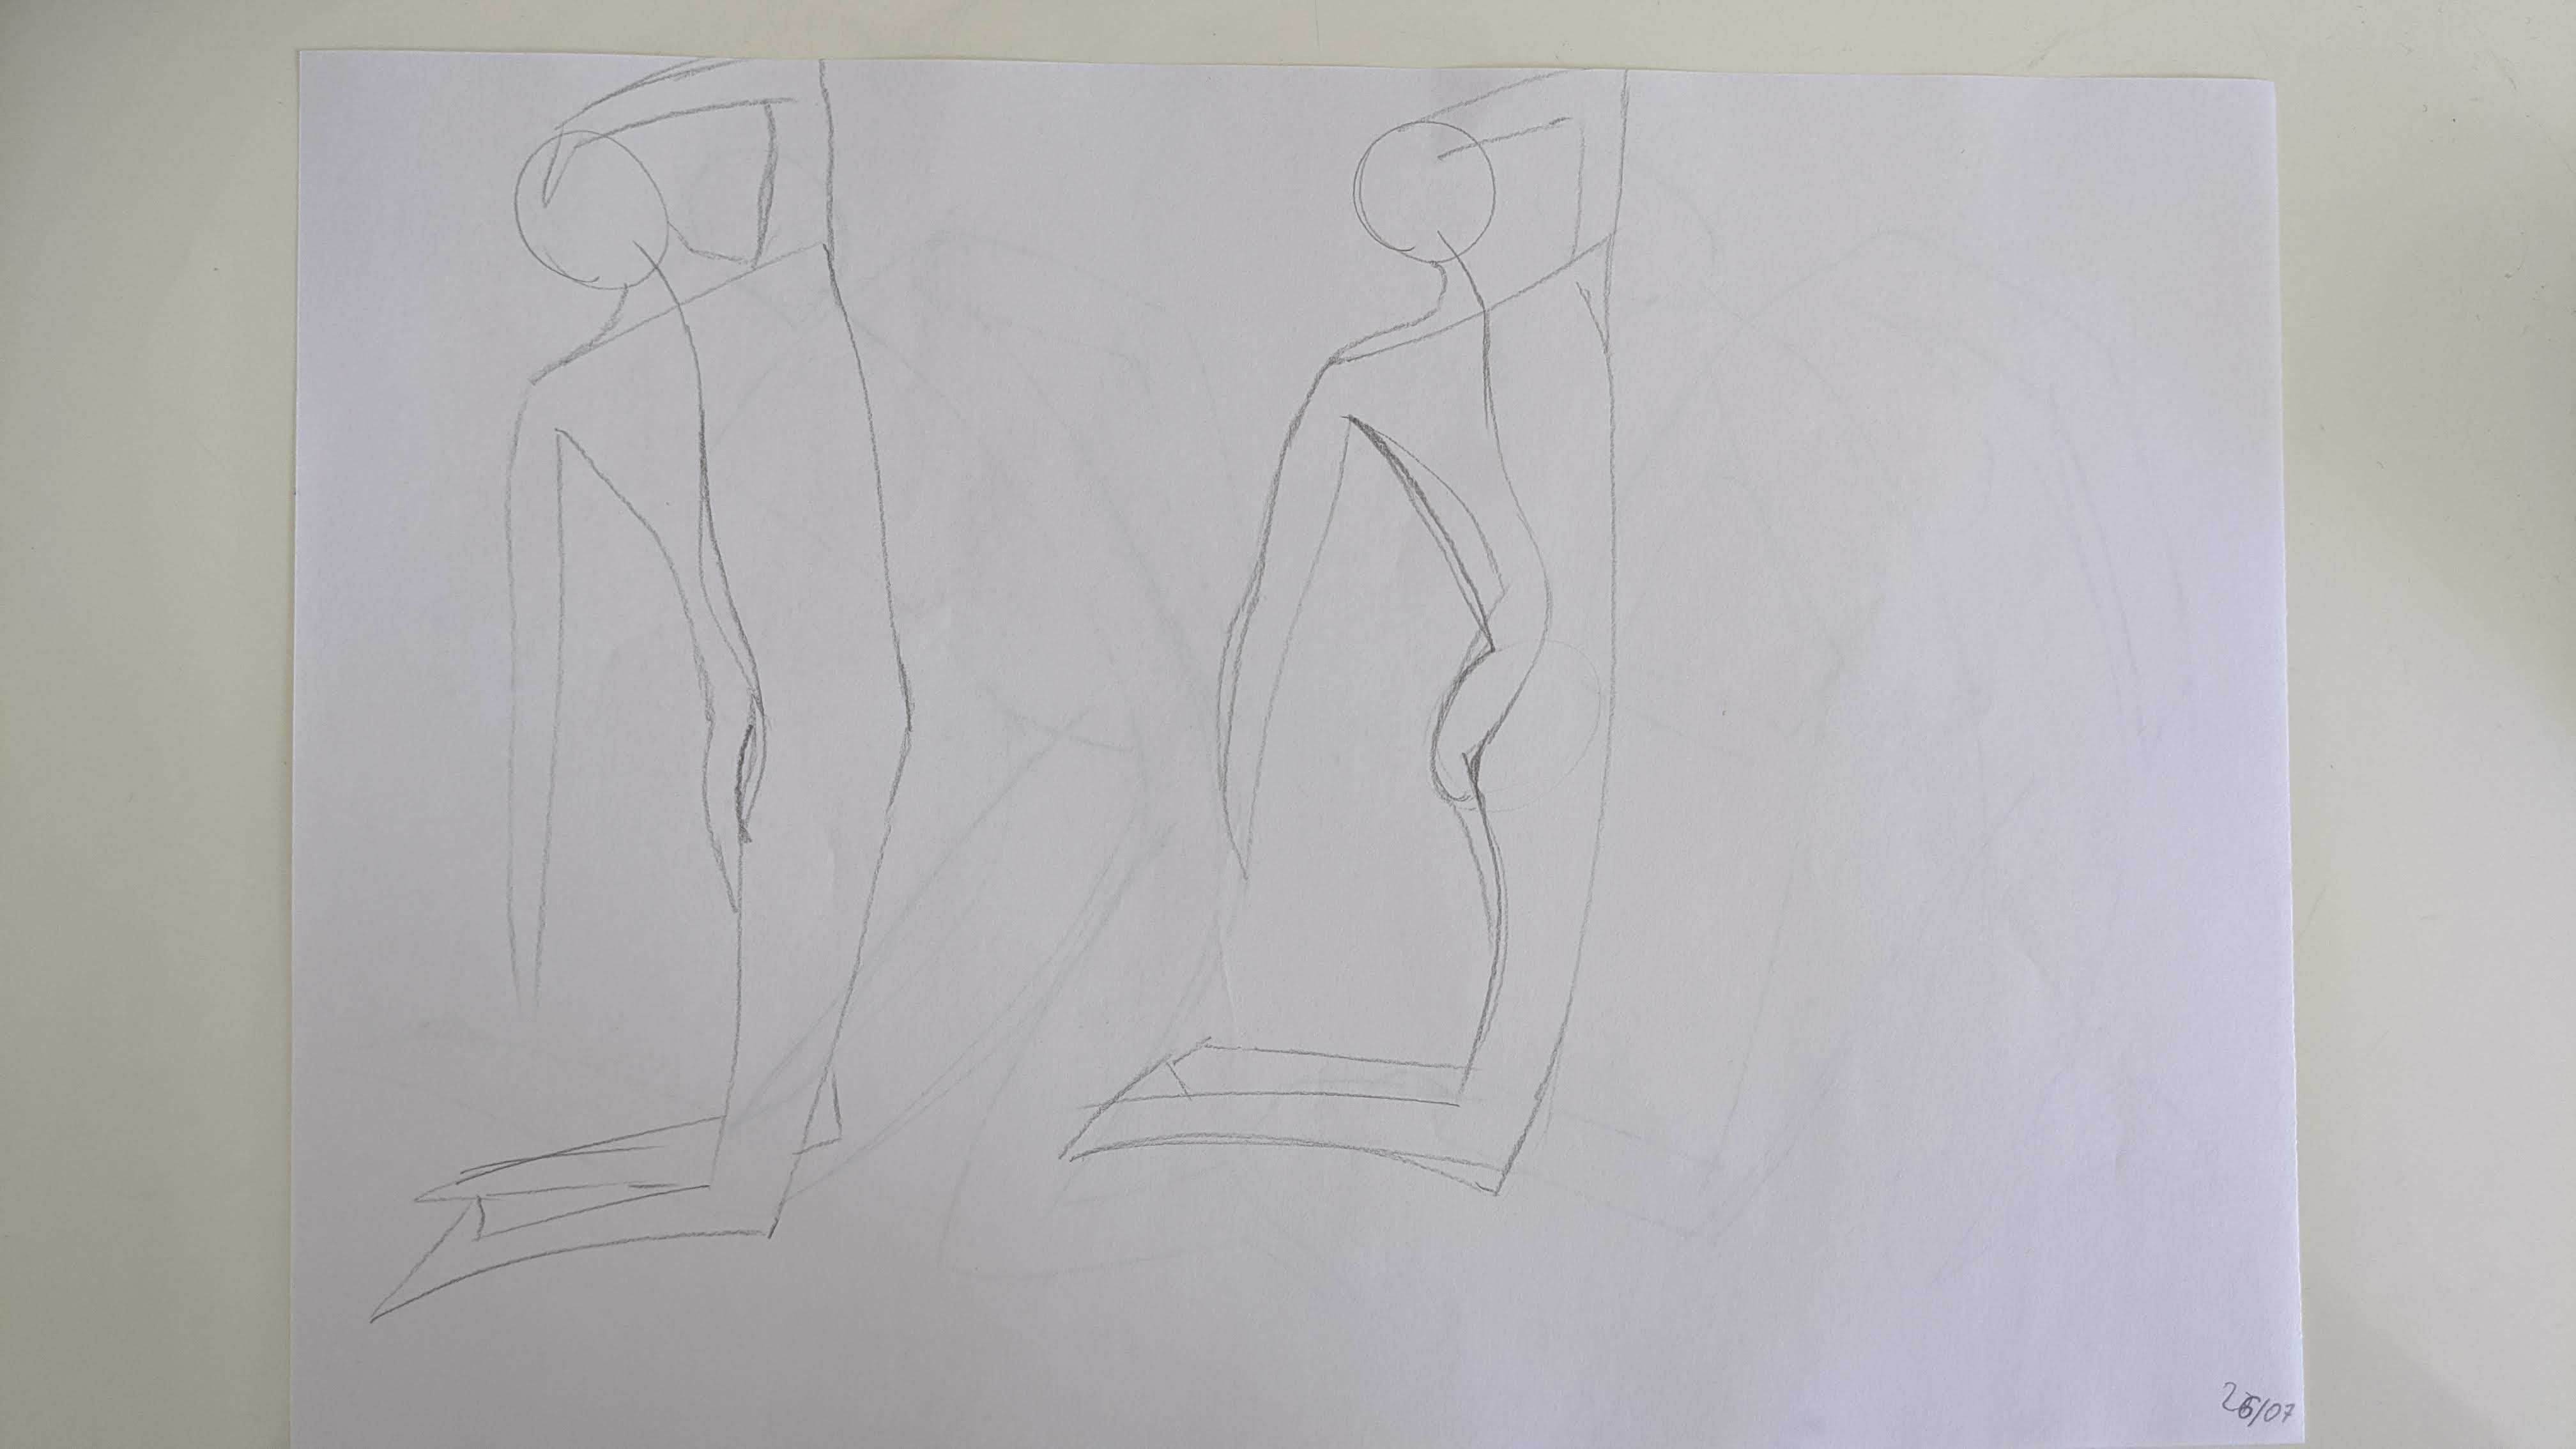
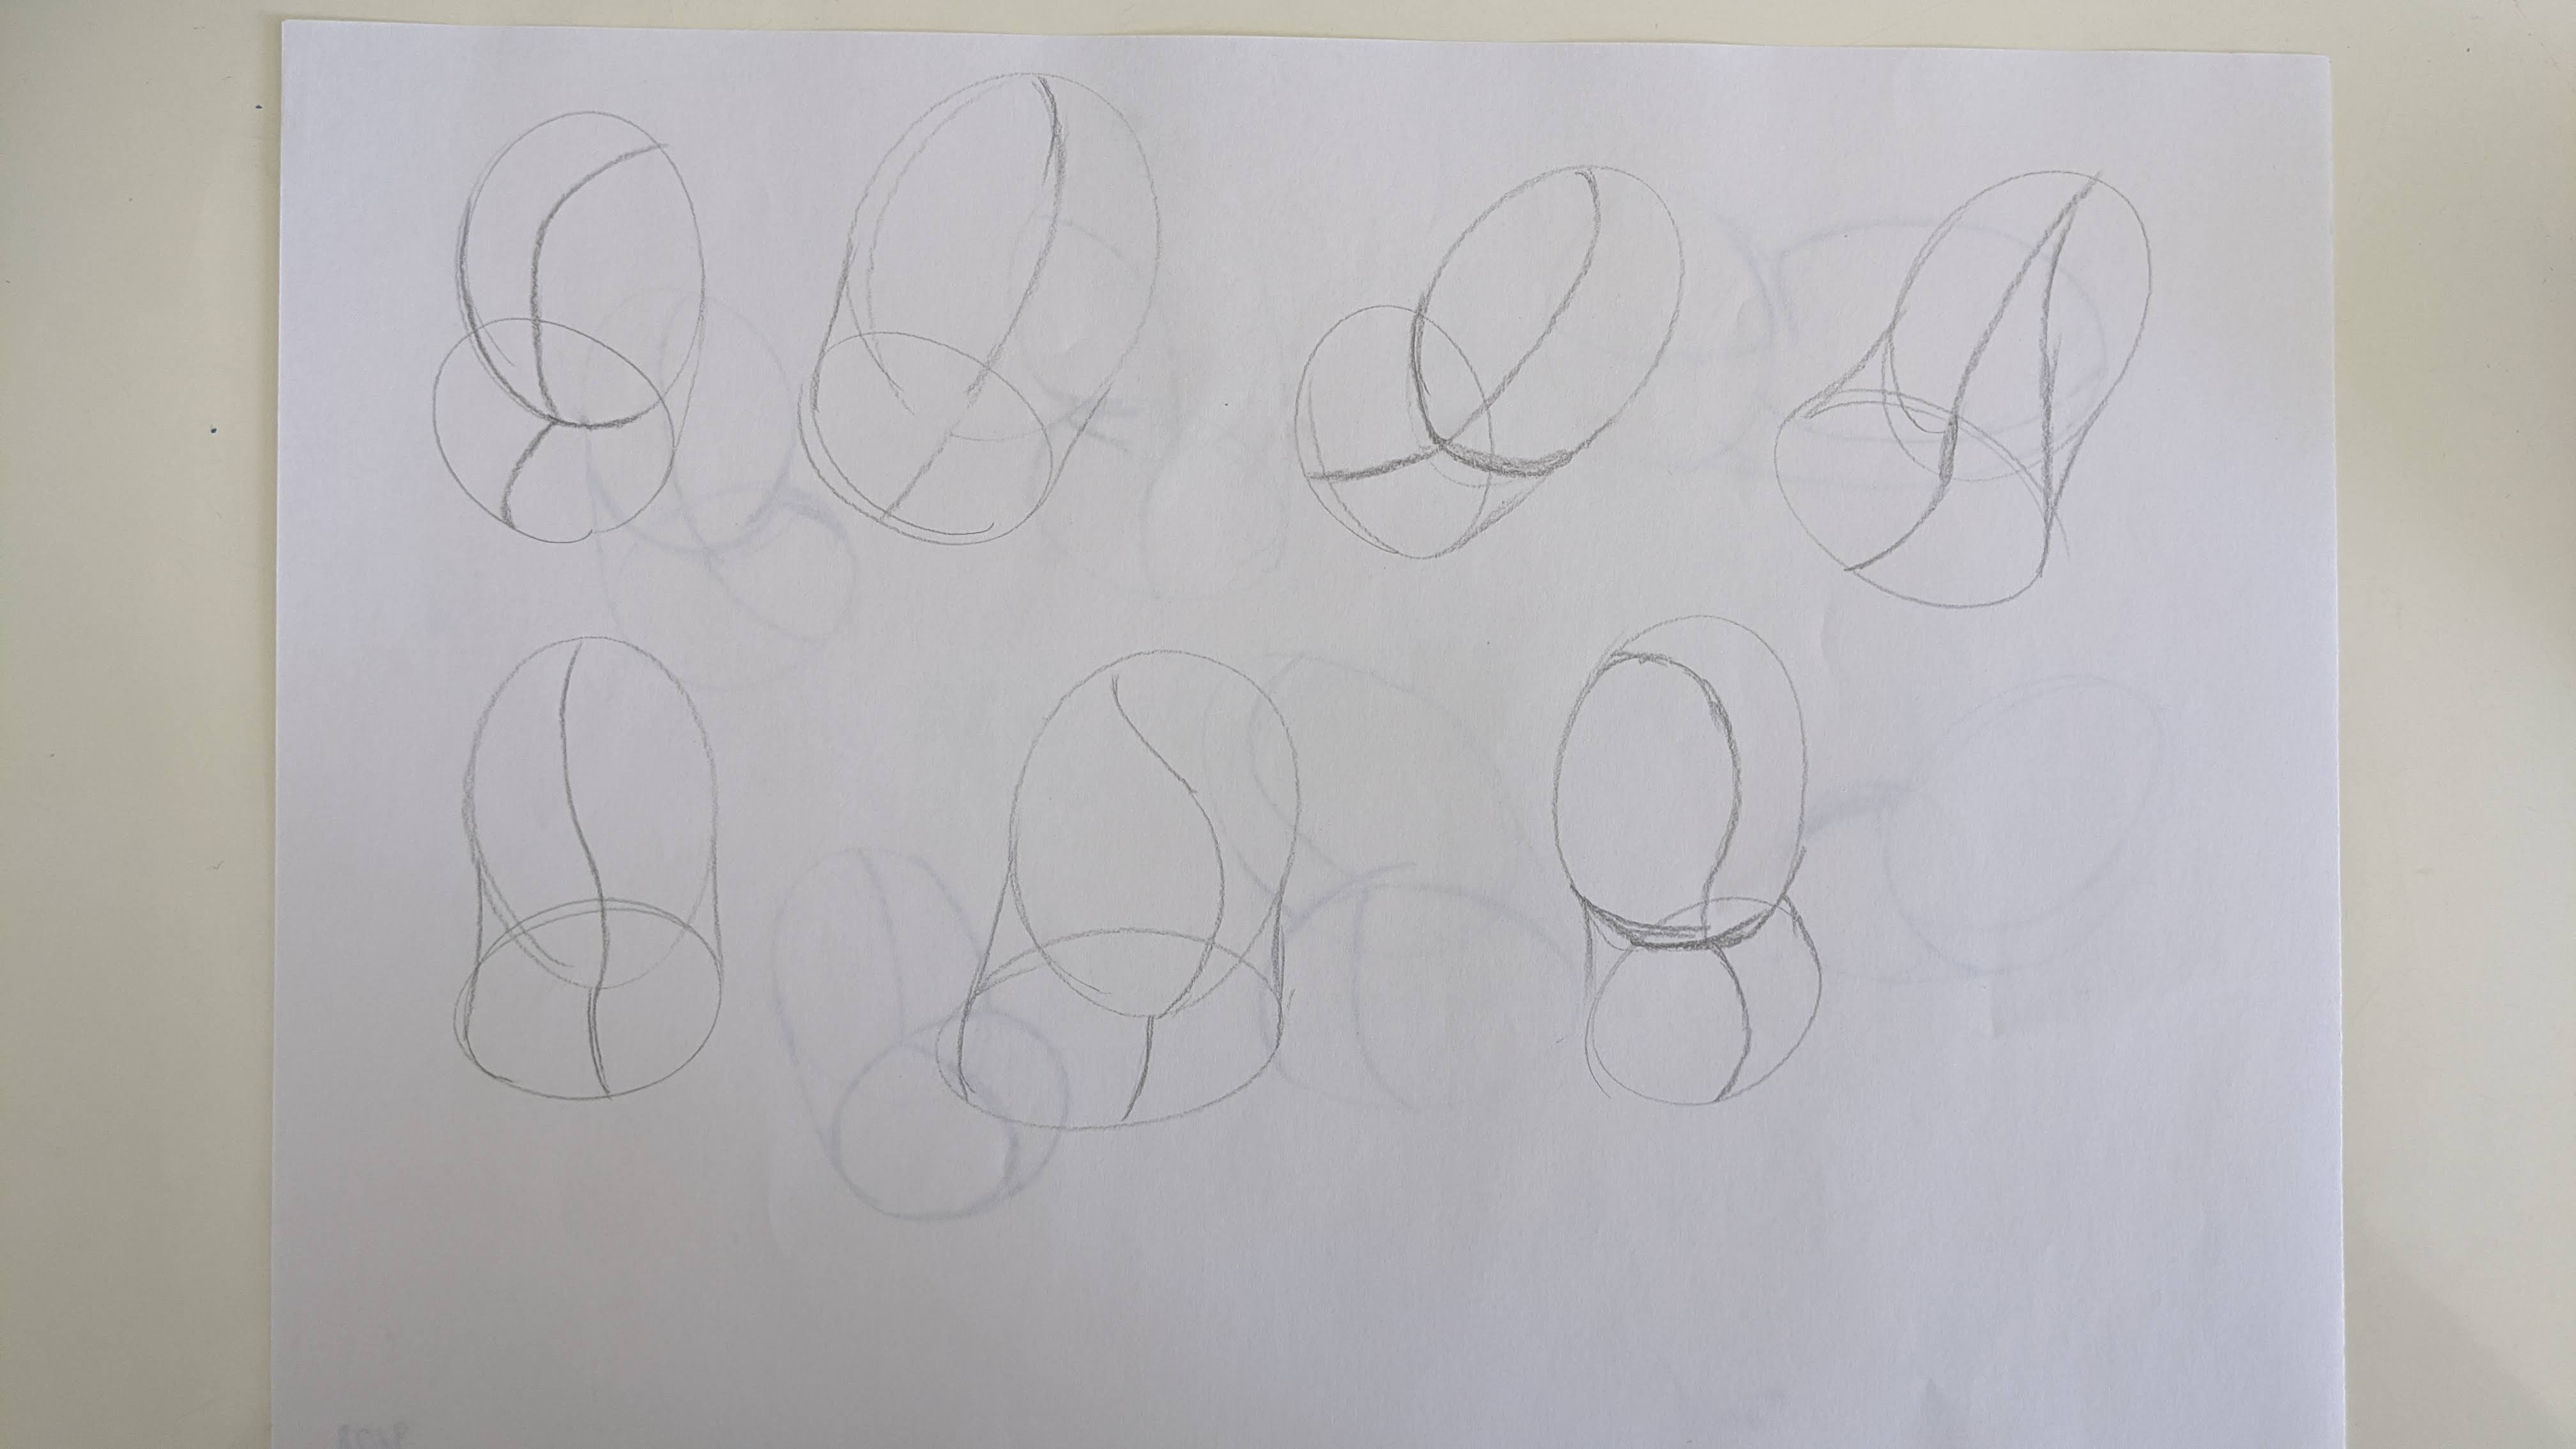
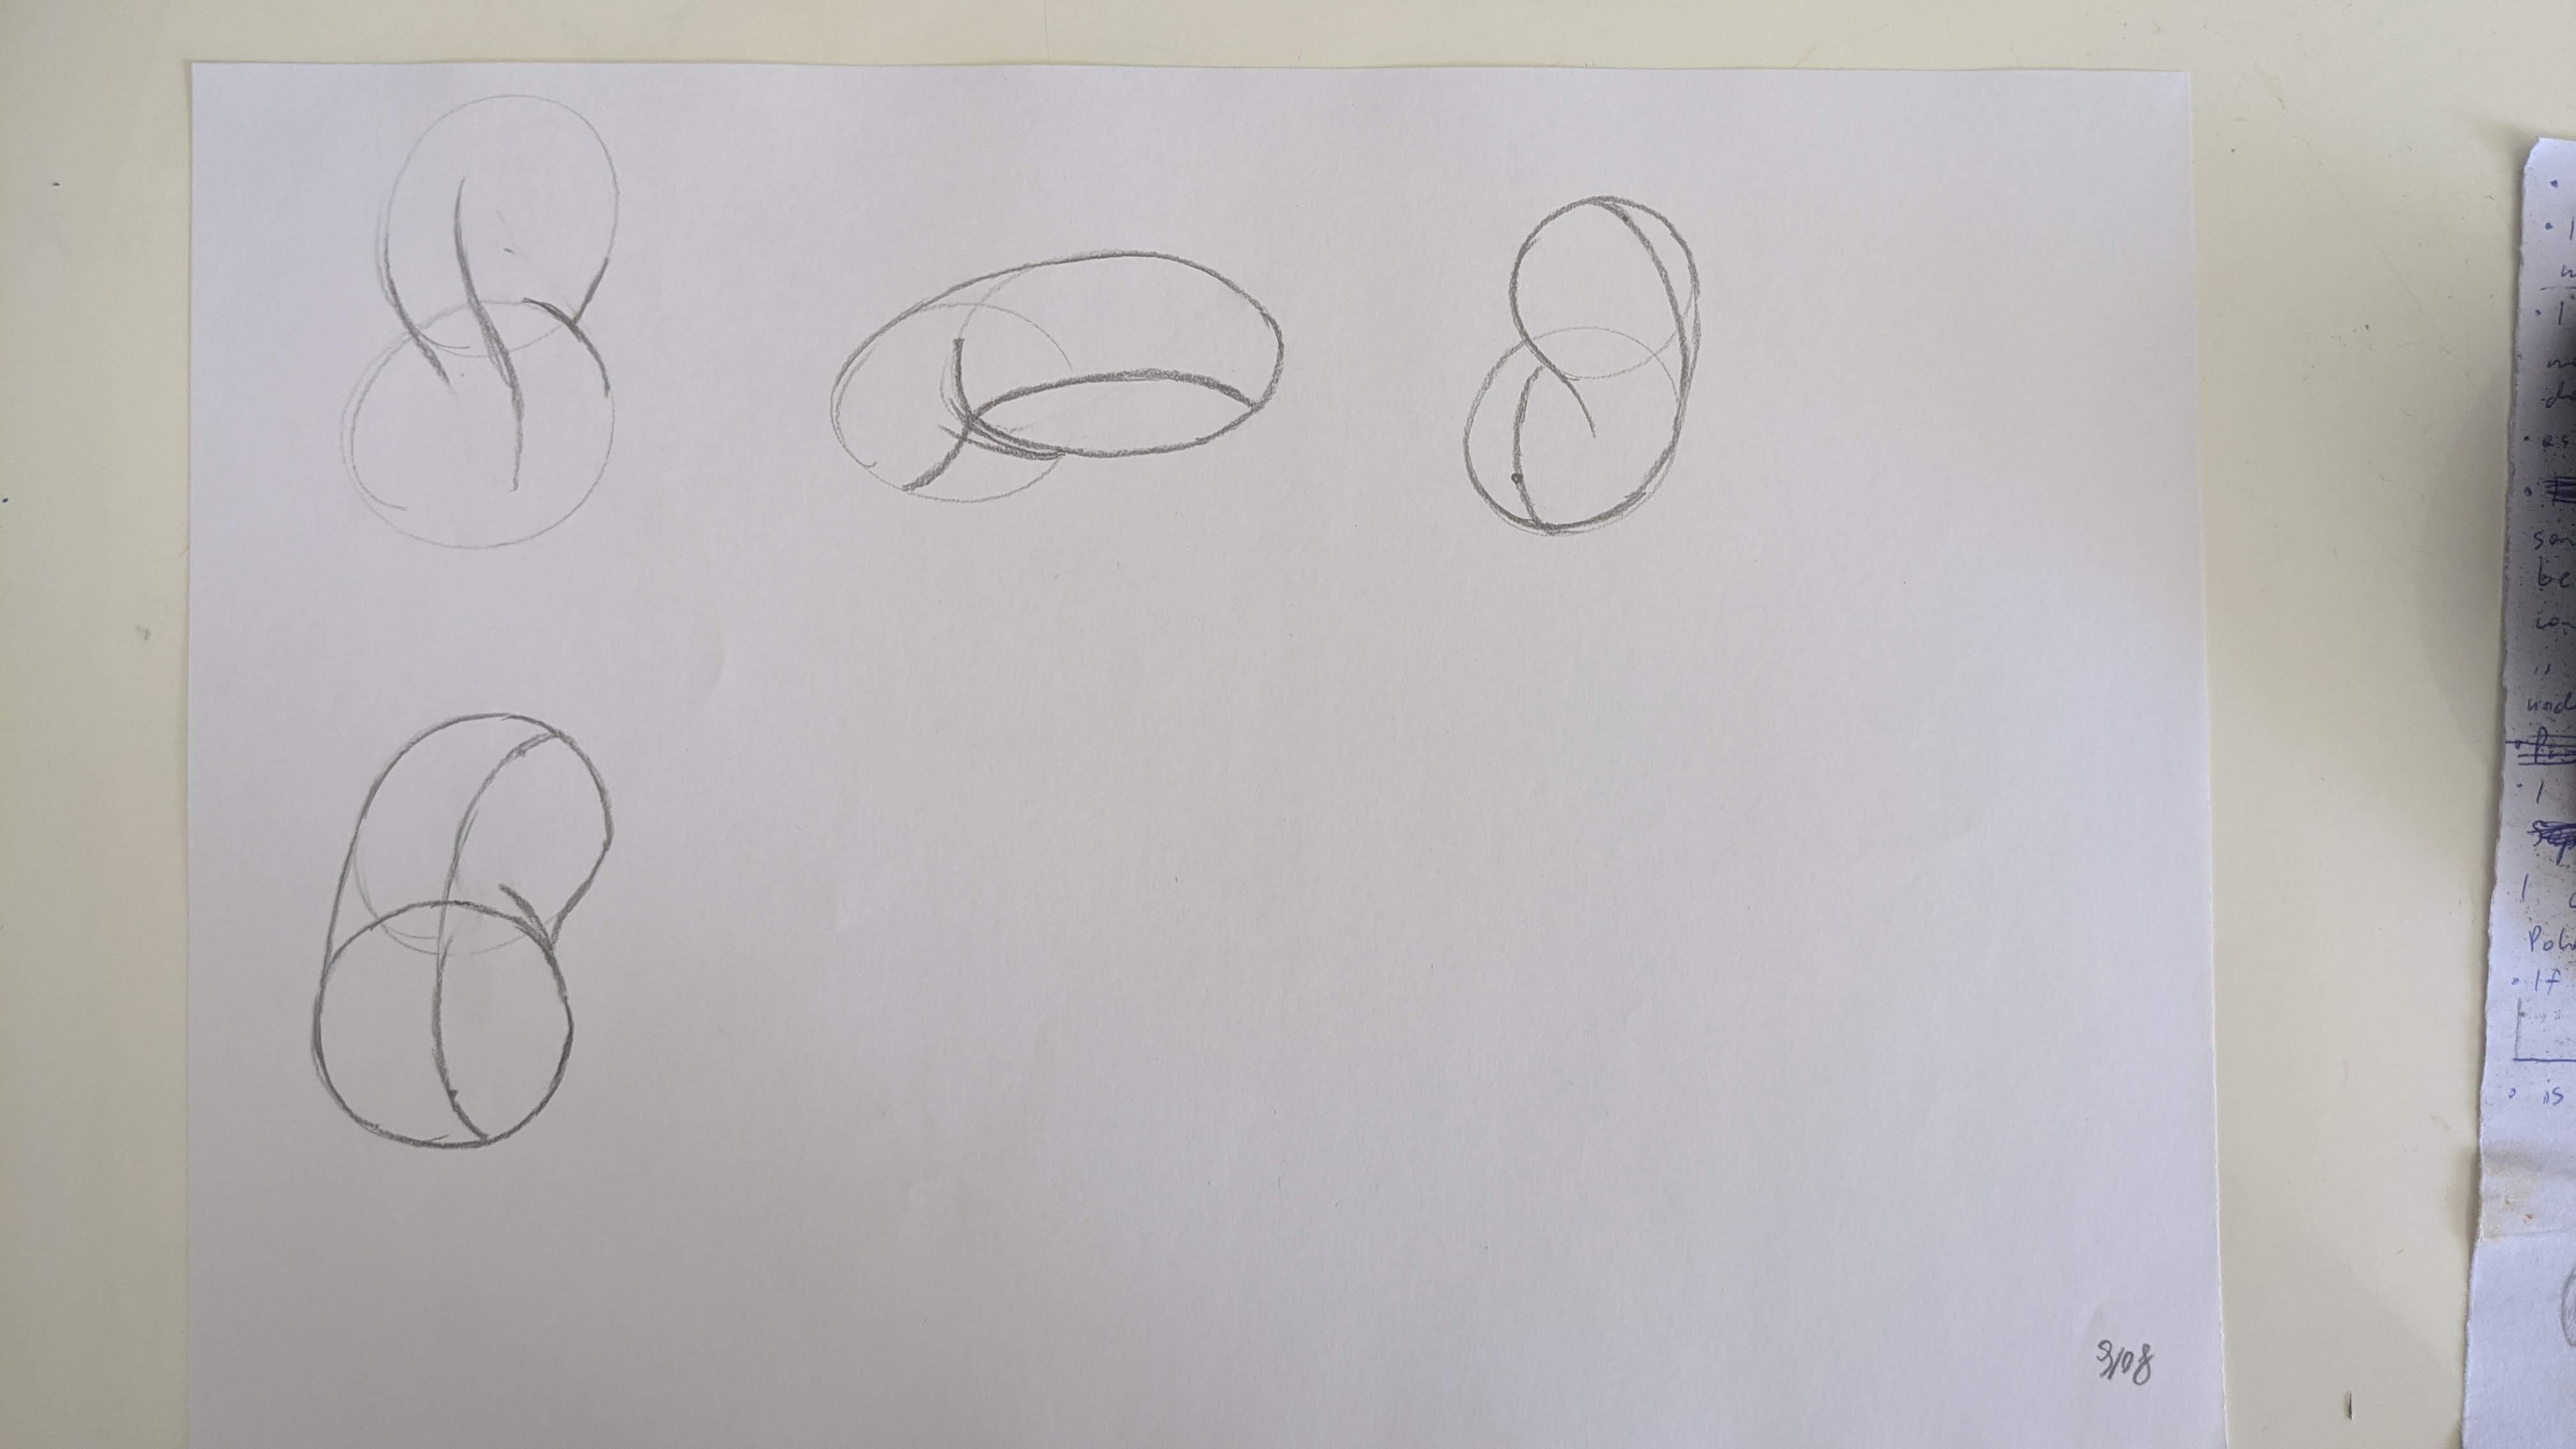
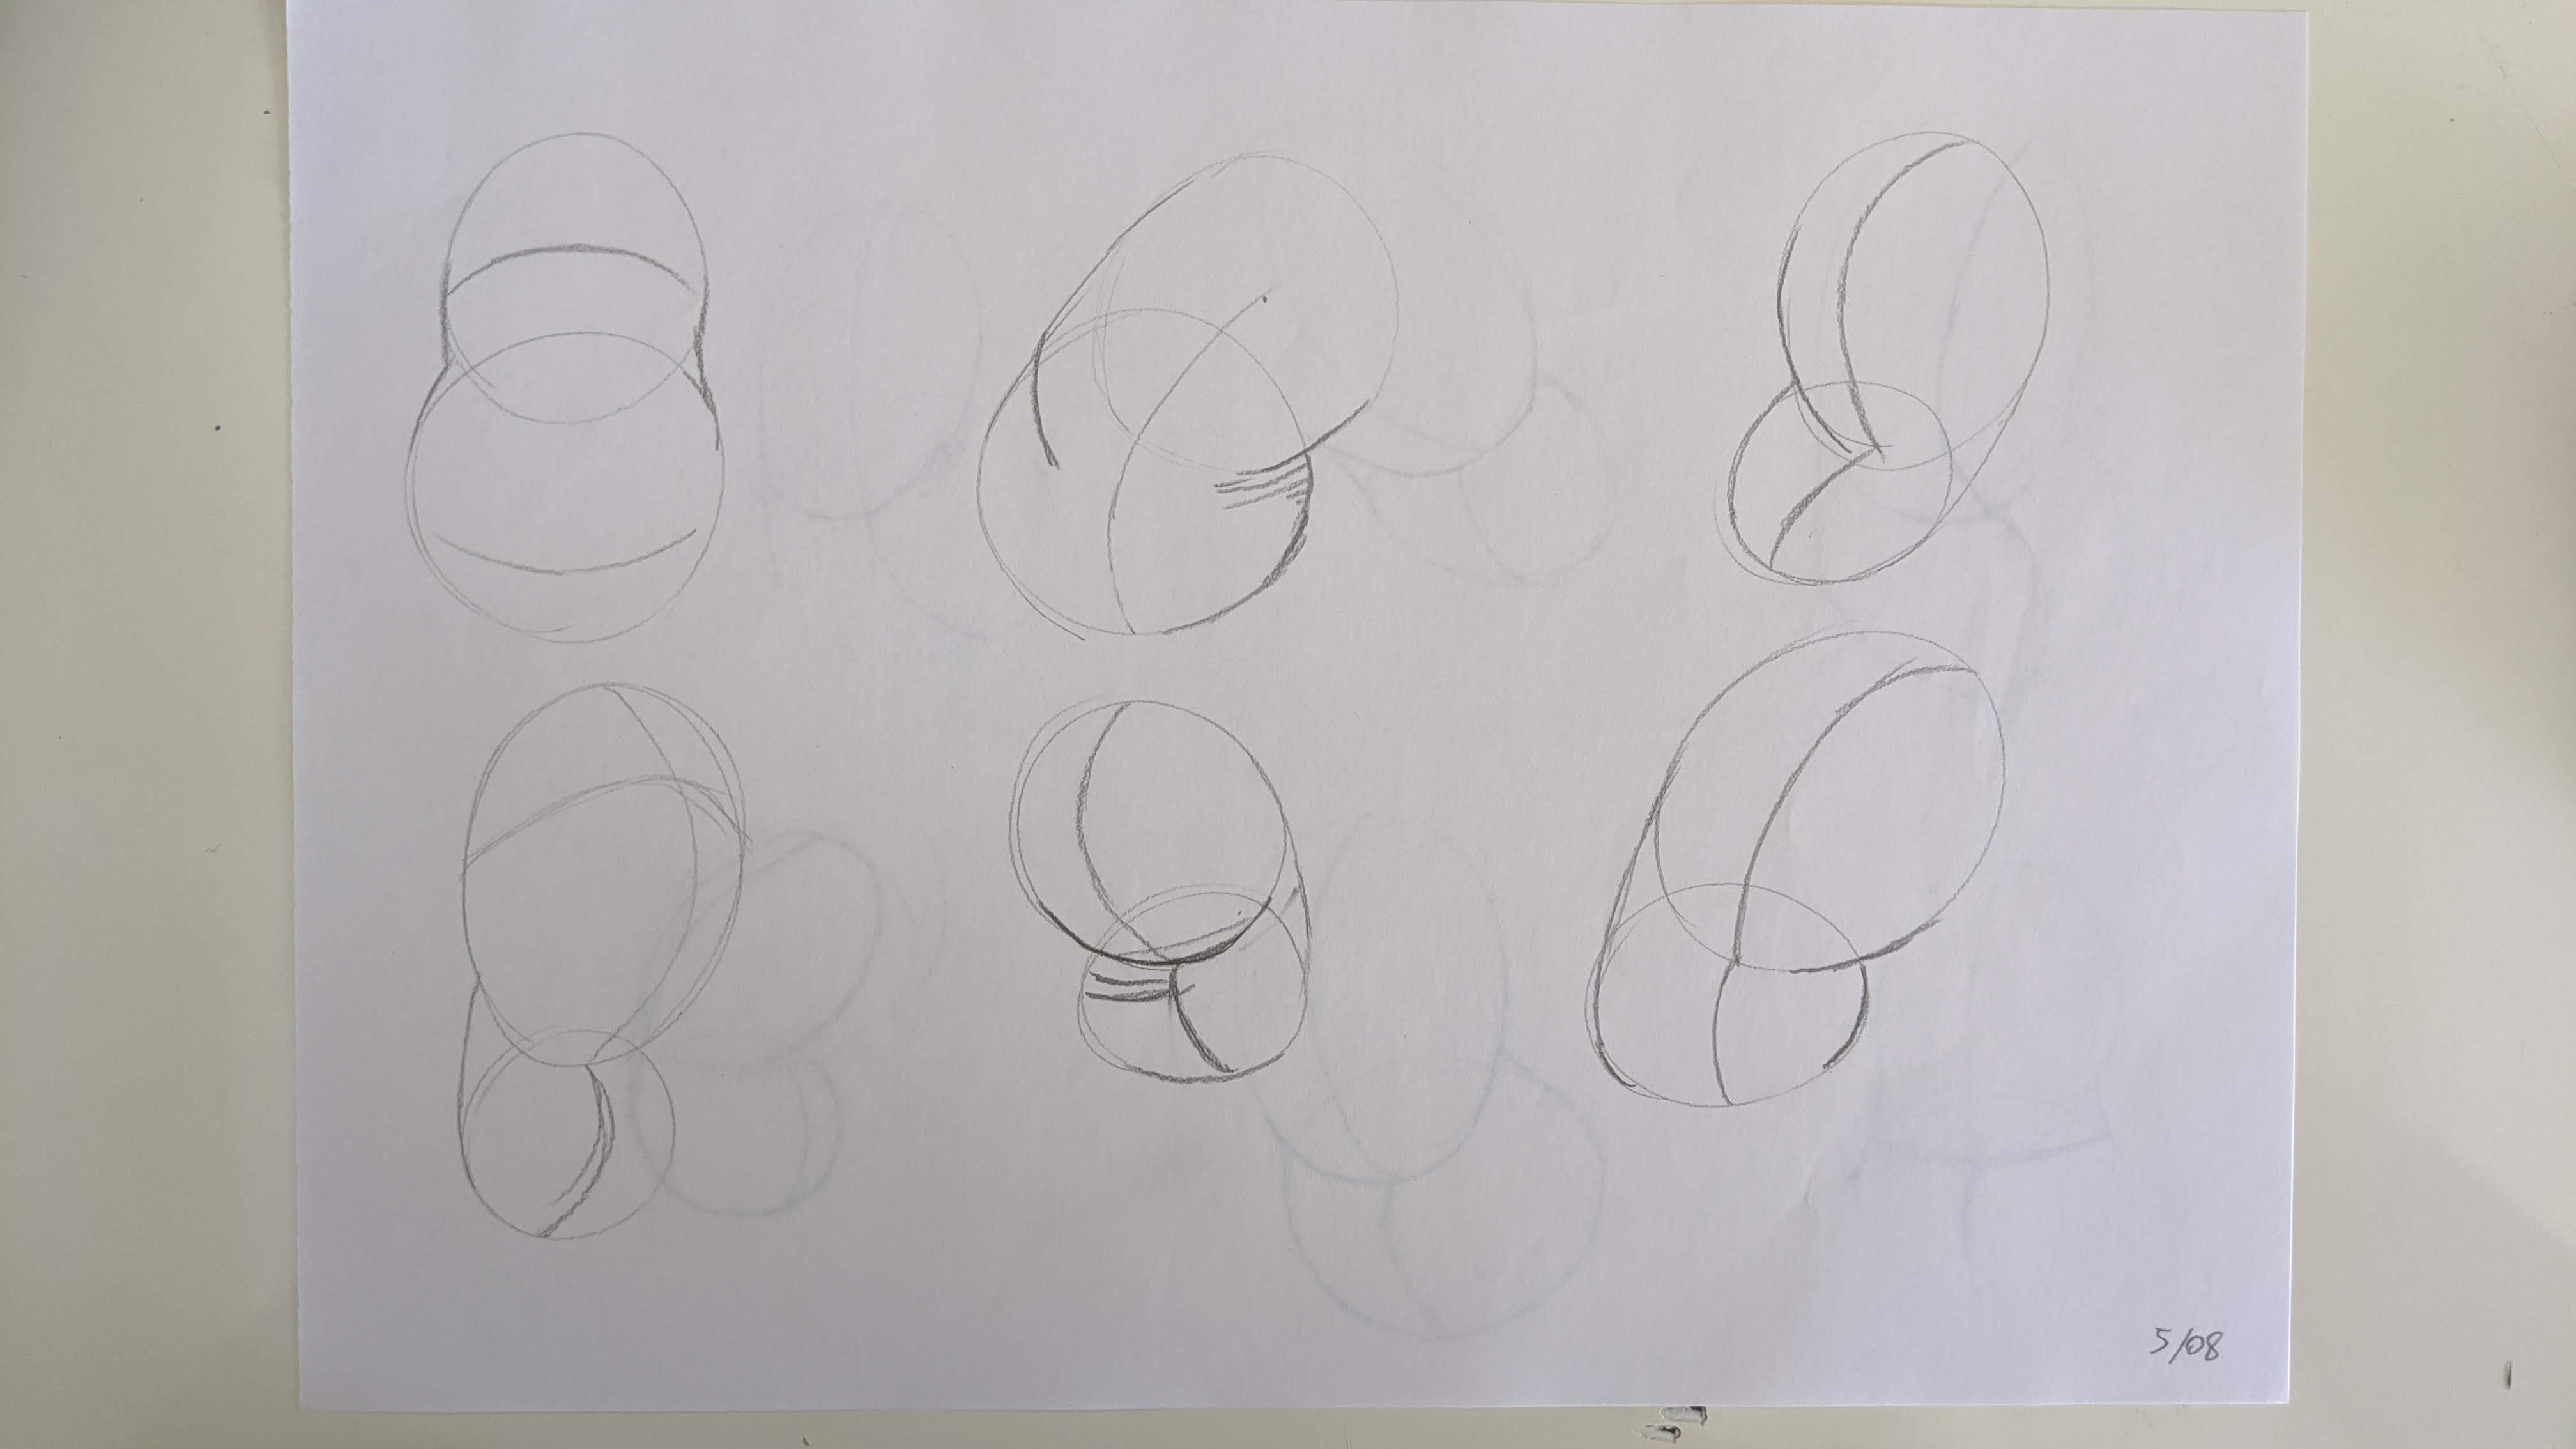
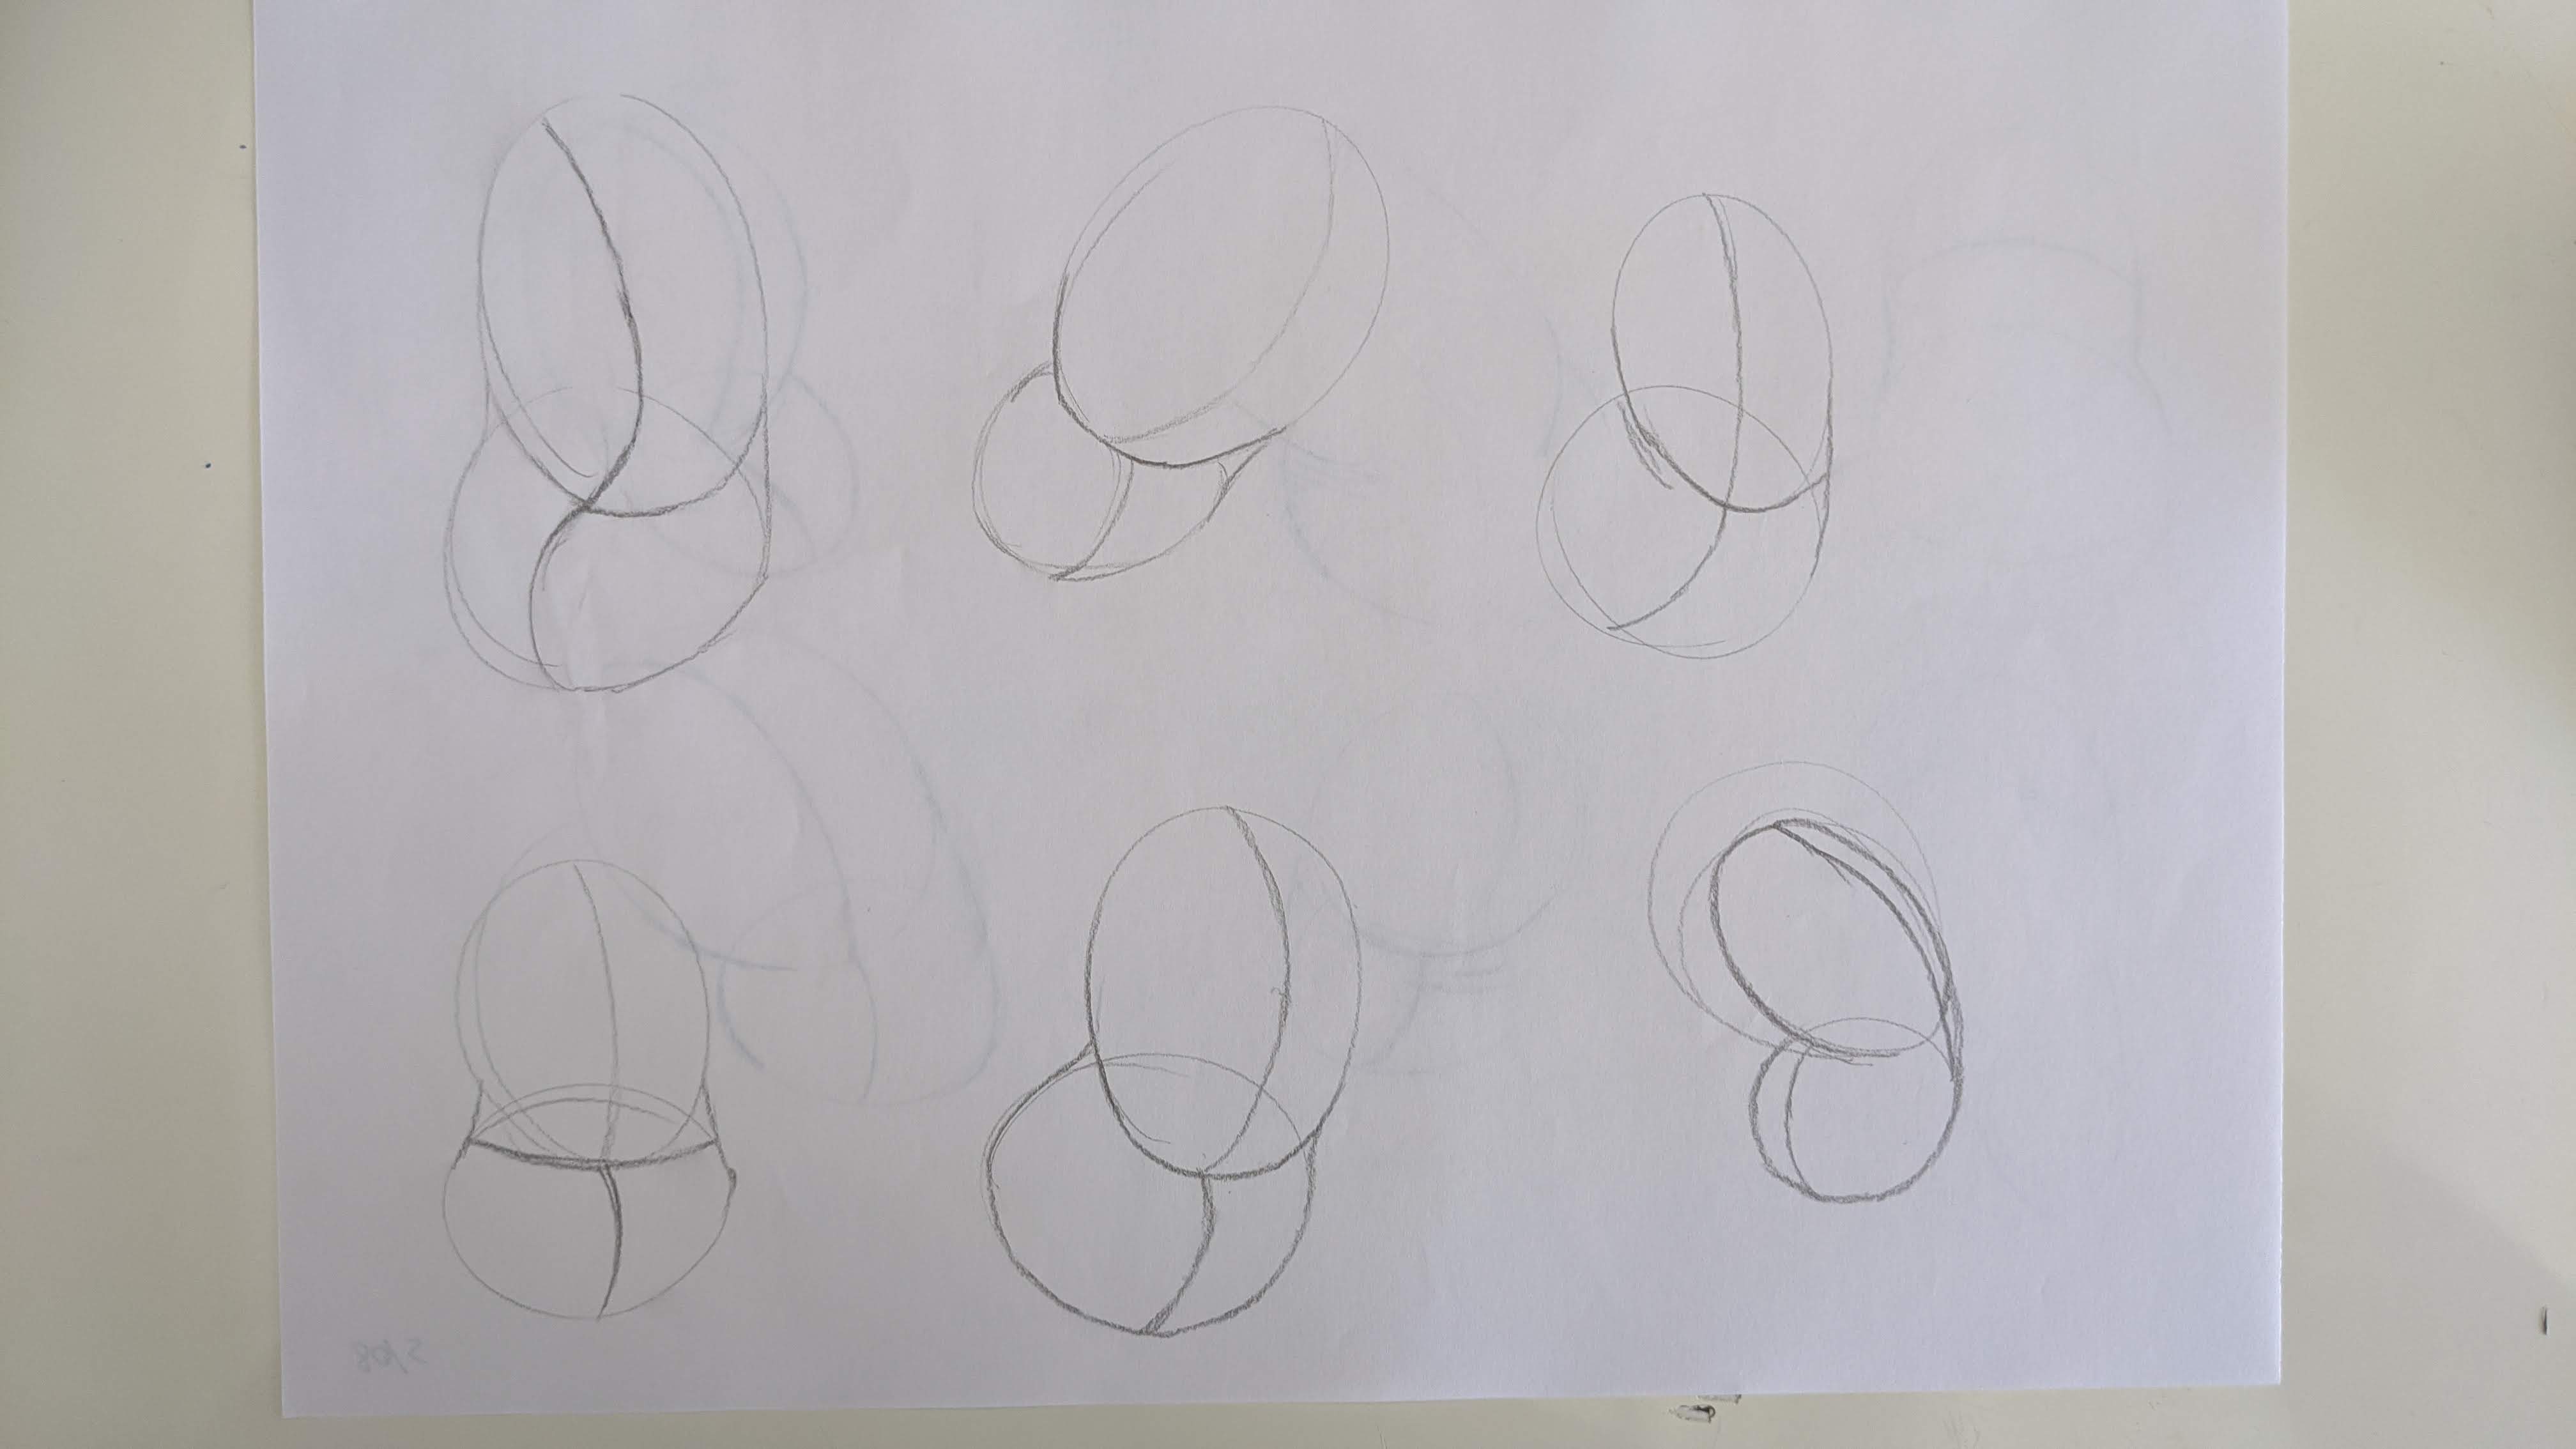
Beans
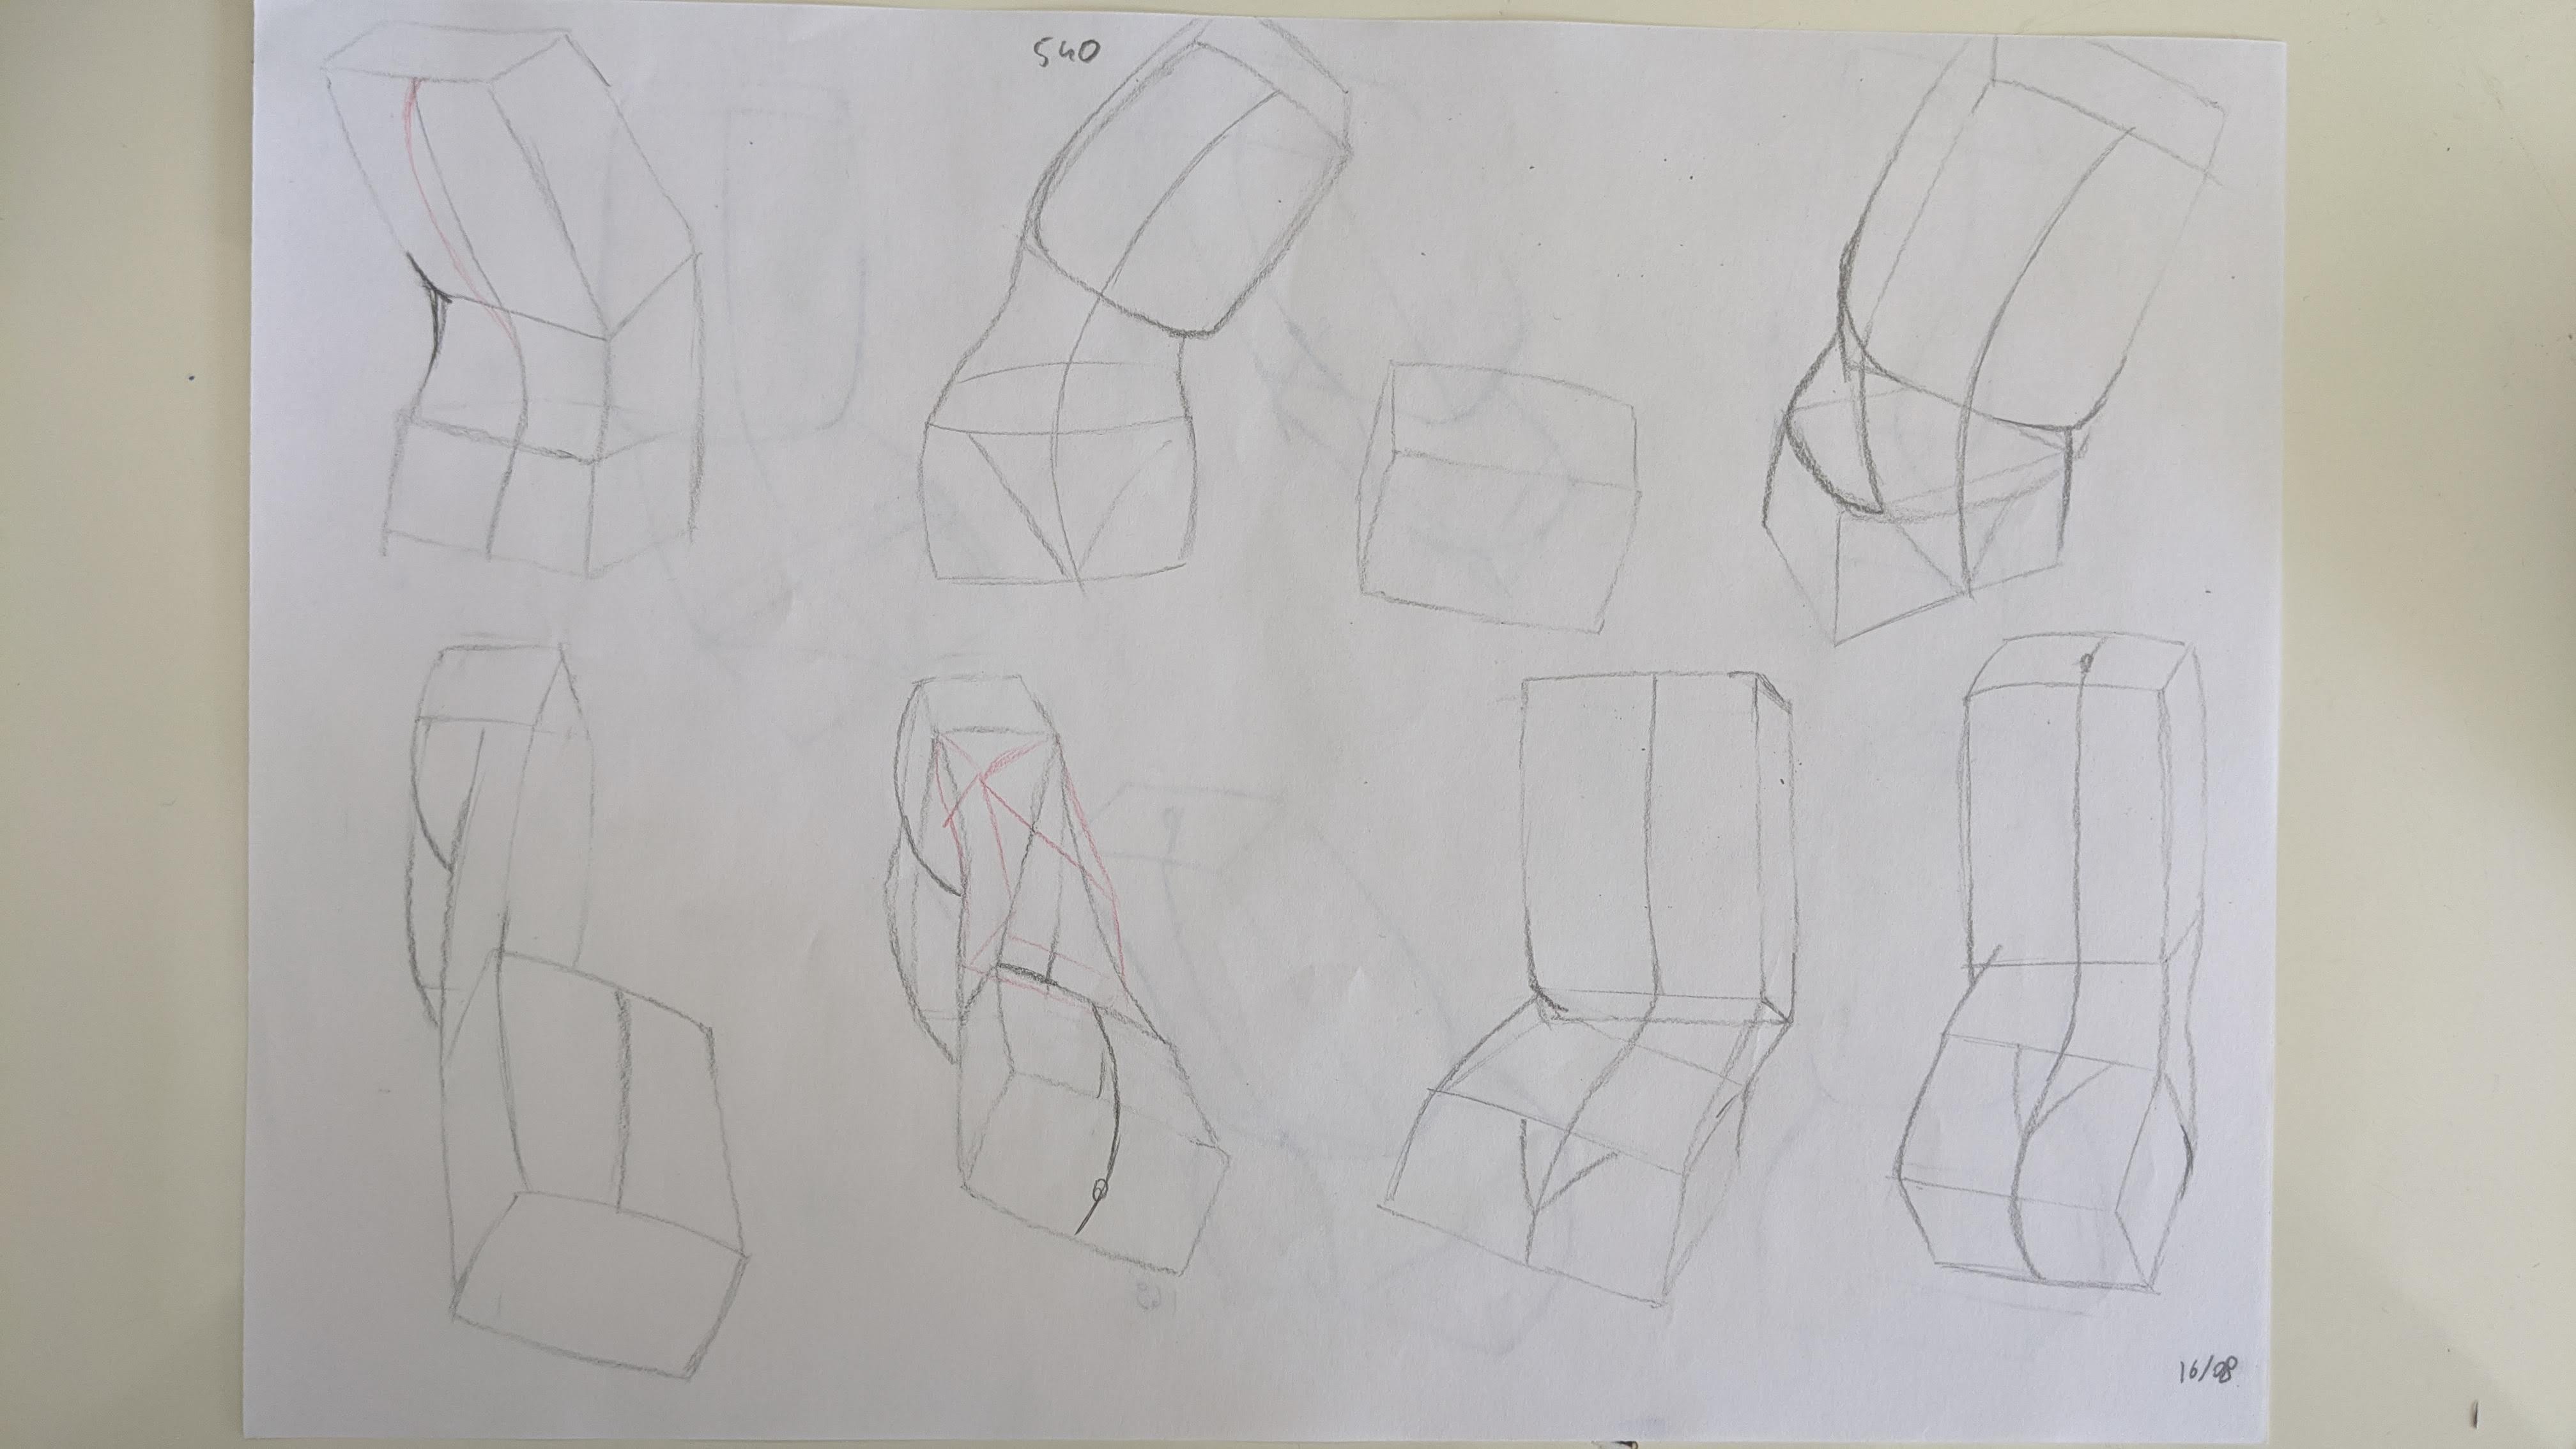
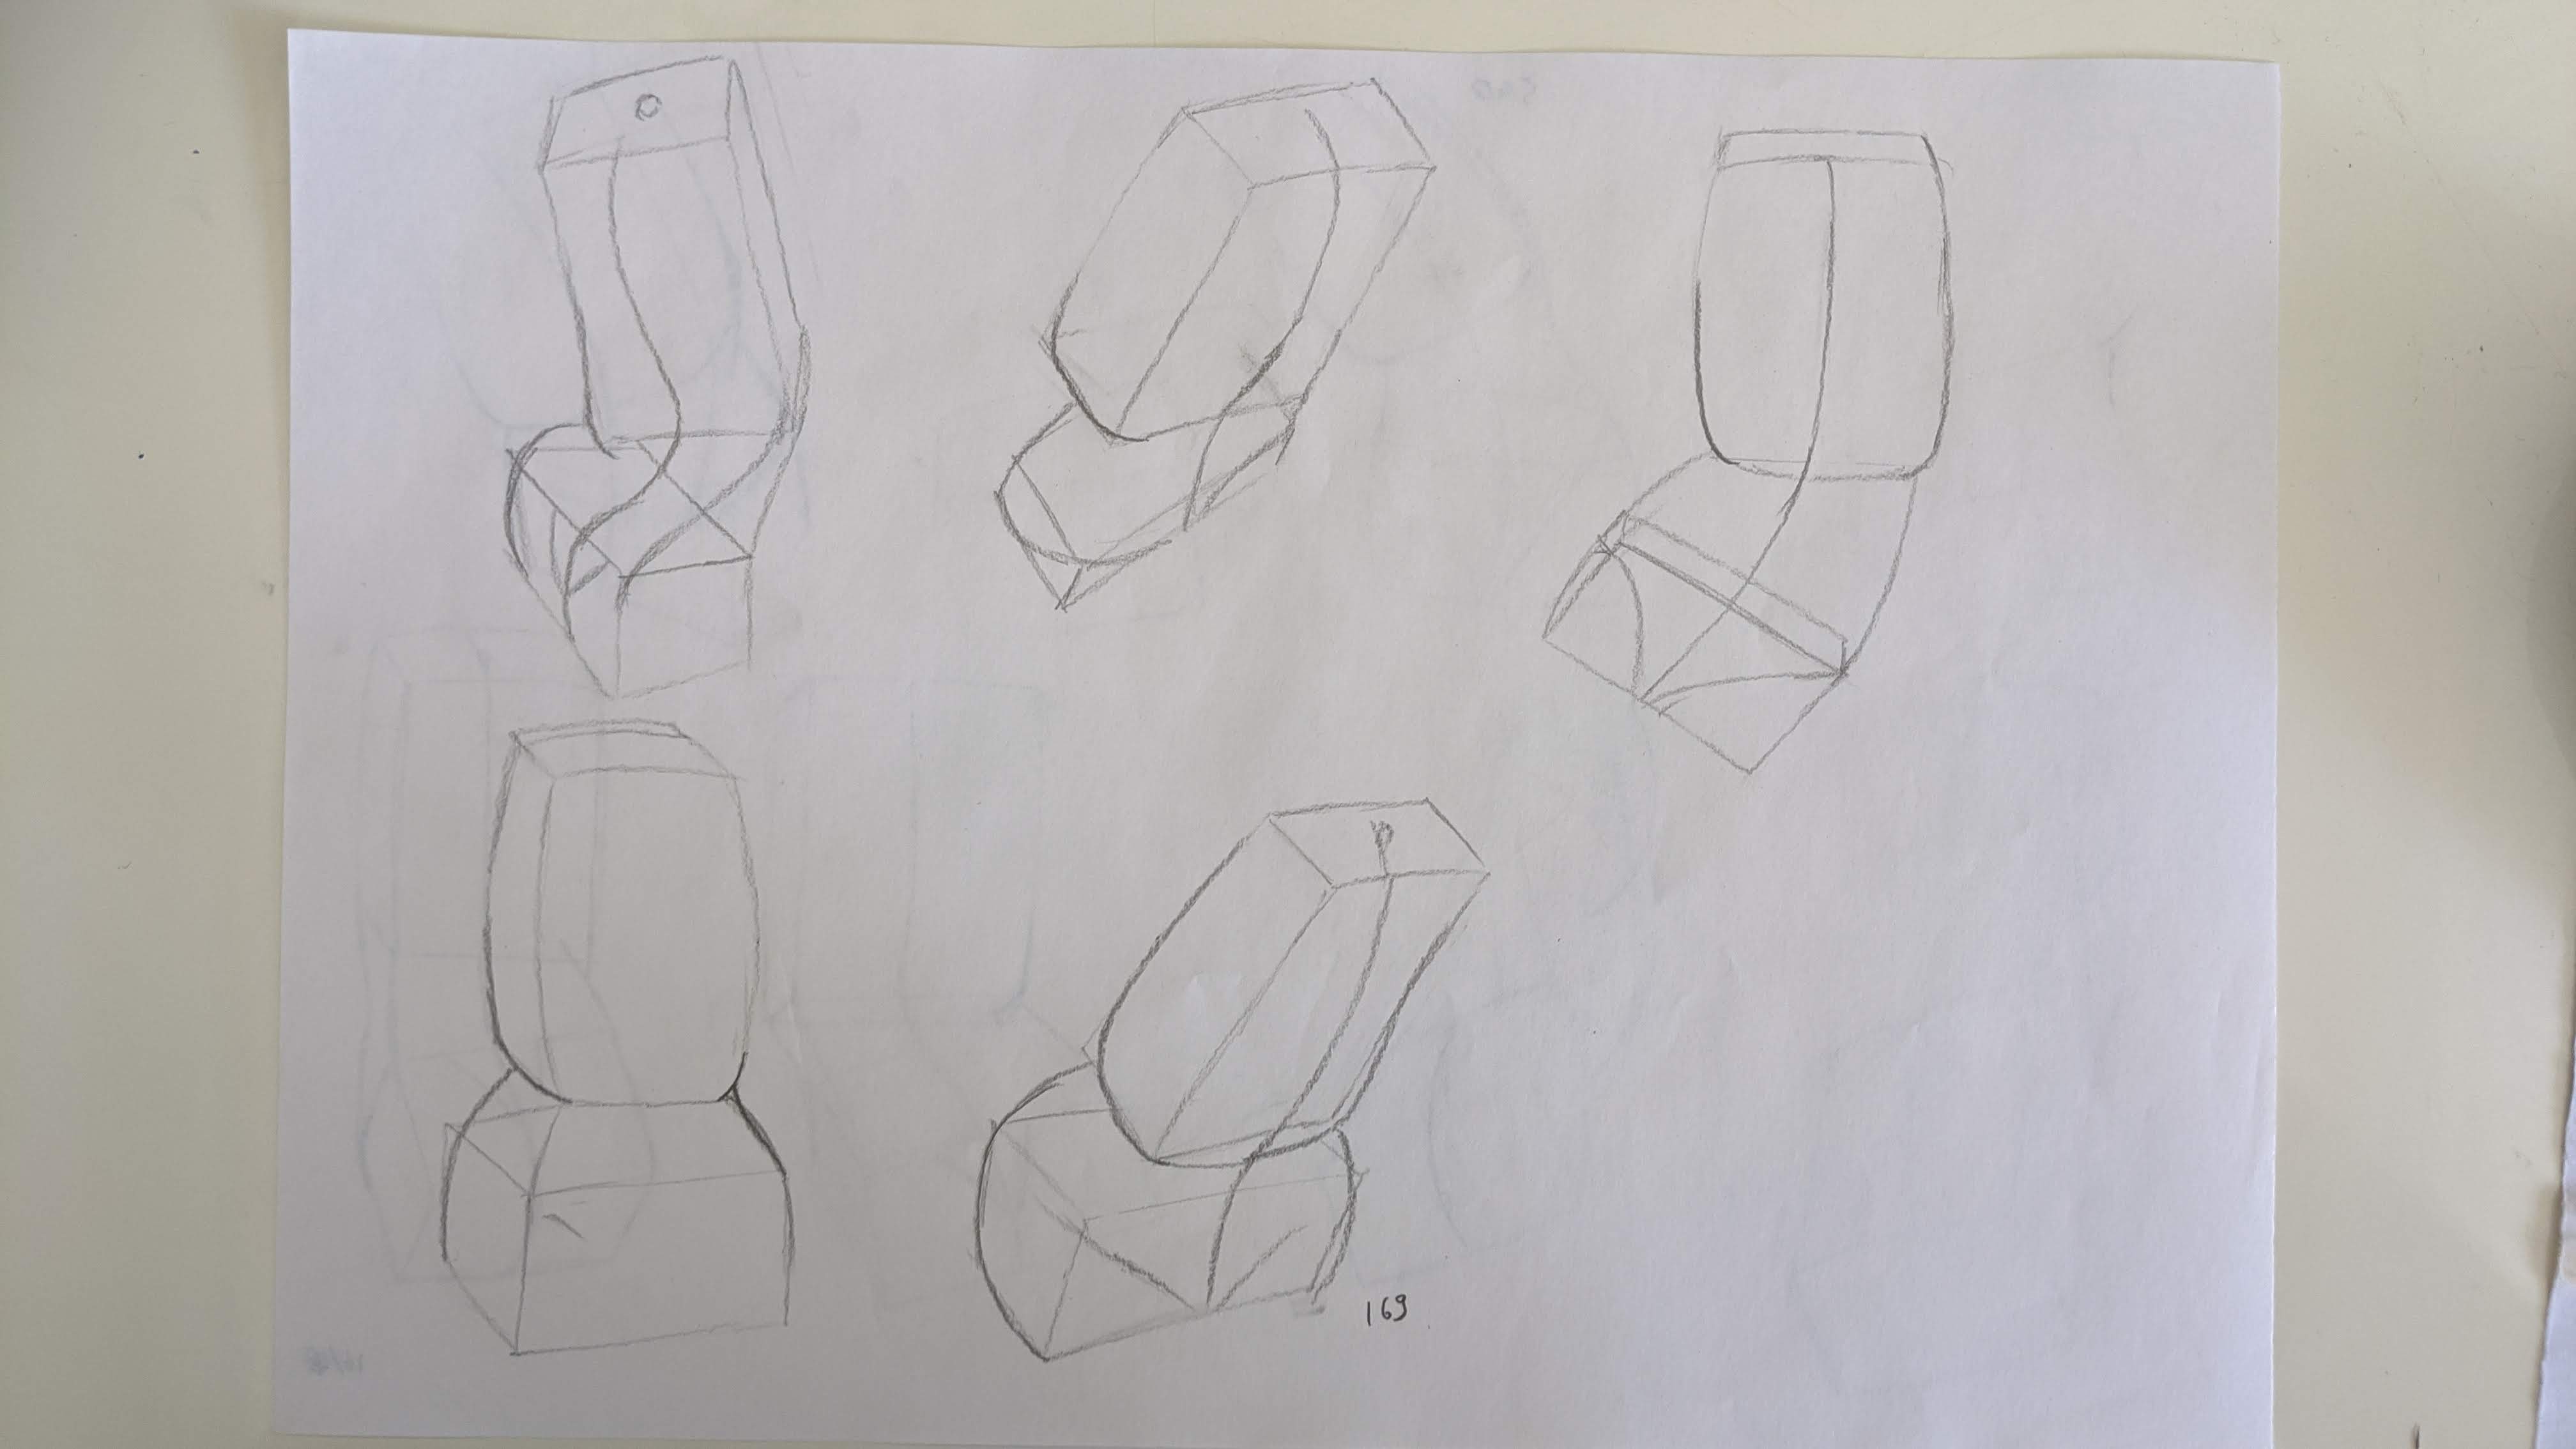
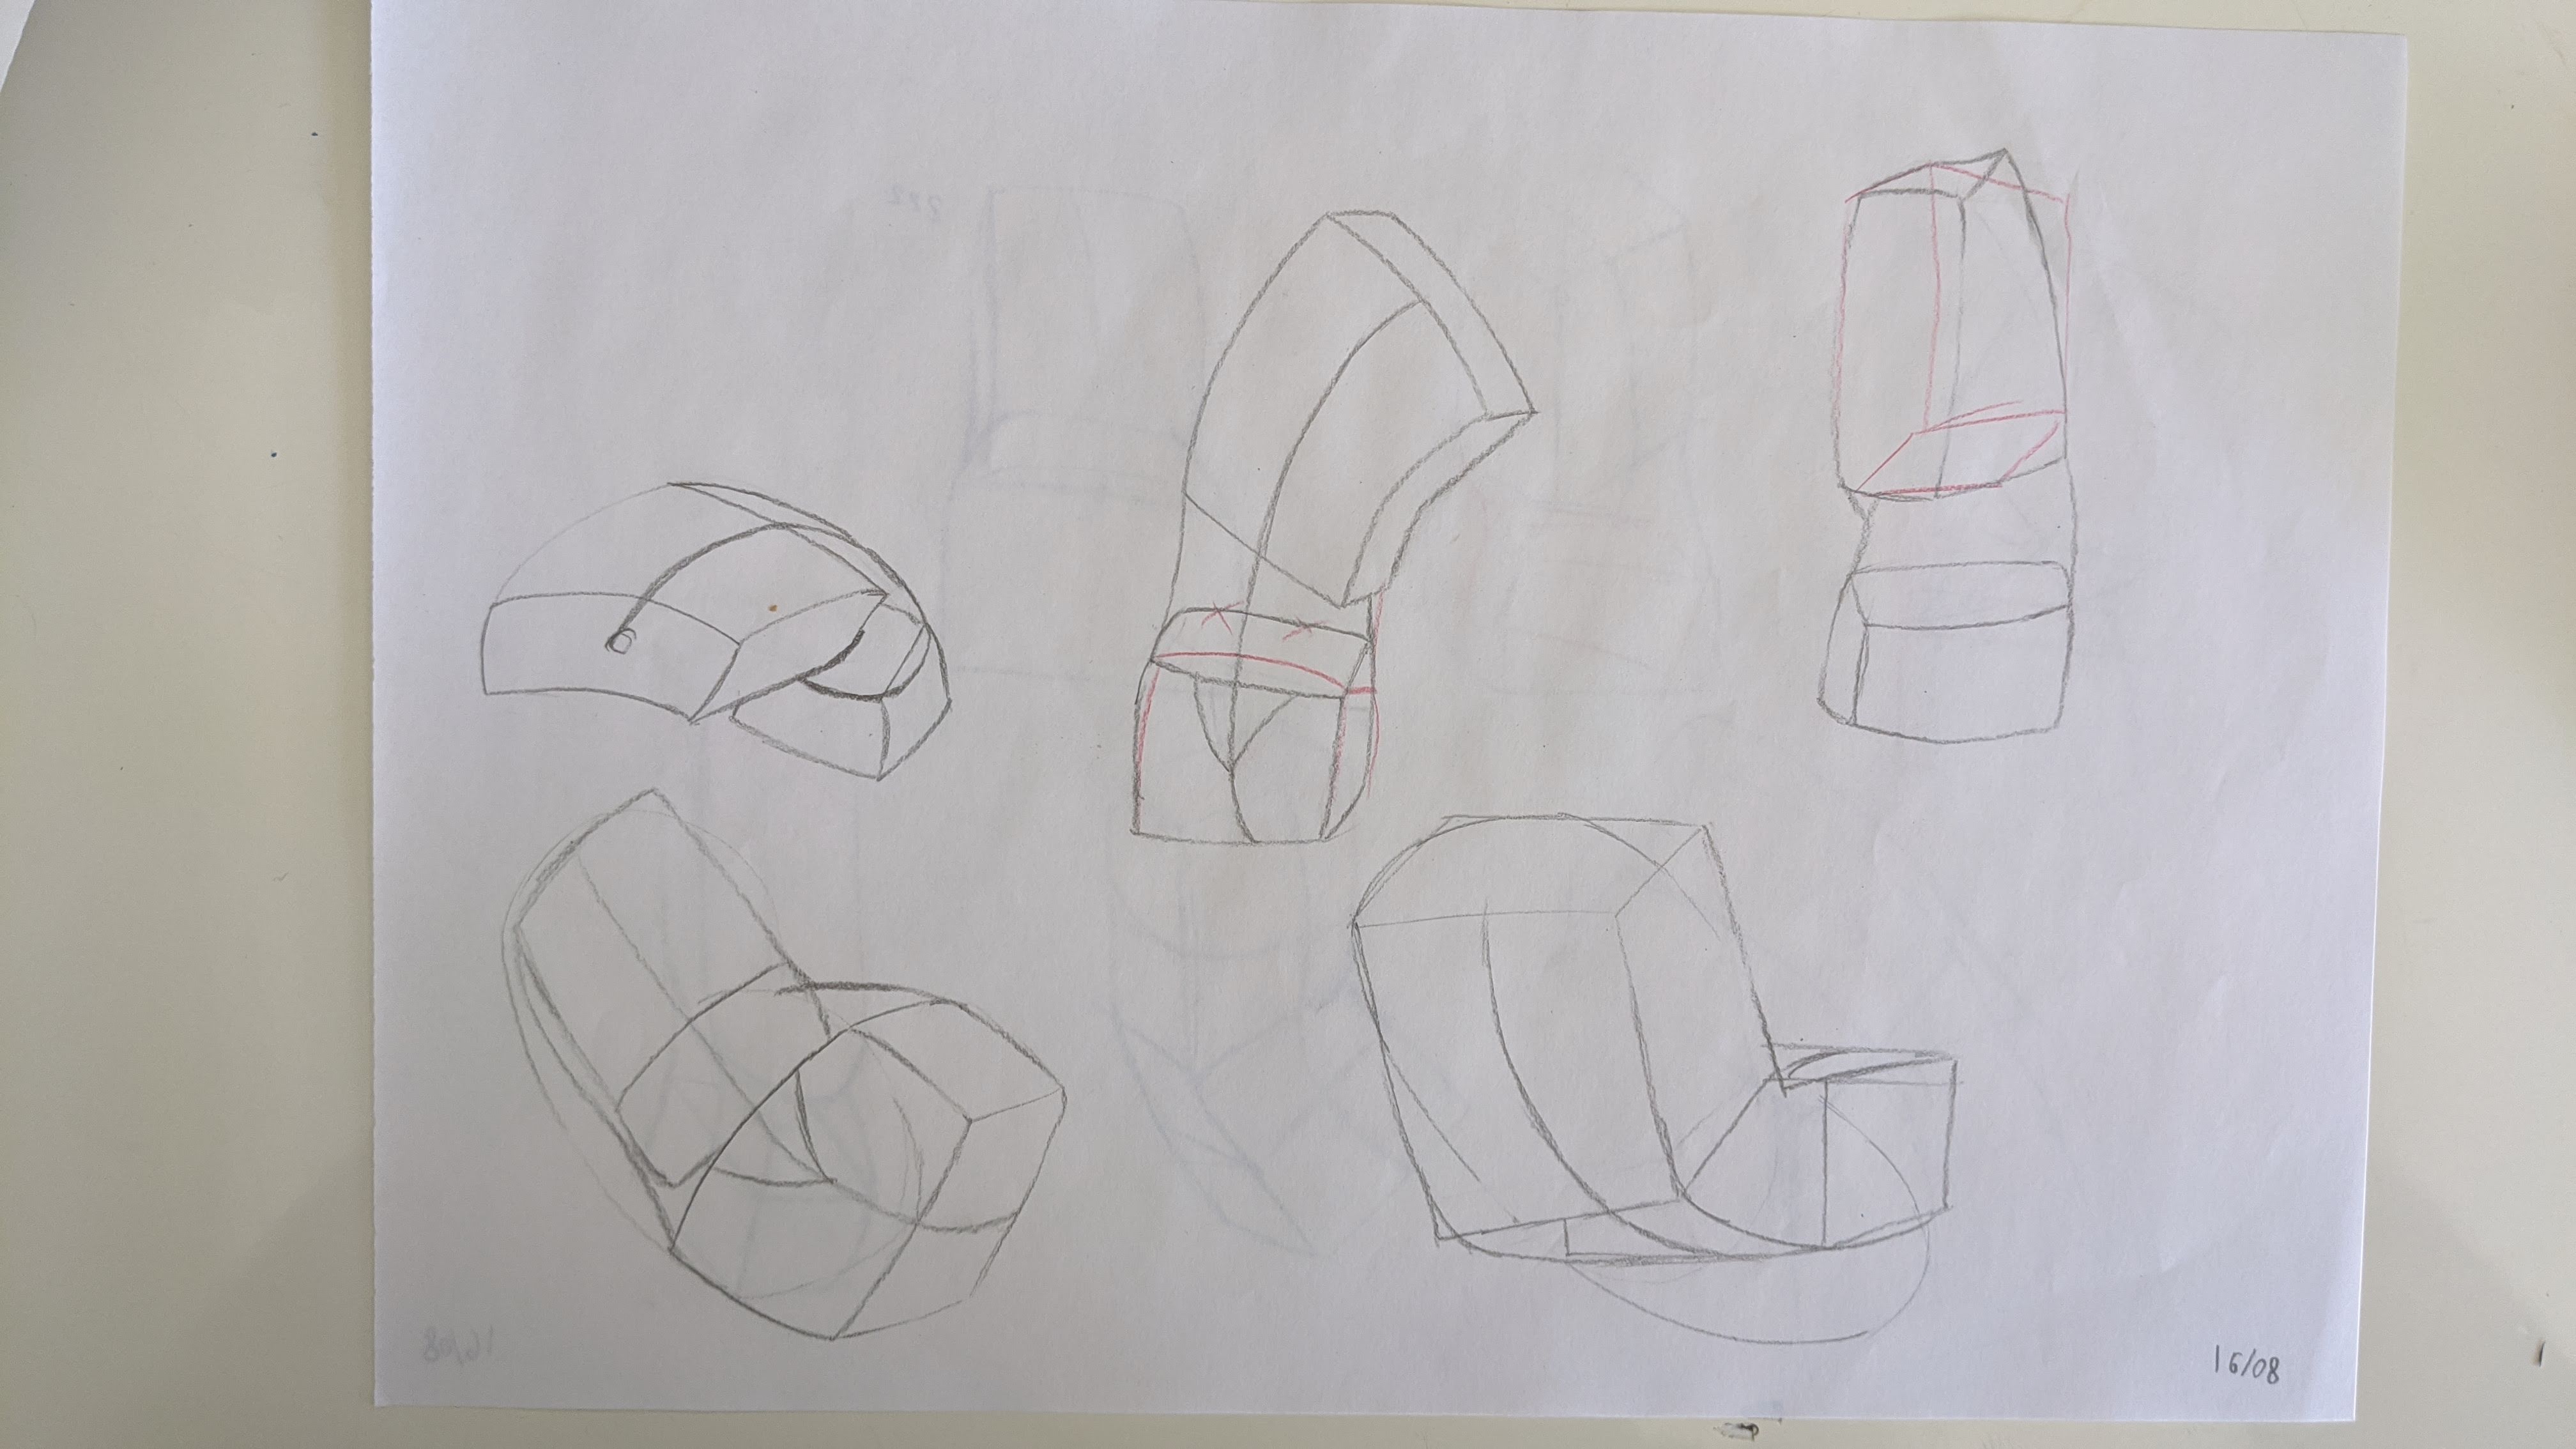
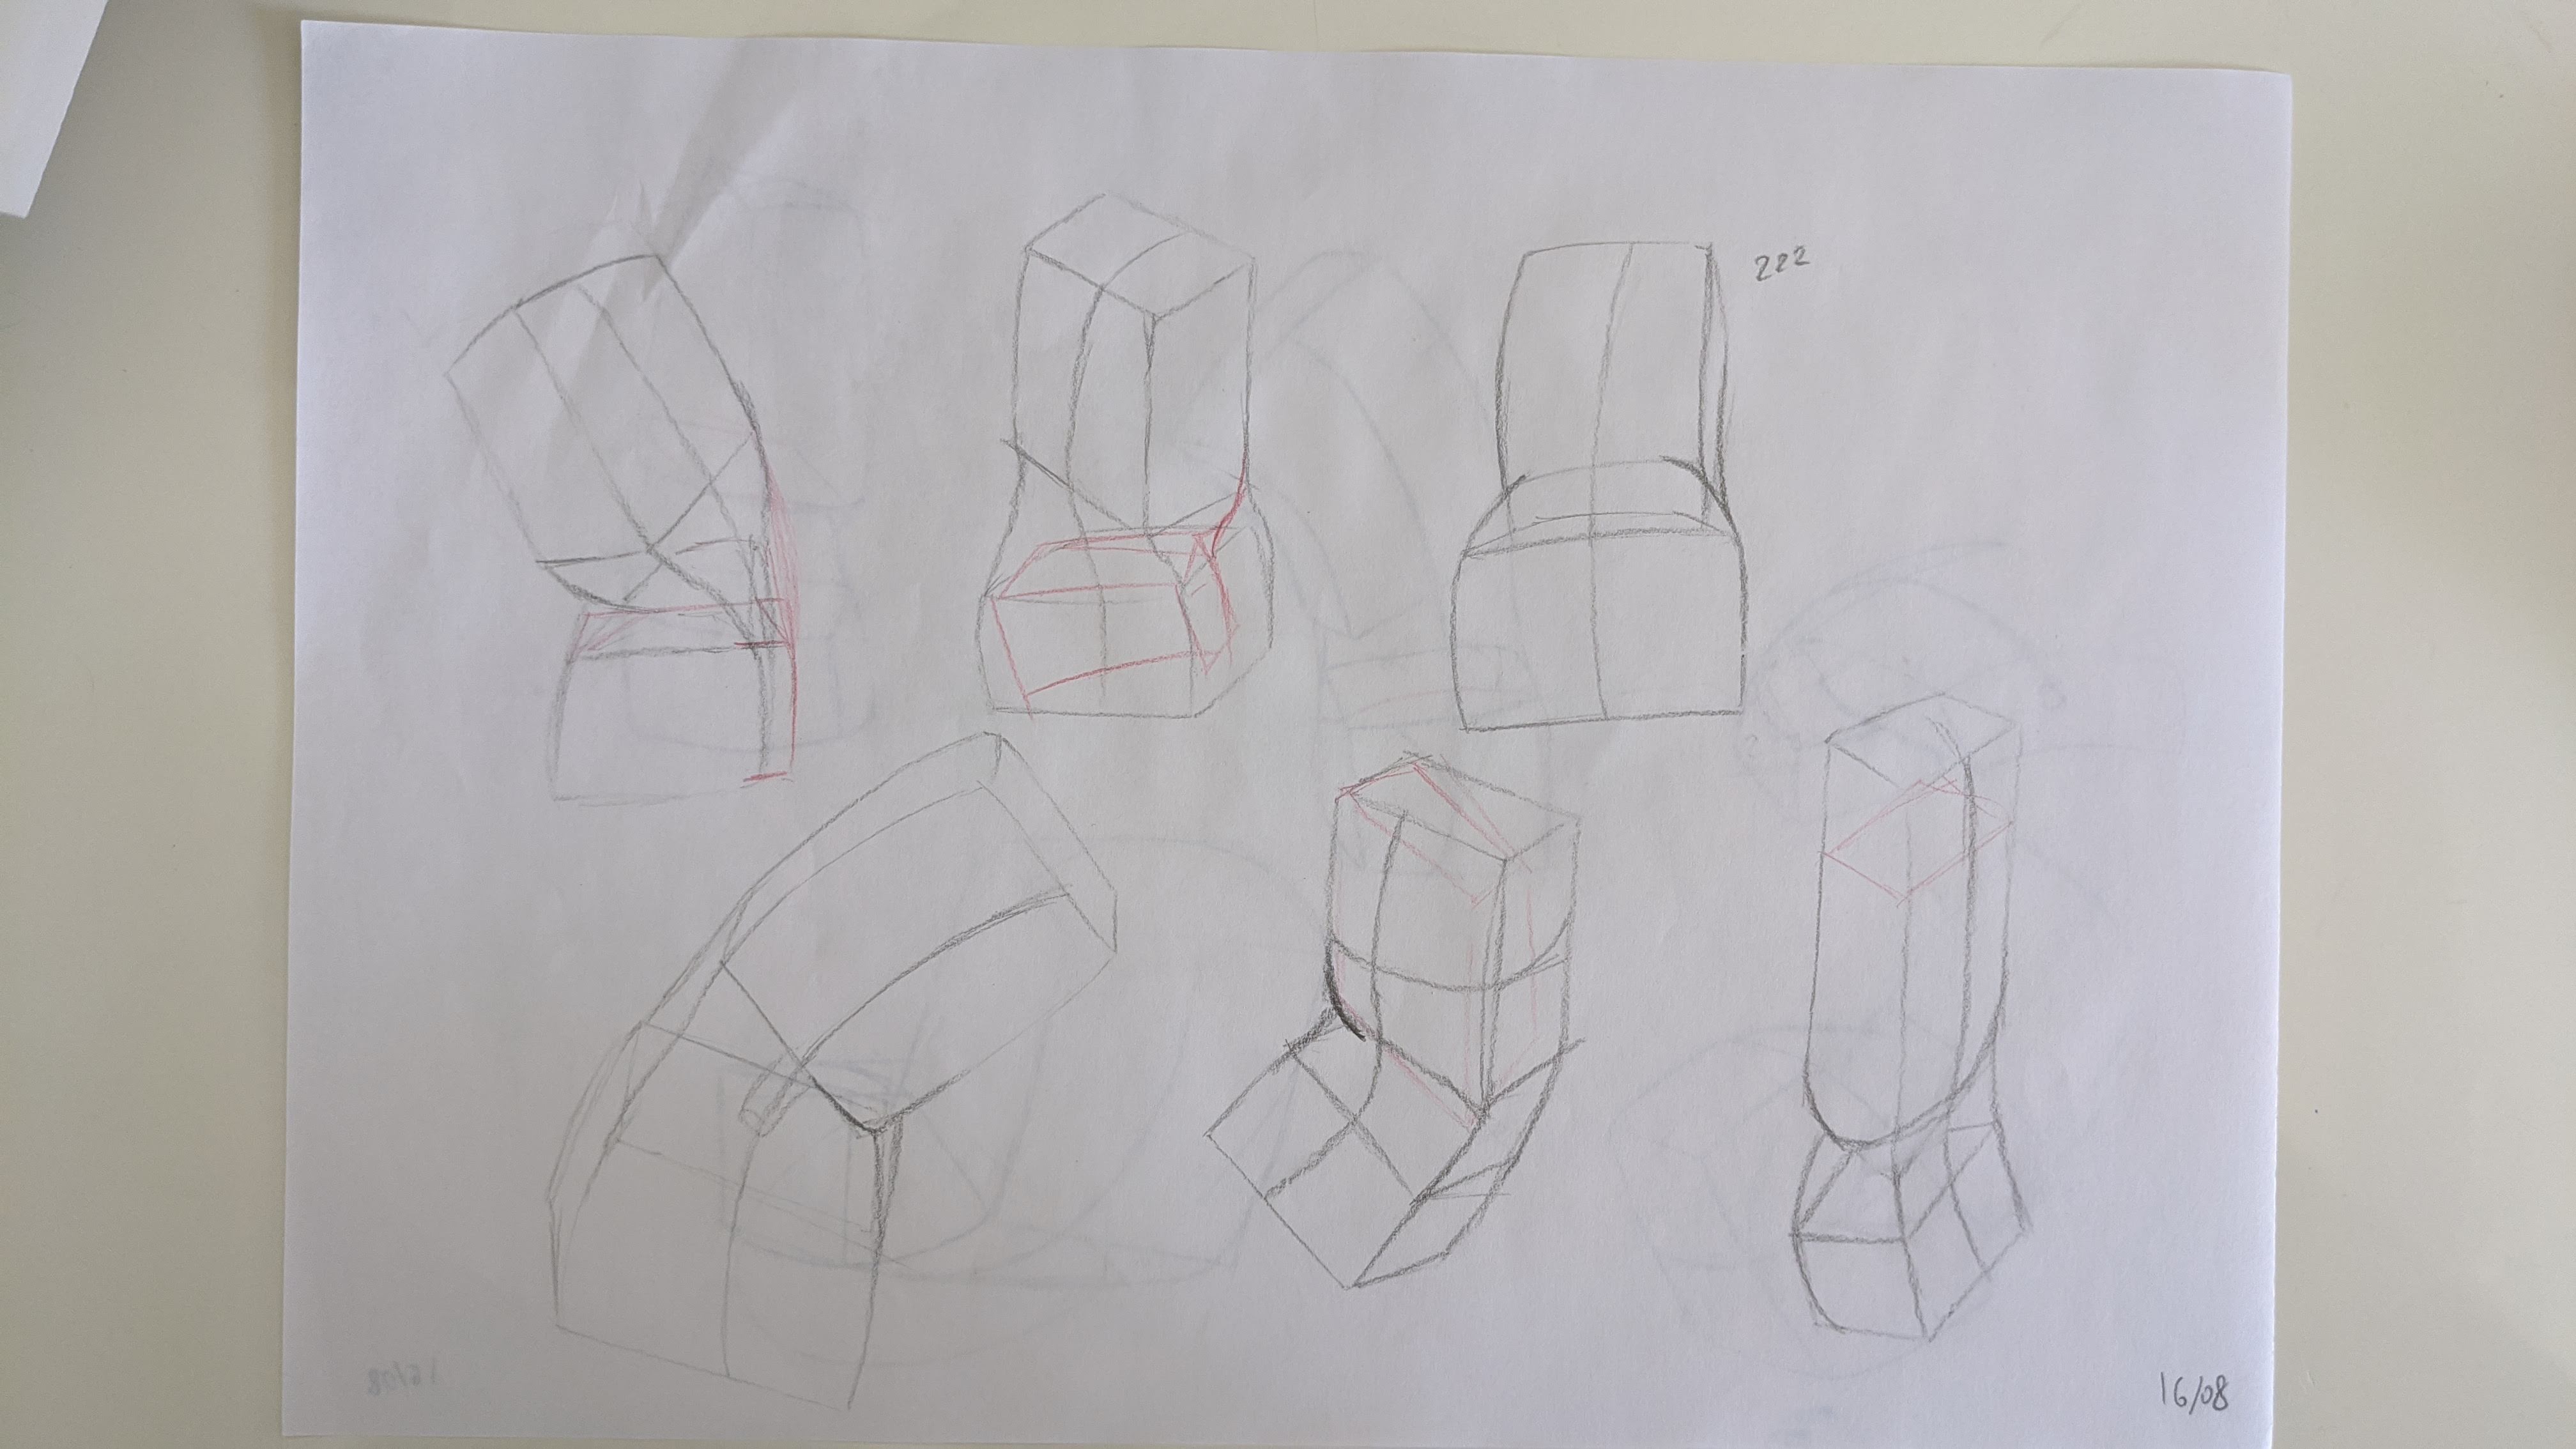
After studying the gesture, Proko goes to introduce his simple models of the human torso: the bean and the robo-bean. These are useful to attach the feeling of the 3-dimensionality to the flat gesture, without adding too many details at the same time.
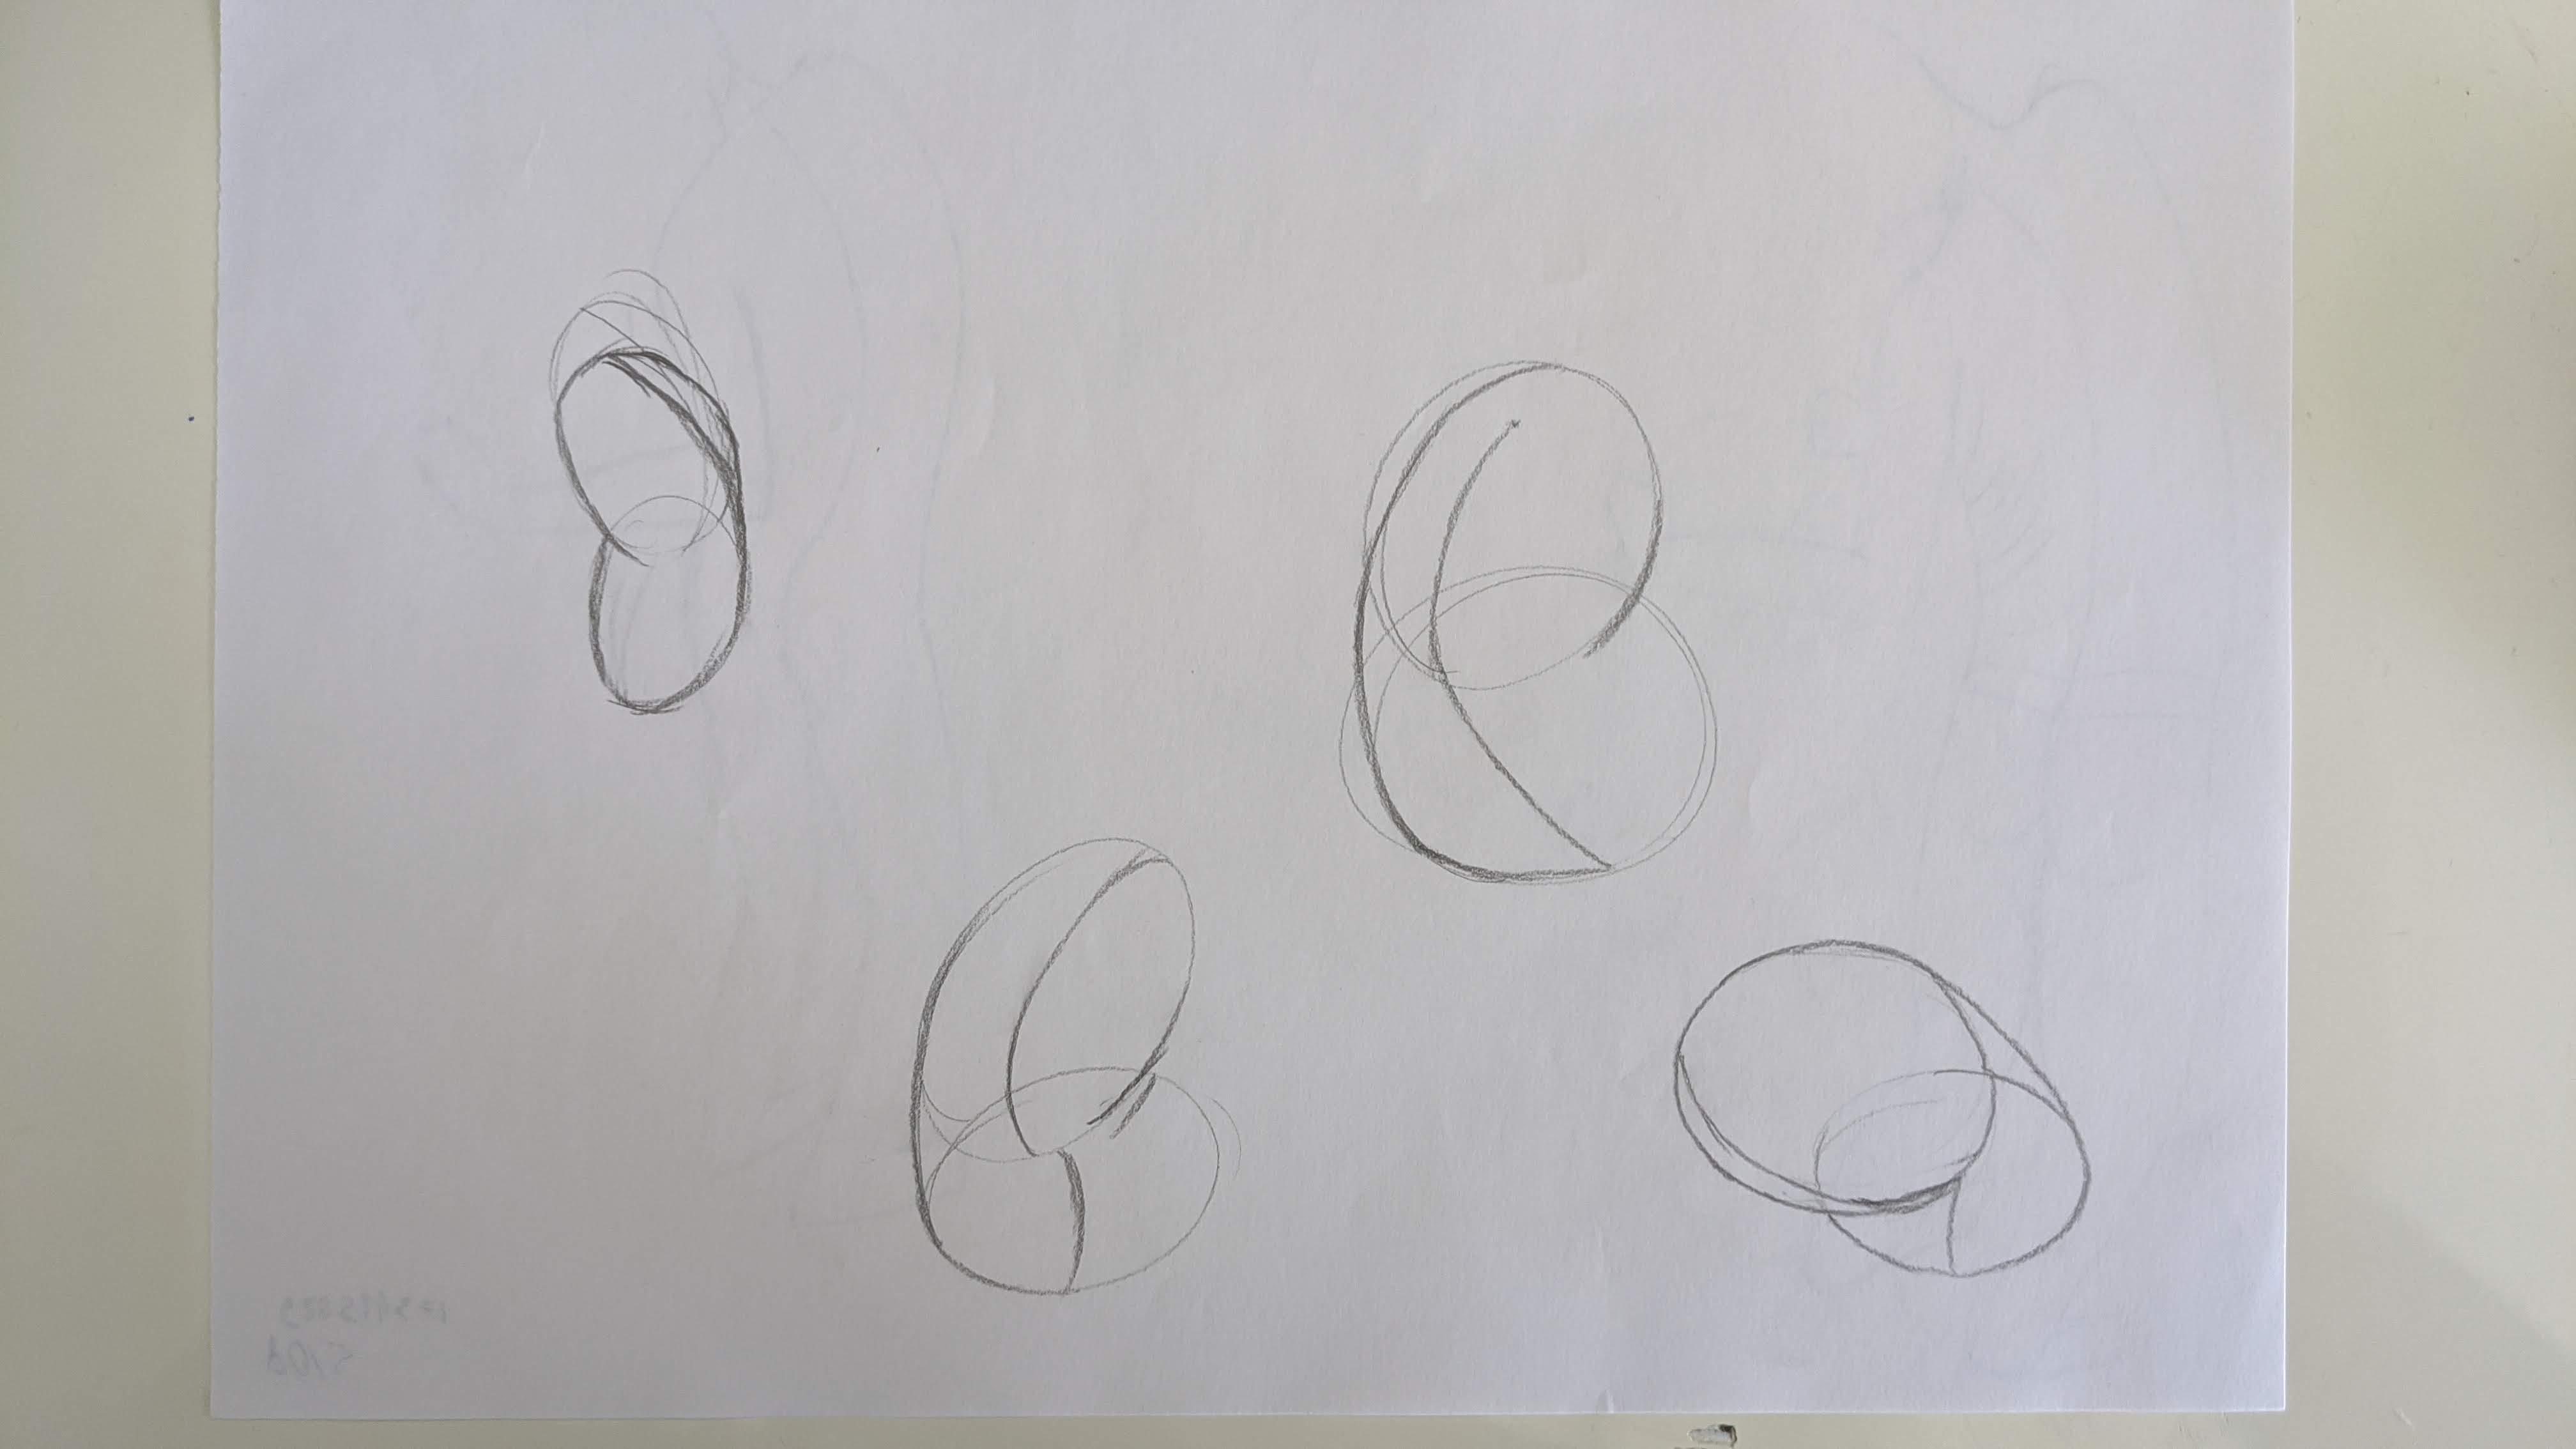
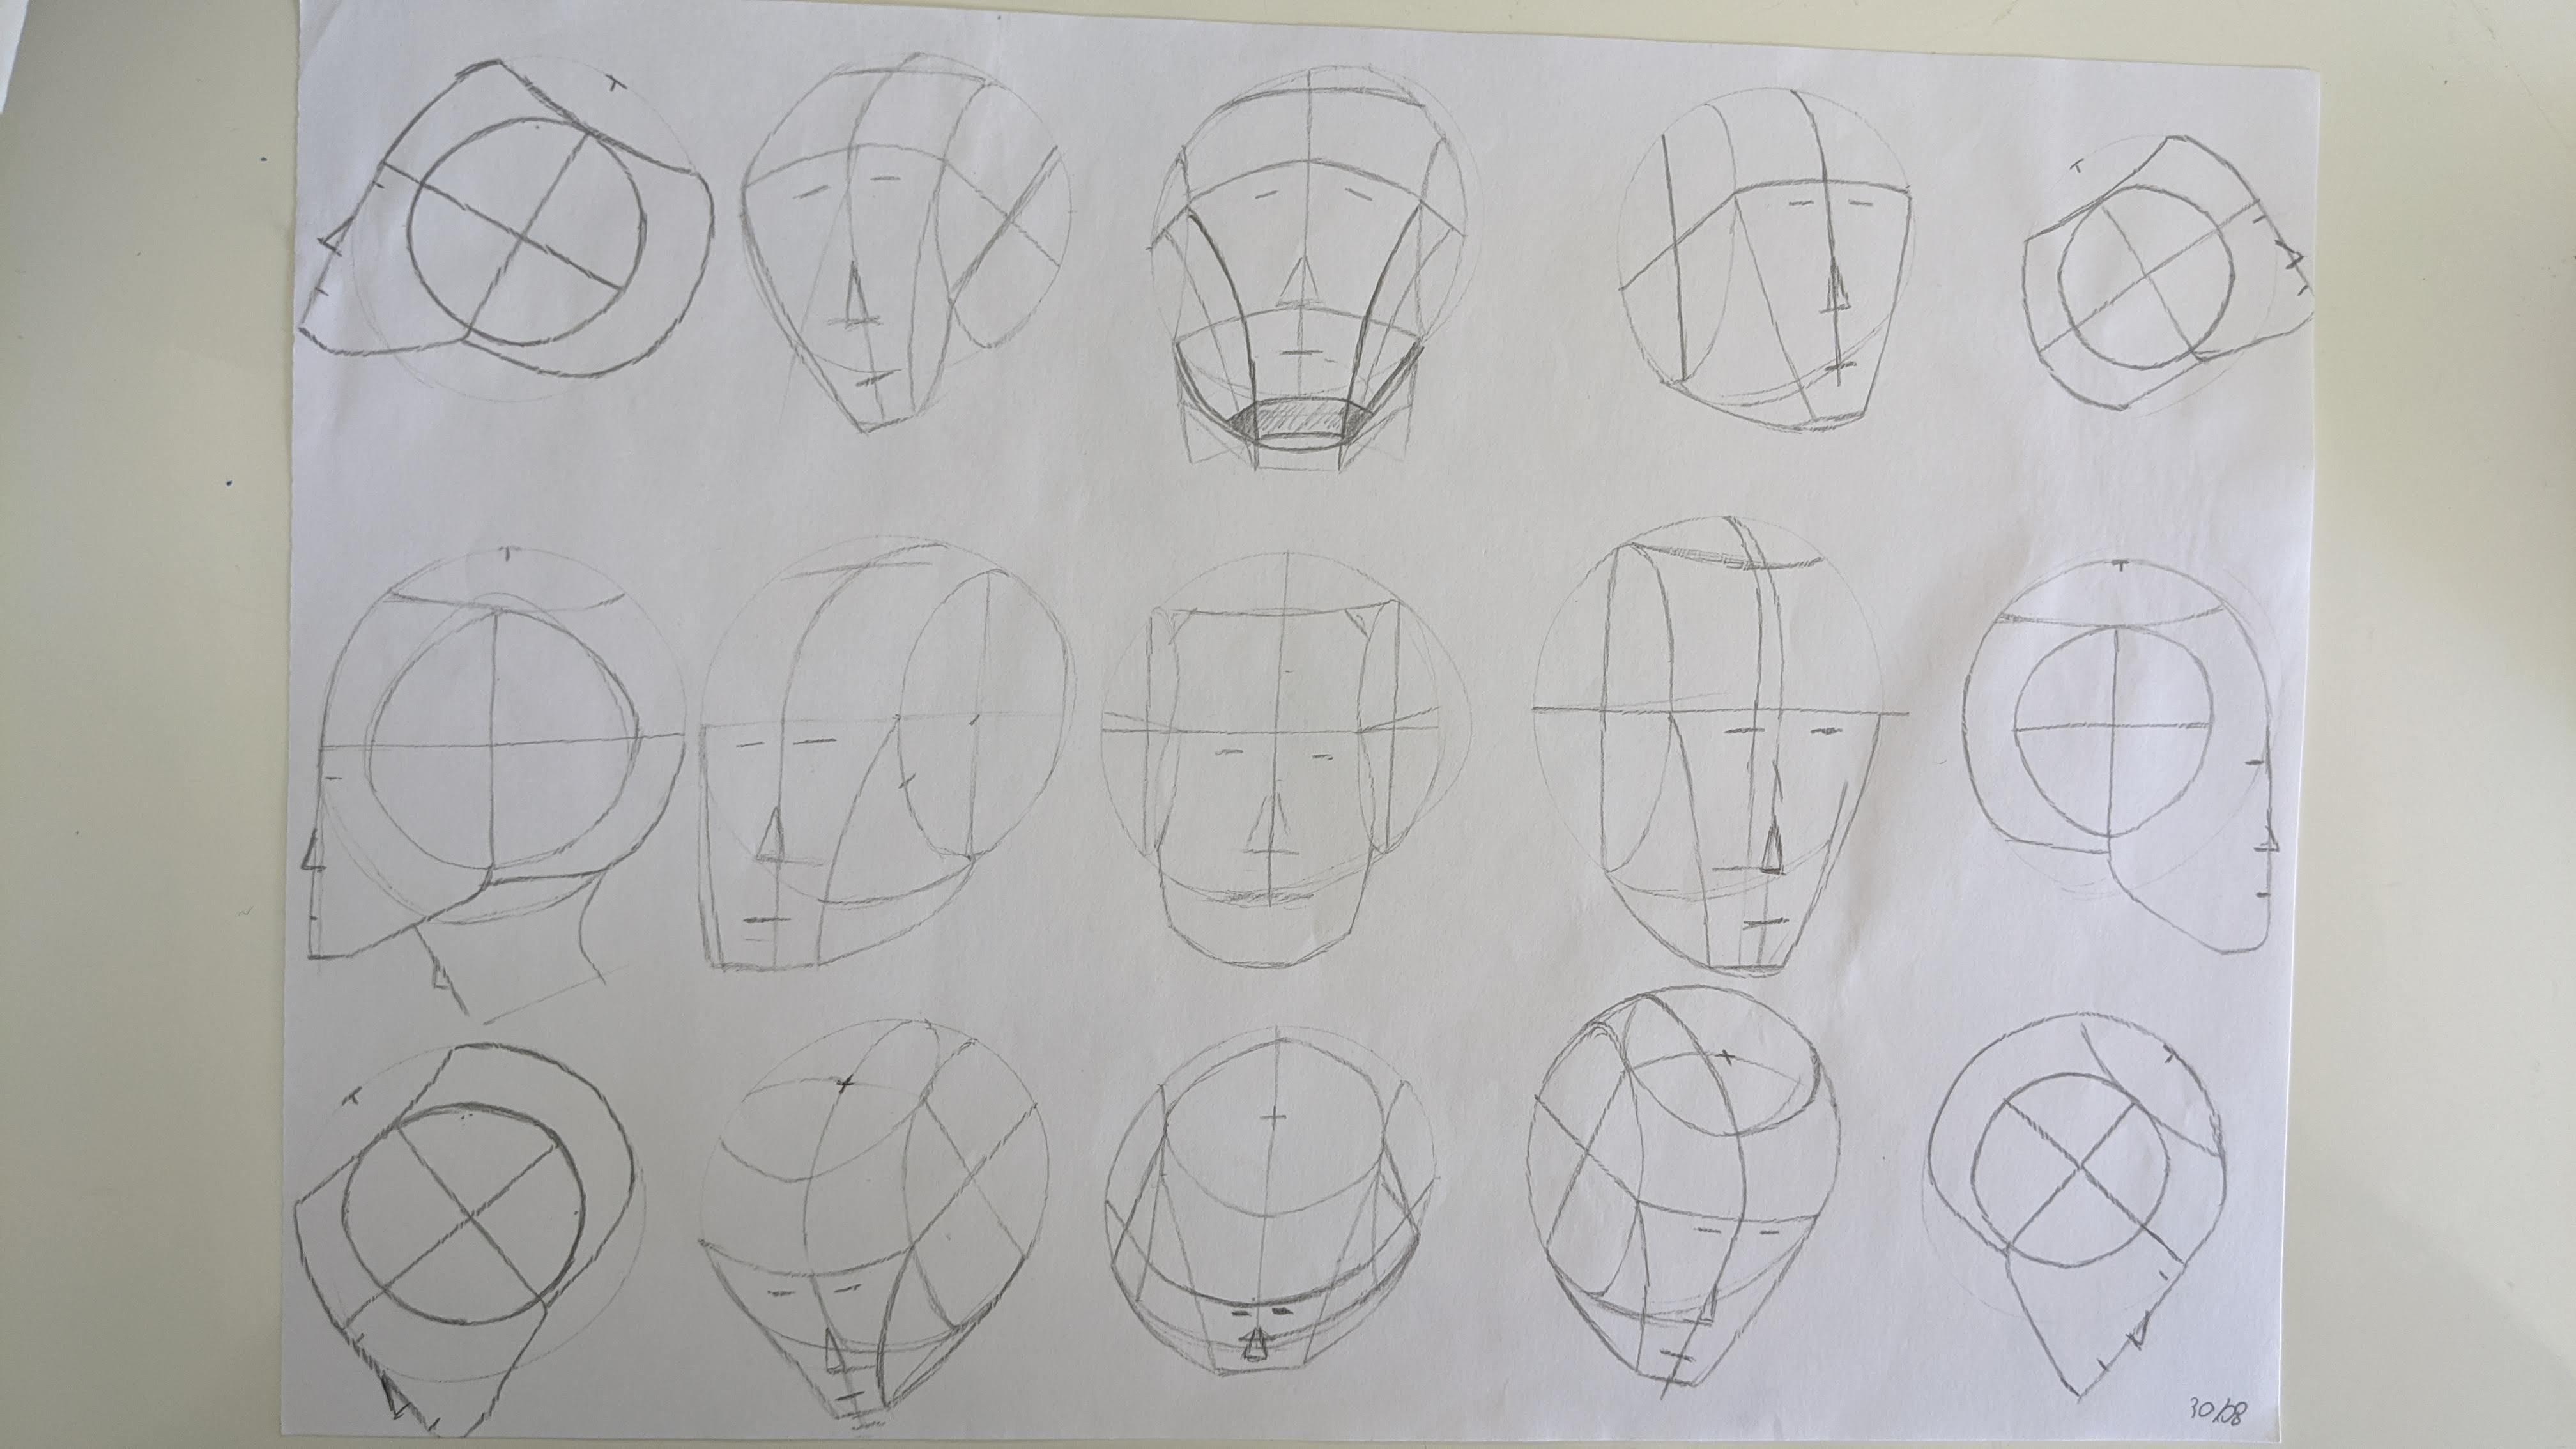
Mannequization
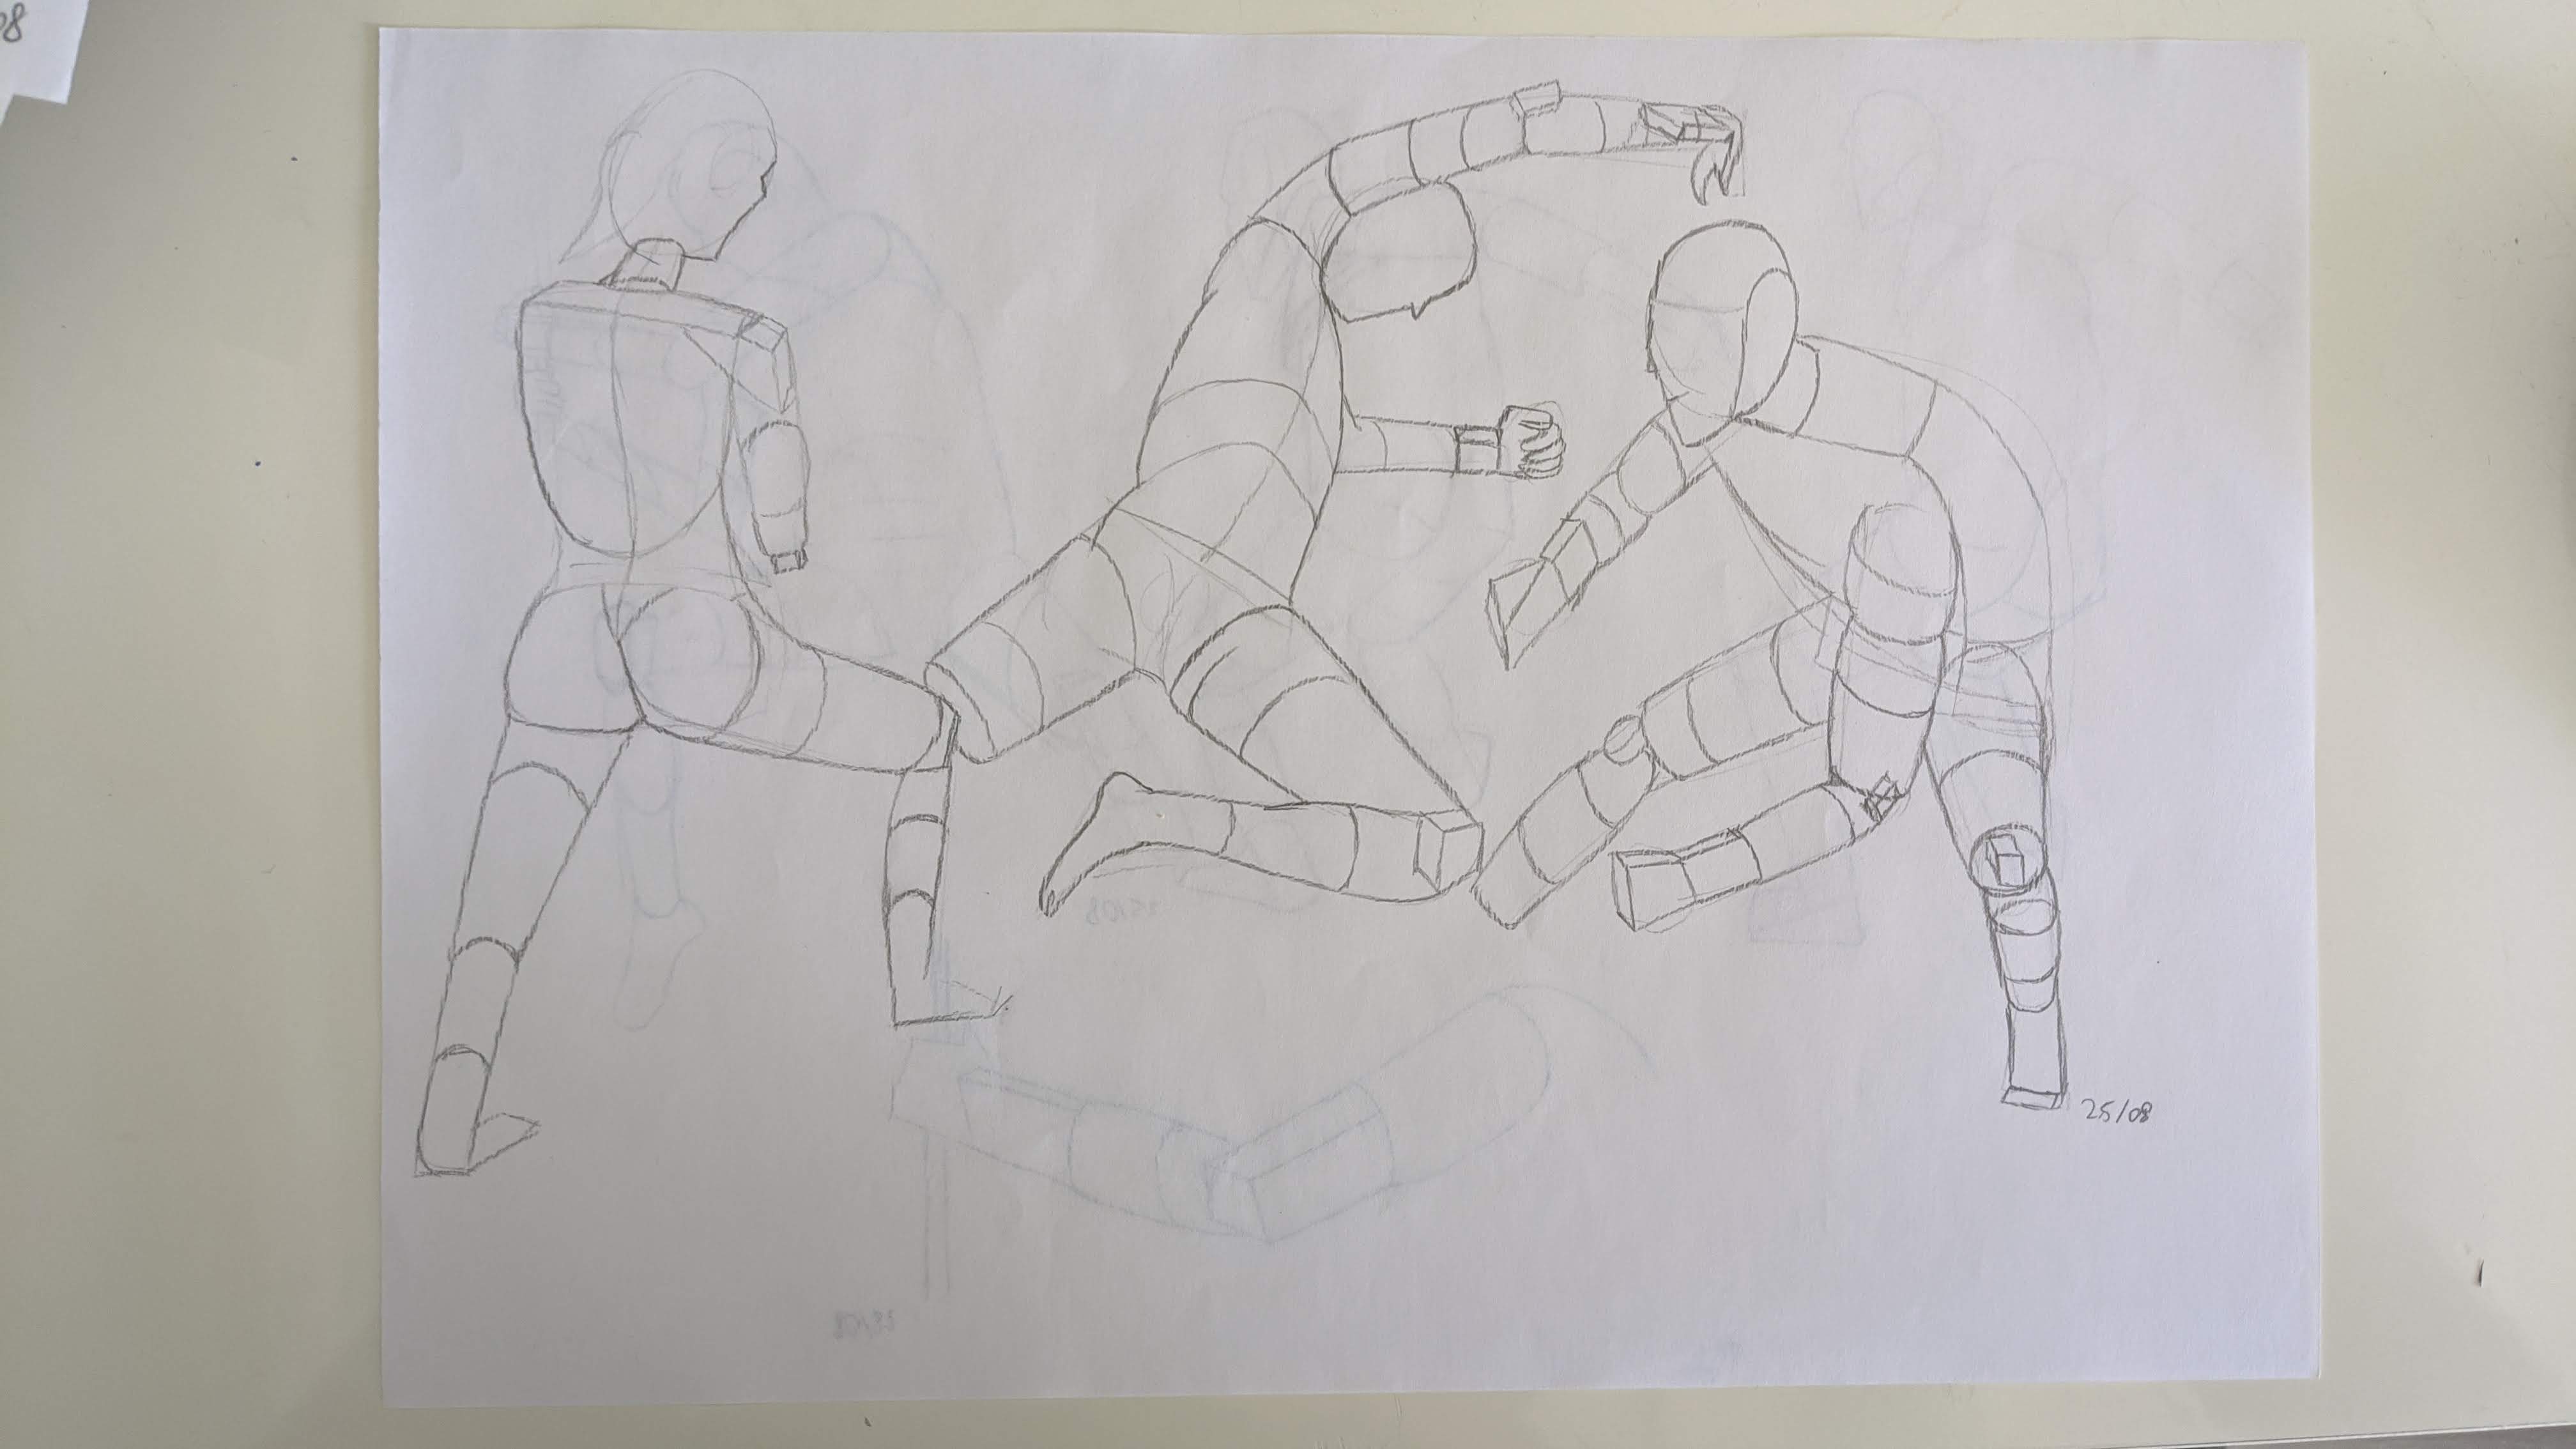
One can introduce a similar model to simplify drawing other parts of the body. They are particularly helpful when drawing from imagination, when it’s easier (as it has a lower number of degrees of freedom) to introduce a box or a cylinder to denote a particular part of the body and check the proportions than try to introduce both the complex shape and proportions at the same time.
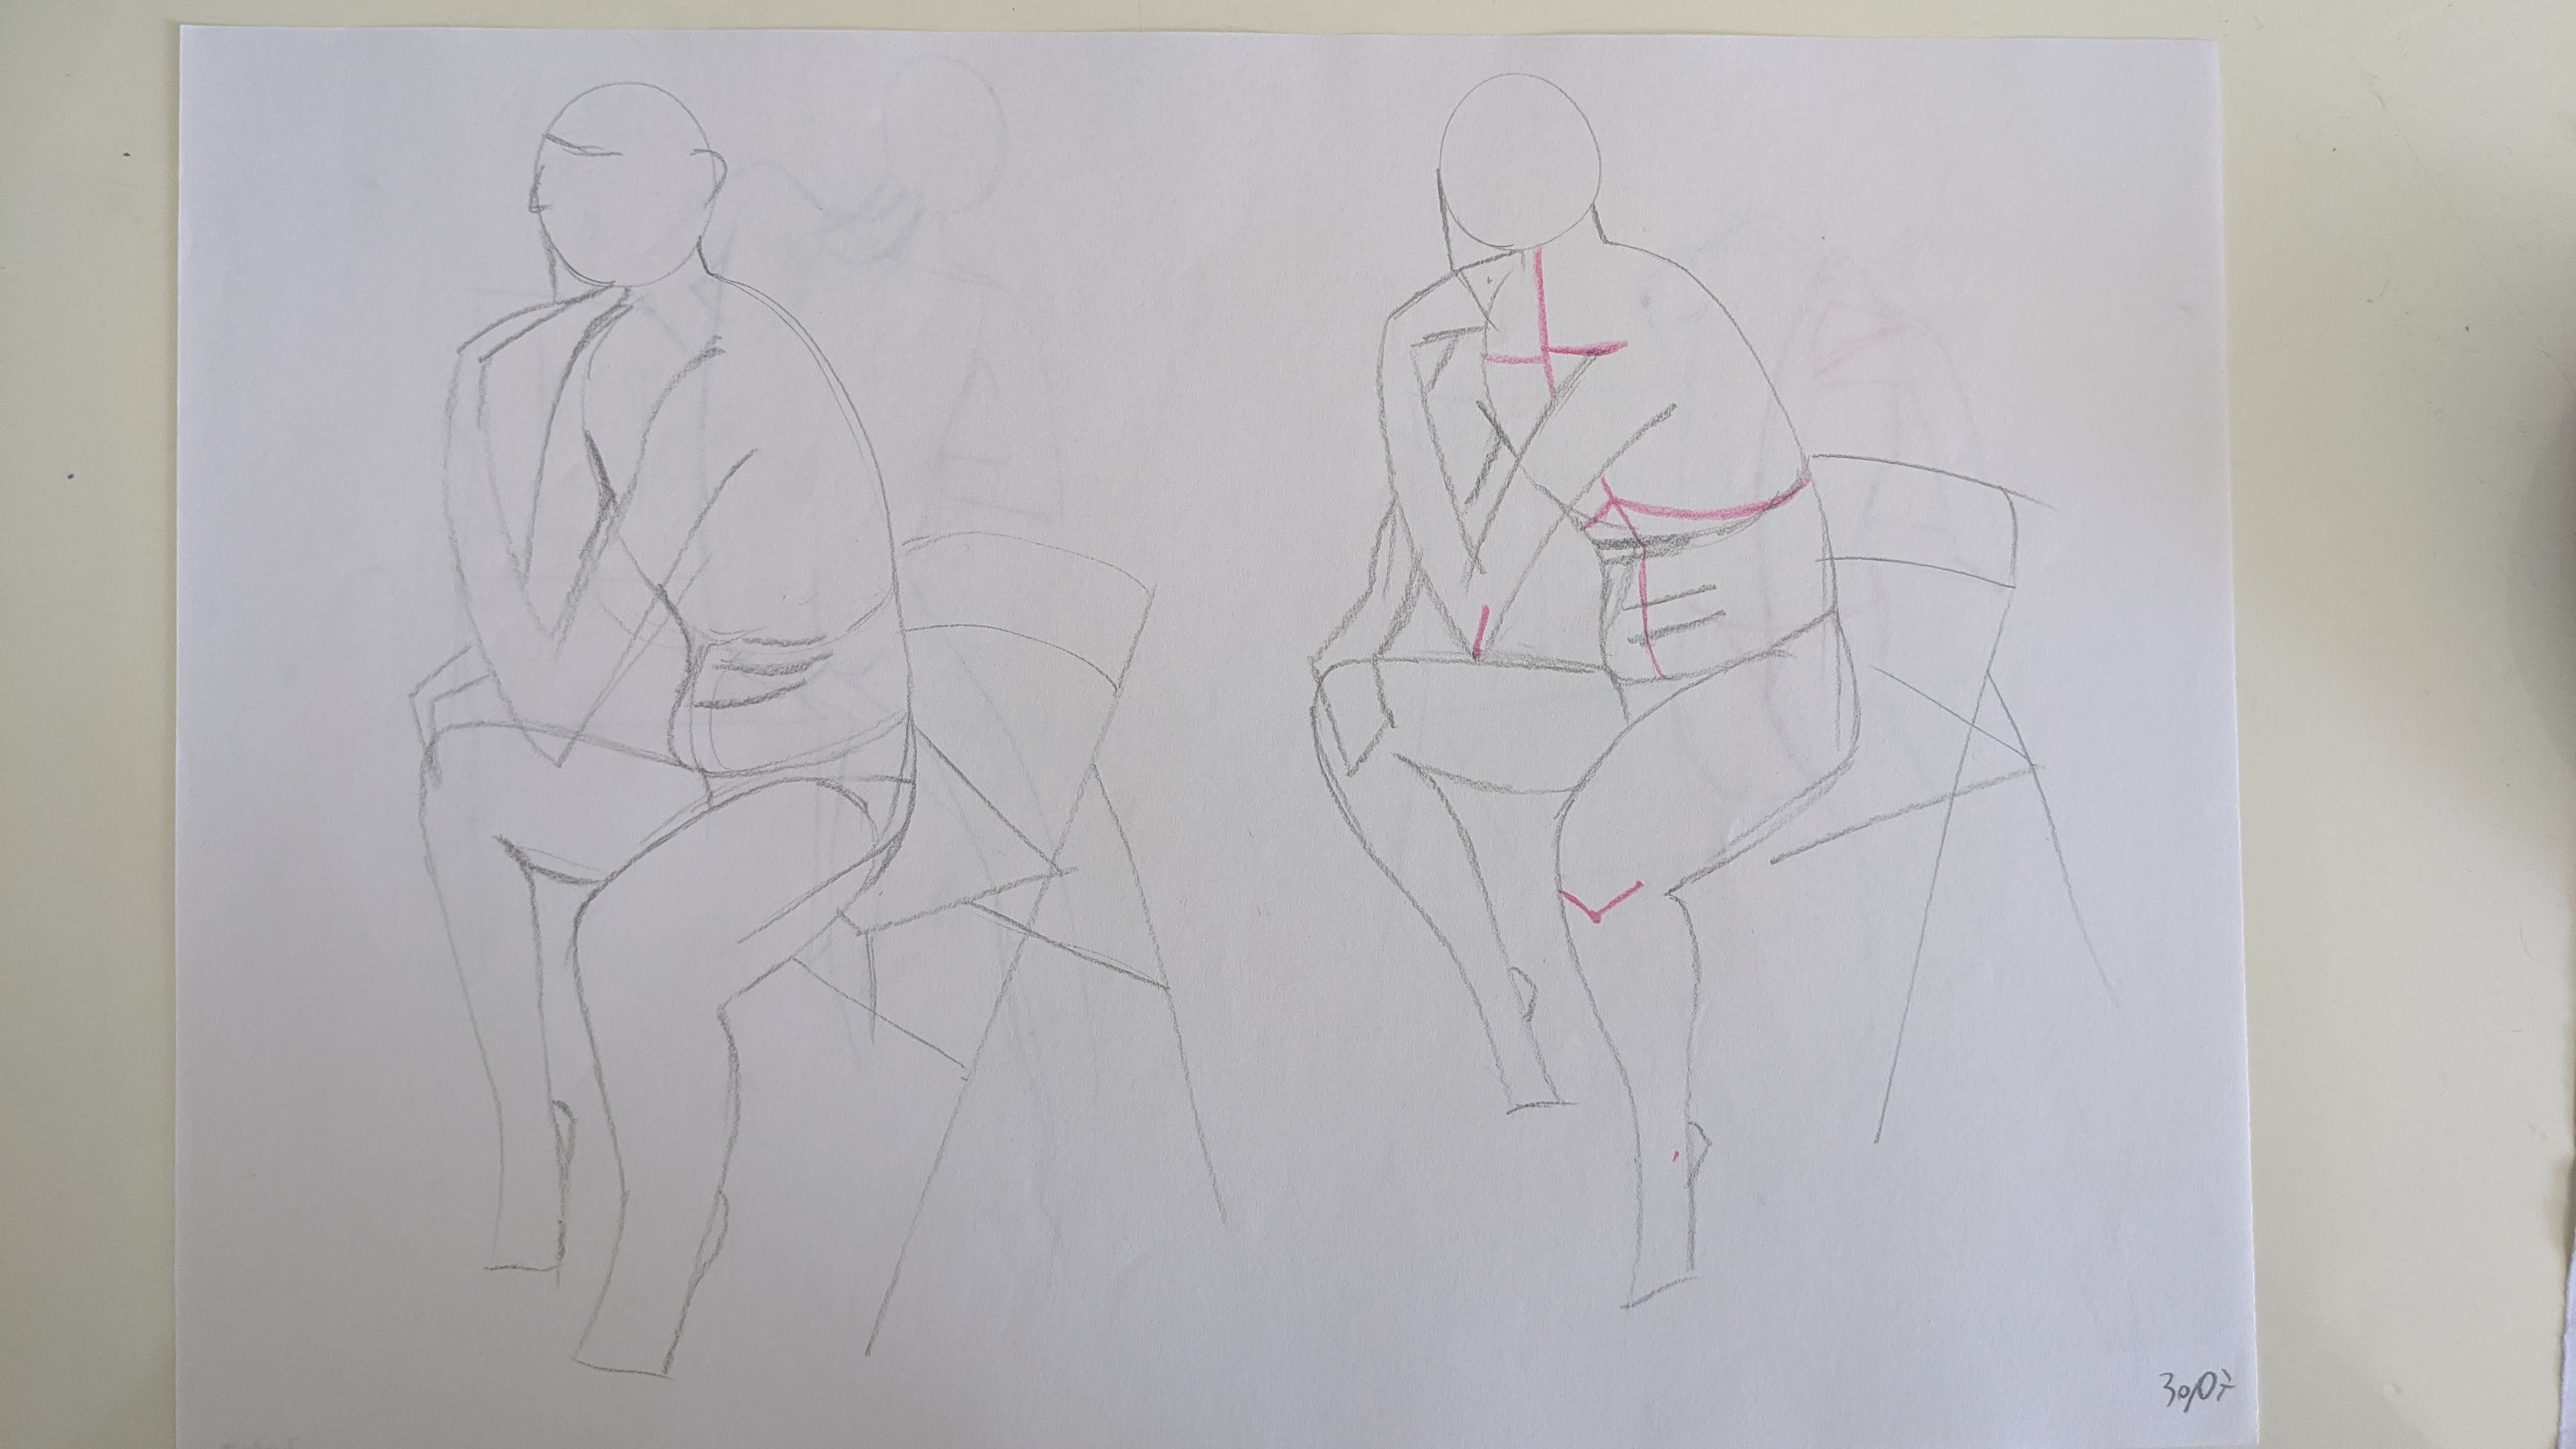
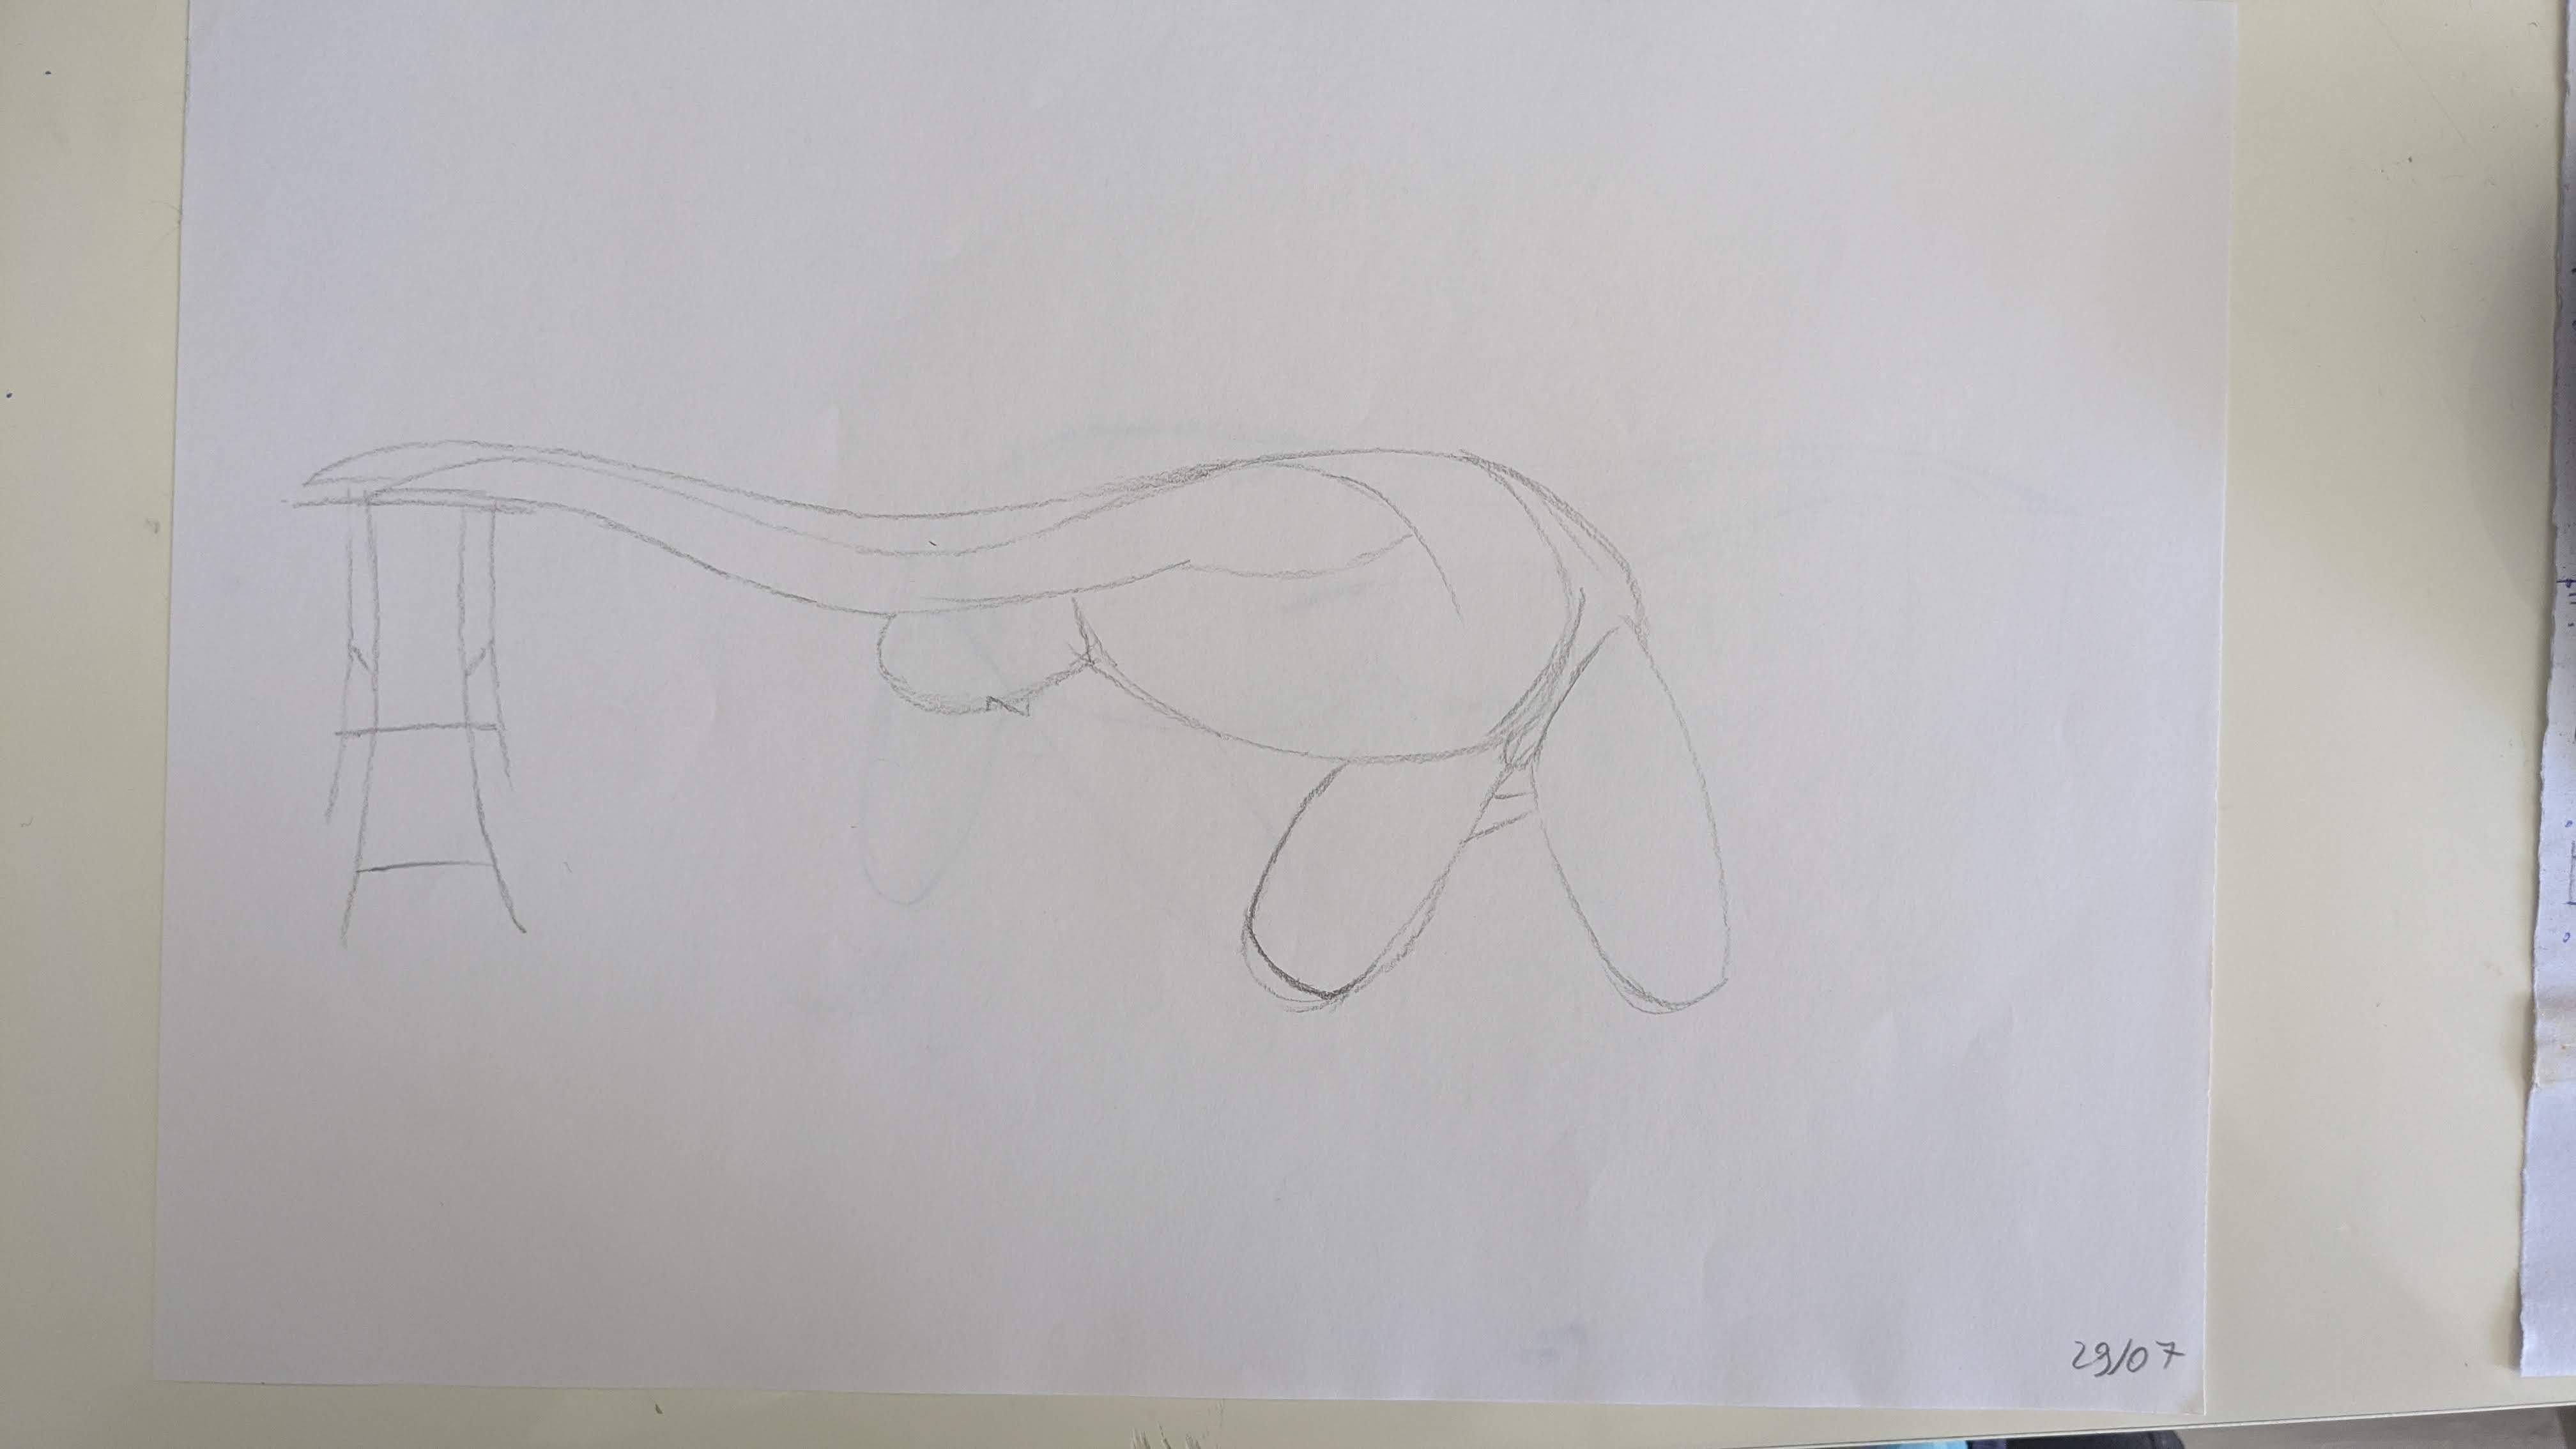
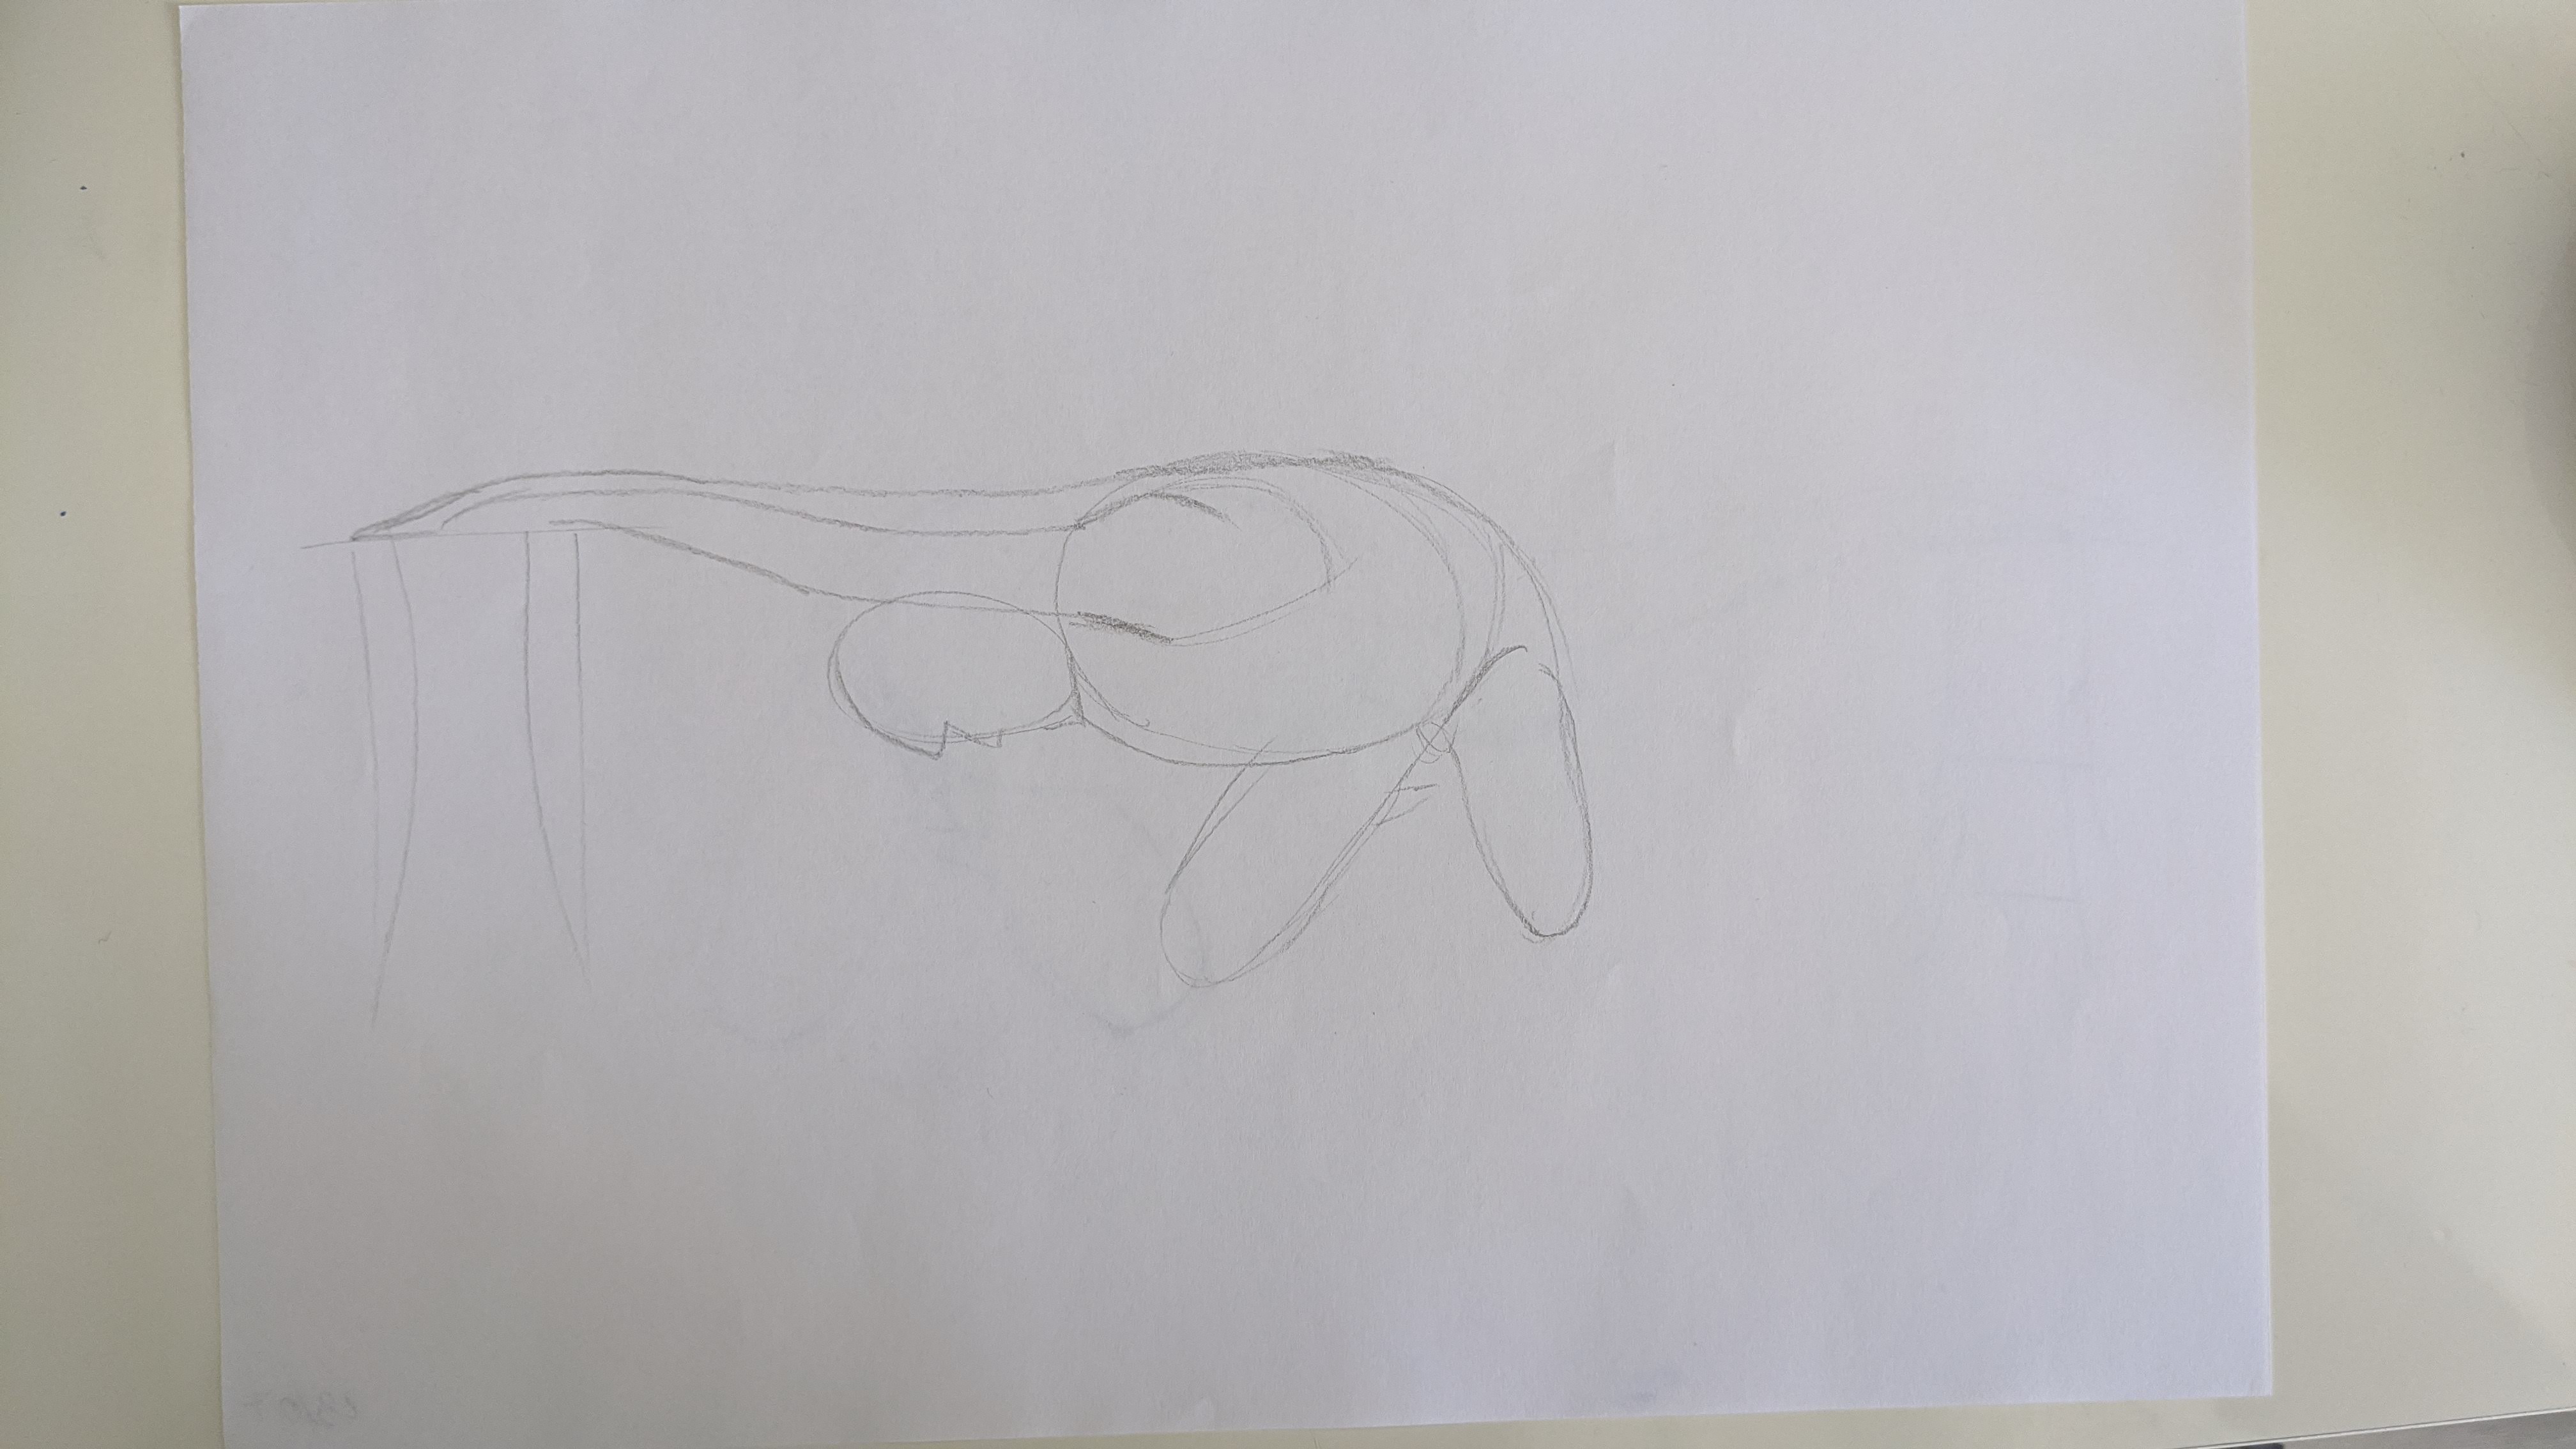
Shading
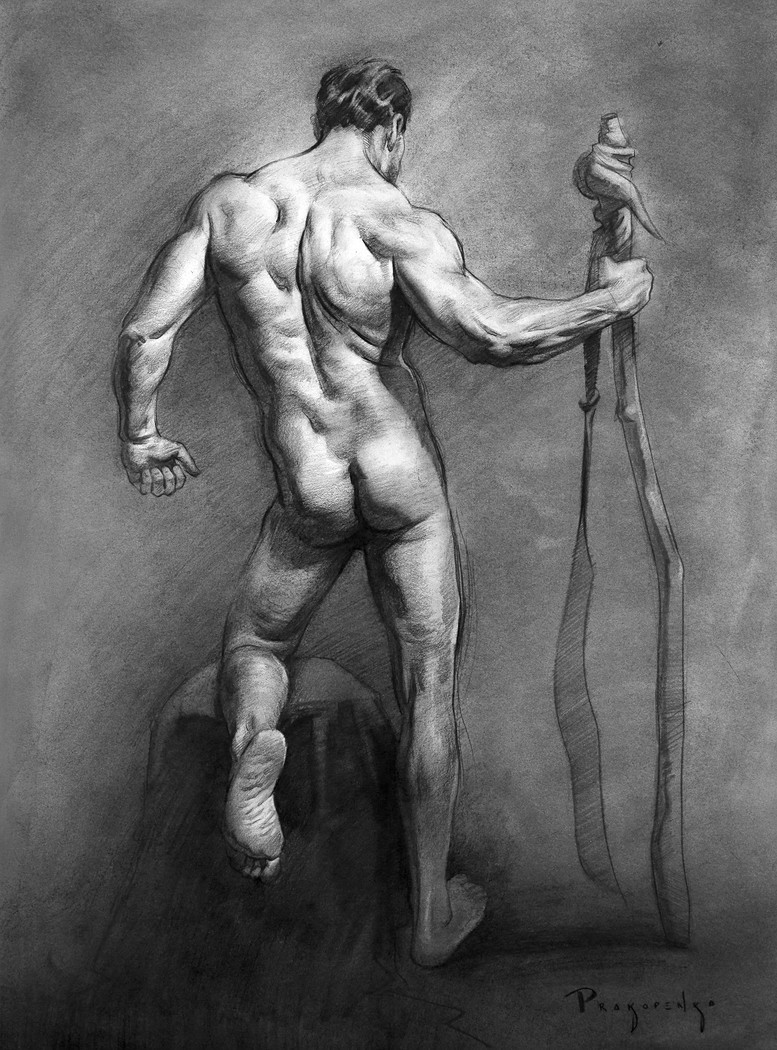
After these lessons, Proko has a very short one where he goes on how to shade a drawing with all the highlights, core shadow, and half-tones on an example of a generic muscle. Then, in the next lesson, he shows an example of a full-body, couple-of-hours human figure with full shading, inviting his students to draw along. This was way above what I felt I can do at a time, so I skipped this and moved to the portrait drawing course.
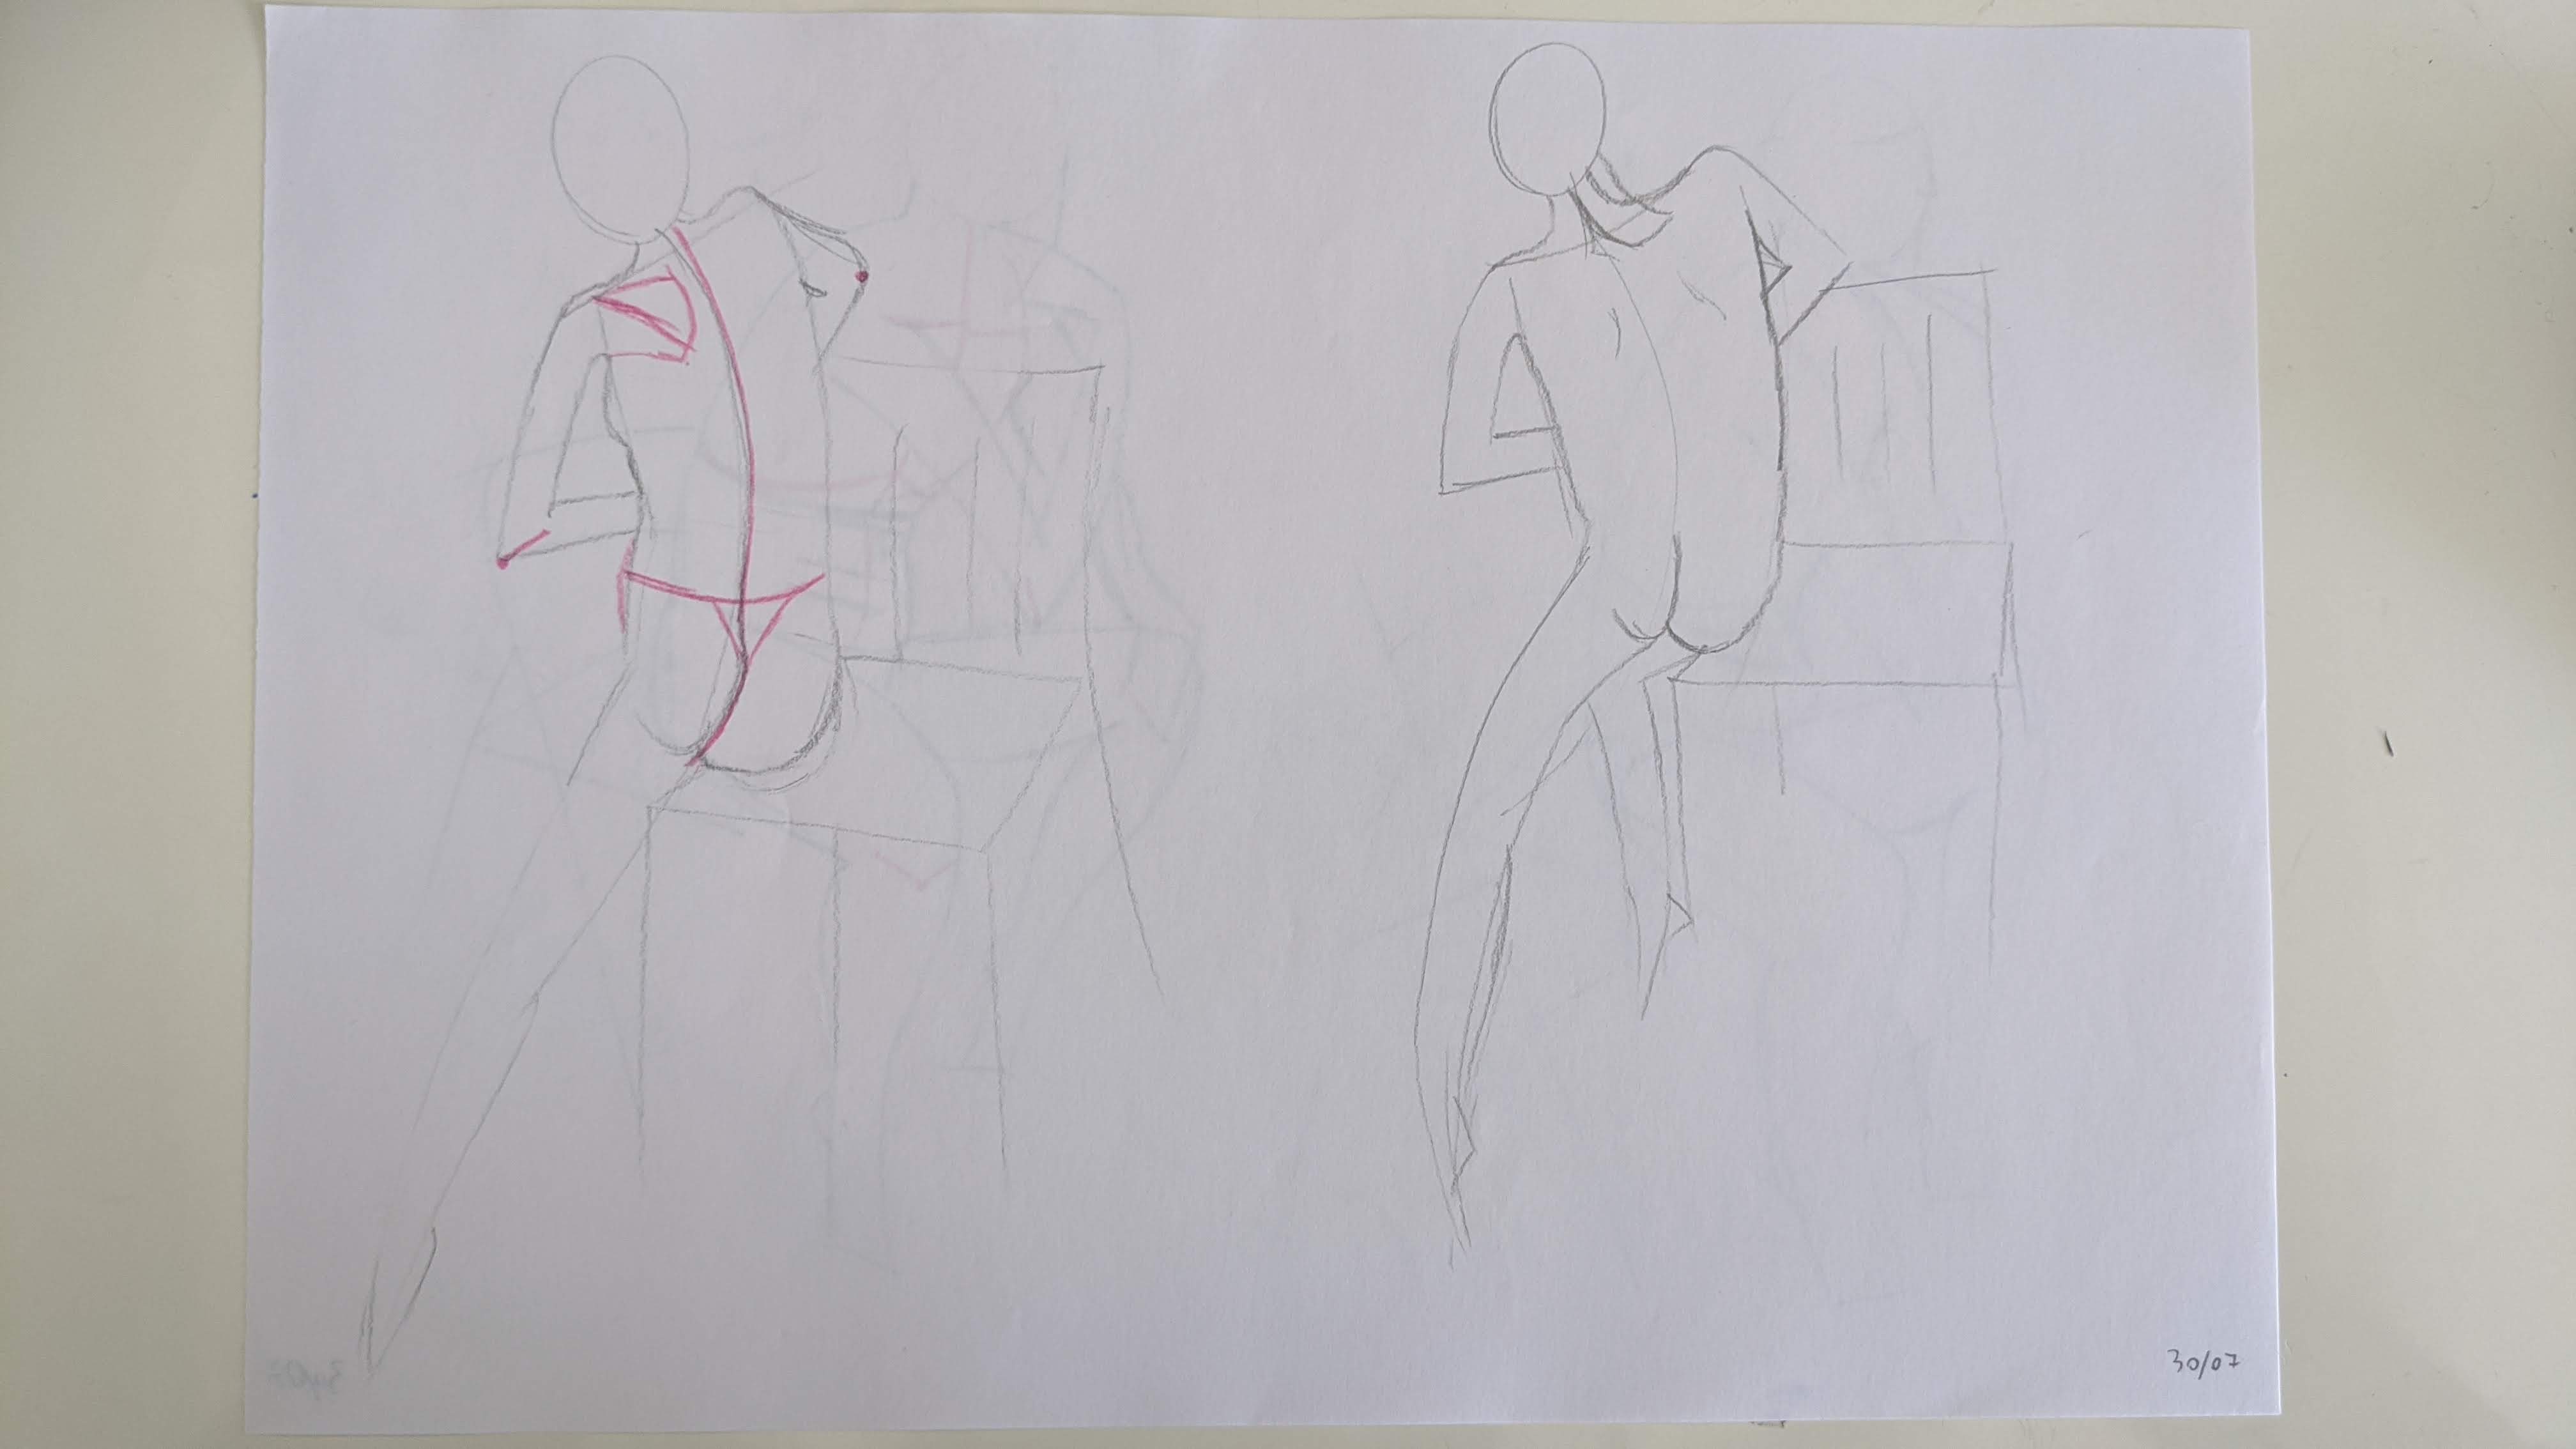
Markmaking
In the figure drawing course, Proko uses a charcoal pencil. I used a 2B/3B graphite one, as I haven’t had anything else.
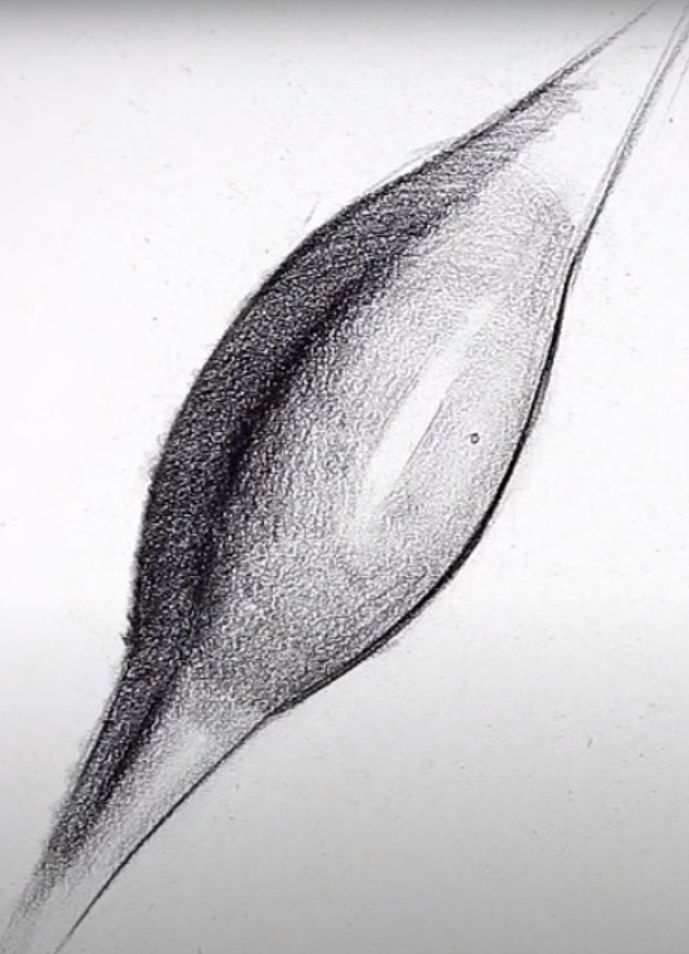
When I played with shading I was having two problems: - shading big areas in the picture were taking a lot of time - when shading, the lines I was making were creating a lined pattern as opposed to a nice gradient (ie. it was clear in which direction I put the lines and it wasn’t in any way related to the underlying 3d objects).

For the first problem, I was able to reduce it a bit by sharpening the pencil in a similar way to the one described in this video. Even though I was using a graphite pencil, it still was relatively easy to do this.
For the lined pattern, I tried putting shading in a little bit more circular fashion which helped a bit. I think having a softer pencil (eg. 6B) would help more.
I thought using charcoal would also help here, so I bought a charcoal (and another carbon one, which apparently feels like something between charcoal and graphite) pencil.
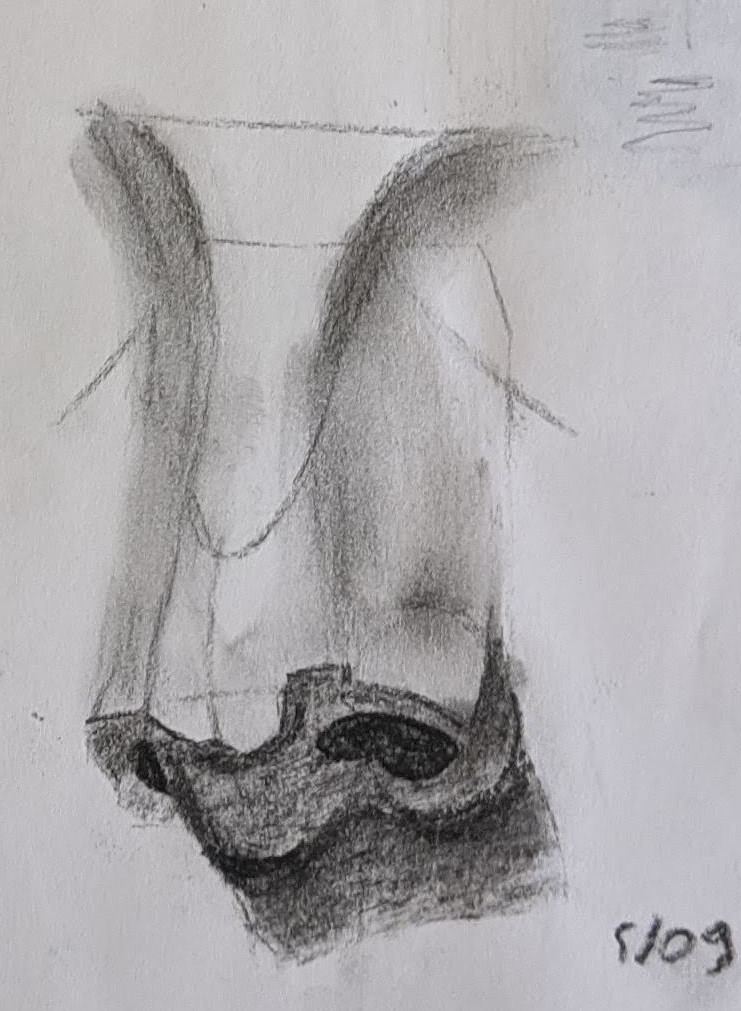
As you can see in the picture above, the effects were not so great. I had problems controlling the value I put on the paper when using charcoal much more than with graphite. The texture of the paper was also creeping through the picture, leaving weird traces of white. I suspect this may go away with practice (and potentially softer charcoal), but I decided to go back to graphite.
Head drawing
After finishing (if one could ever “finish” a topic like figure drawing) the figure course, I proceeded to the portrait drawing course. I realized that it was actually created by Proko earlier, which may explain the assumption in the previous course to be able to deal with shading/head on one’s own for the full-body drawing.
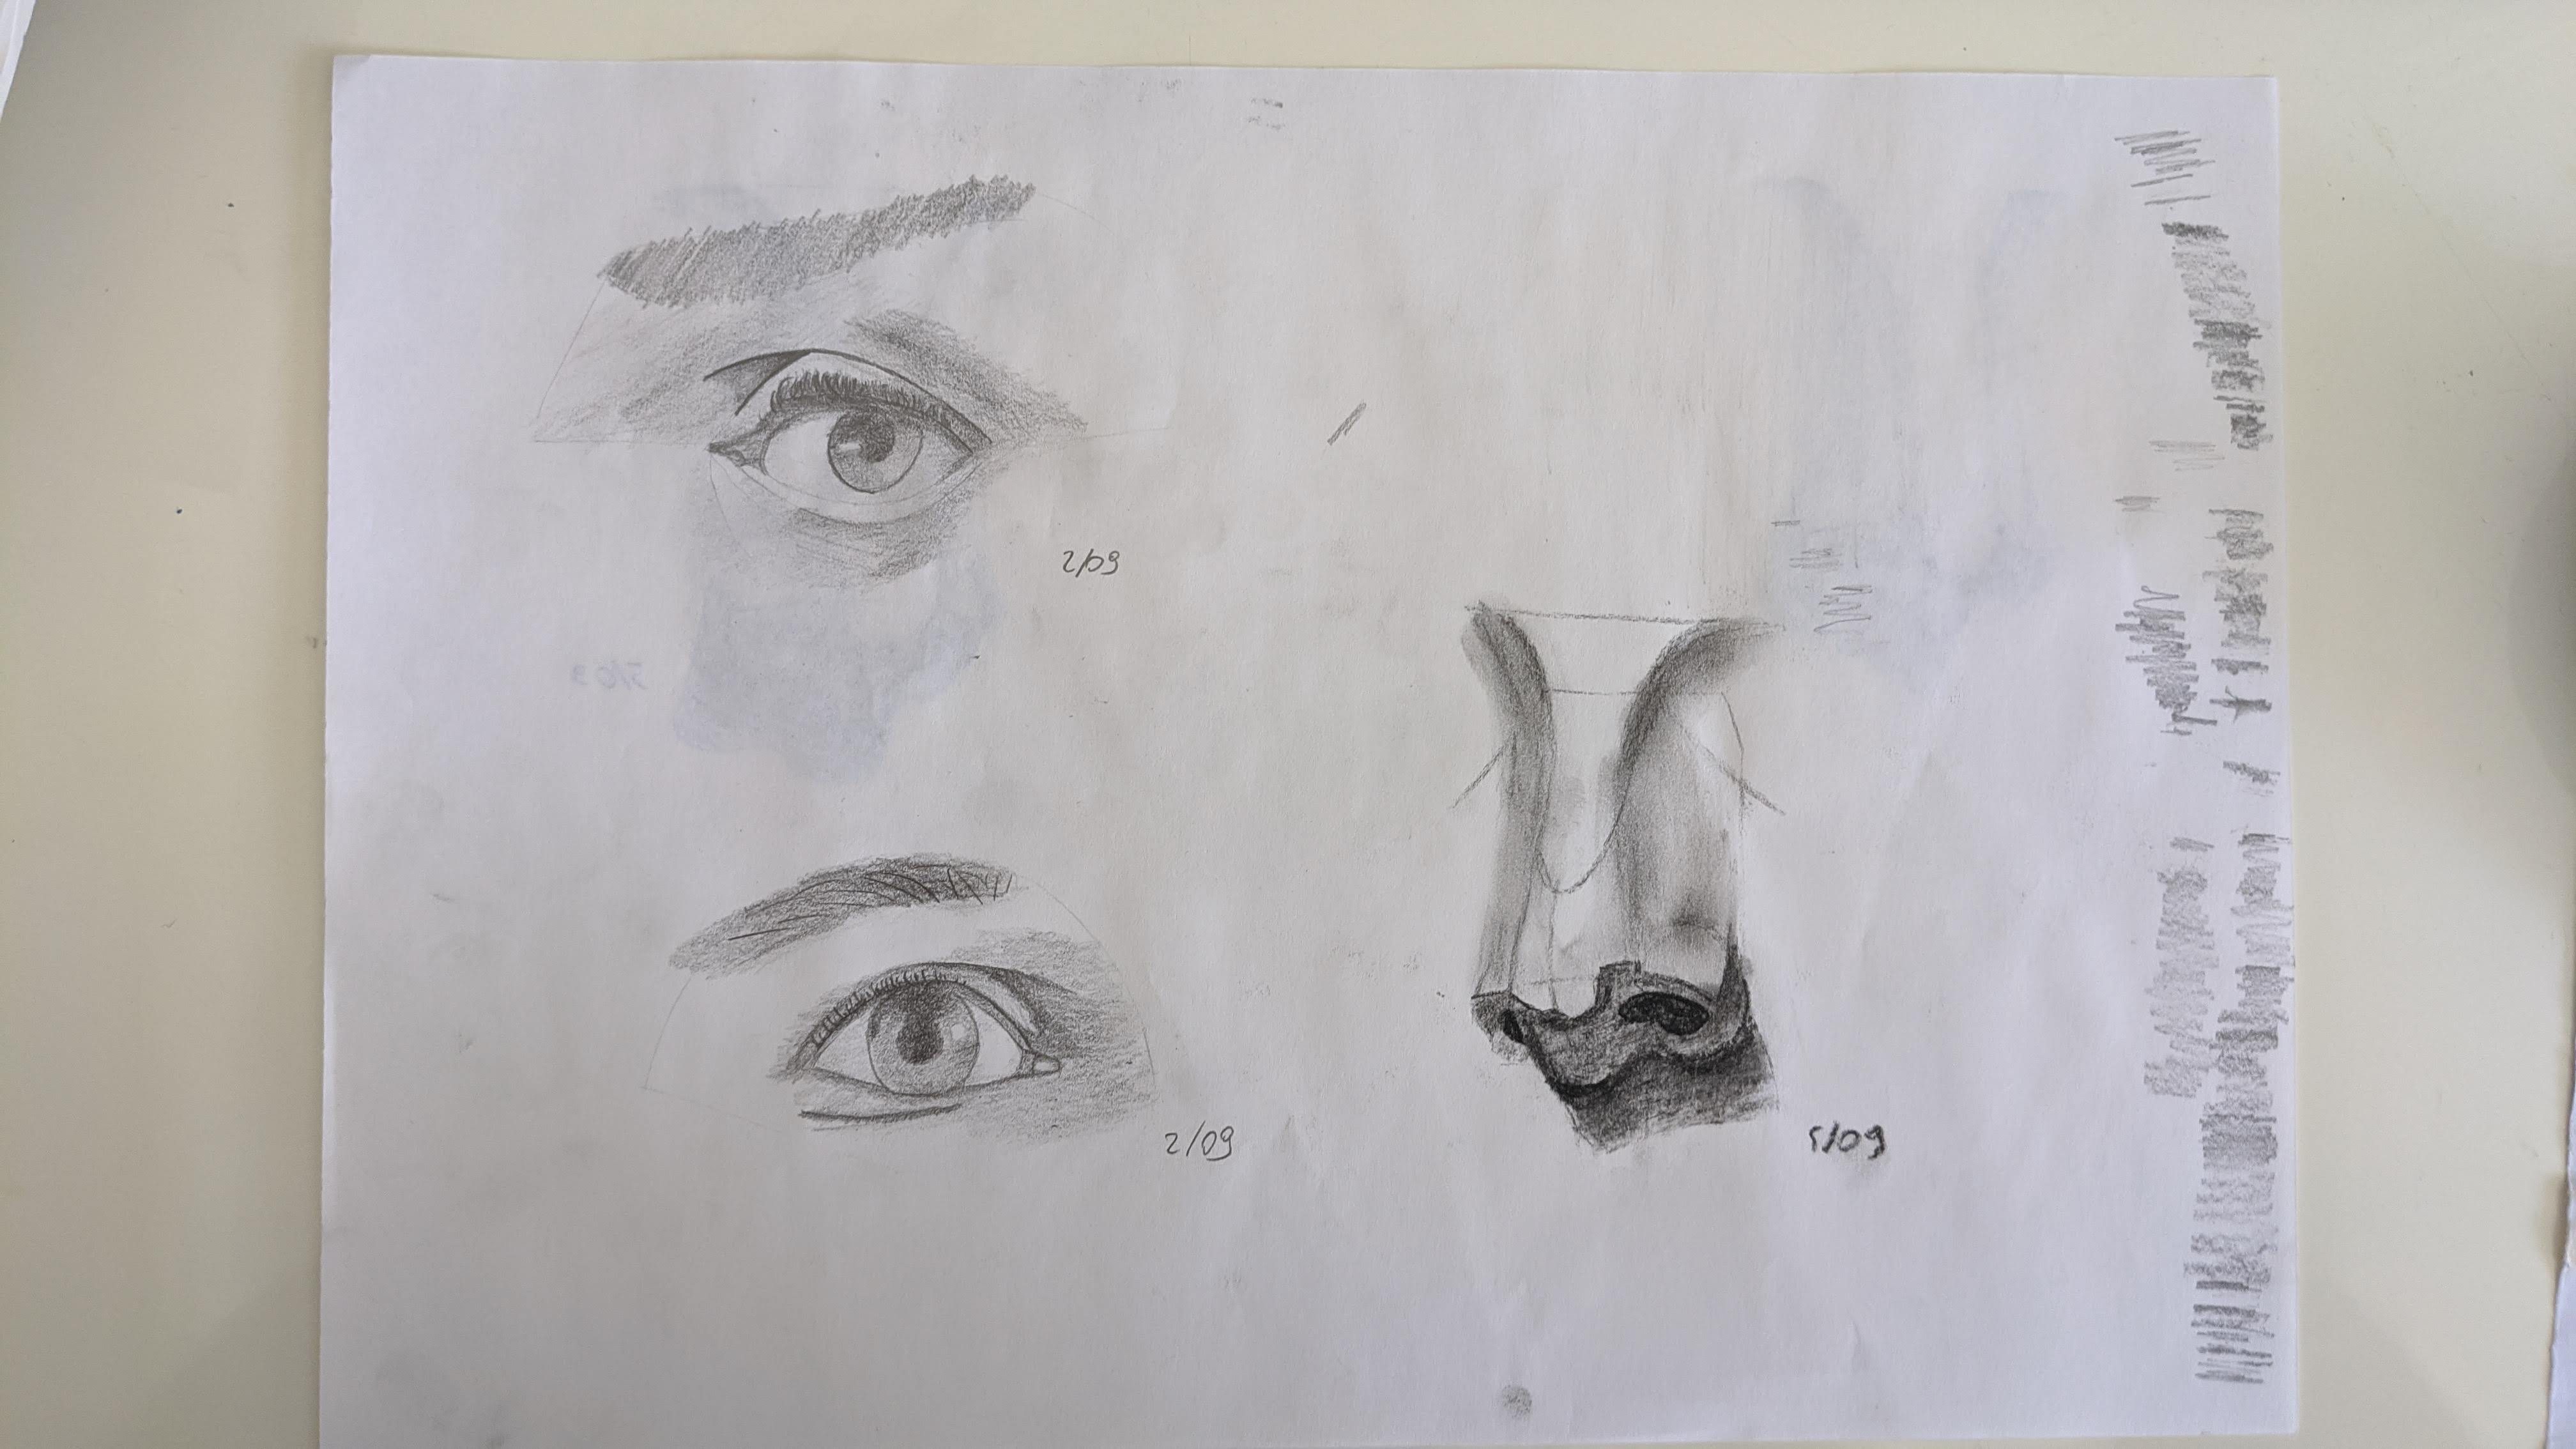
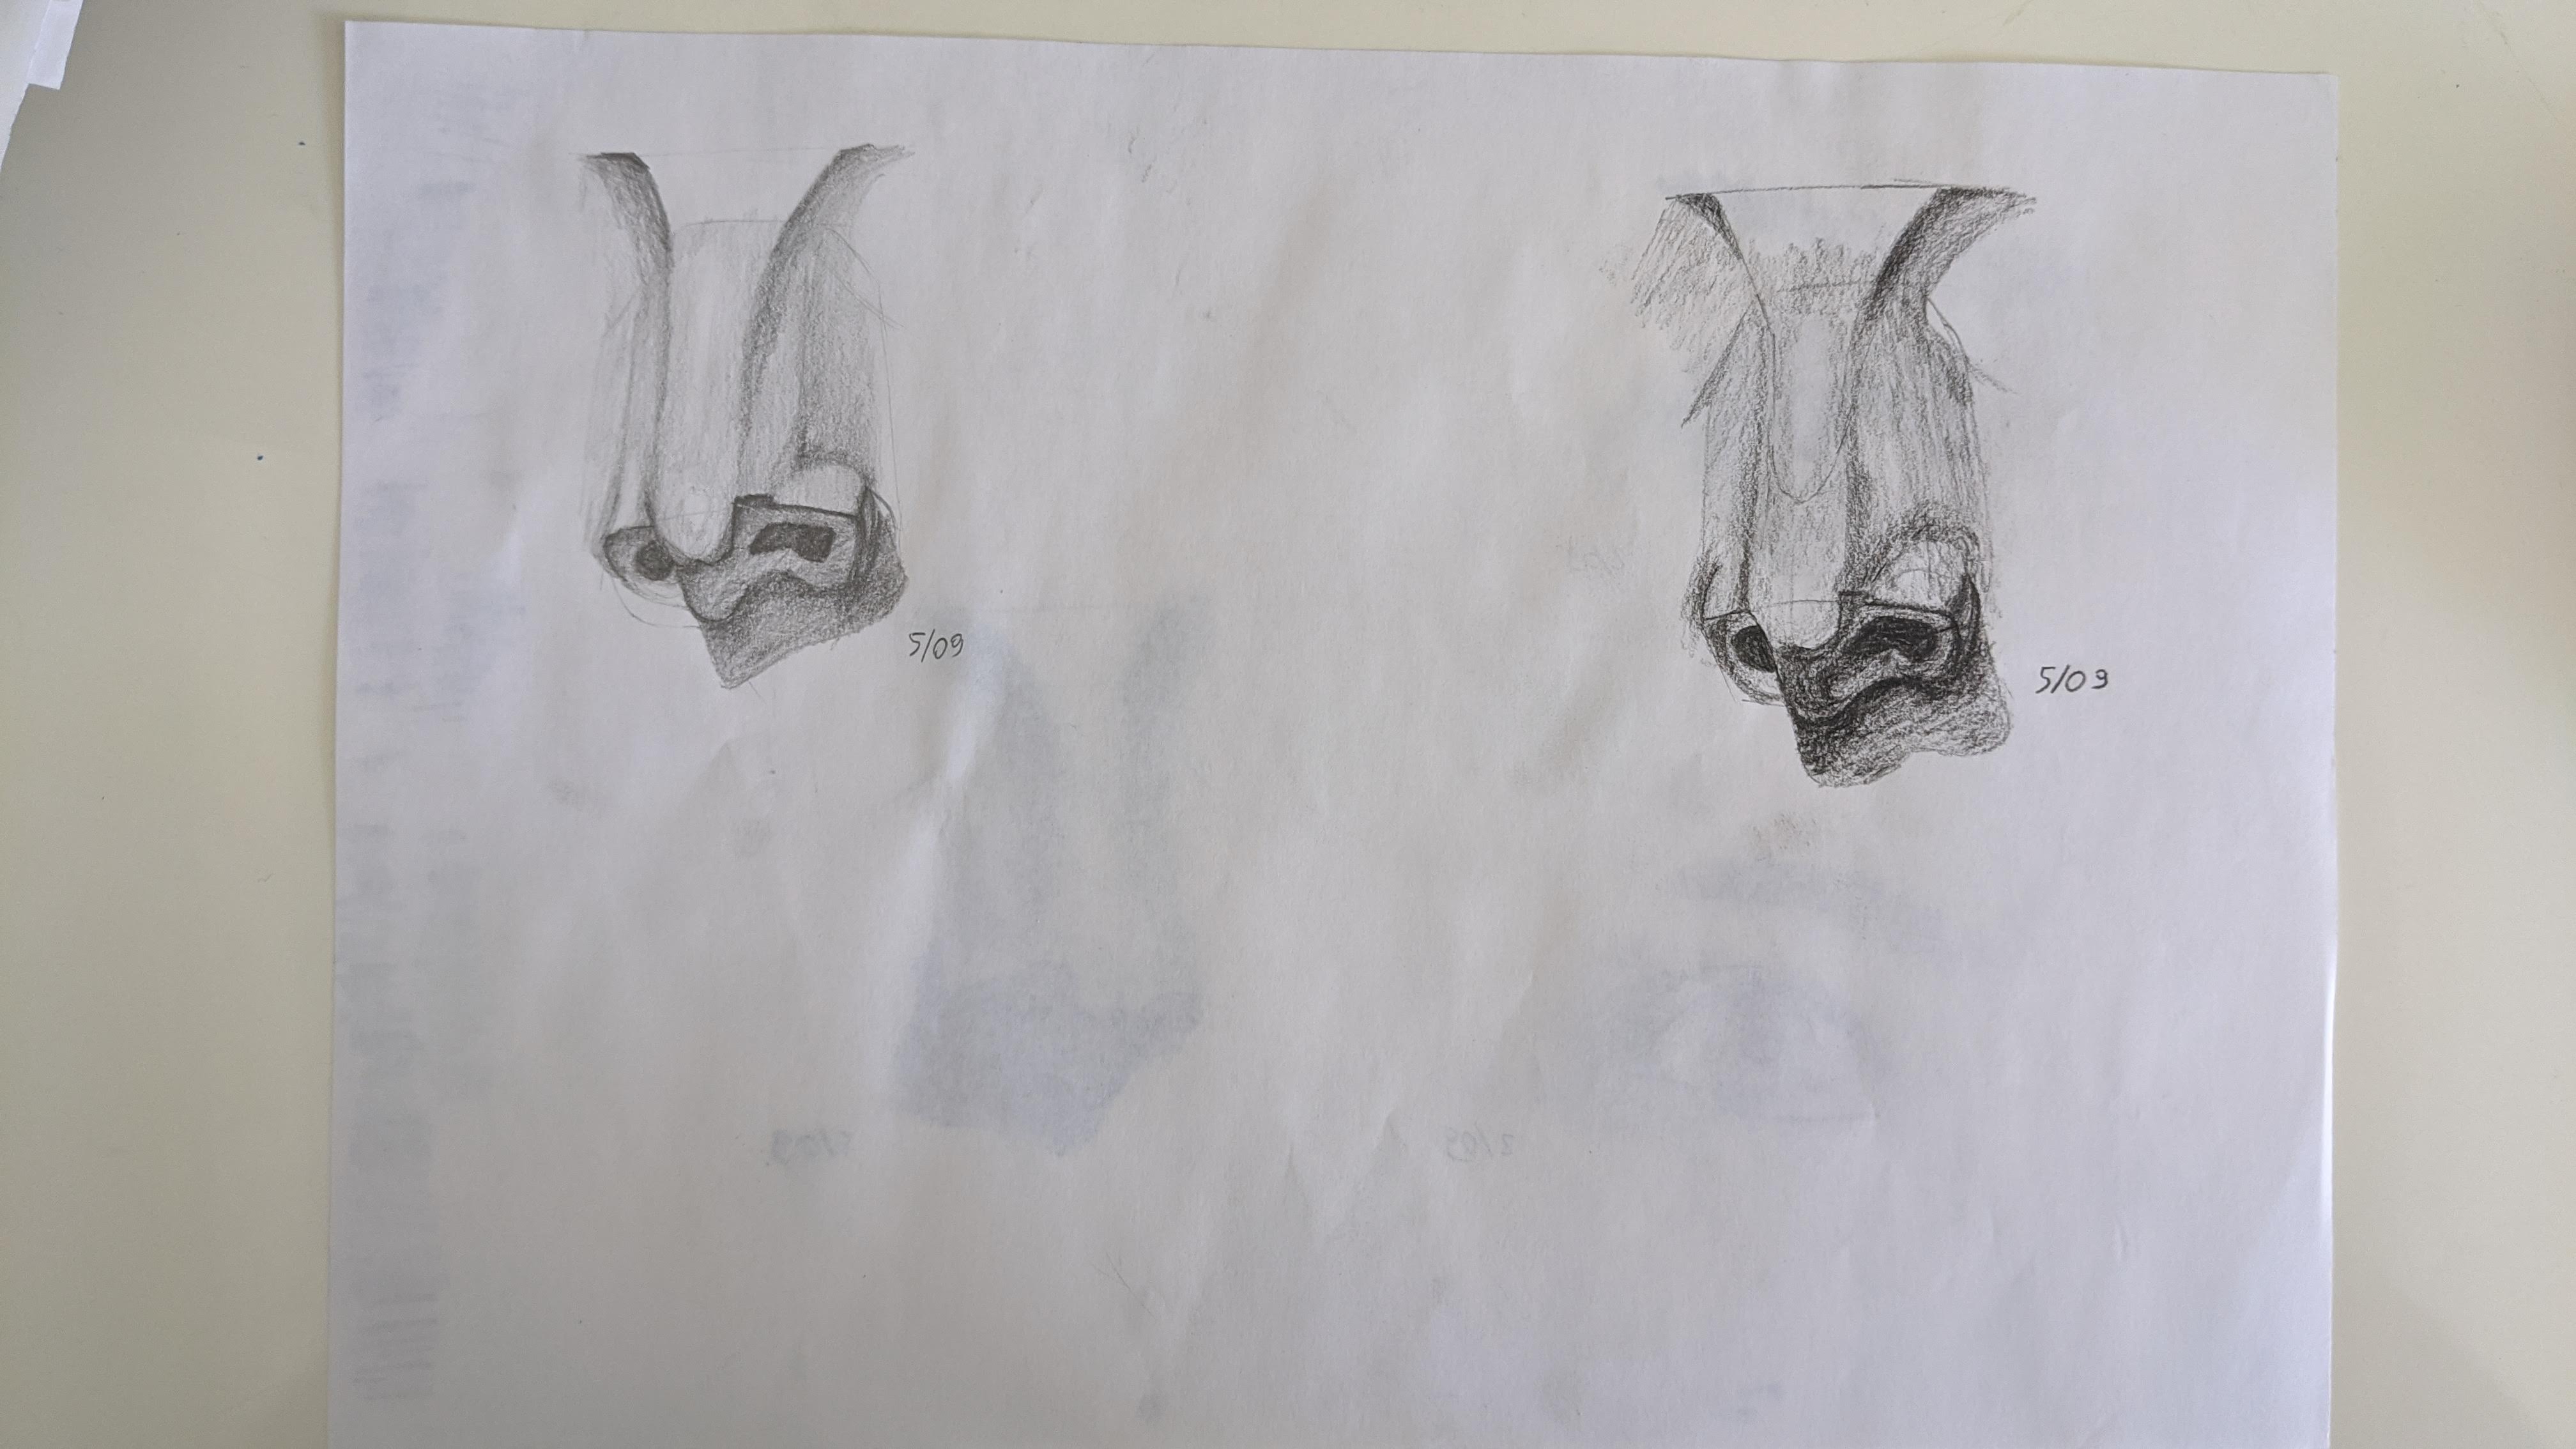
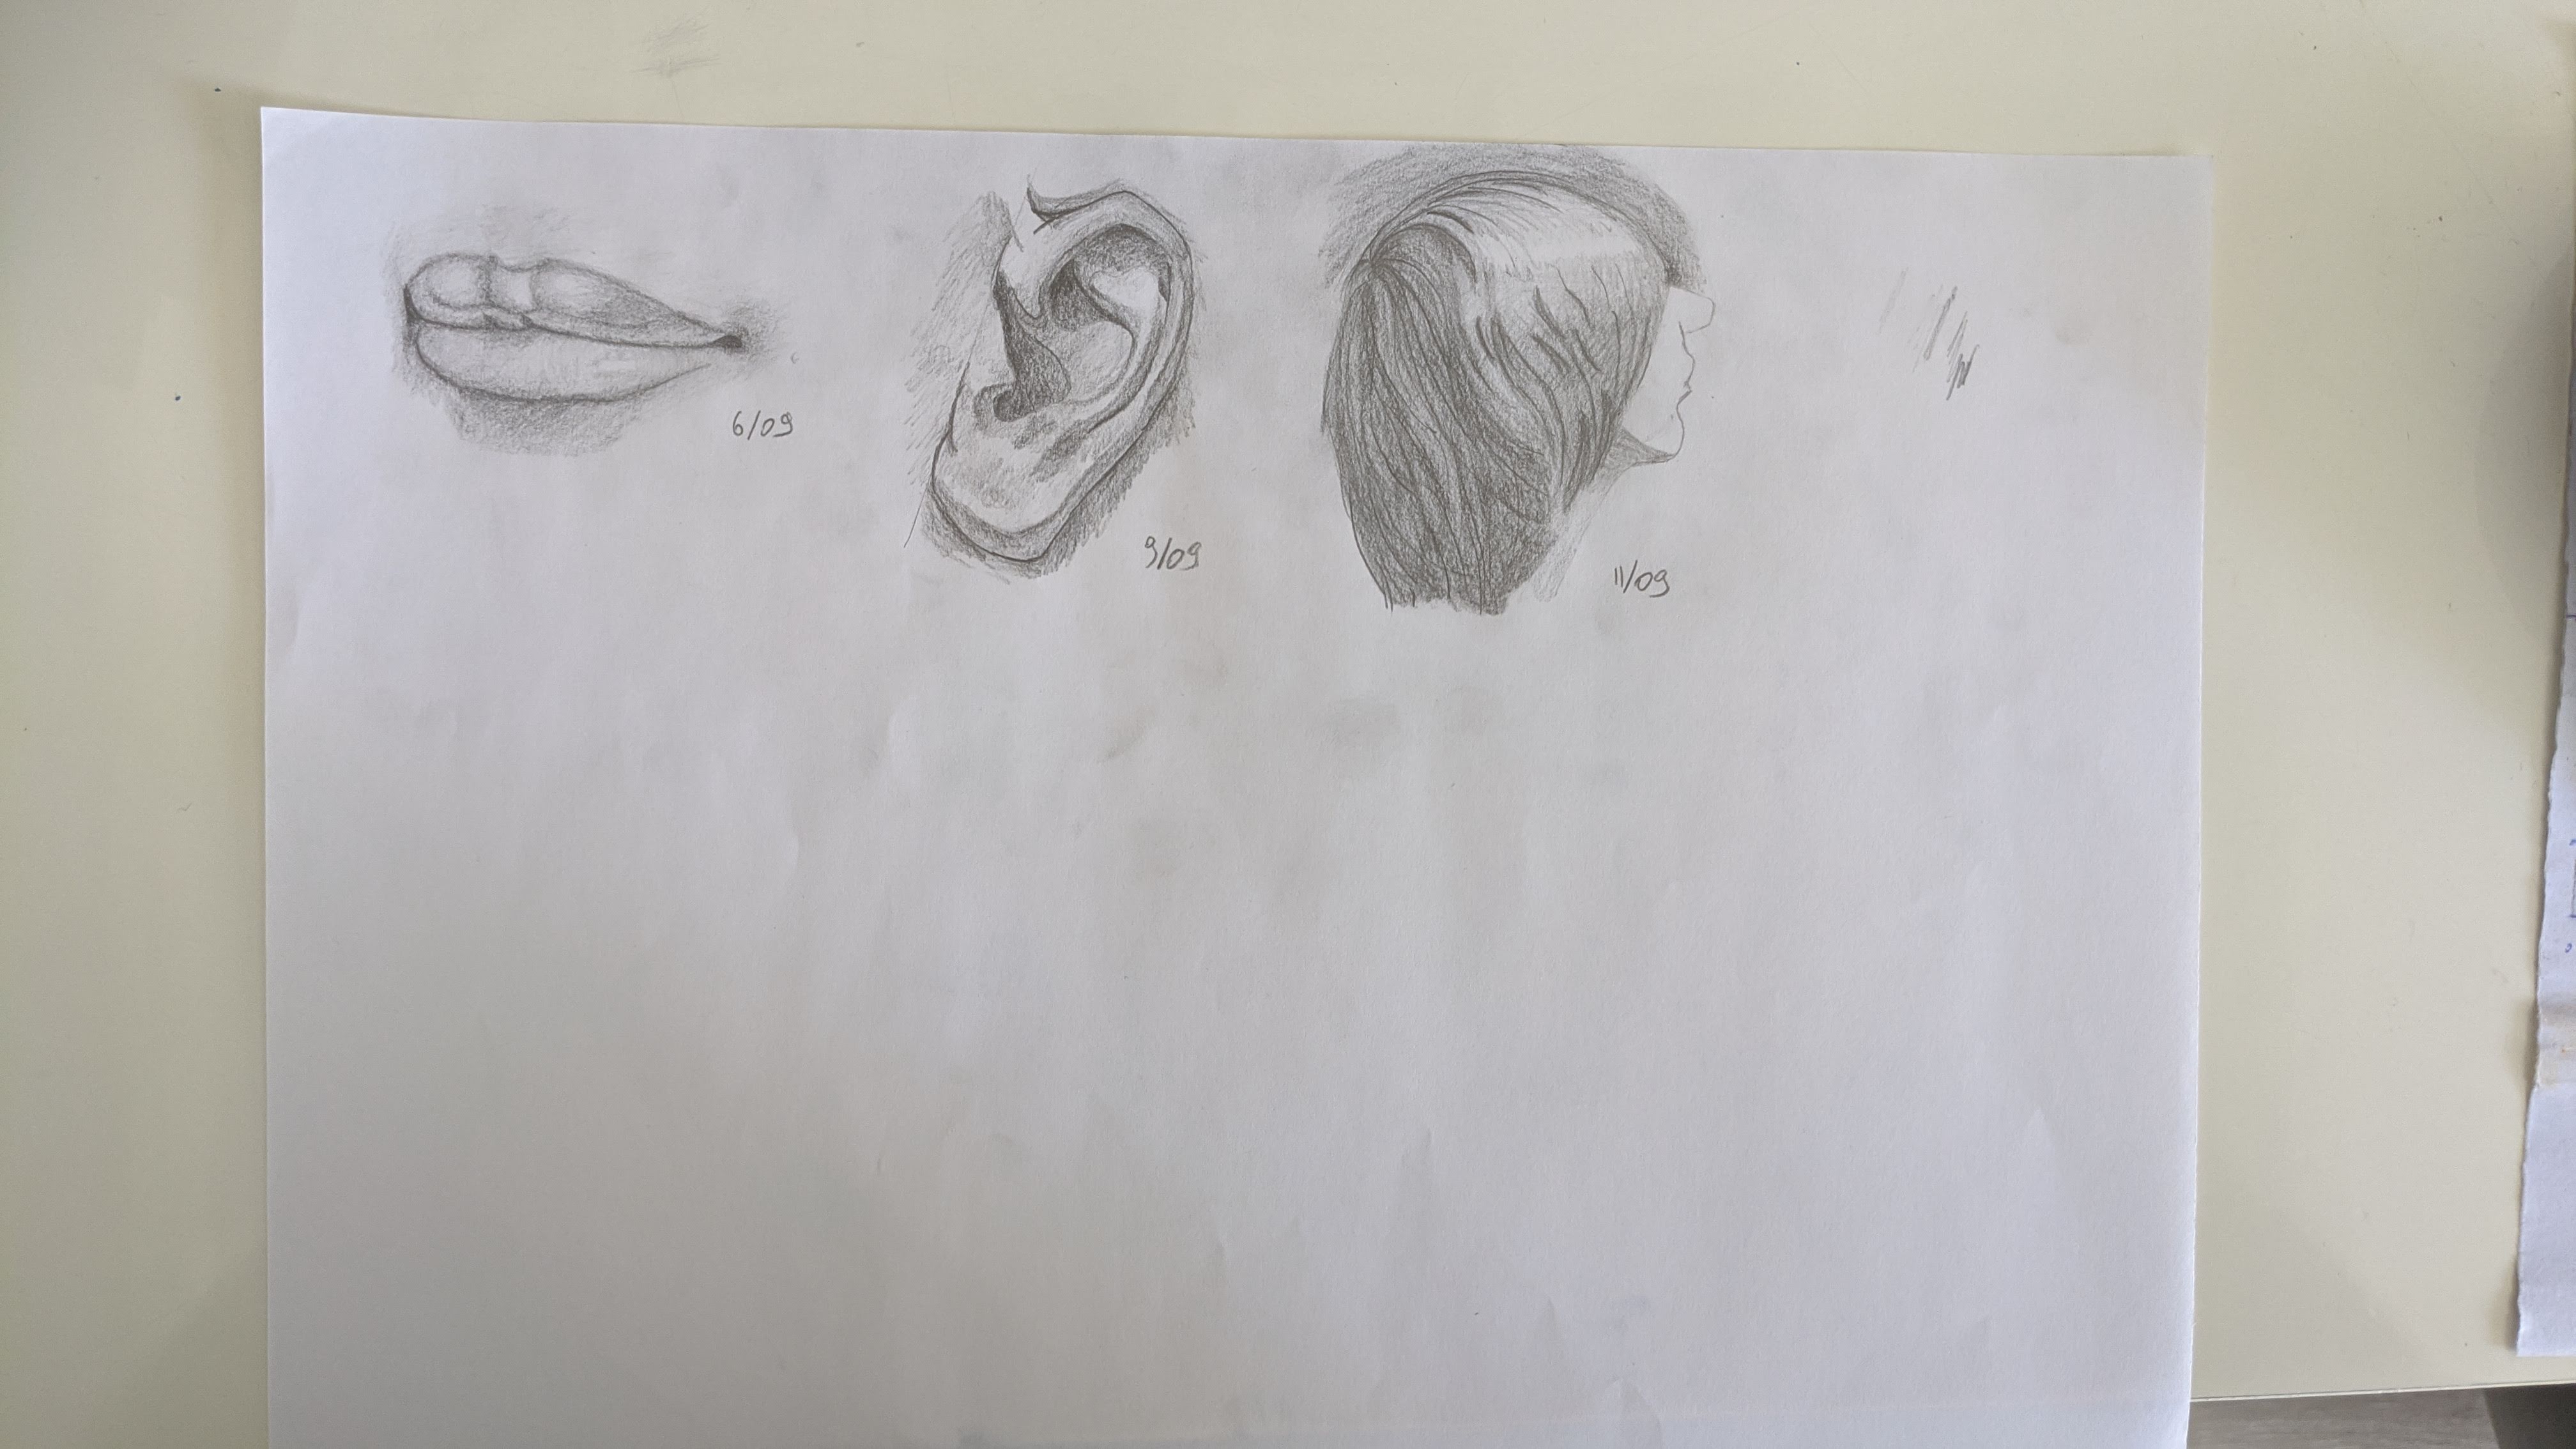
Compared to the previous one, it’s more in the style of “this is how you draw a nose” vs giving general methods for photorealistic drawing. Nevertheless, it still gives detailed anatomical details and informative techniques that can be applied to any head.
I started the course by doing one picture with each of the body elements covered in the lessons: eye, nose, mouth, etc. While doing them, I was surprised at first that my pictures were actually looking quite professional (after adding the shading). However, the amount of time it was taking to draw simple body parts was discouraging and the fully-shaded style of pictures wasn’t as appealing to me as drawabox-style single-lines one. I thus decided to move on to more comics-like drawings despite doing a few exercises for this course.
Overall
I was doing the Proko courses from July until September. The two months are barely enough to touch the surface of the vast topics that I studied, so I feel like I rushed through the courses. At the same time, I feel like I got the basic idea in each of the lessons and while I would need a lot more practice to feel comfortable with all of it, I definitely improved a lot through the courses. I’m not sure what exactly I’ll do next, but I plan to play more with fine-tip pens again, likely drawing comic-style pictures.