Drawabox: 14 months later
In May 2019, I decided to learn how to draw. To structure my learning, I was following a free online drawing course: Drawabox. 14 months later, I finished it and I am writing down my experience.
My background
In an attempt to increase my creativity and produce some artistic works I am trying to learn various artistic media. I recently played with world-building in Unreal, was making Android apps, and was painting board game figures. Now was the time for drawing.
I drew nothing since middle school and I only have a vague recollection of any drawing/painting that we did there. I remember though that I was terrible… and terribly uninterested in it at a time. I was going to learn totally from scratch then.
Course choice: Drawabox
Because of my lack of any grounding, I was looking for an opinionated course that would teach me the fundamentals well, with particular examples as opposed to showing a variety of styles I would have hard time to wrap my head around. Other than that, I wanted the course to have relatively little reading/watching compared to the actual exercising: I knew that a big chunk of my struggles will be with physically executing the exercises, so I wanted to prioritize getting a lot of practice over listening/reading a lot.
After a short internet search, I decided to try Drawabox out, which teaches constructional drawing from beginning. It requires you to use fineliners to not have to worry with line width (and to not be able to erase the lines to learn confidence in markmaking) and ignores matters of shading and many others. It is divided into 7 lessons with different topics, each of which has a bit of reading/videos and tons of exercises to do.
What I didn’t follow
While I generally tried to closely follow the course and understand all the concepts before moving on, I made some small deviations to the course assumptions to keep my motivation up.
First, Uncomfortable (the Drawabox’ author) encourages to dedicate half of the drawing time for drawing “for pleasure” and the other half for his exercises themselves. Being totally lost at the beginning and looking for a set of fixed, well-grounded exercises I didn’t want to occupy myself and wonder what (and how!) to draw apart from it. Also, being able to devote only an hour or two per week for drawing, if I also spent a big chunk of time drawing “other things” I’d quickly lose momentum, especially given how many regular “in-course” exercises there are in Drawabox.
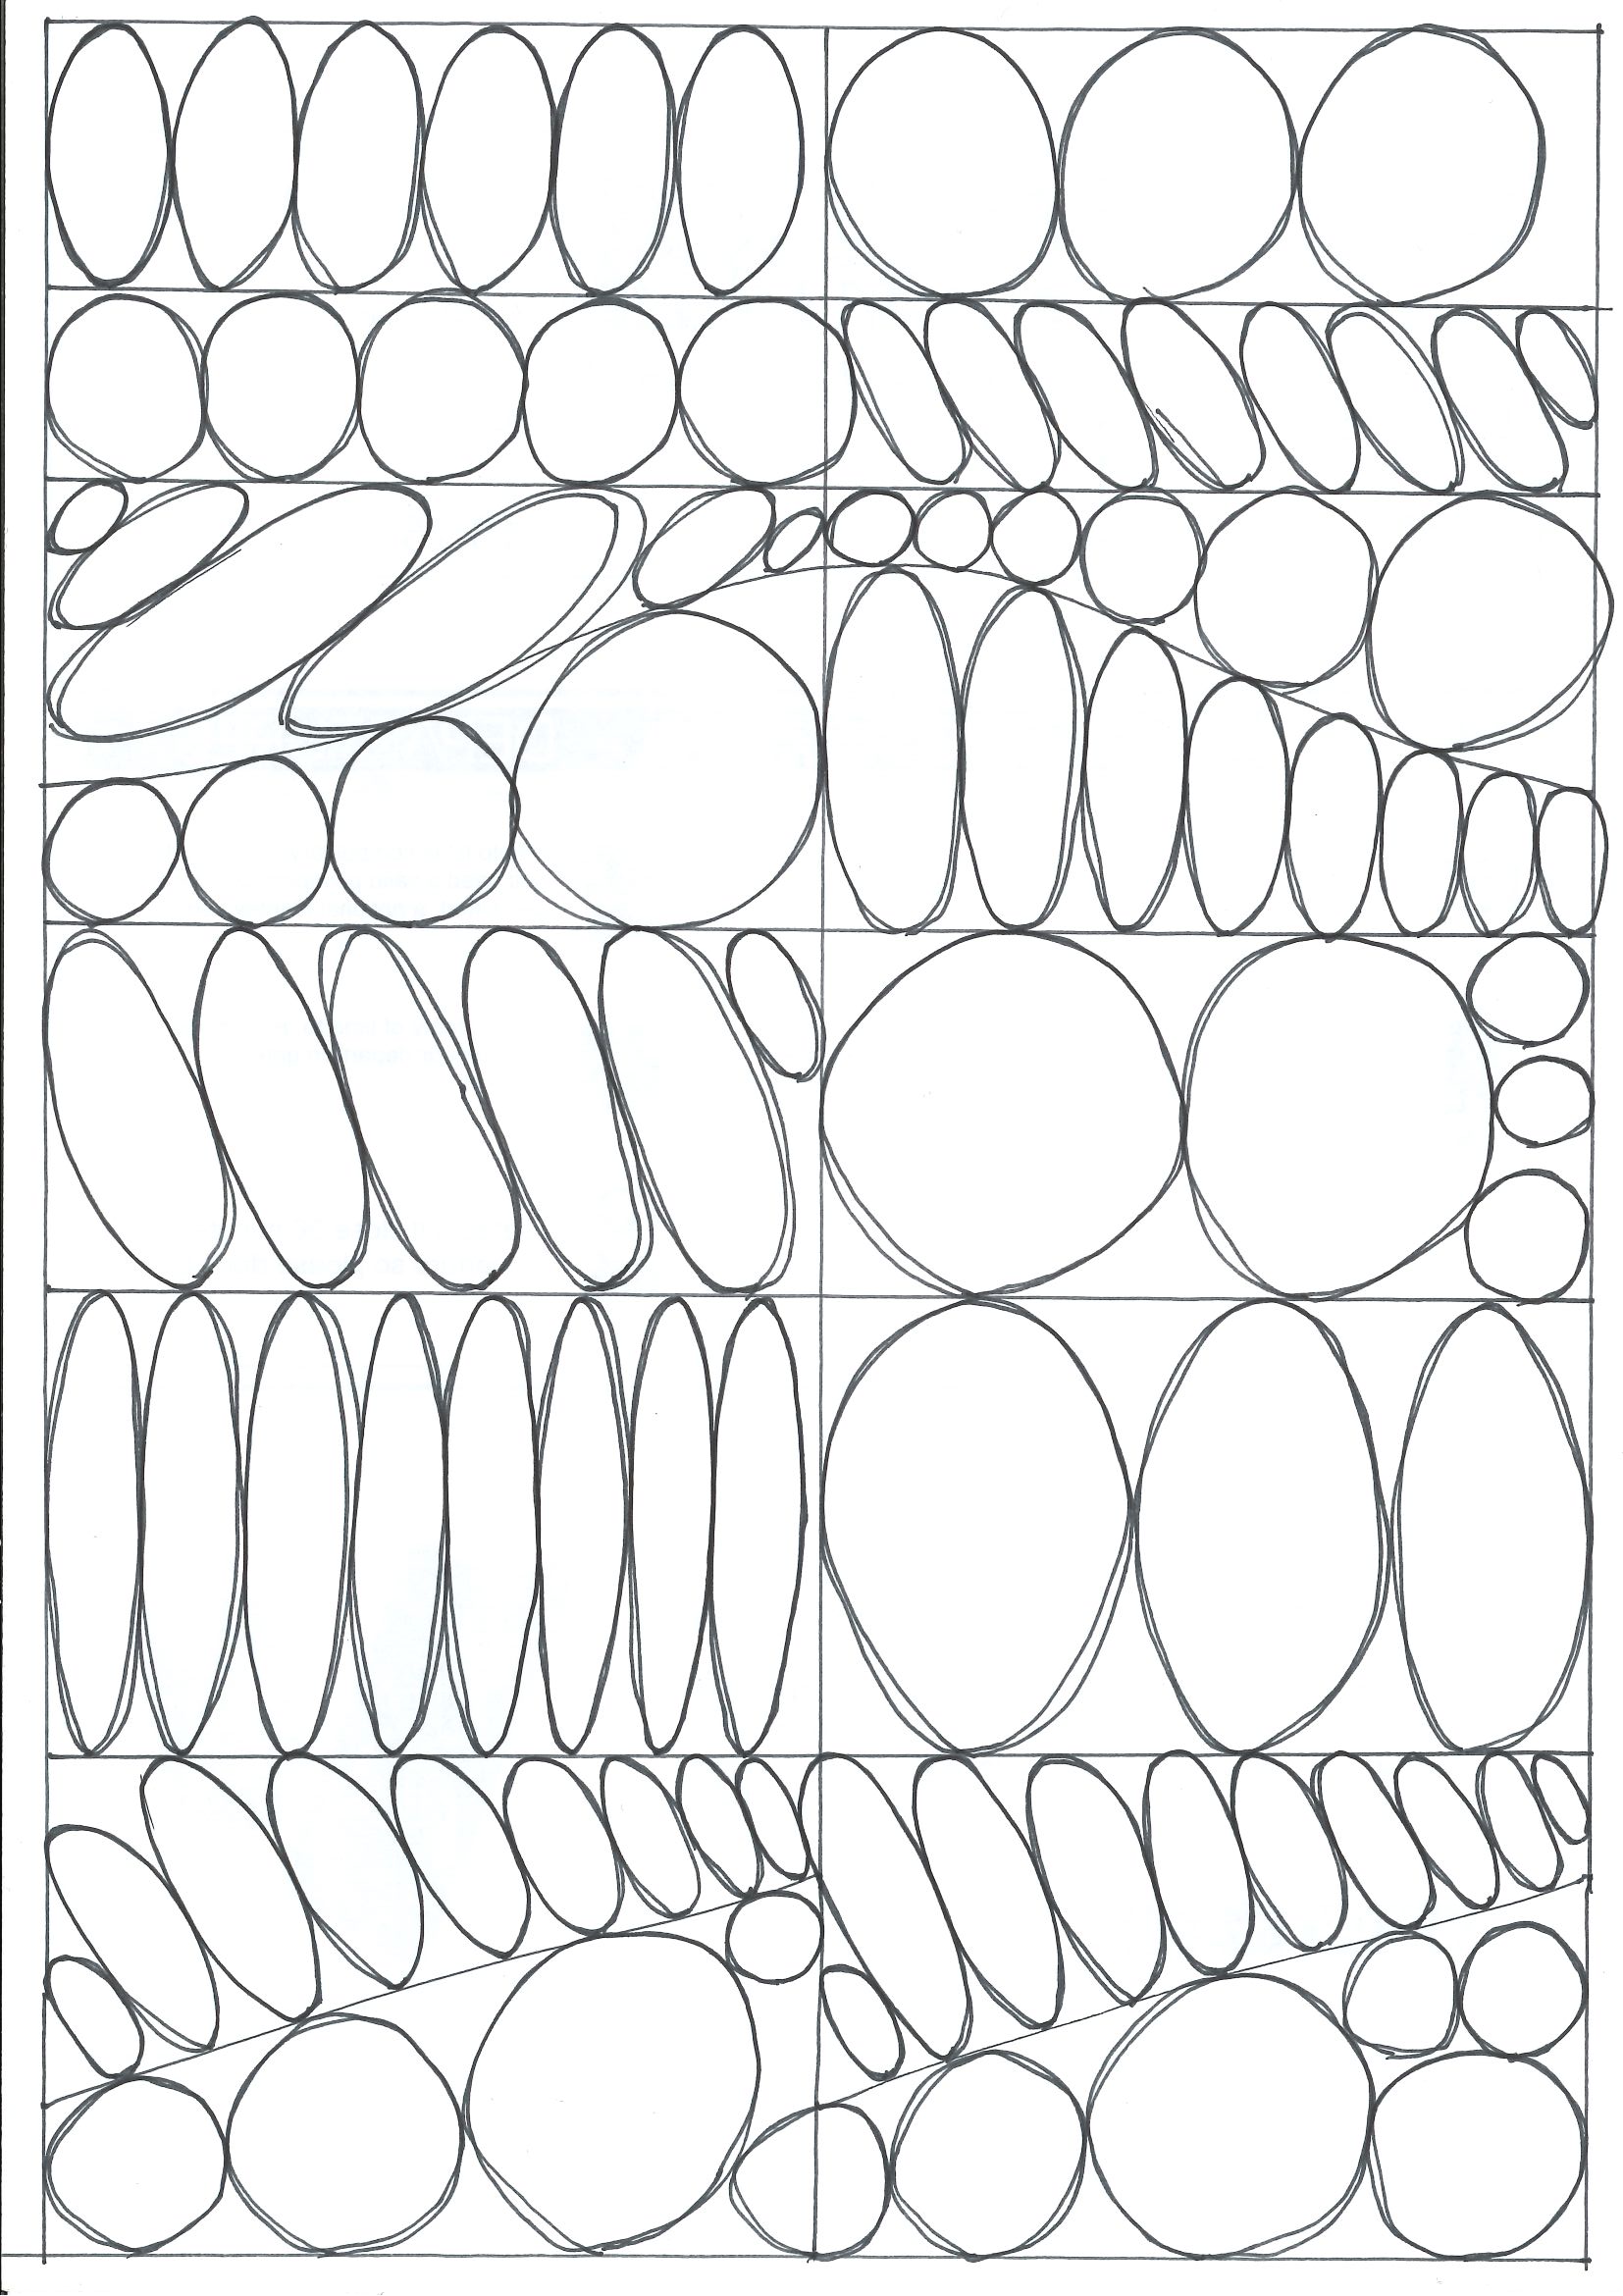
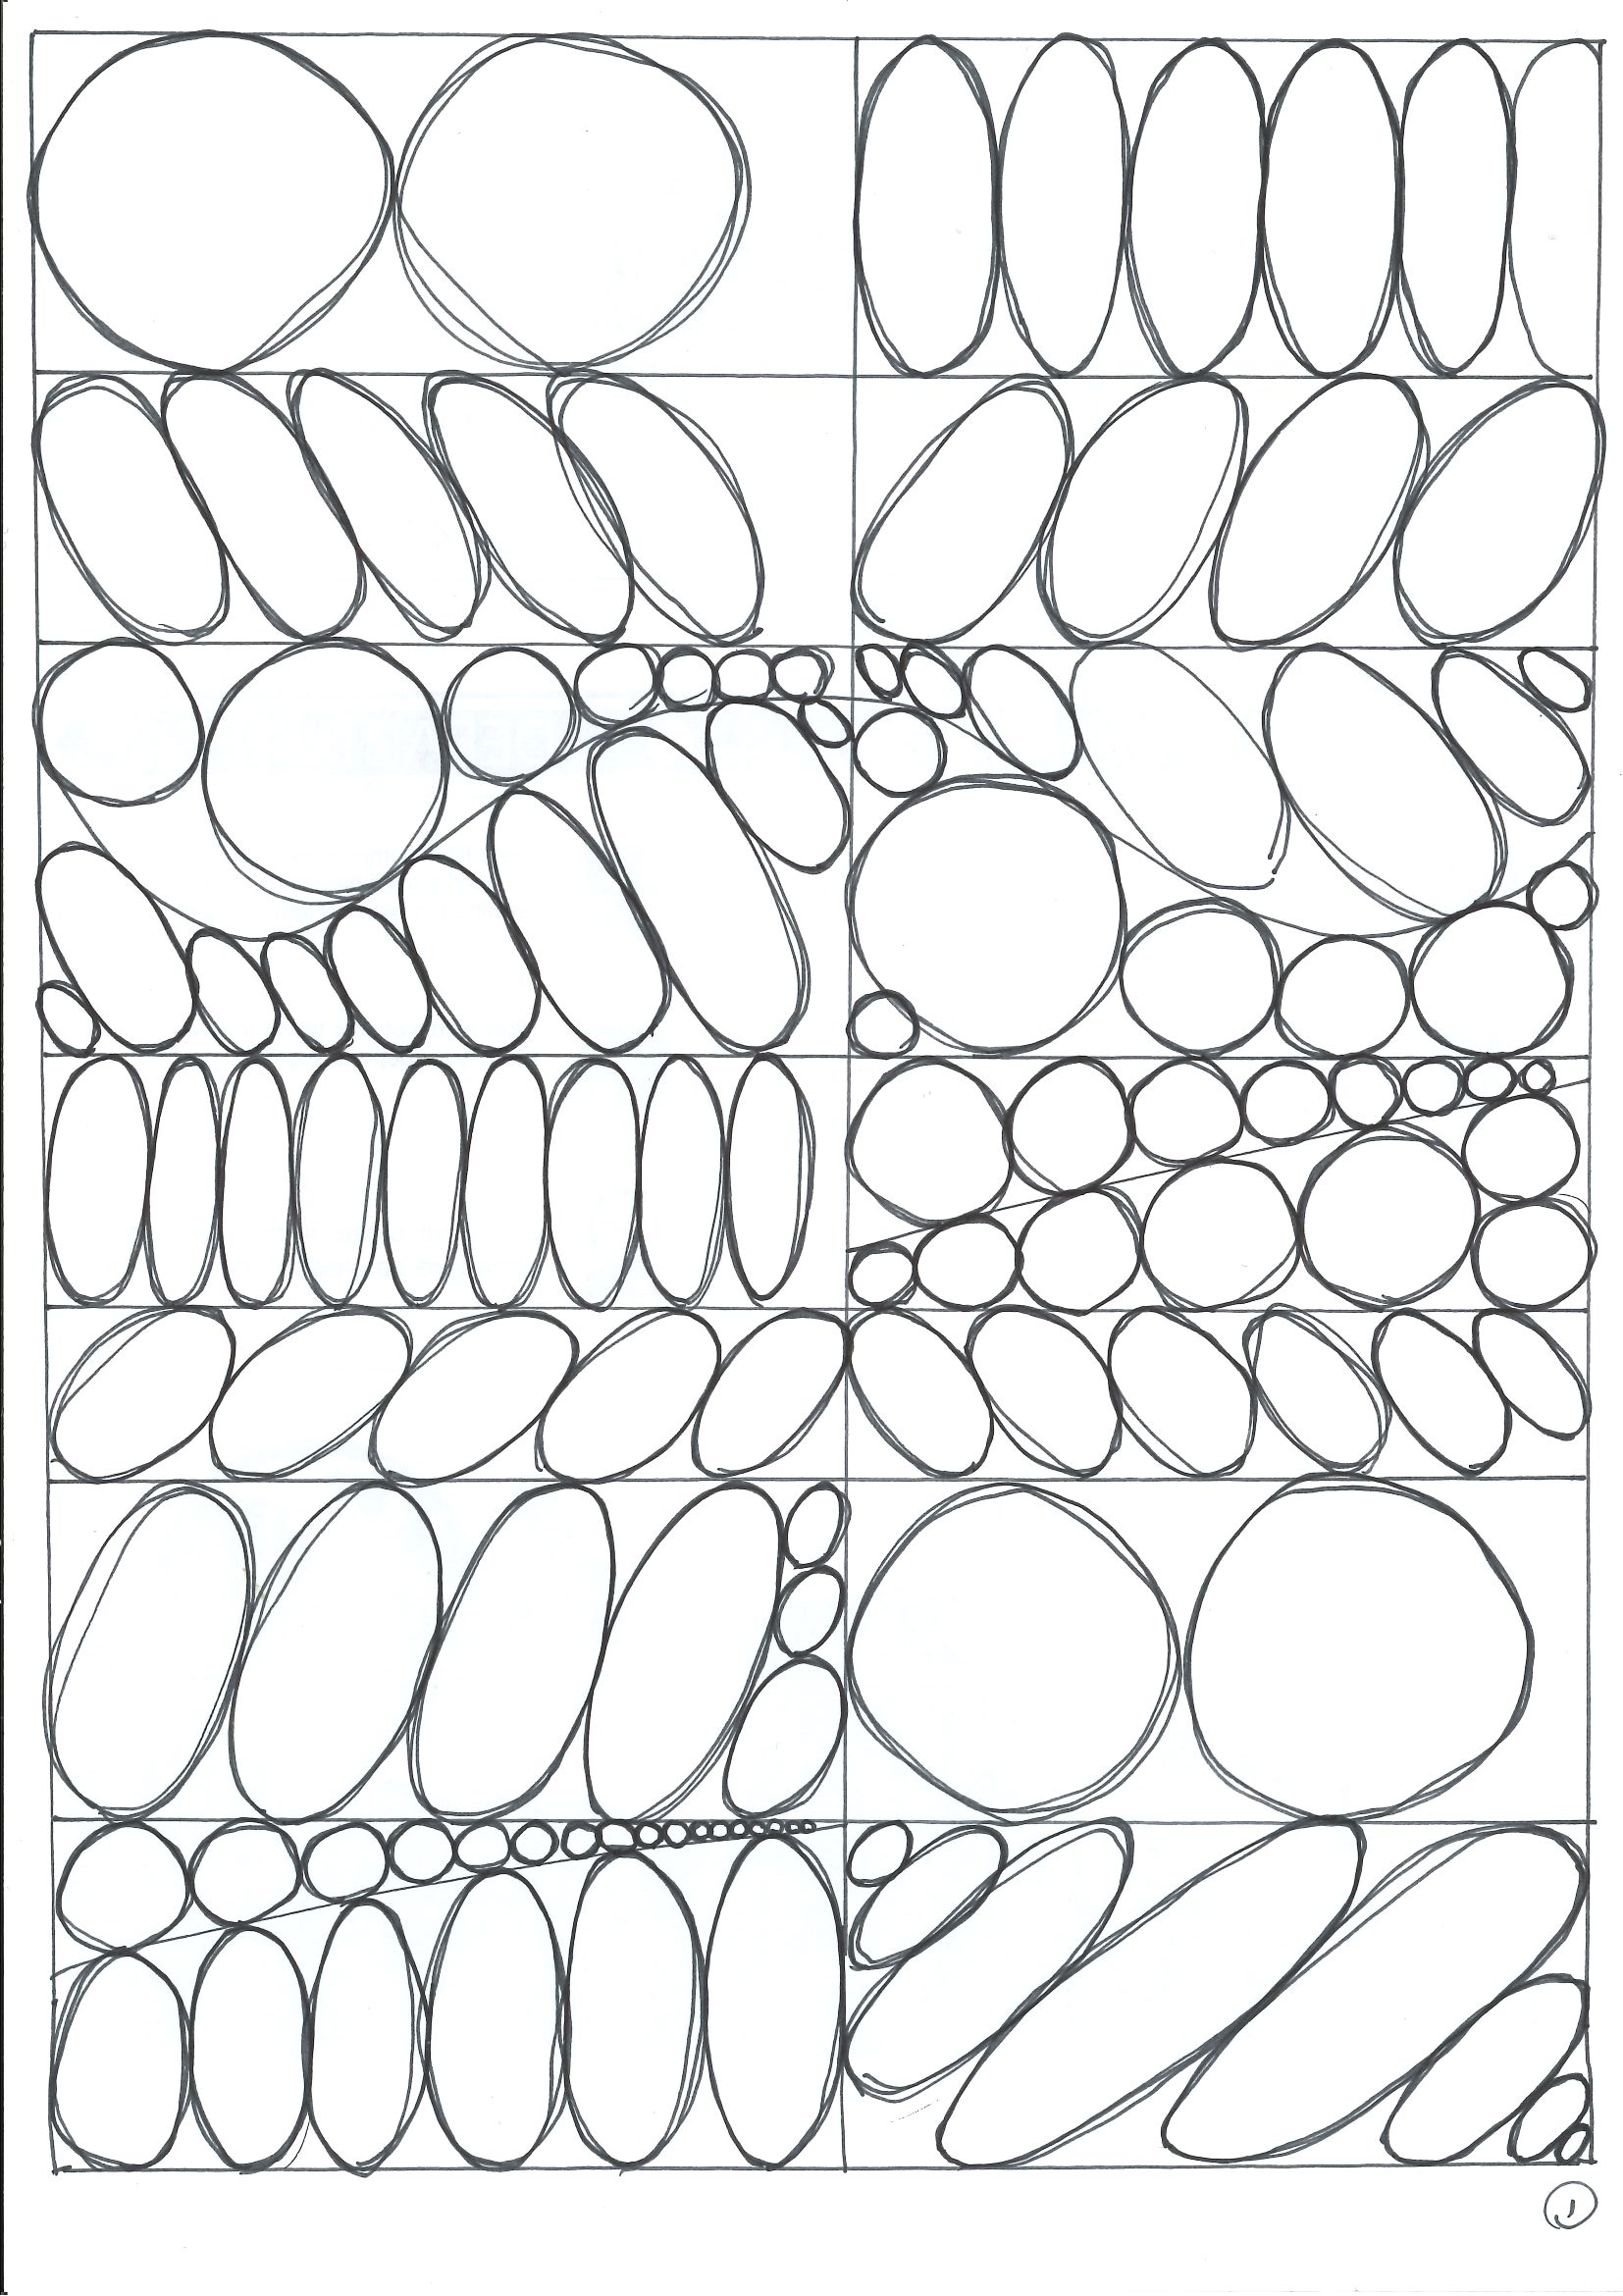
Other than that, one of the guidelines was to start each drawing session with 10 minutes of exercises from lessons 1 & 2 (after finishing them). I also didn’t do this due to lack of time, up until the last lesson (vehicles), where the inability to draw good ellipses was really hurting me.
Particular lessons
Below I quickly review each of the lessons and attach my pictures for posterity.
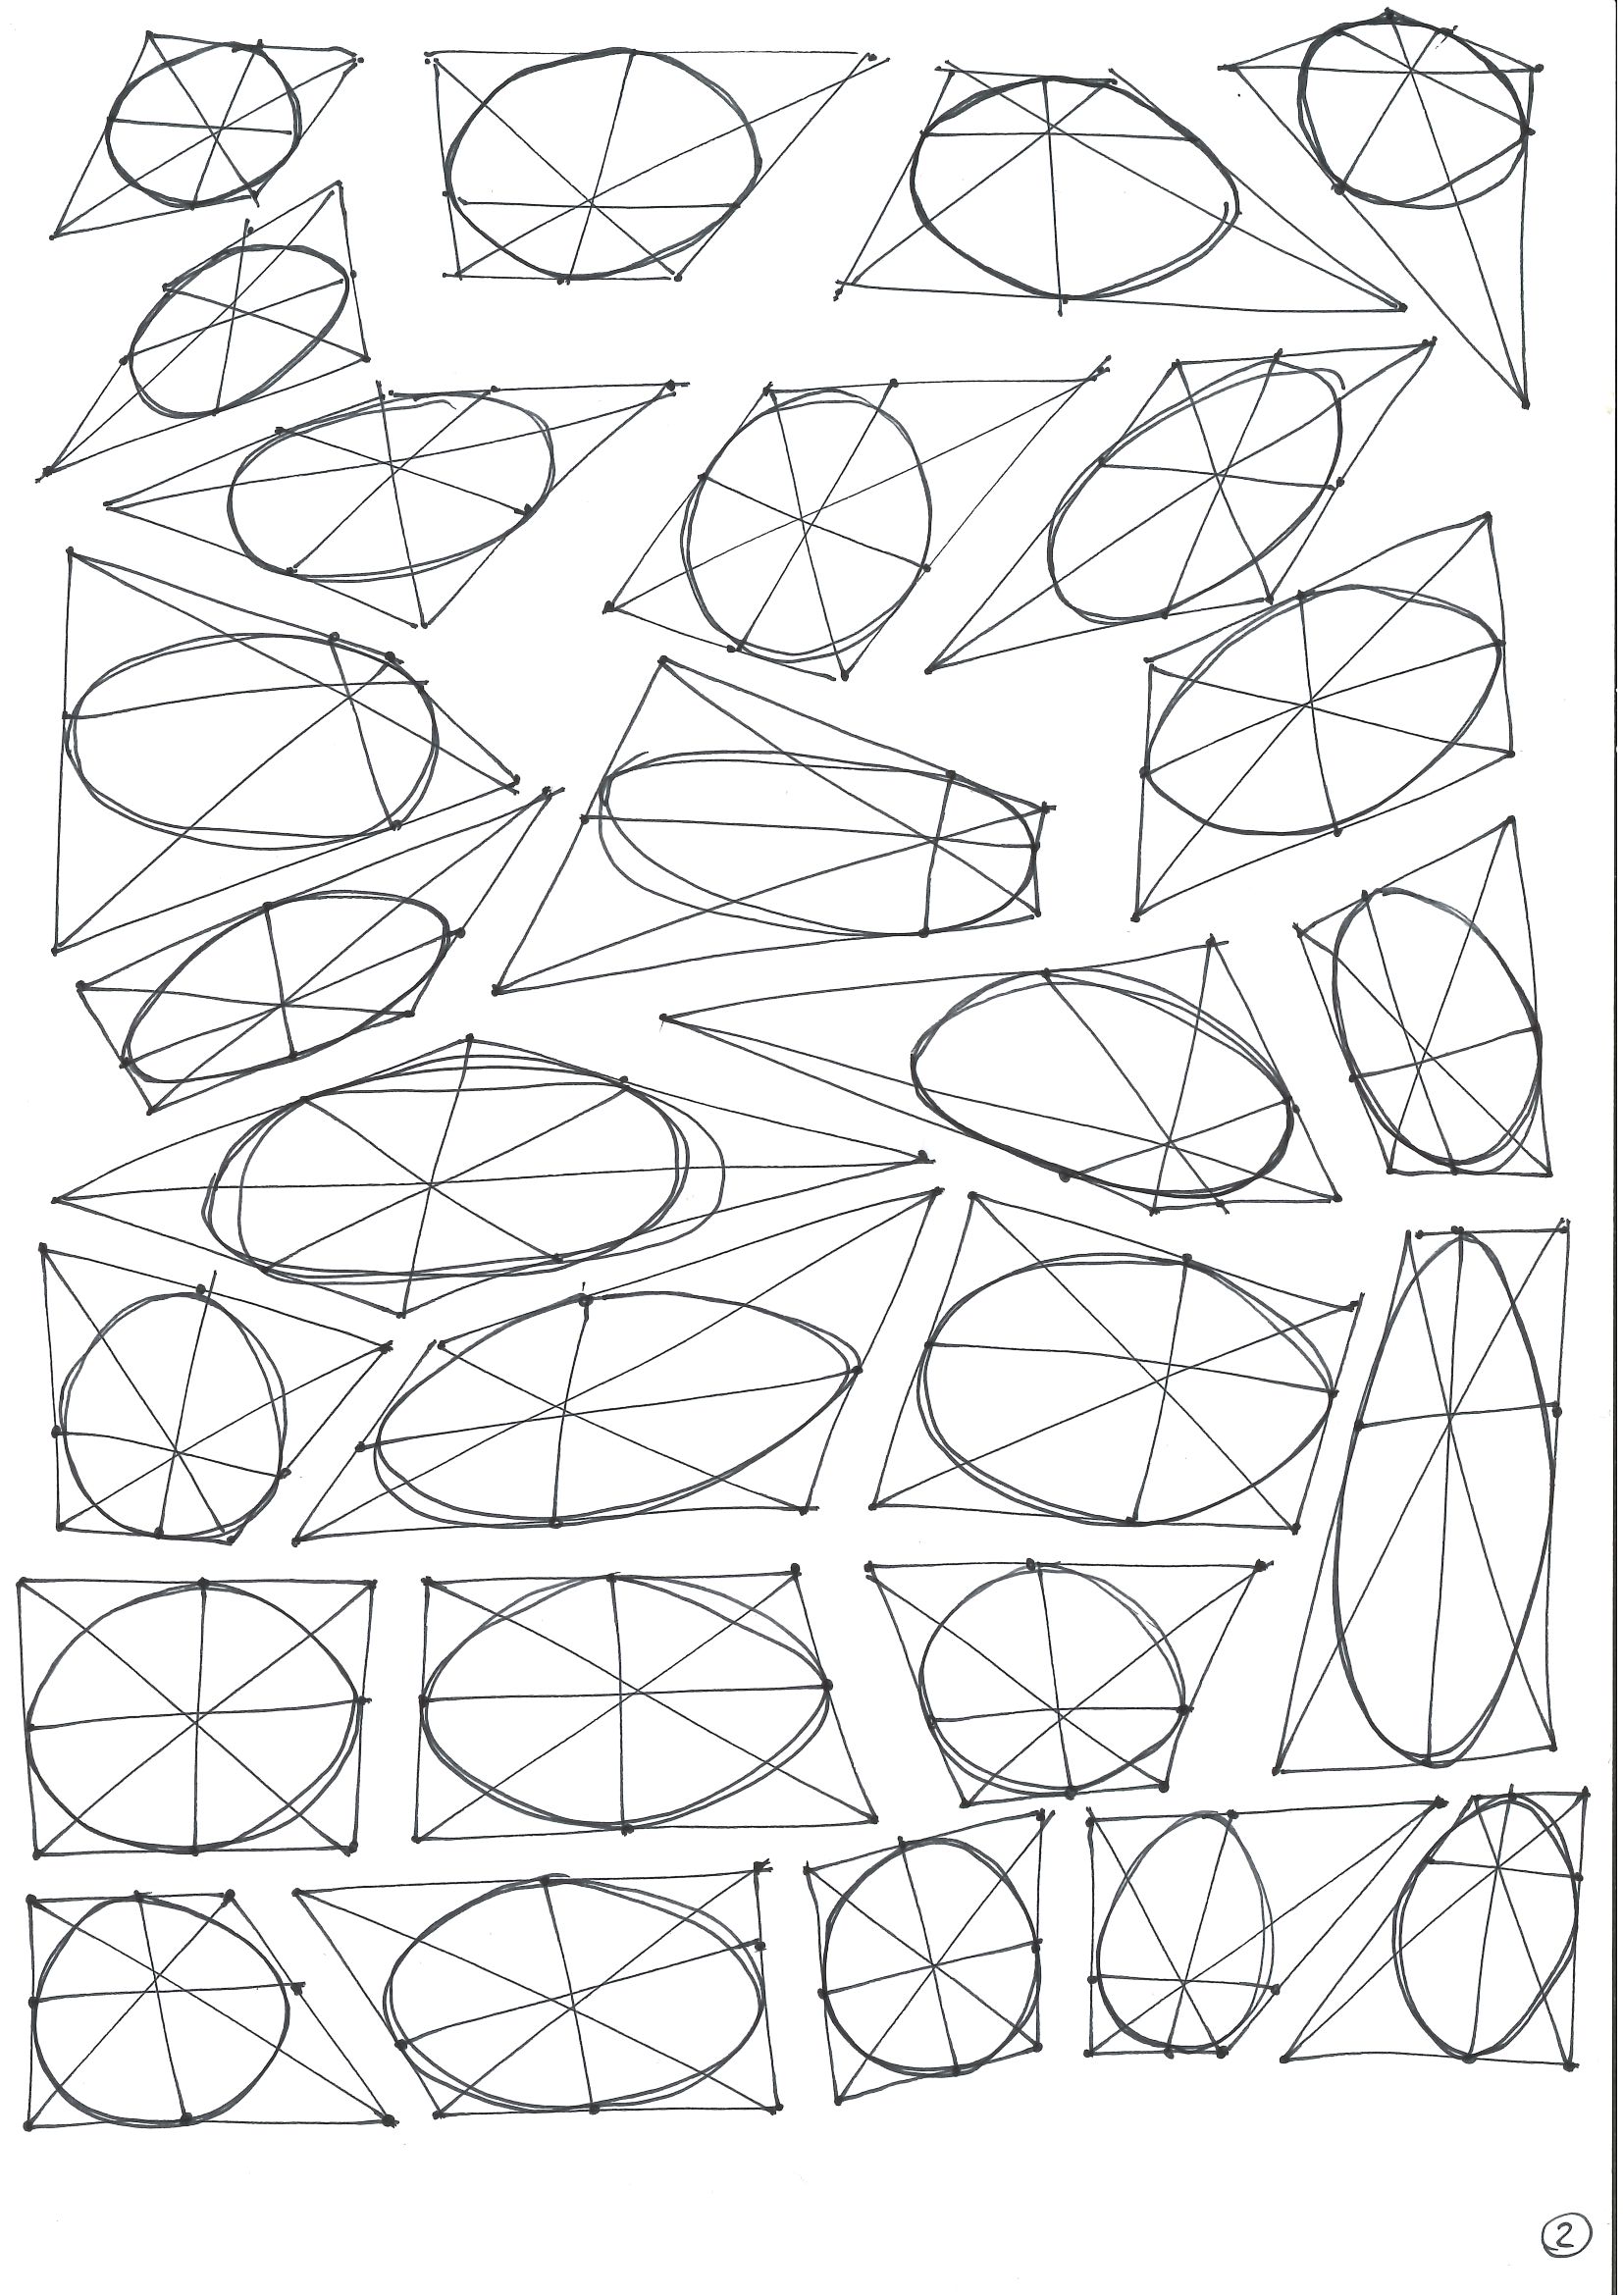
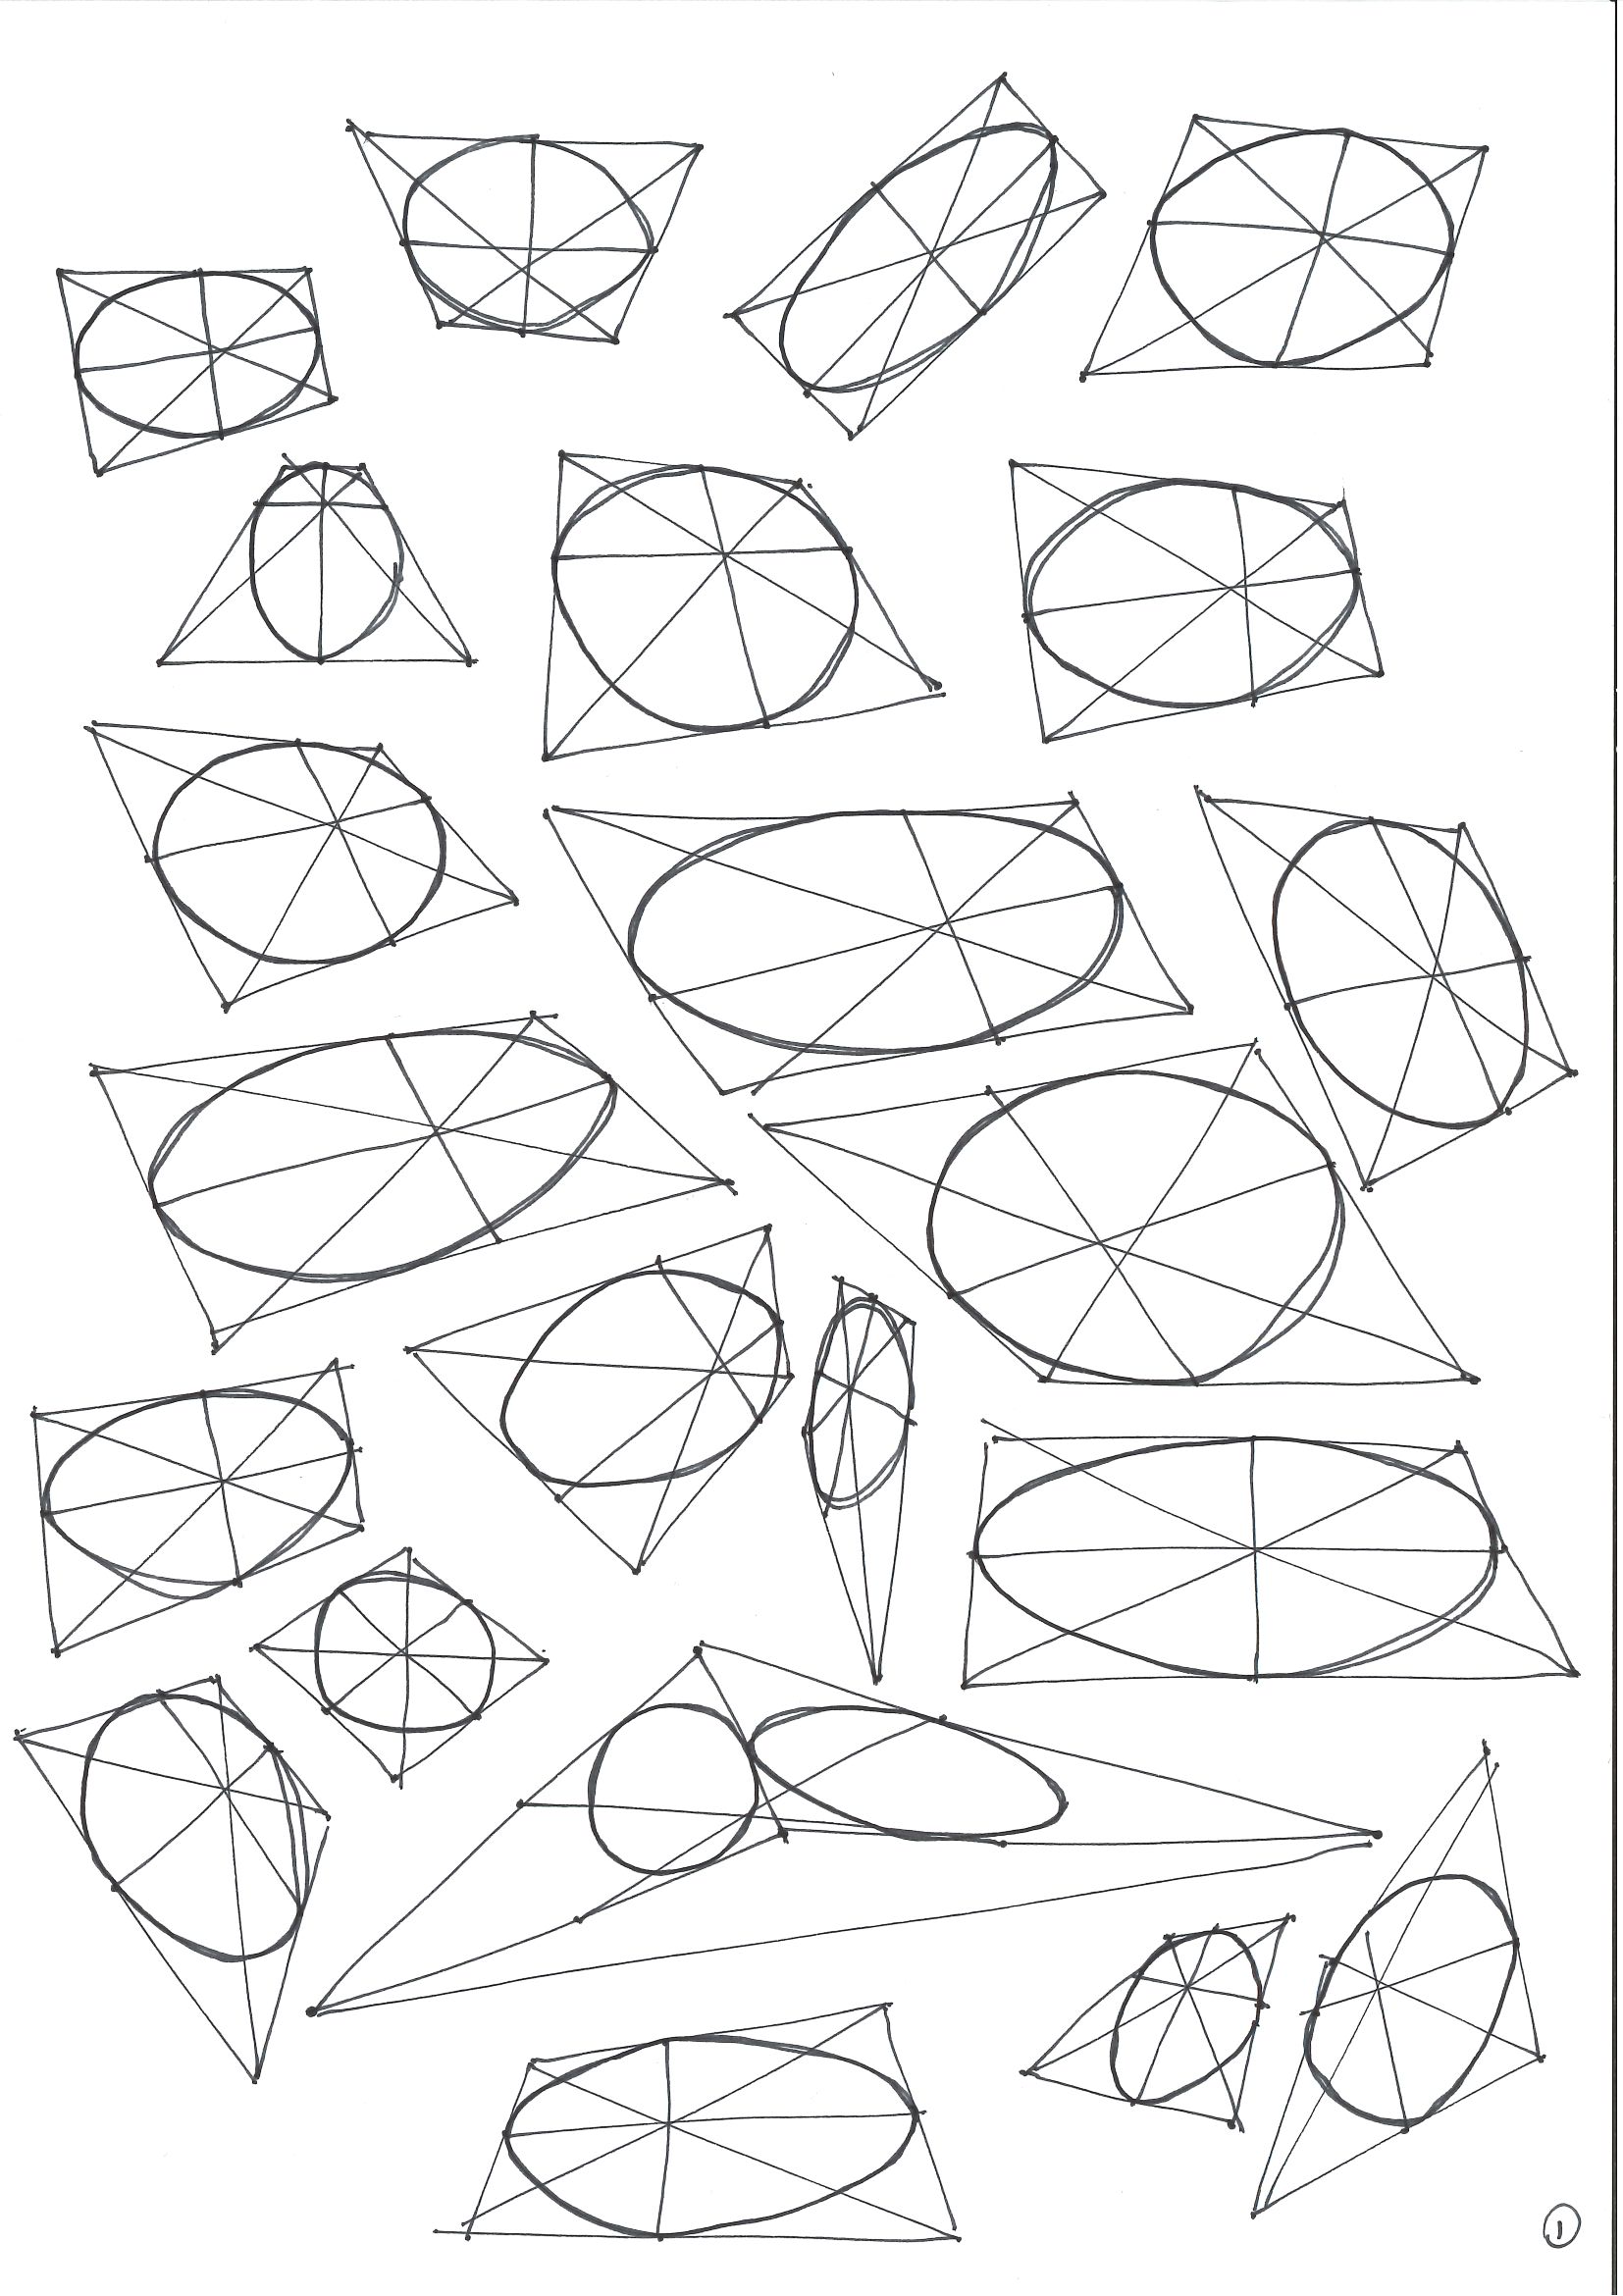
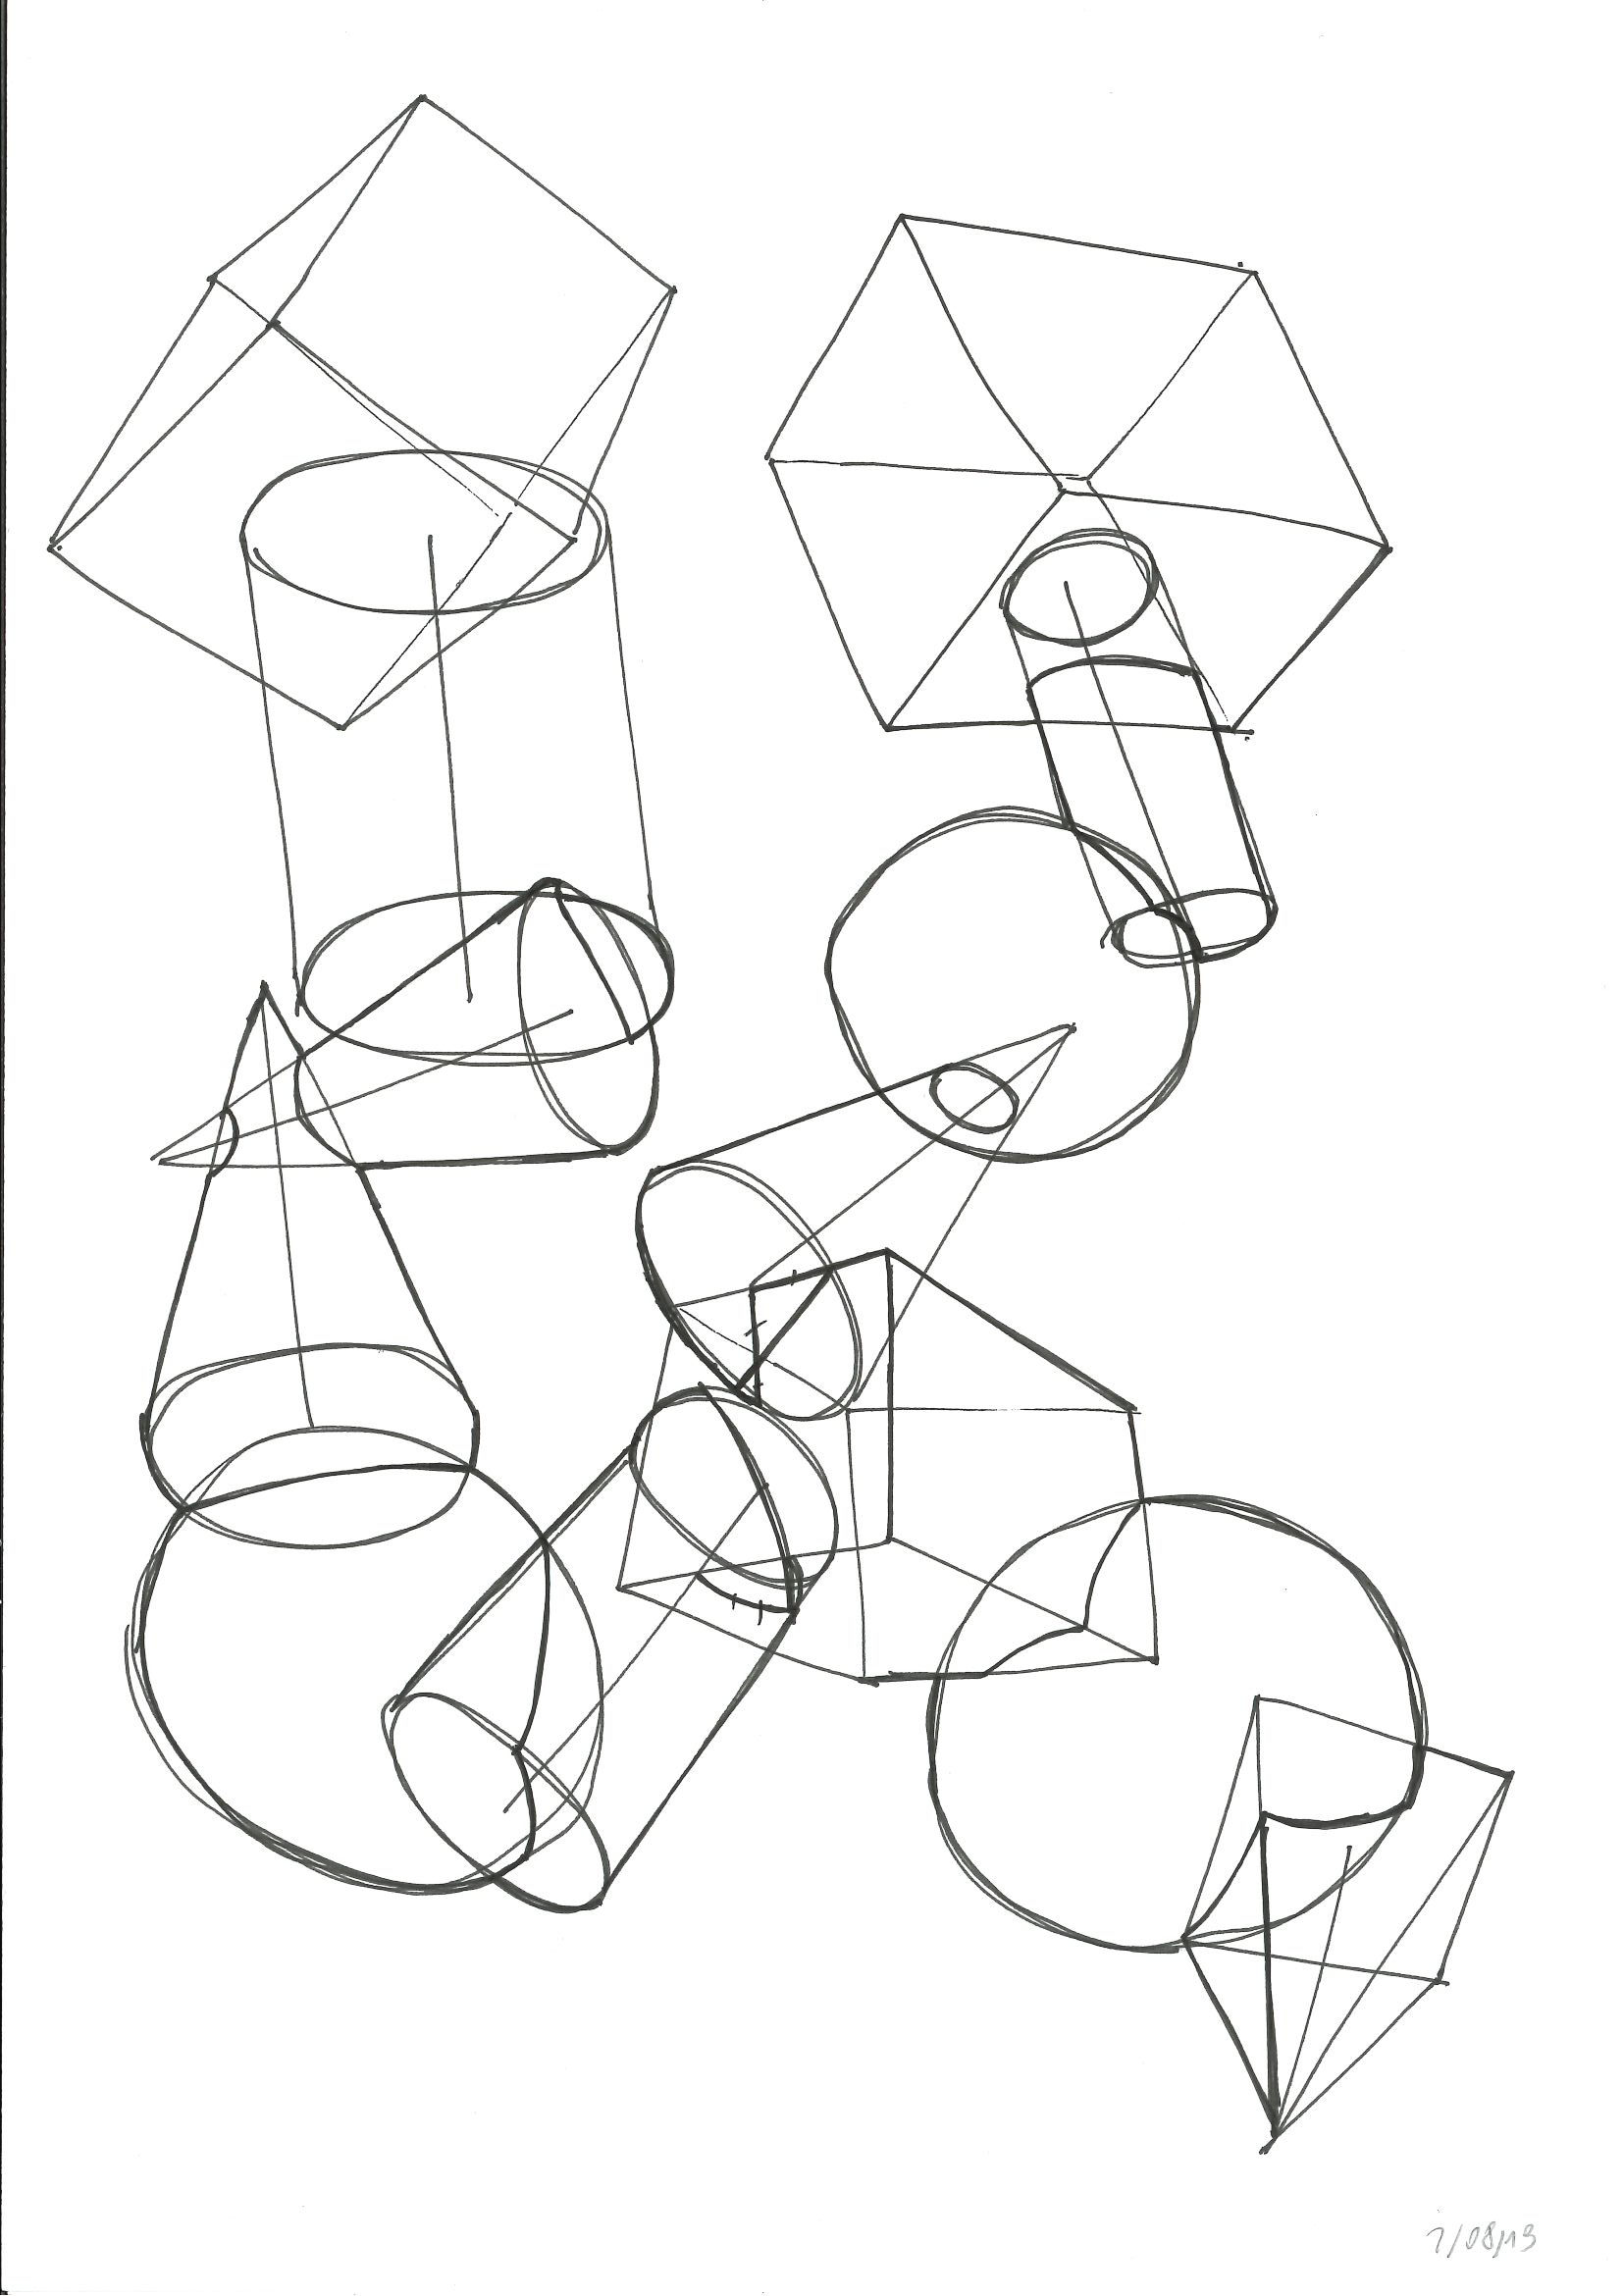
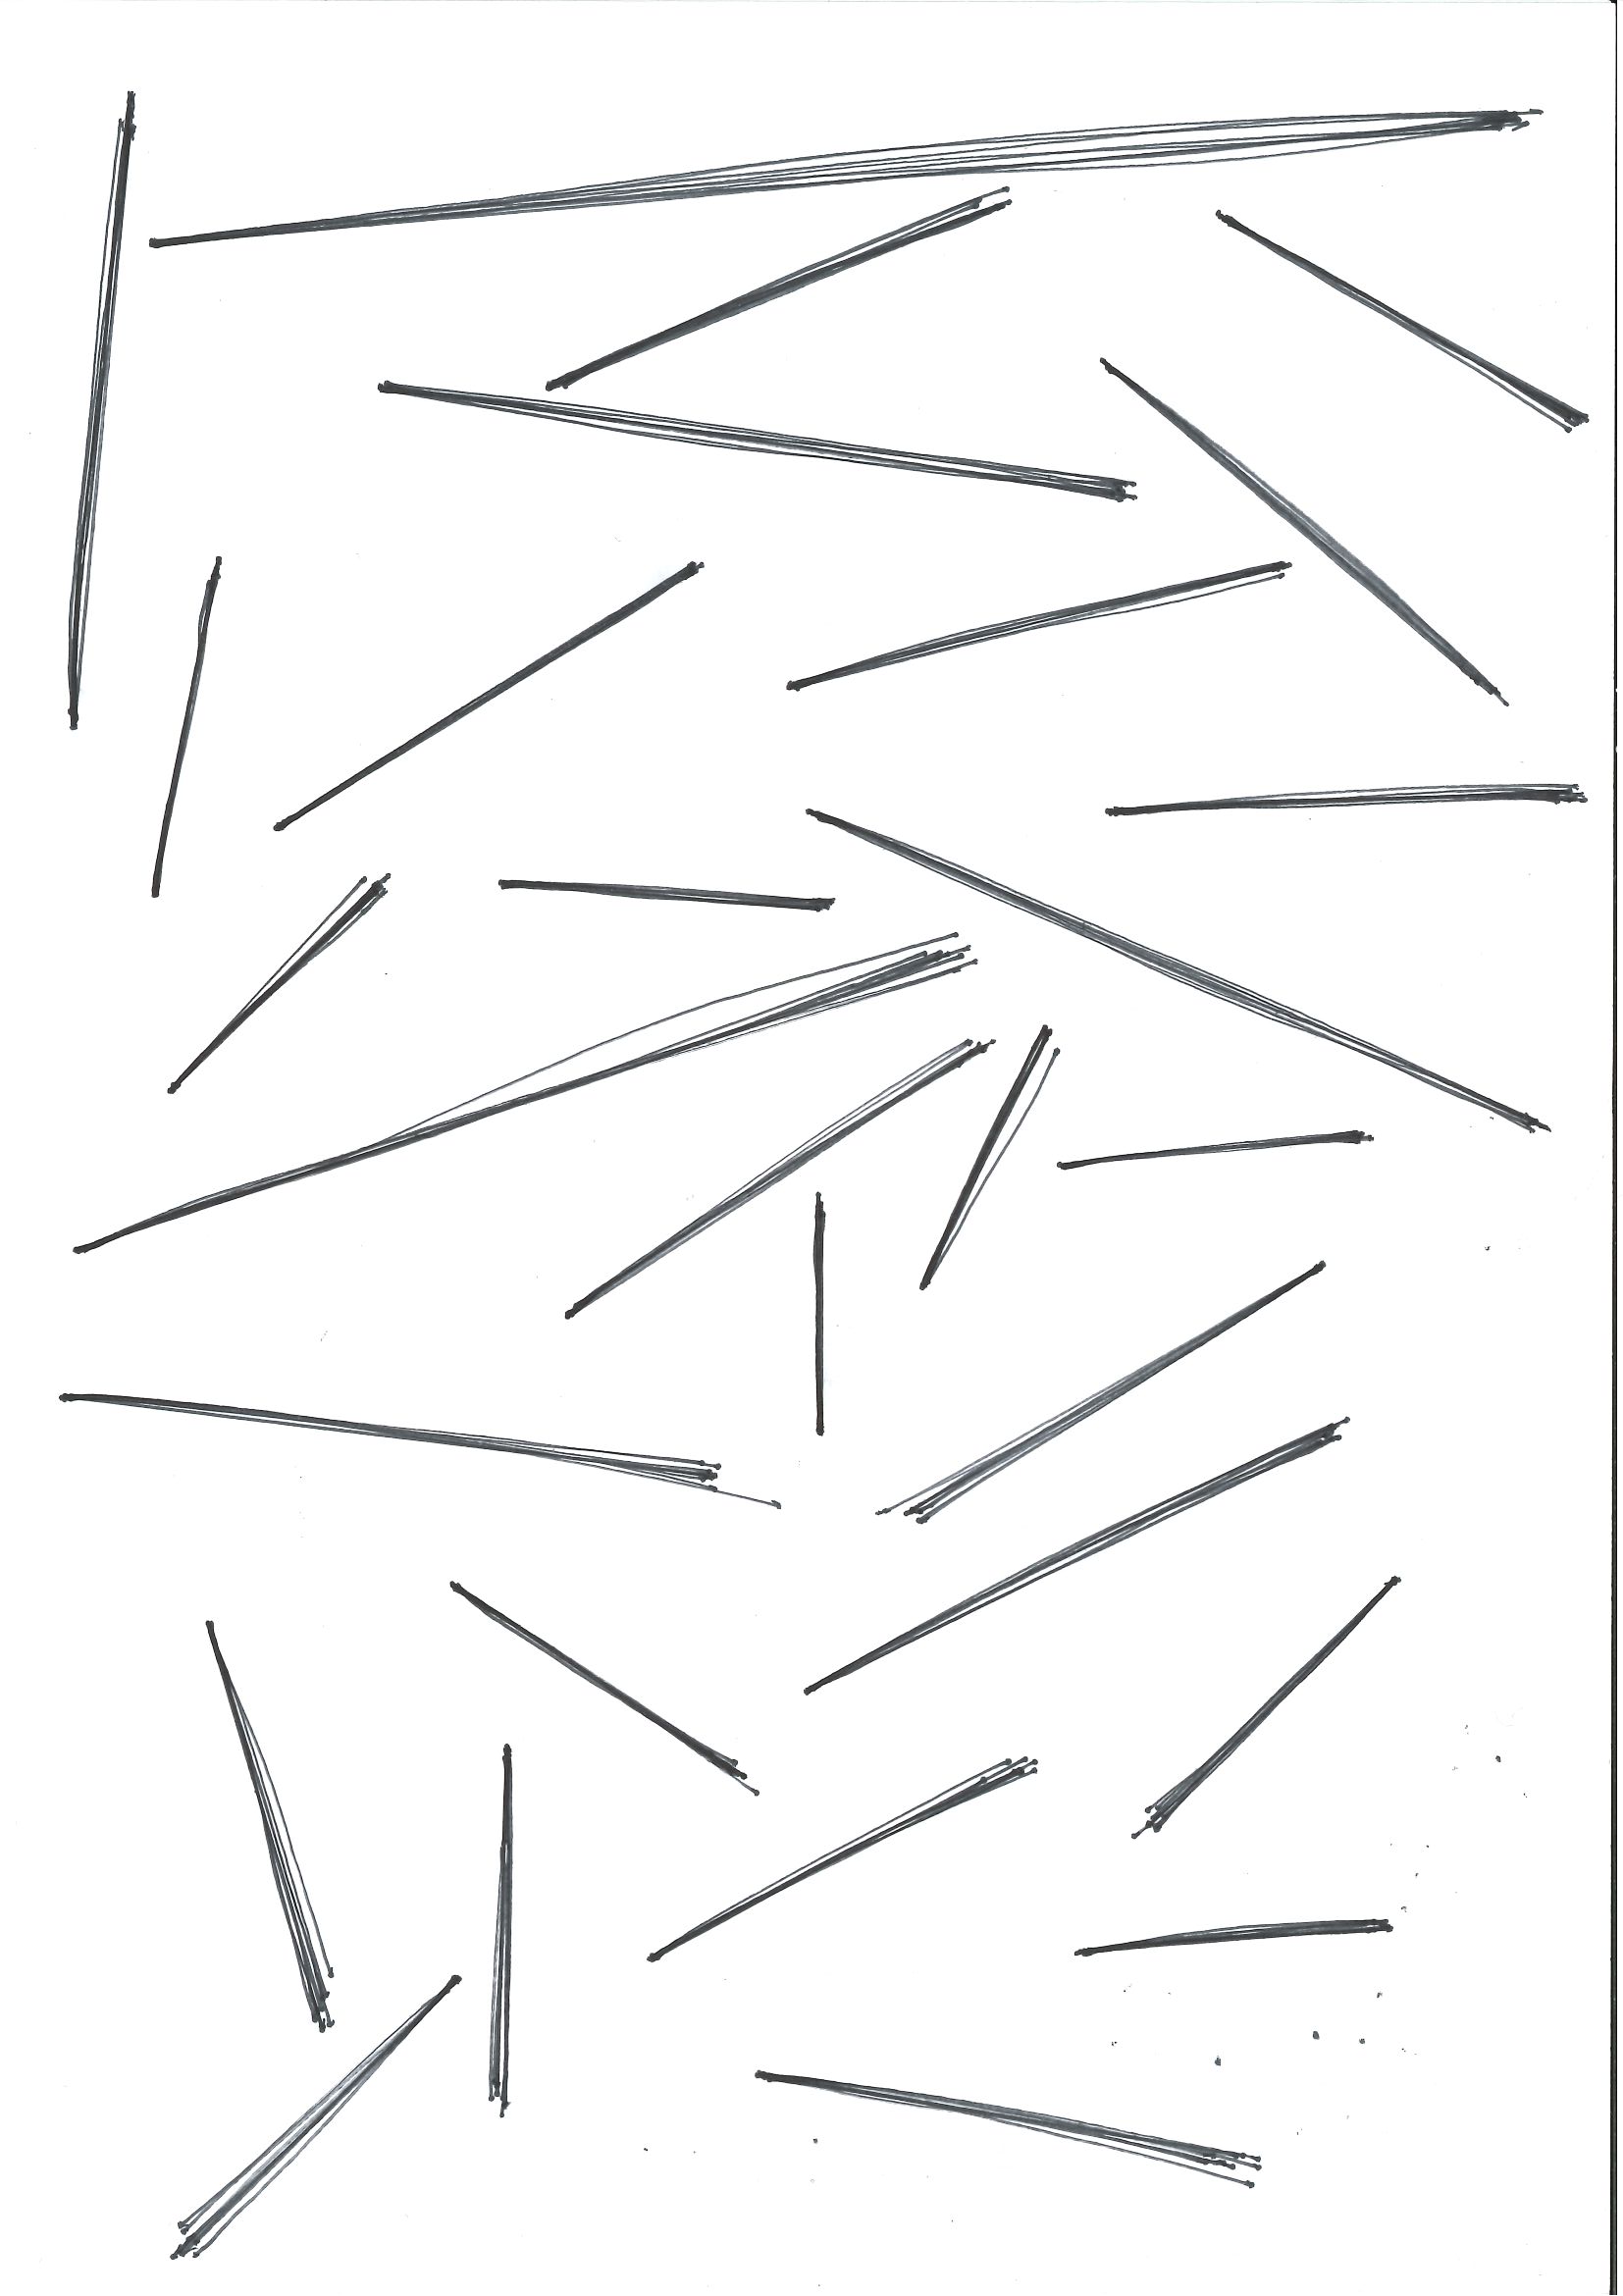
Lesson 1: Lines, Ellipses, and Boxes
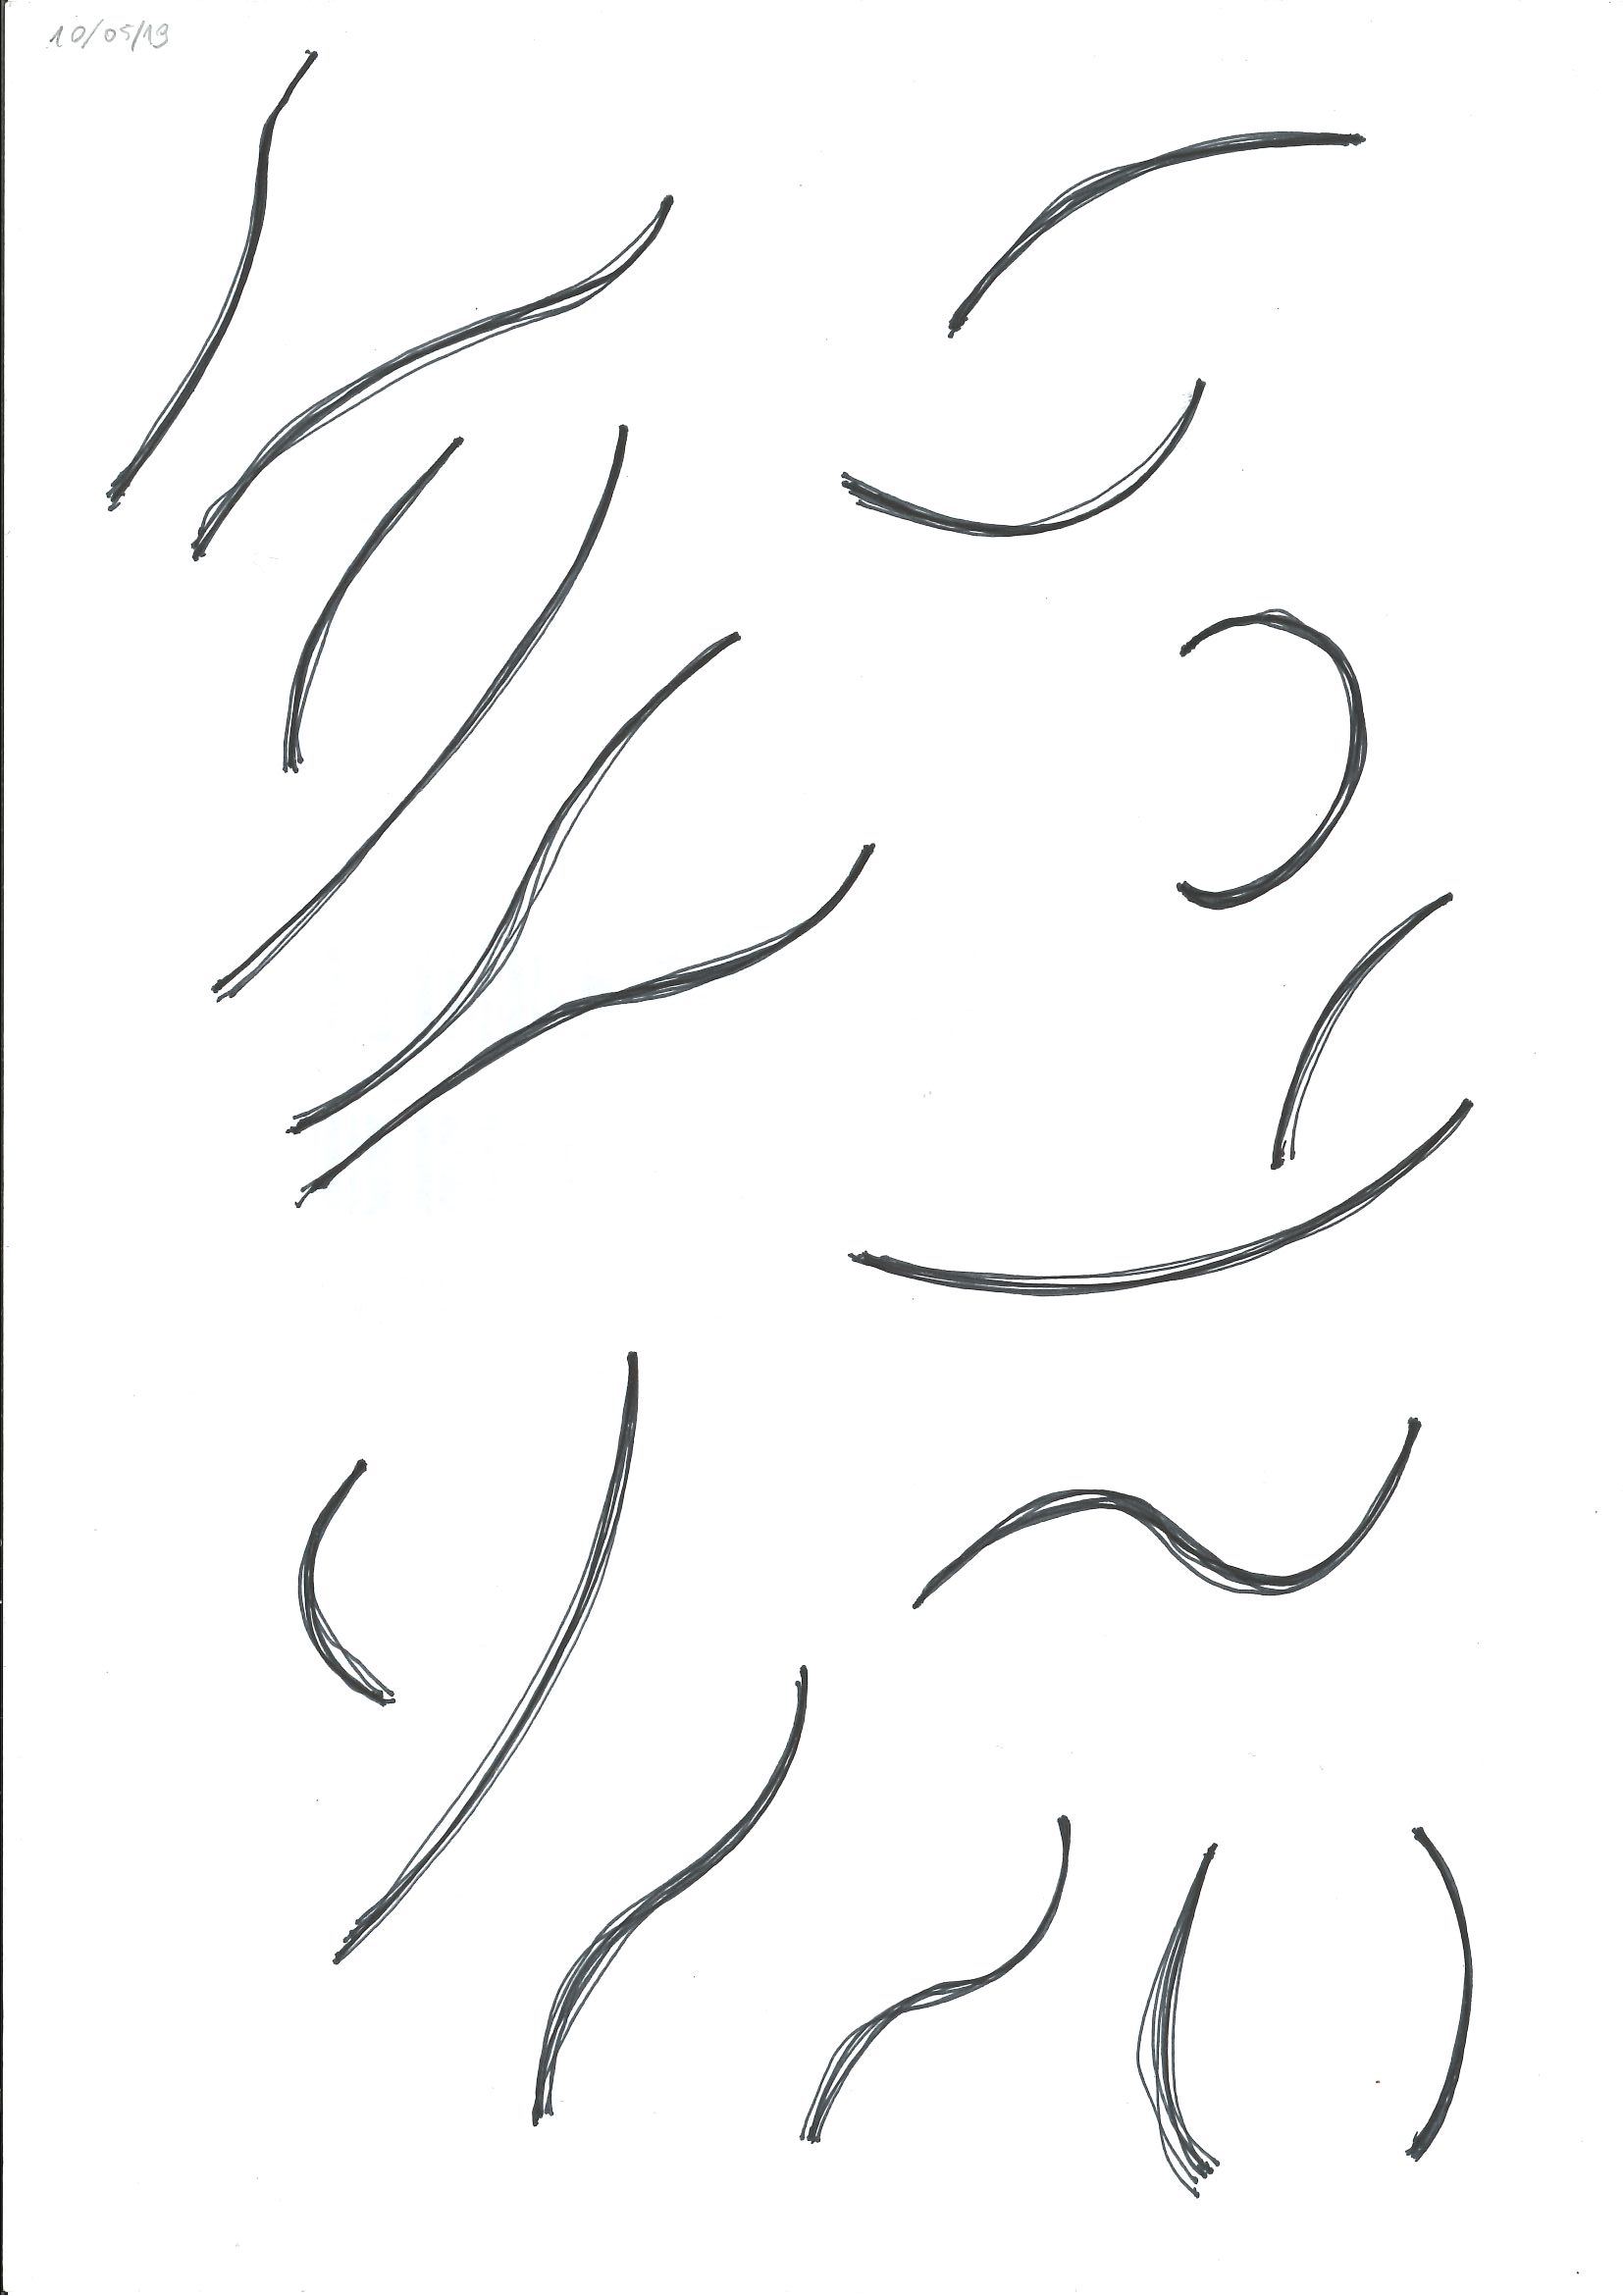
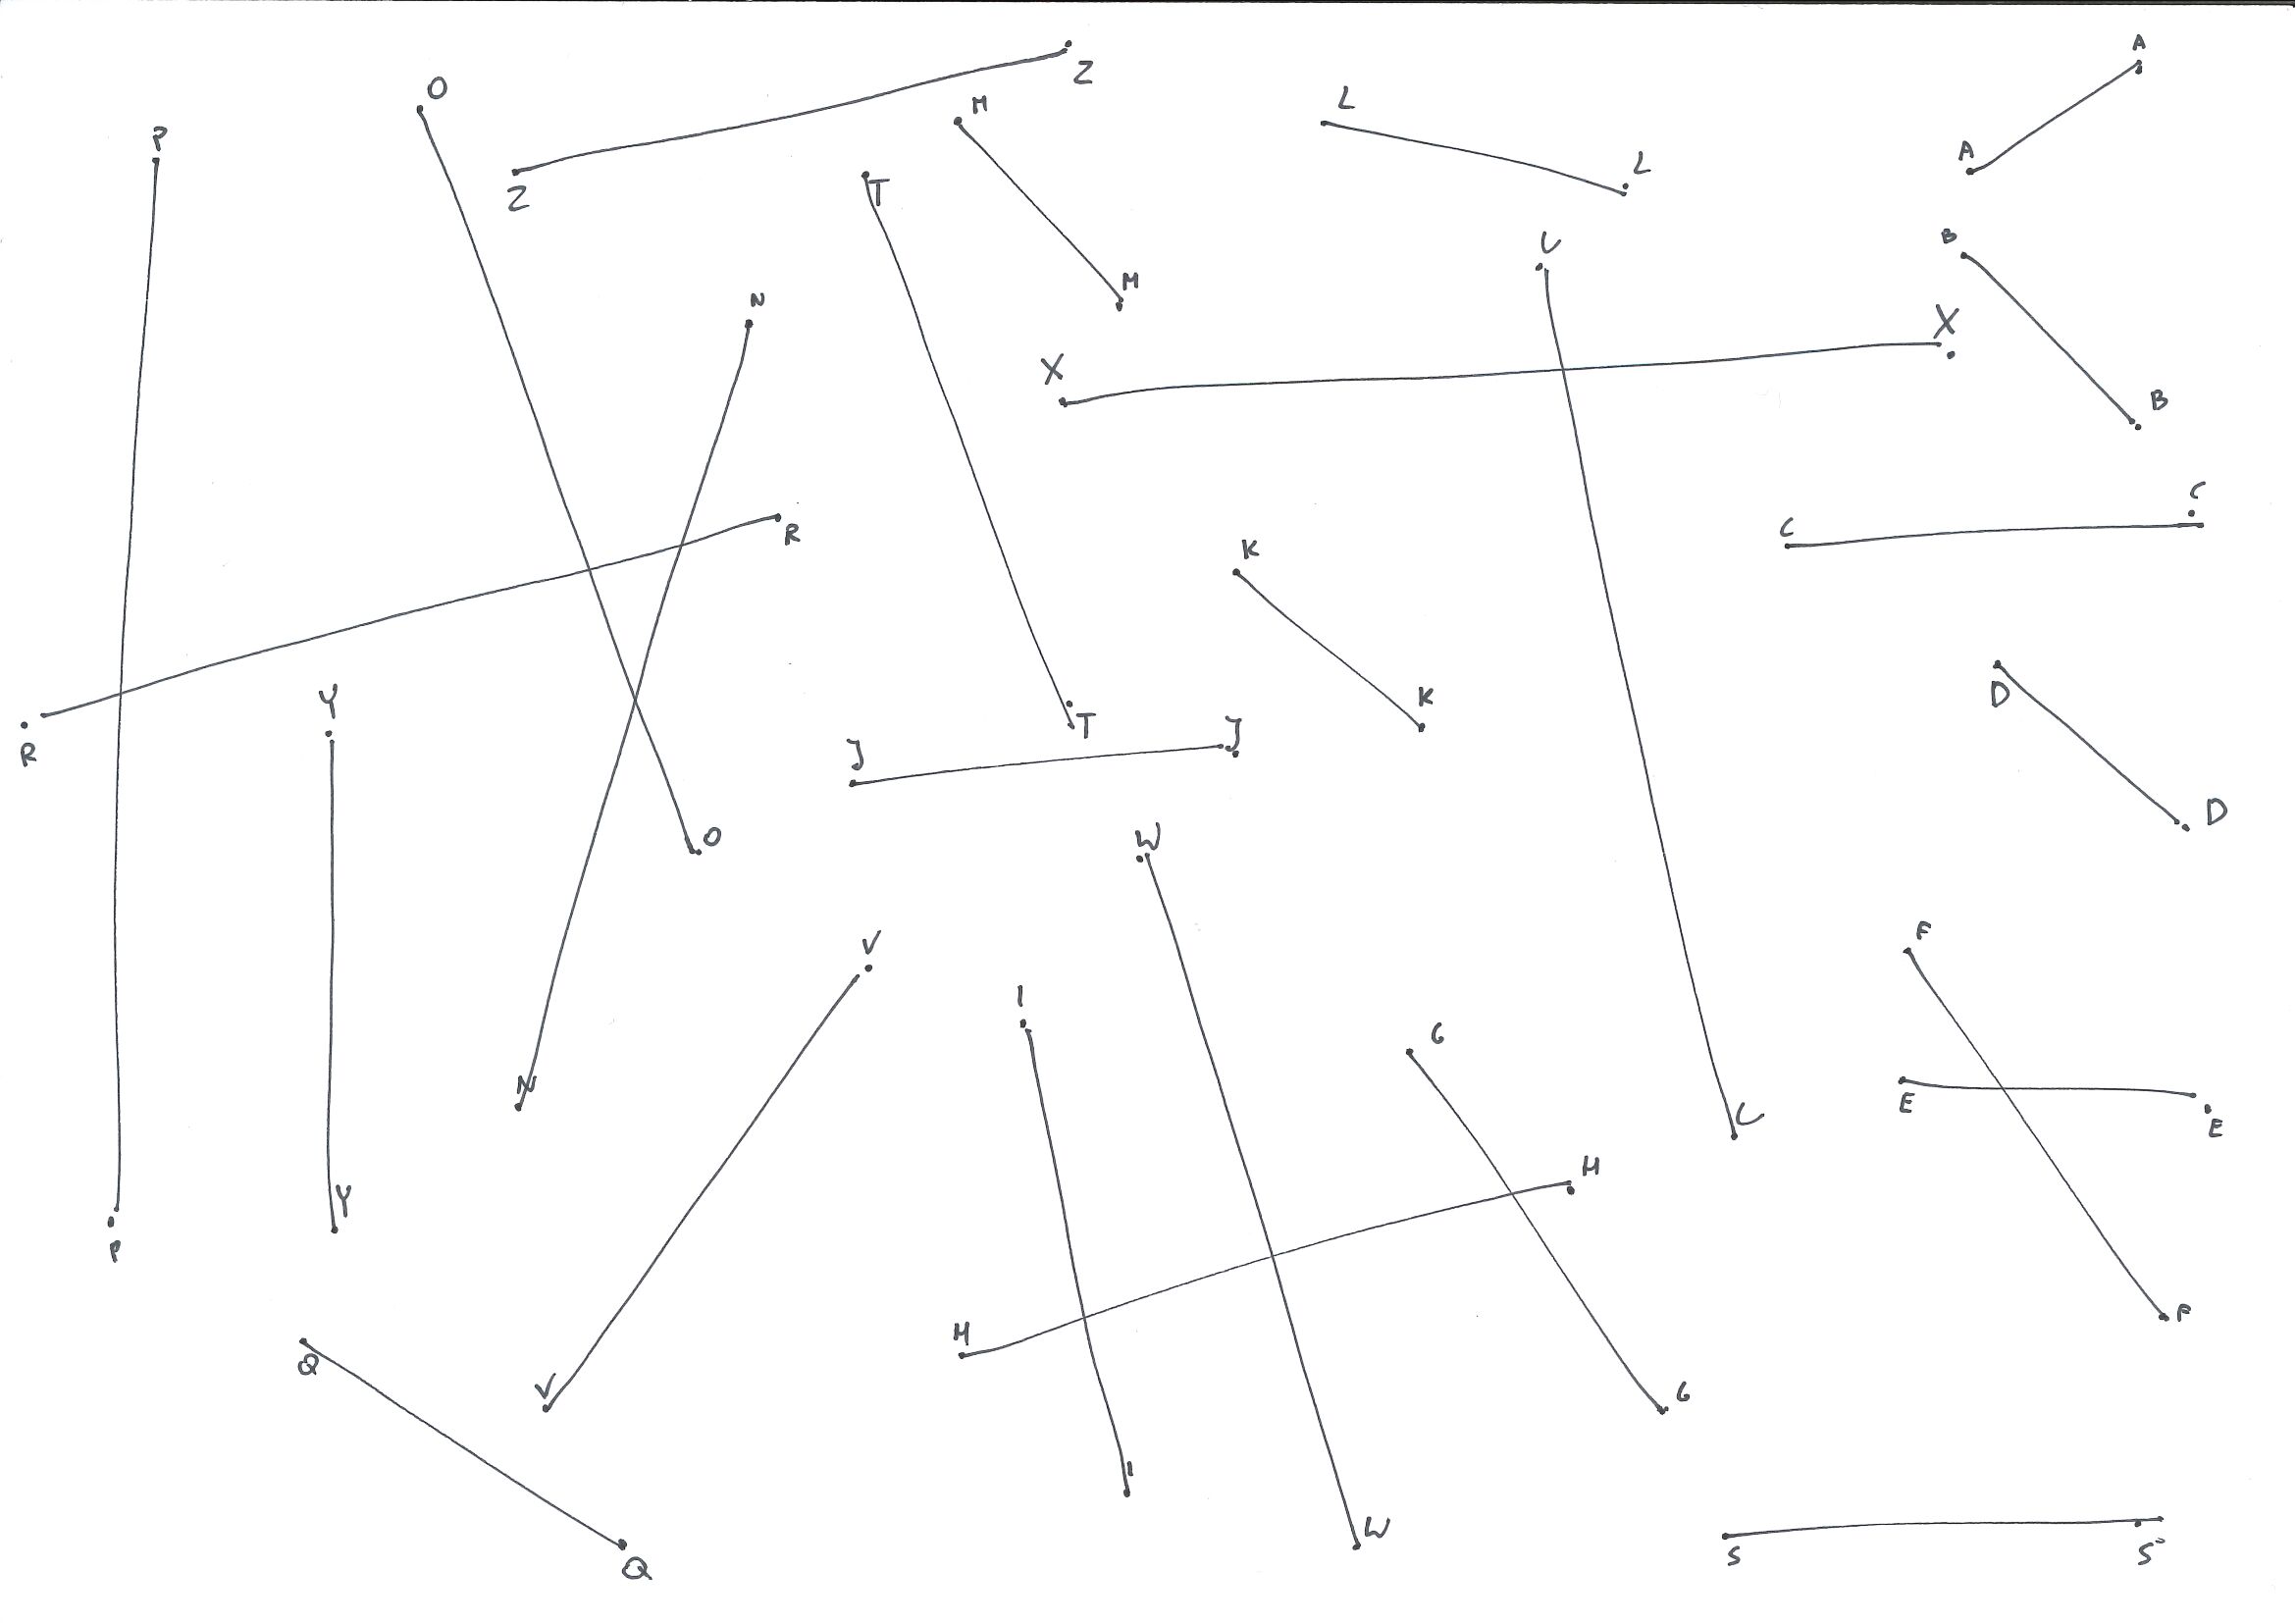
The first lesson lays a foundation on the mechanical aspect of drawing and perspective theory. Being green most of the information here: drawing from the shoulder, vanishing points, etc. was new to me.
The course firmly stipulates to draw from the shoulder, to make the lines smooth and confident. While I mostly followed this advice, I have to admit using an elbow in some of the later lessons for details.
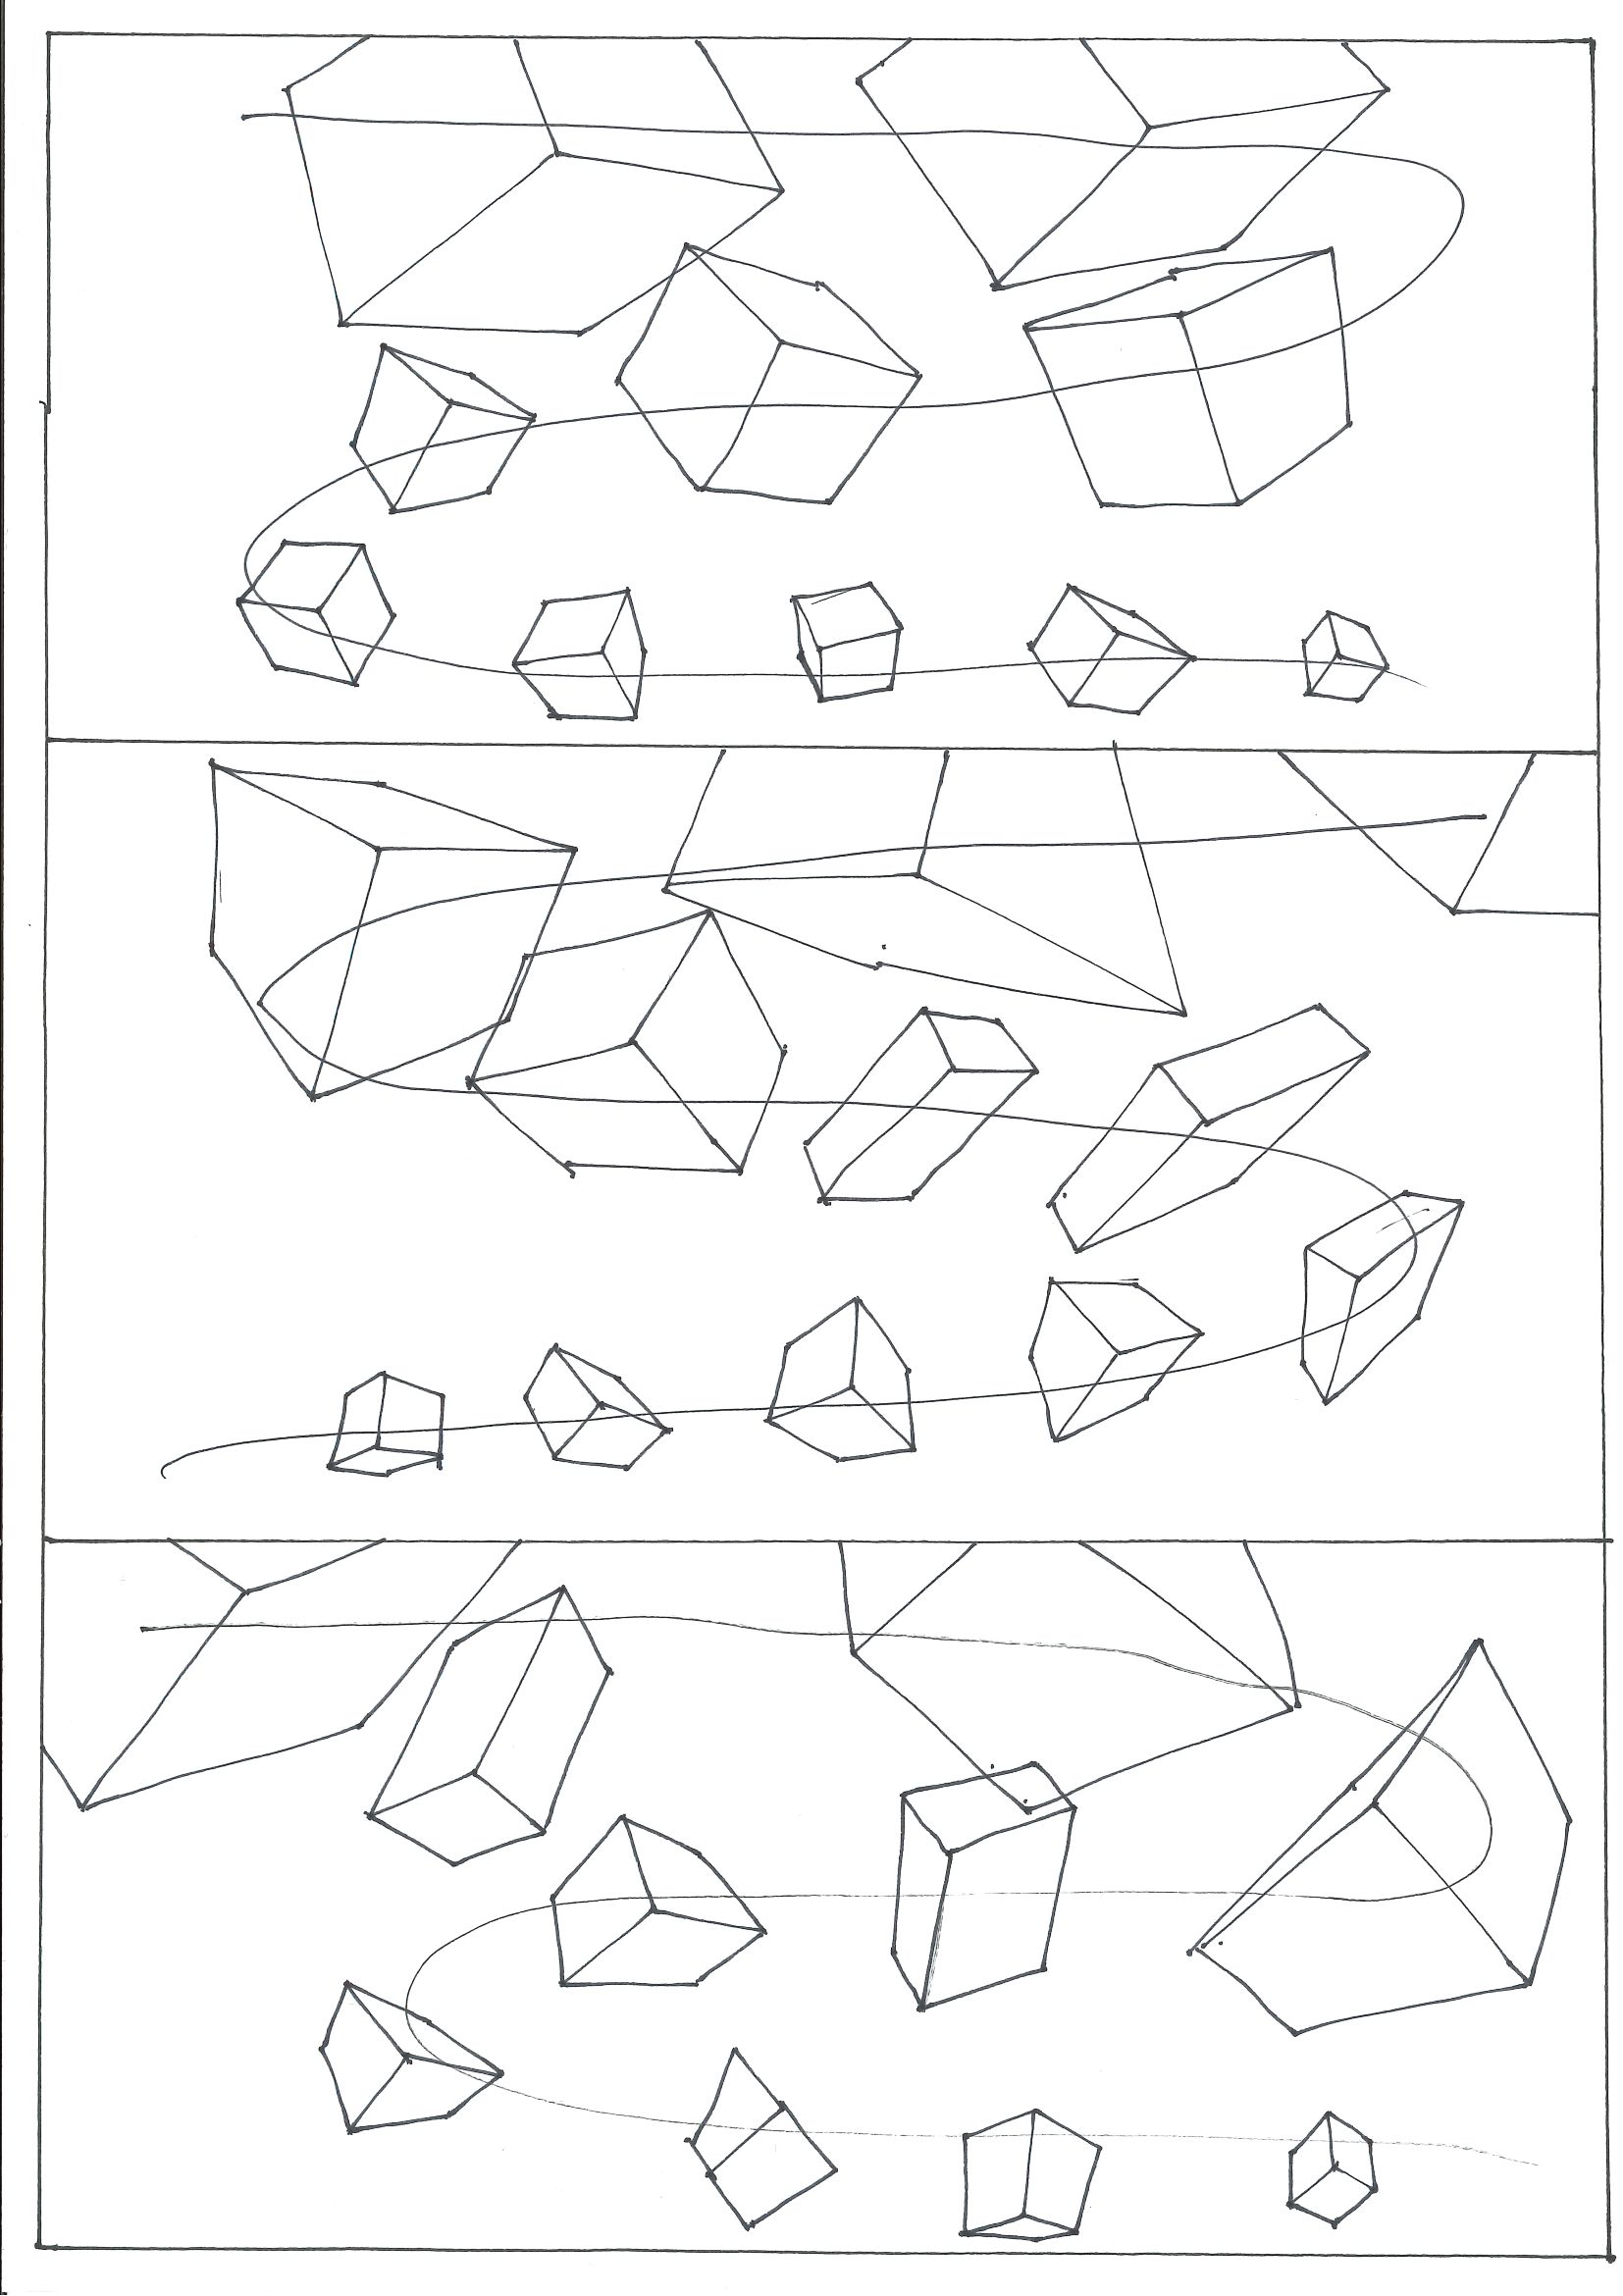
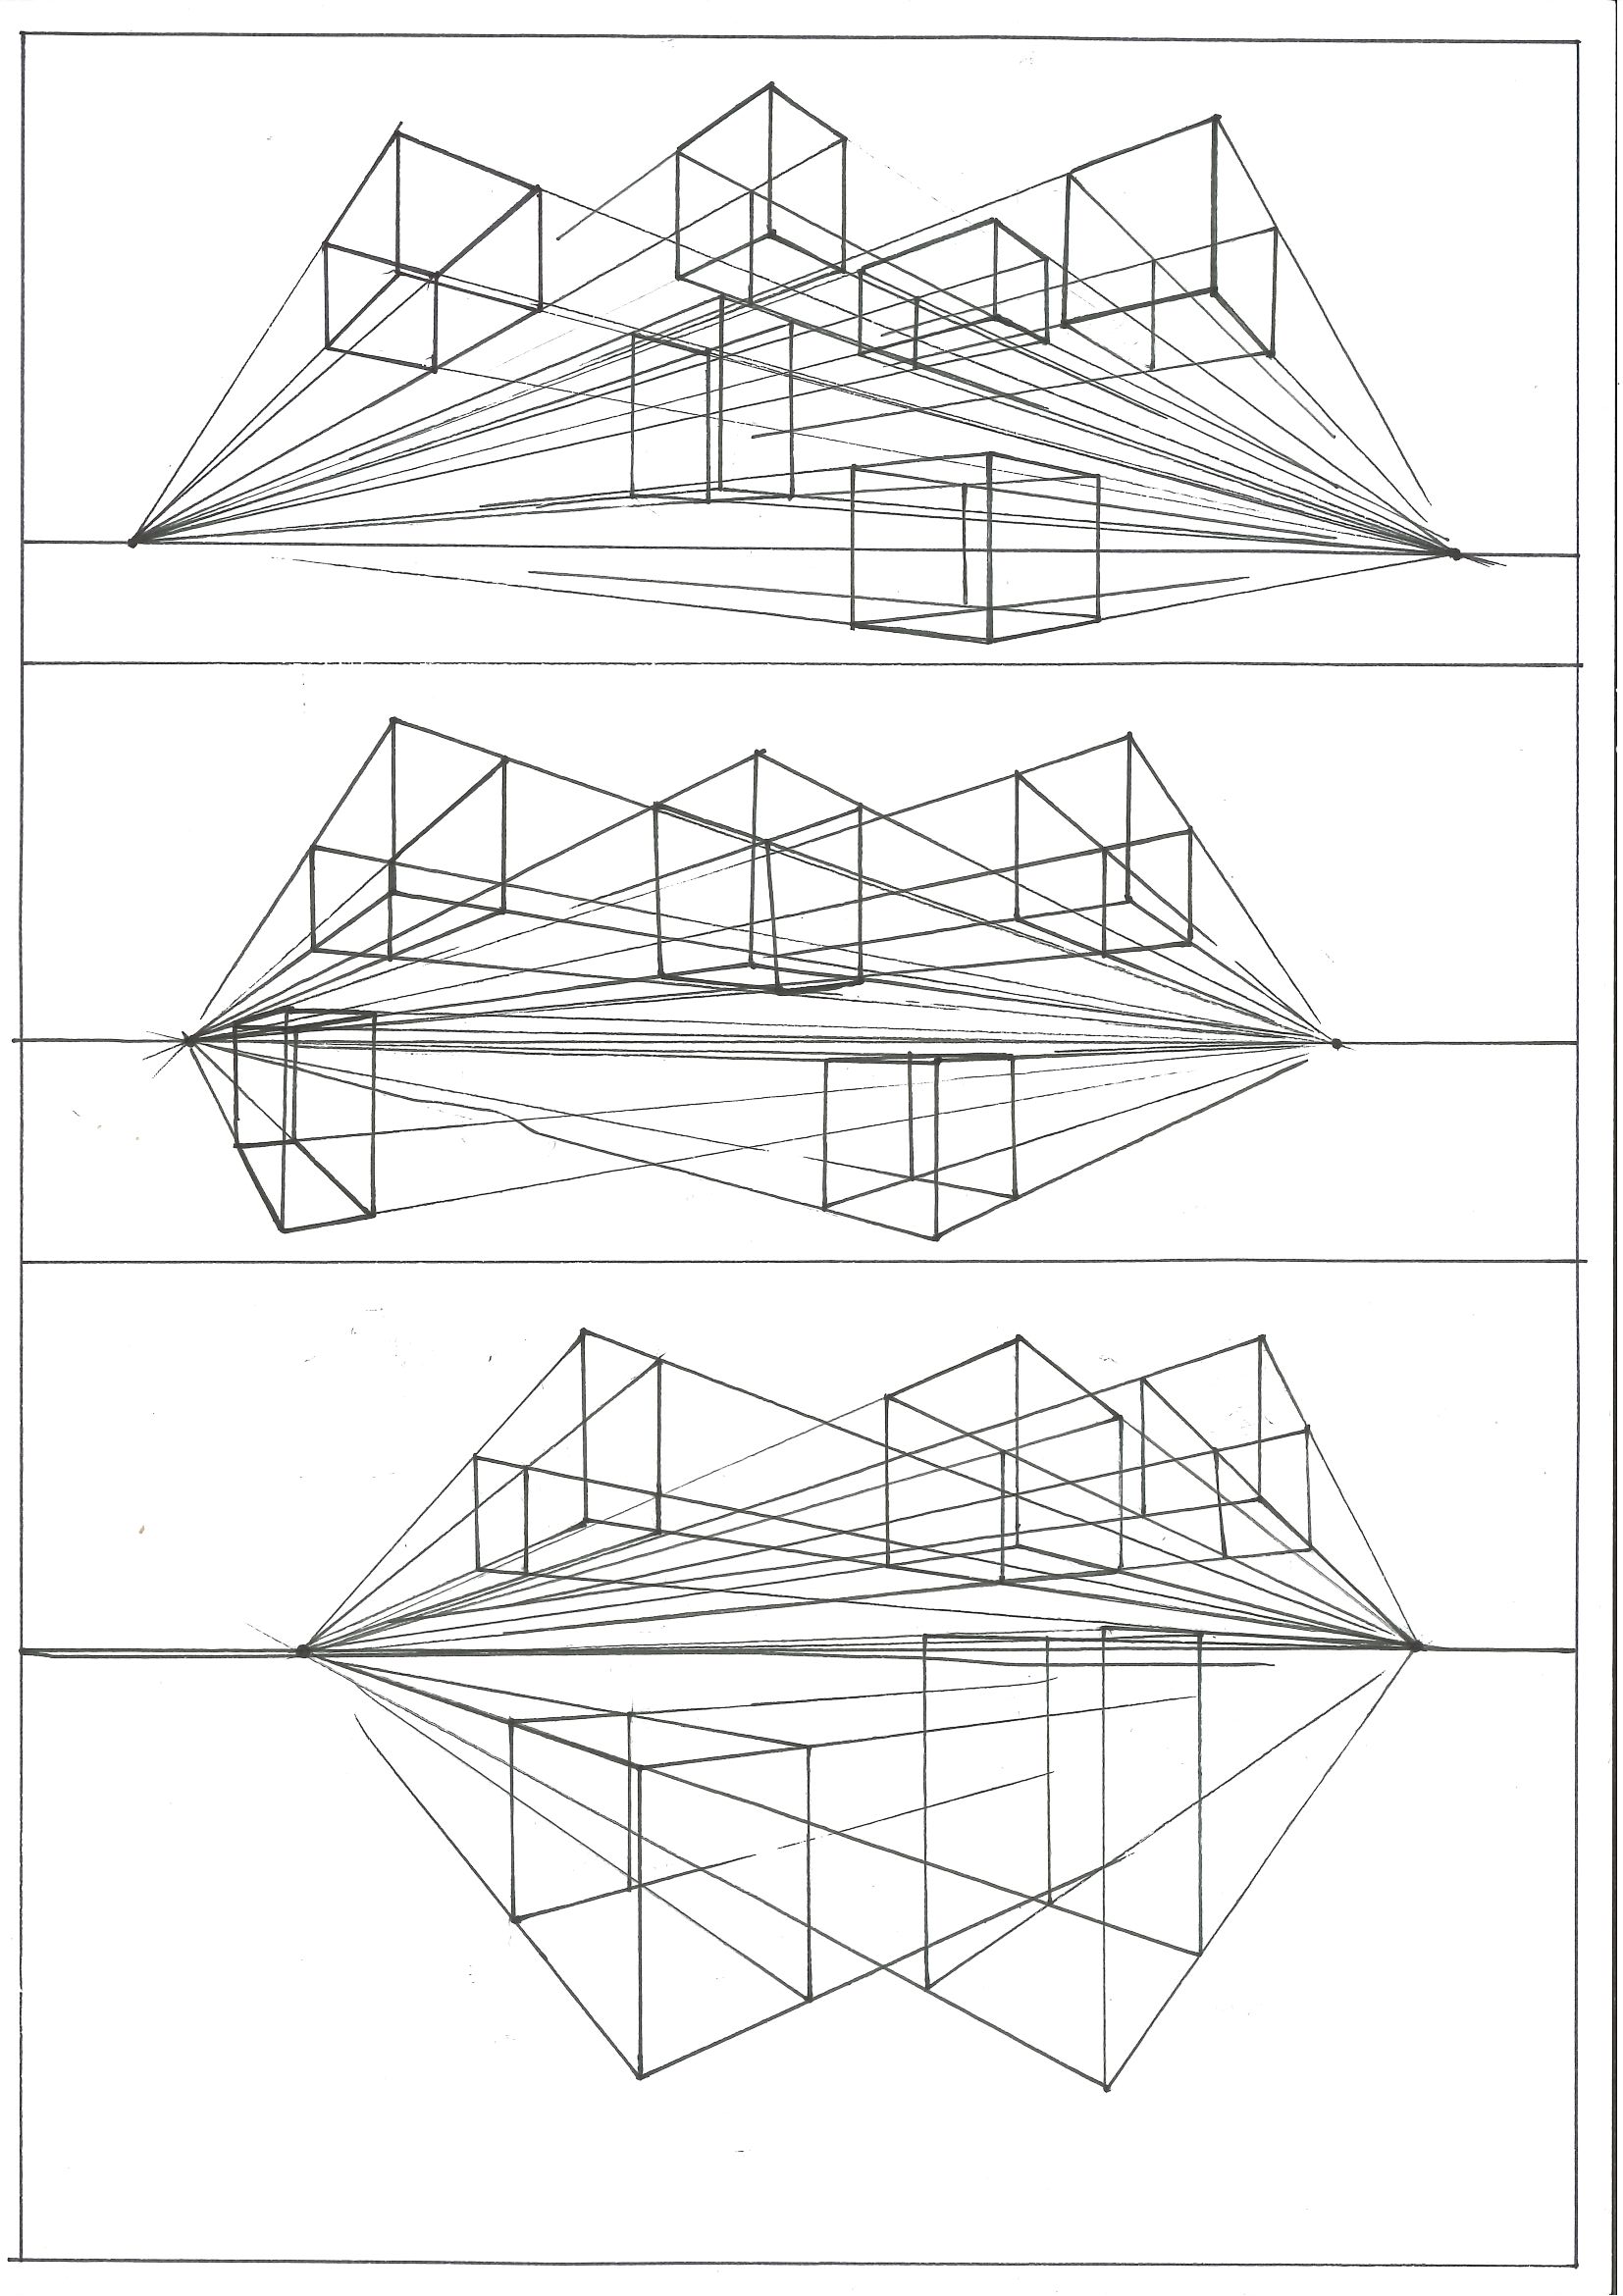
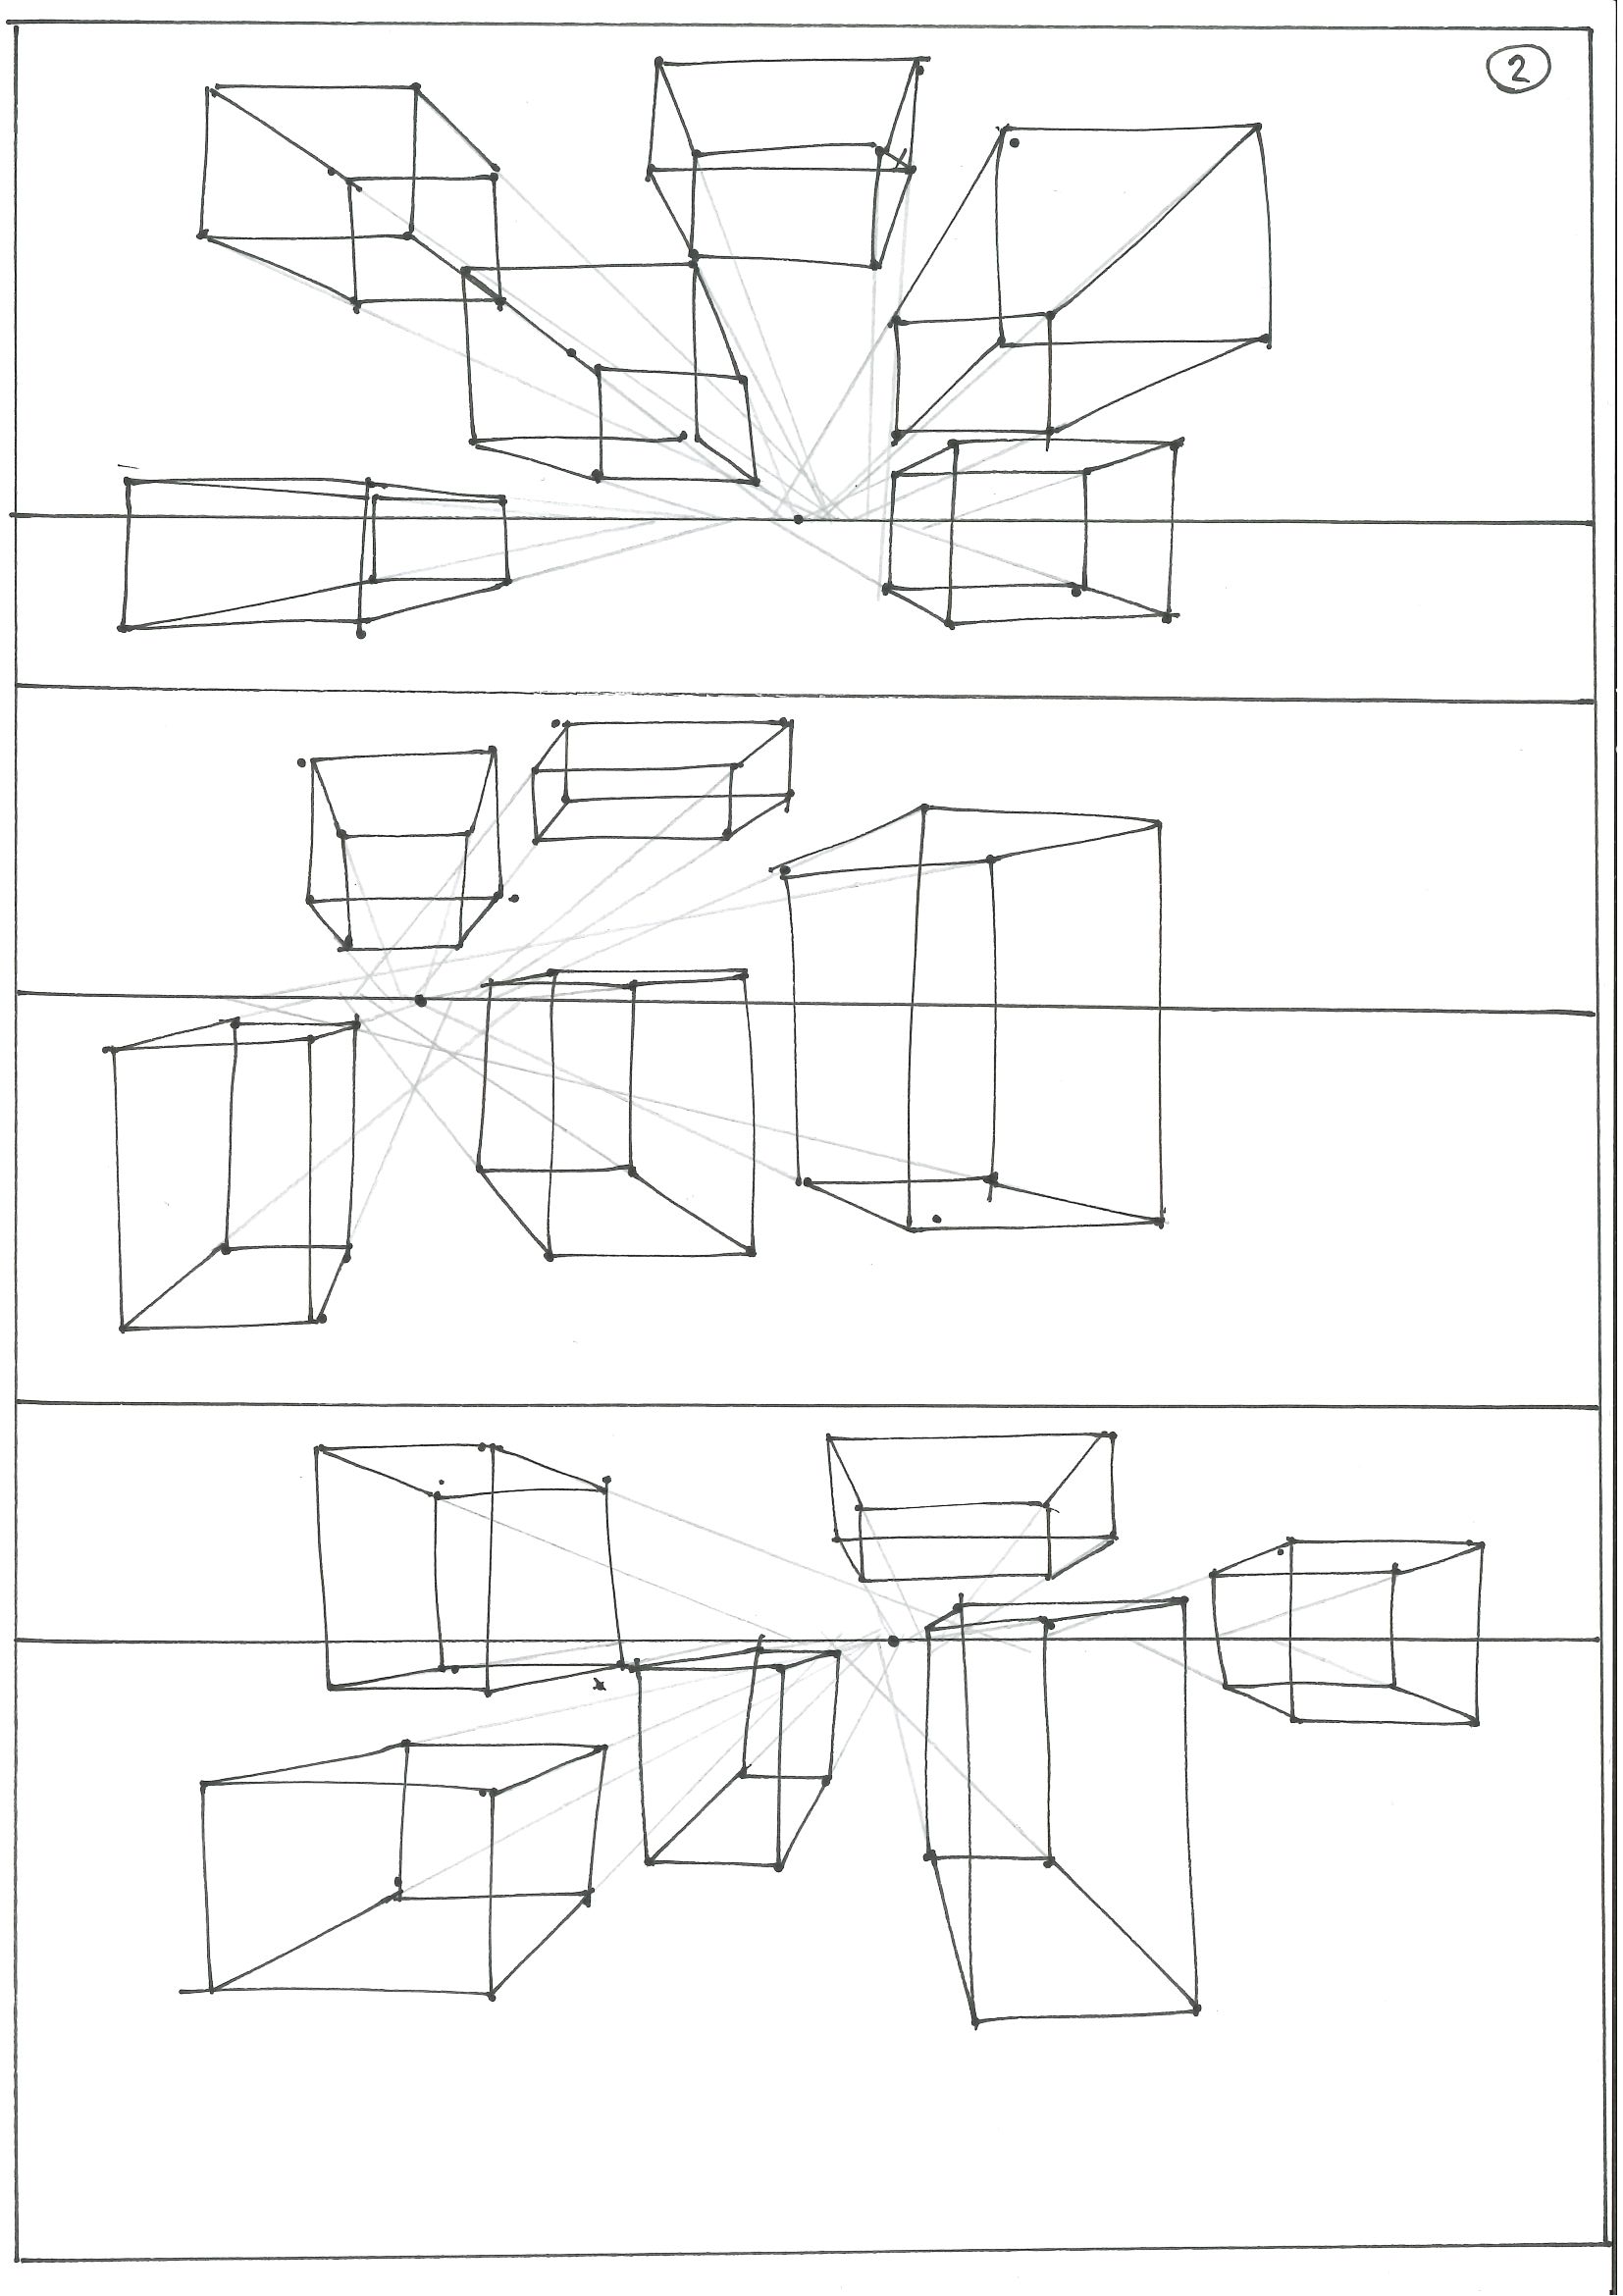
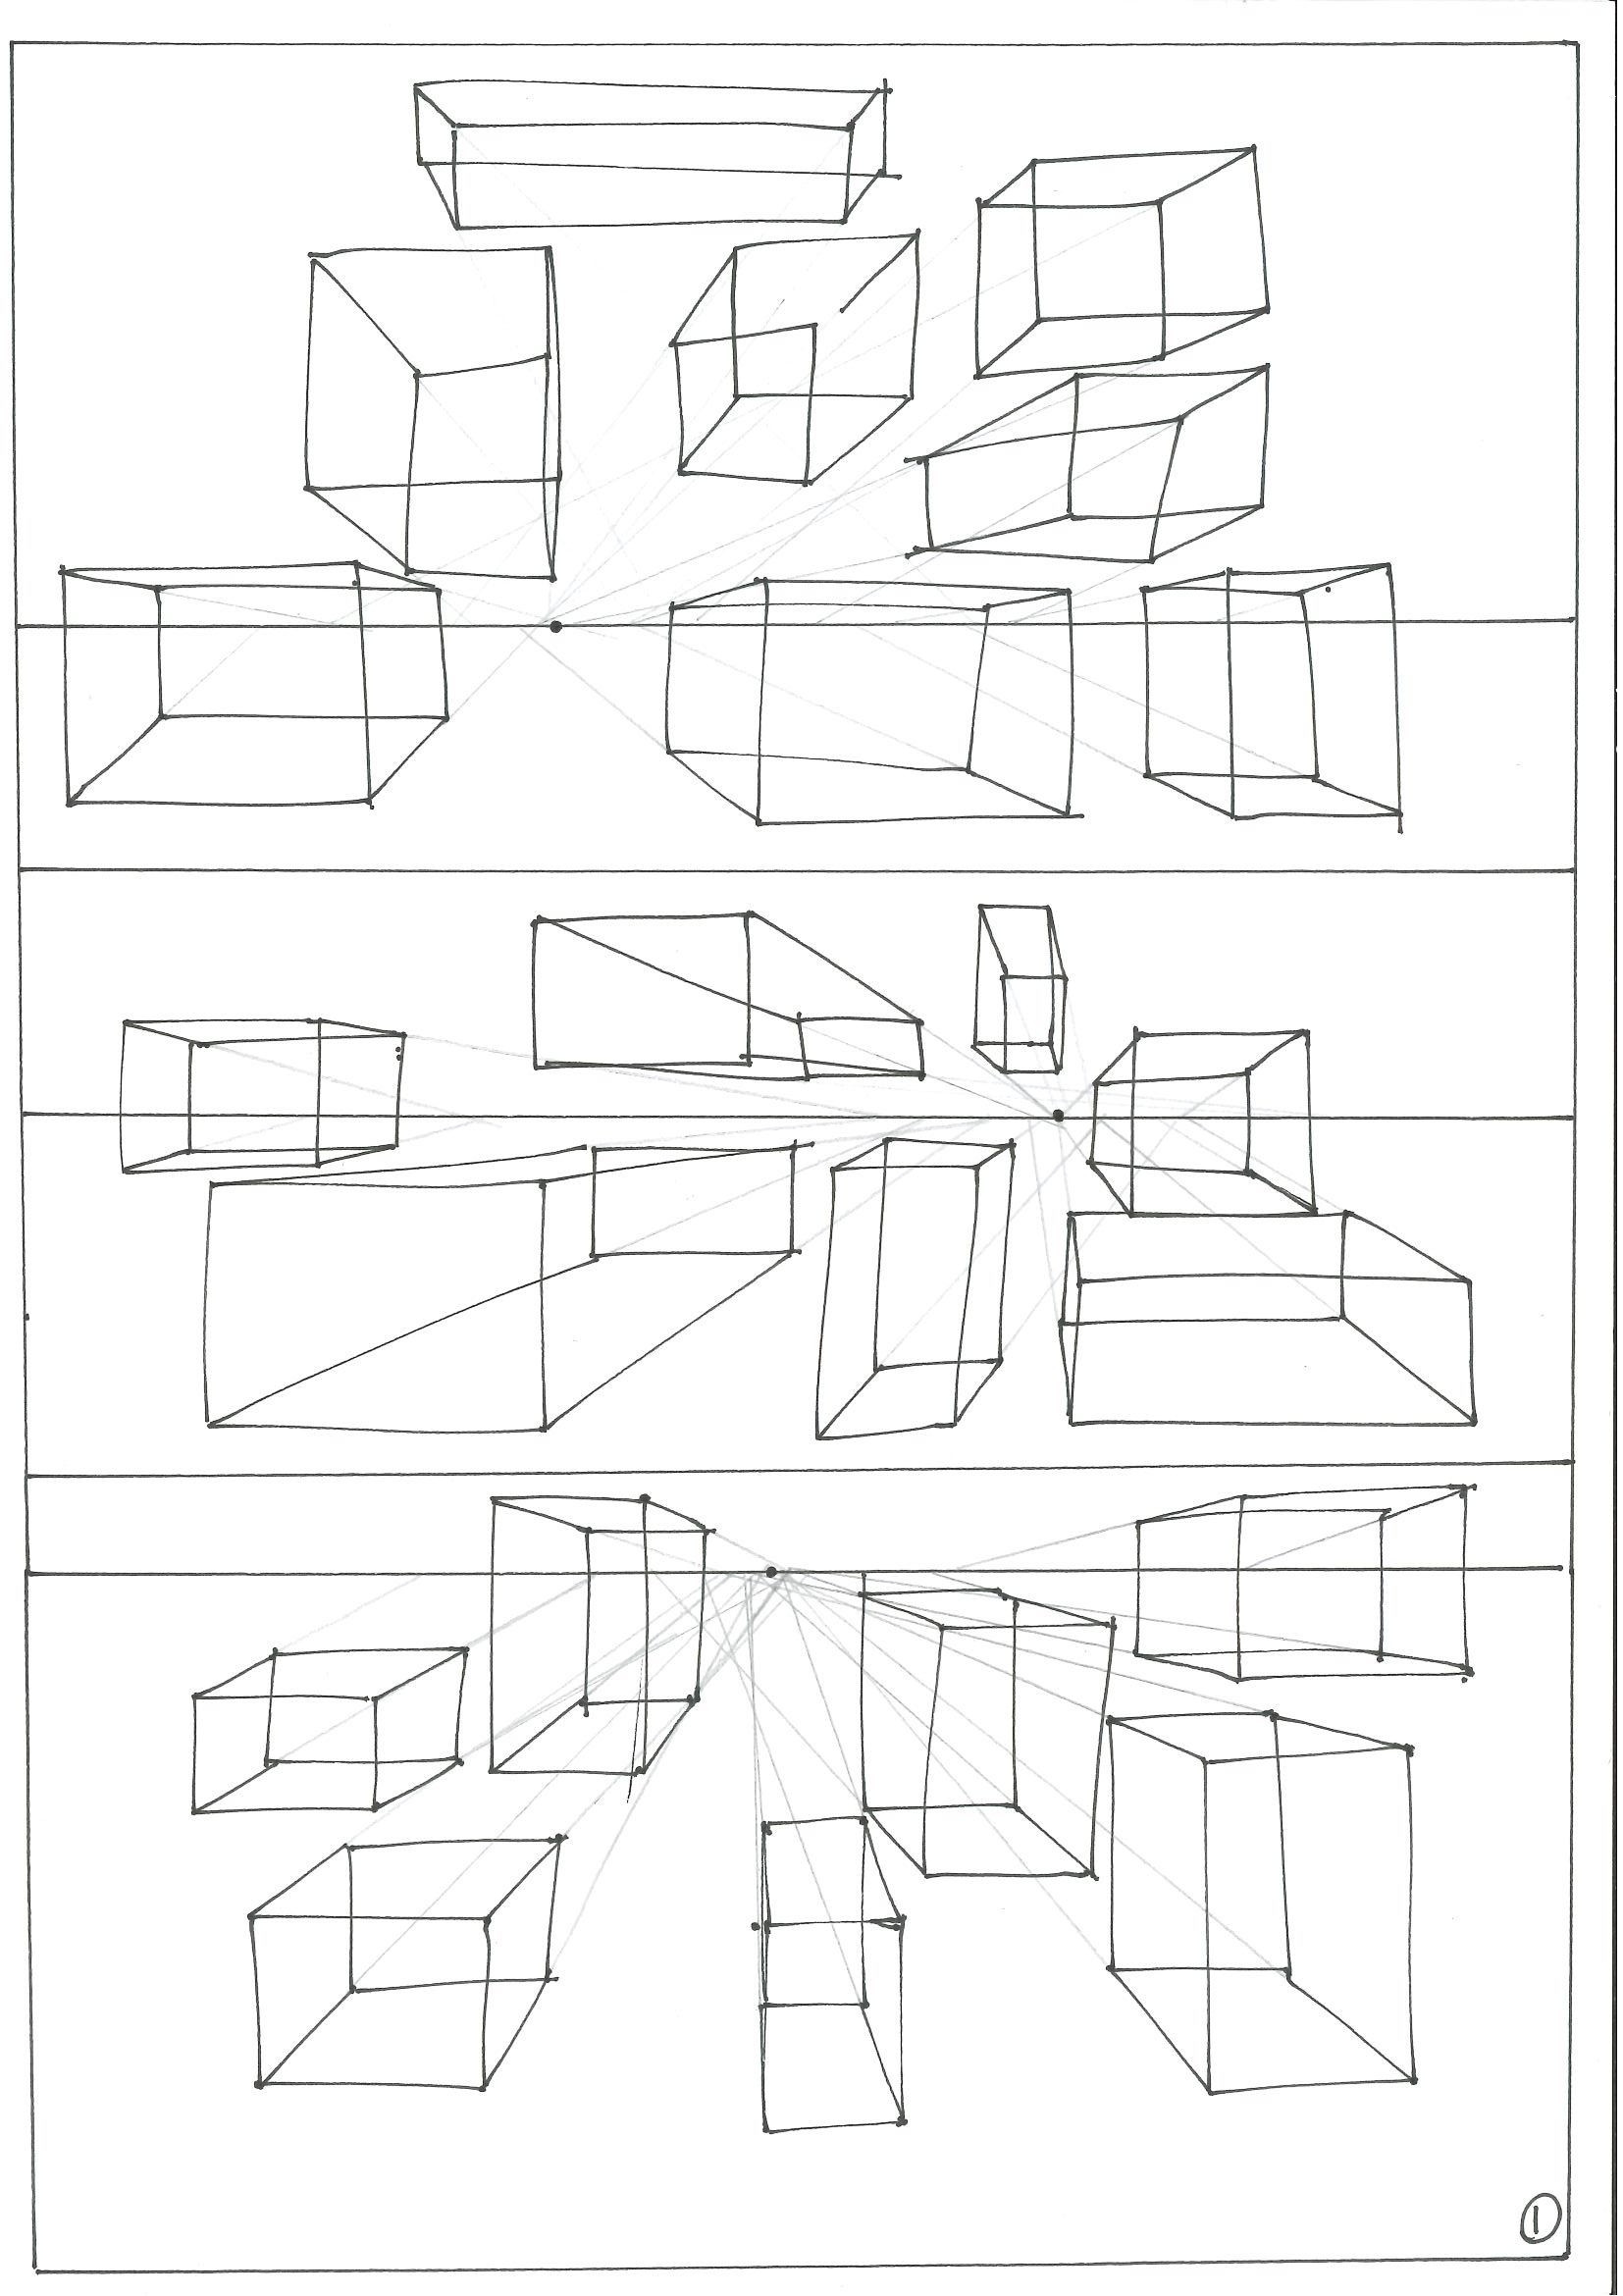
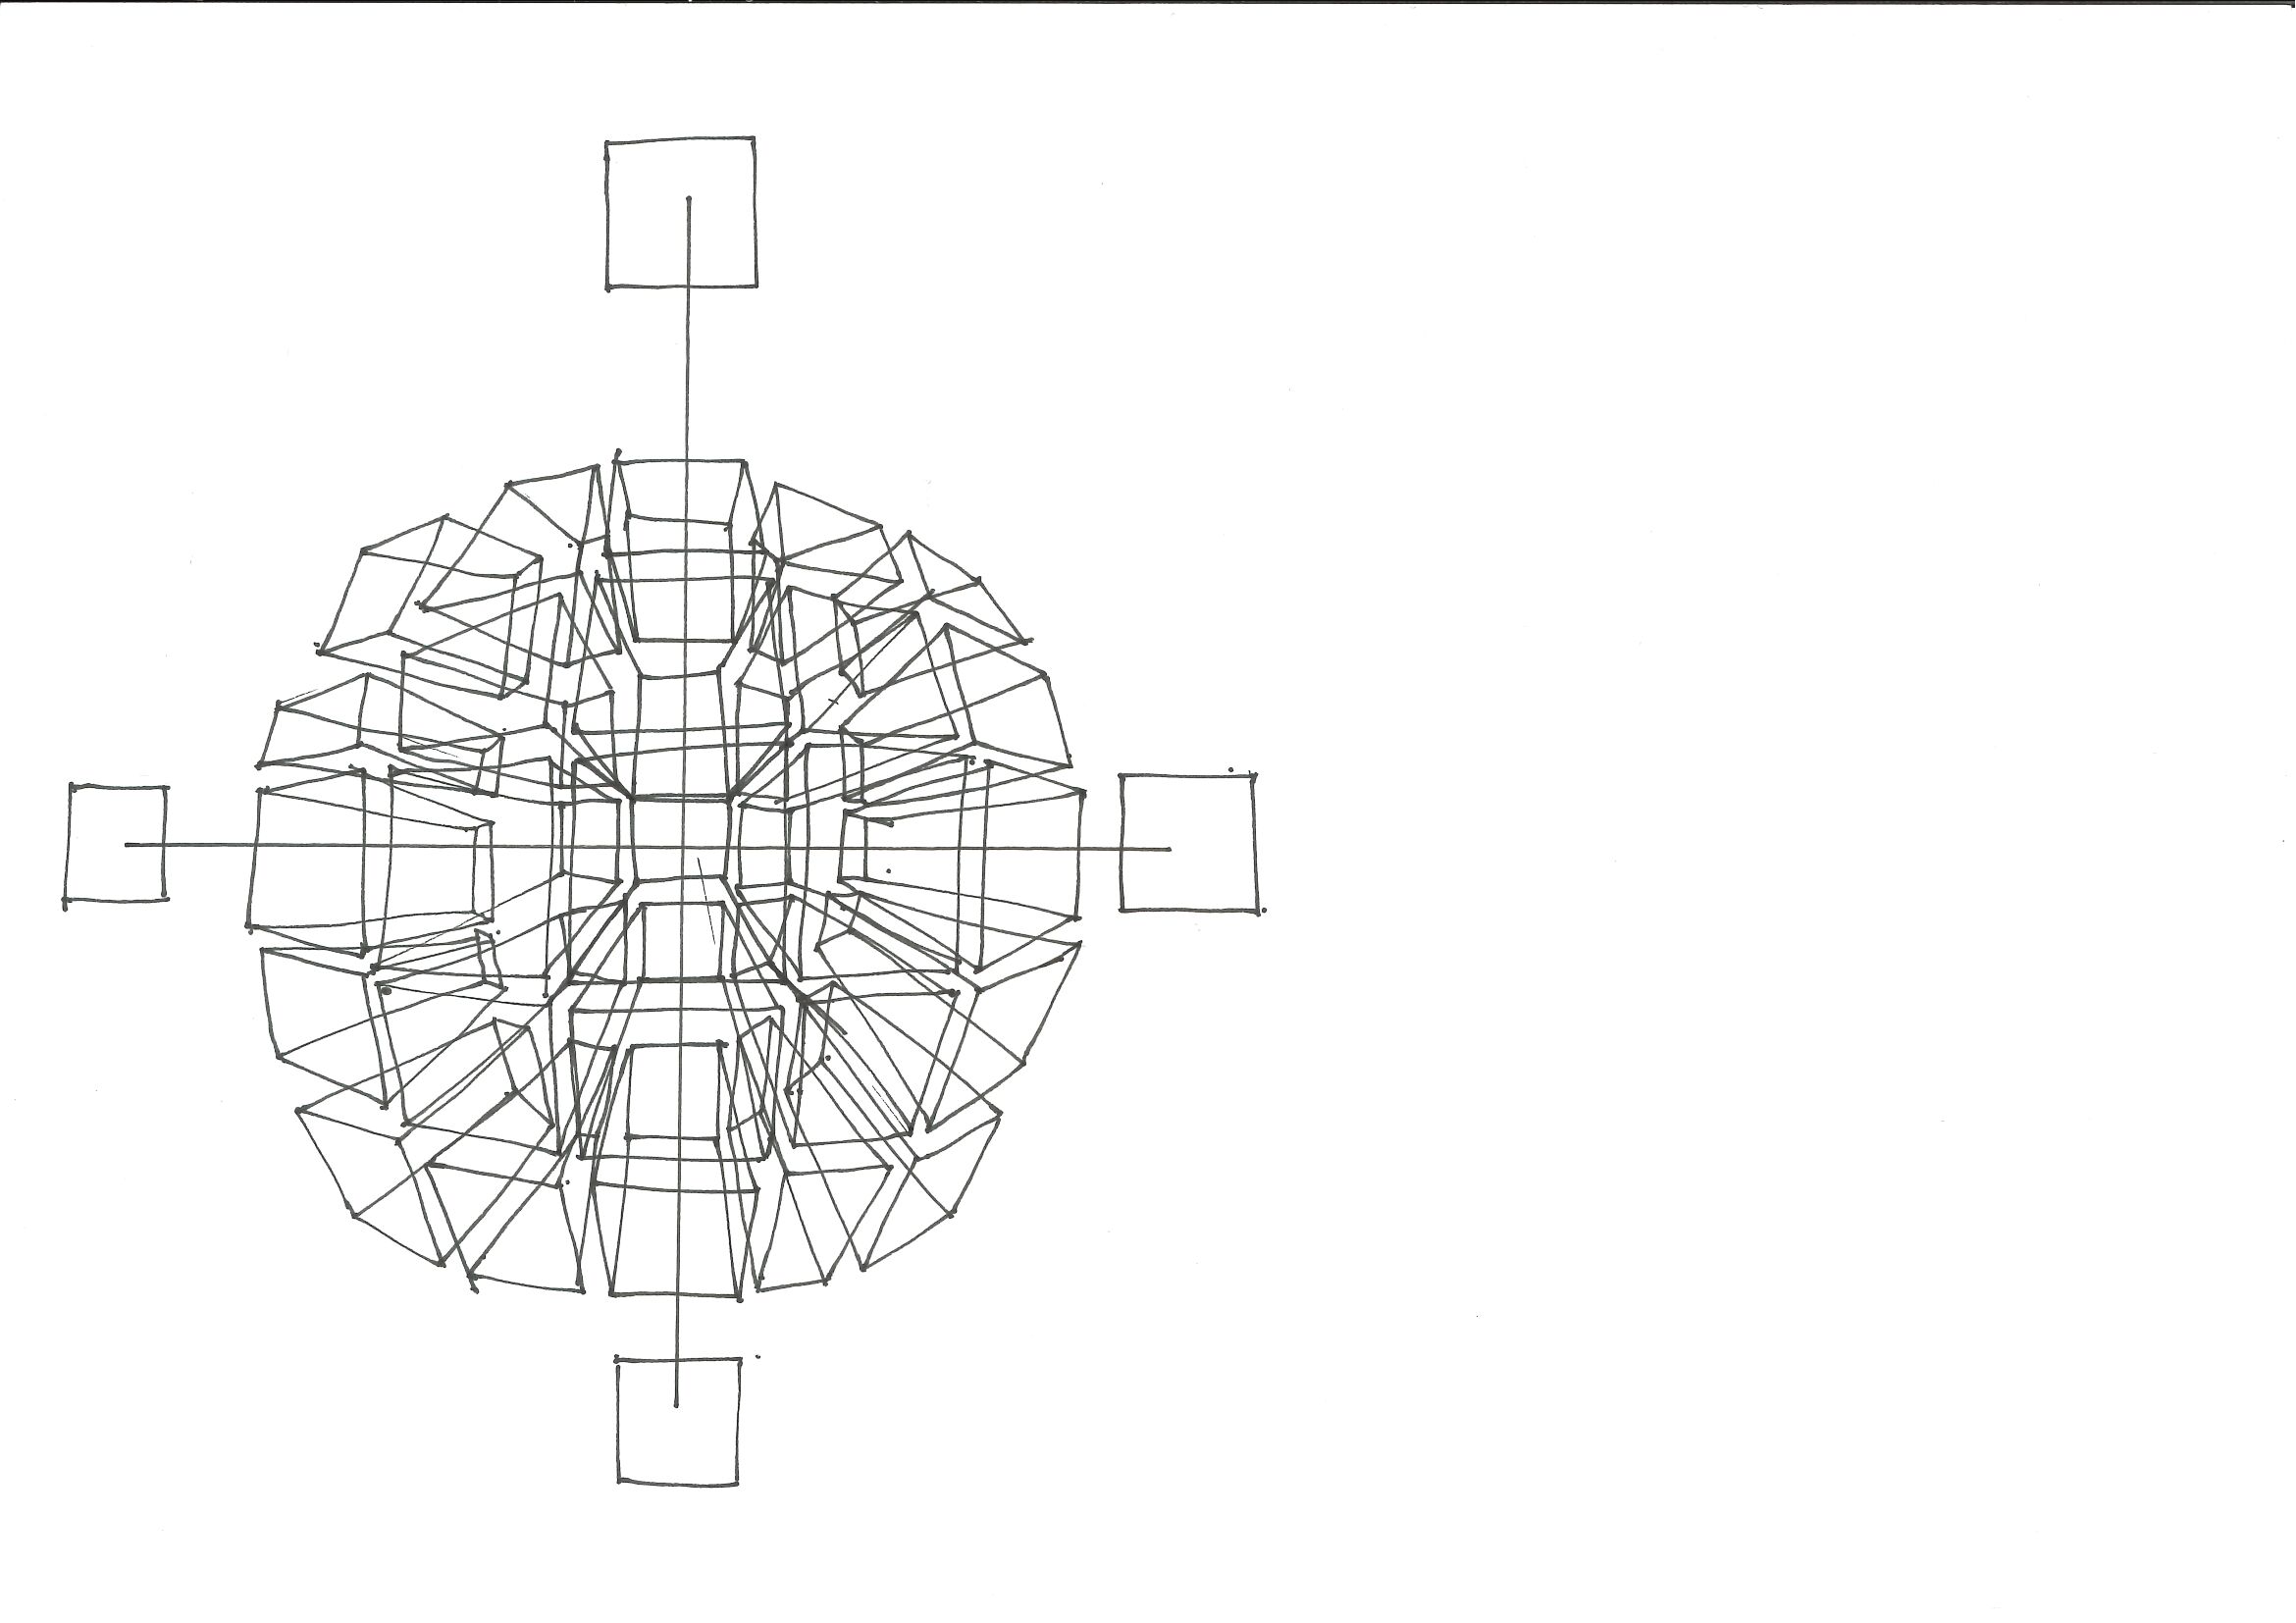
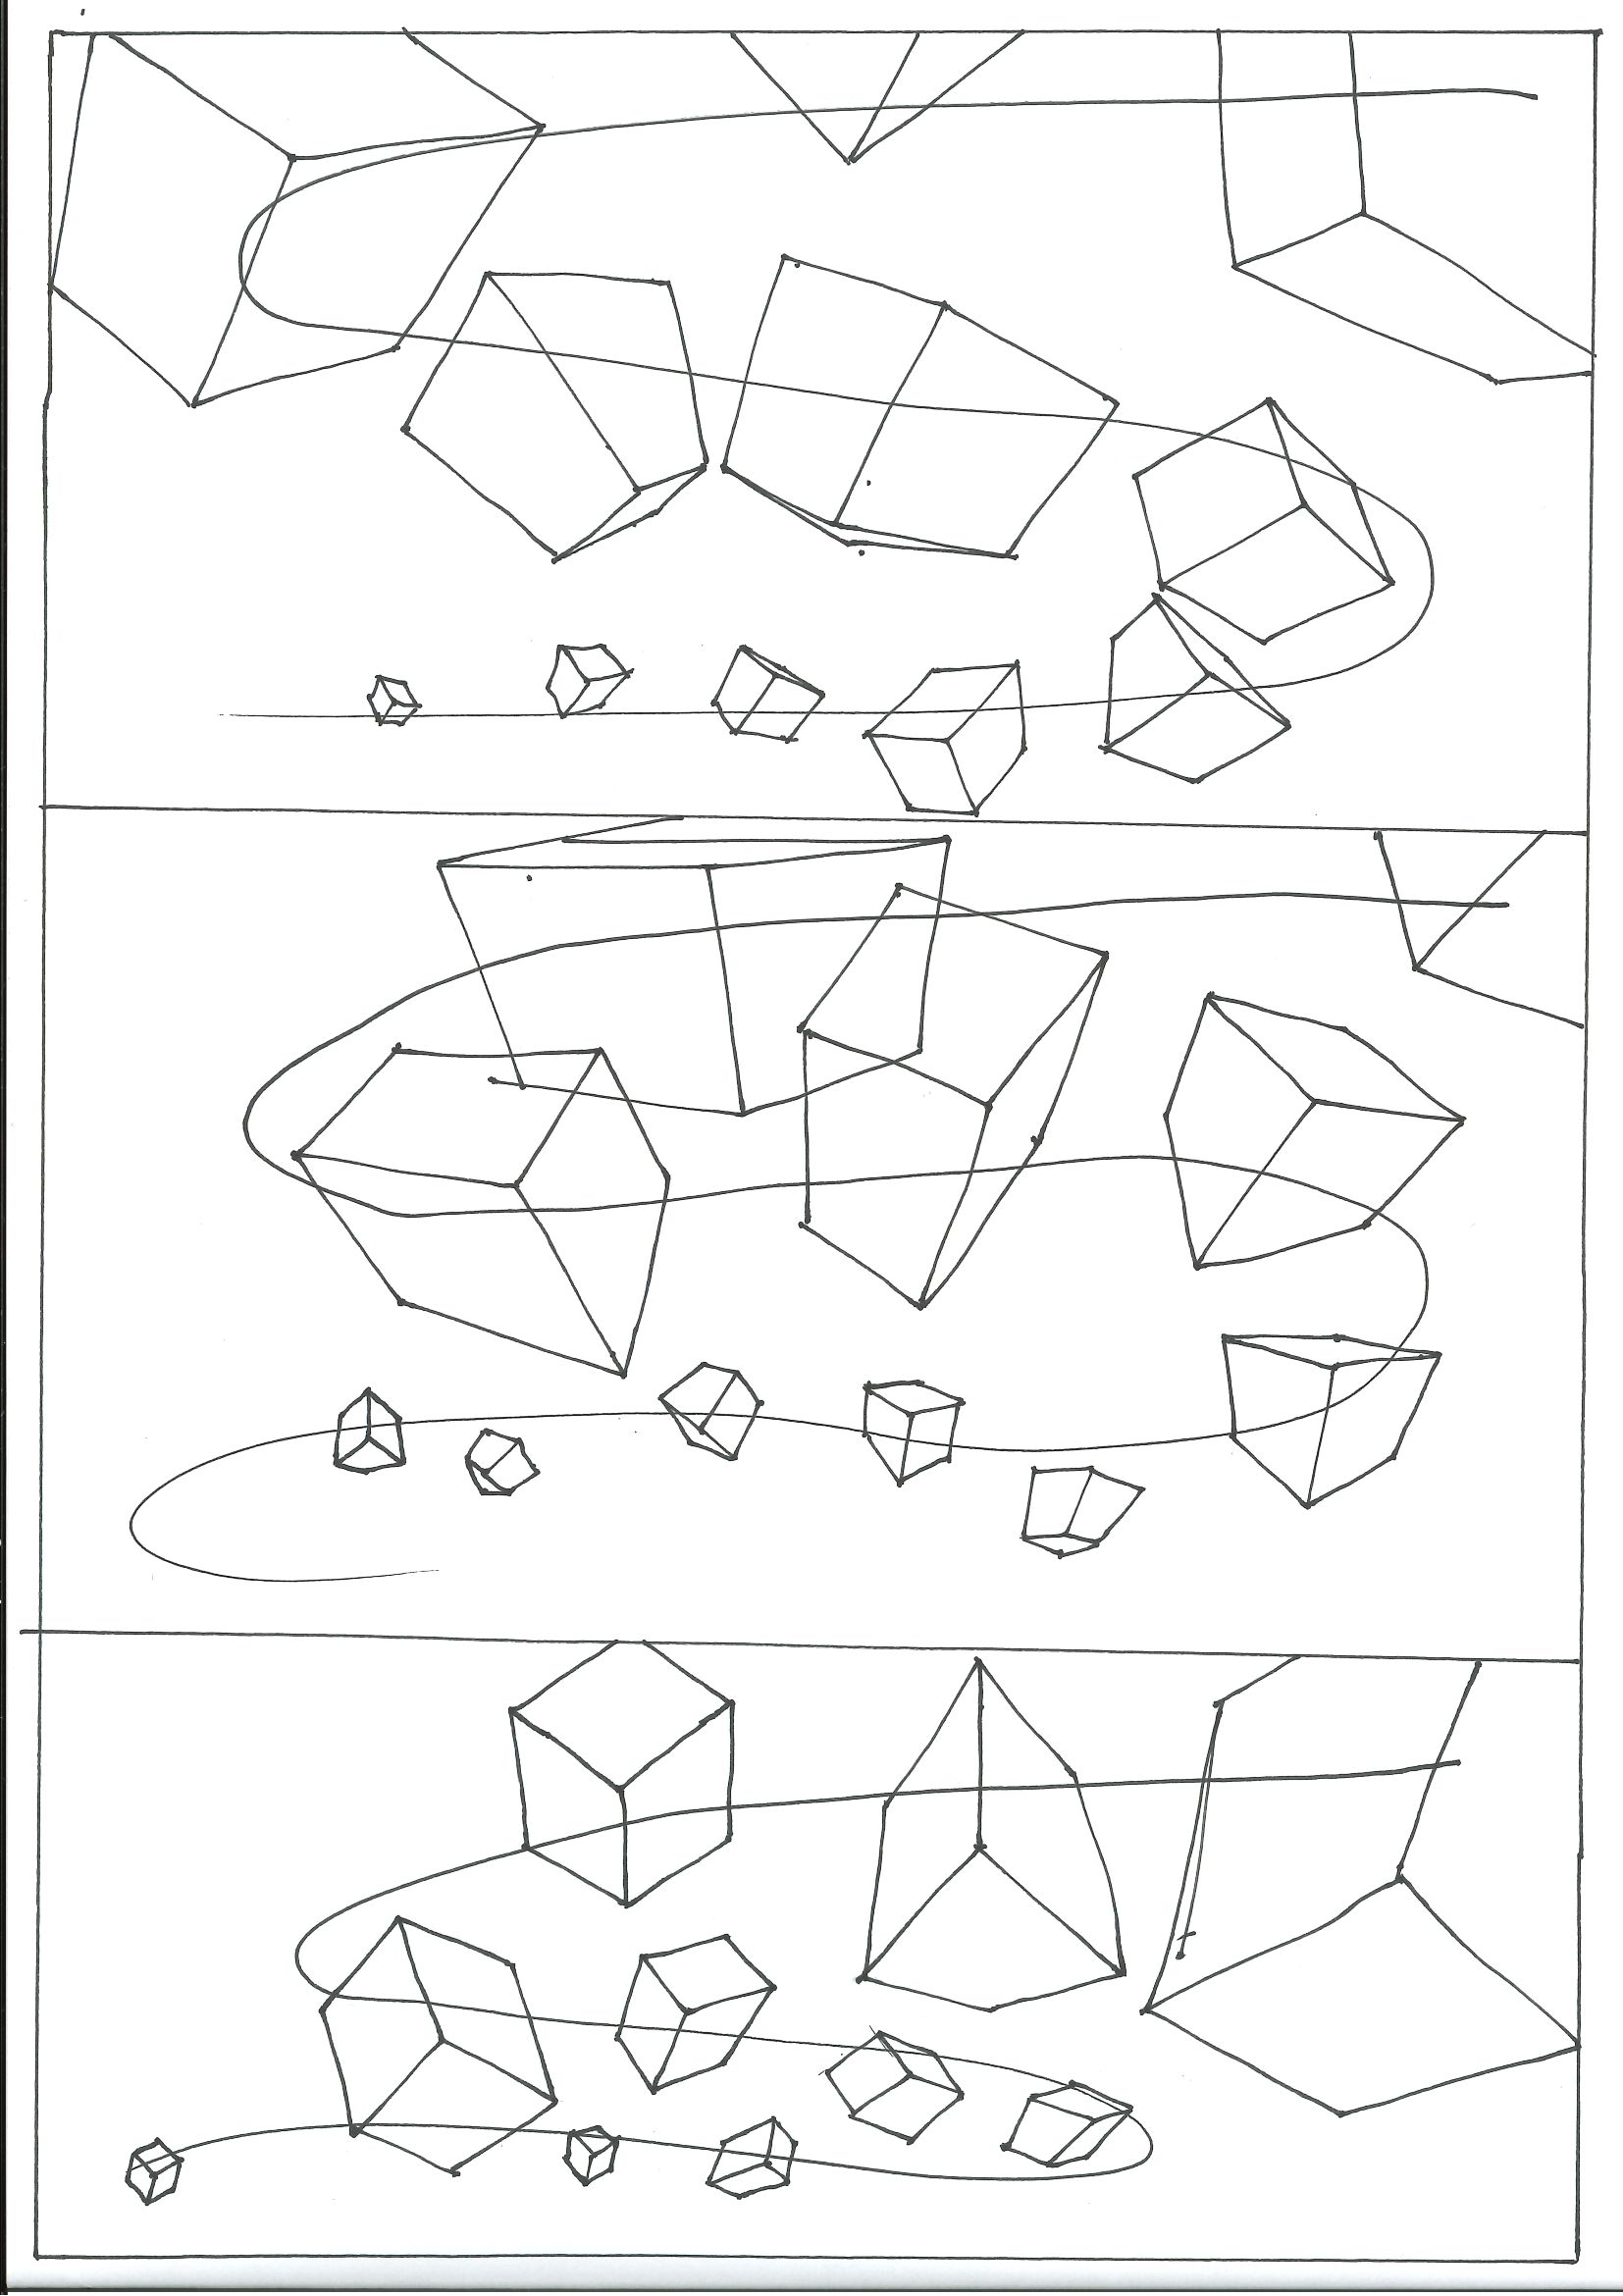
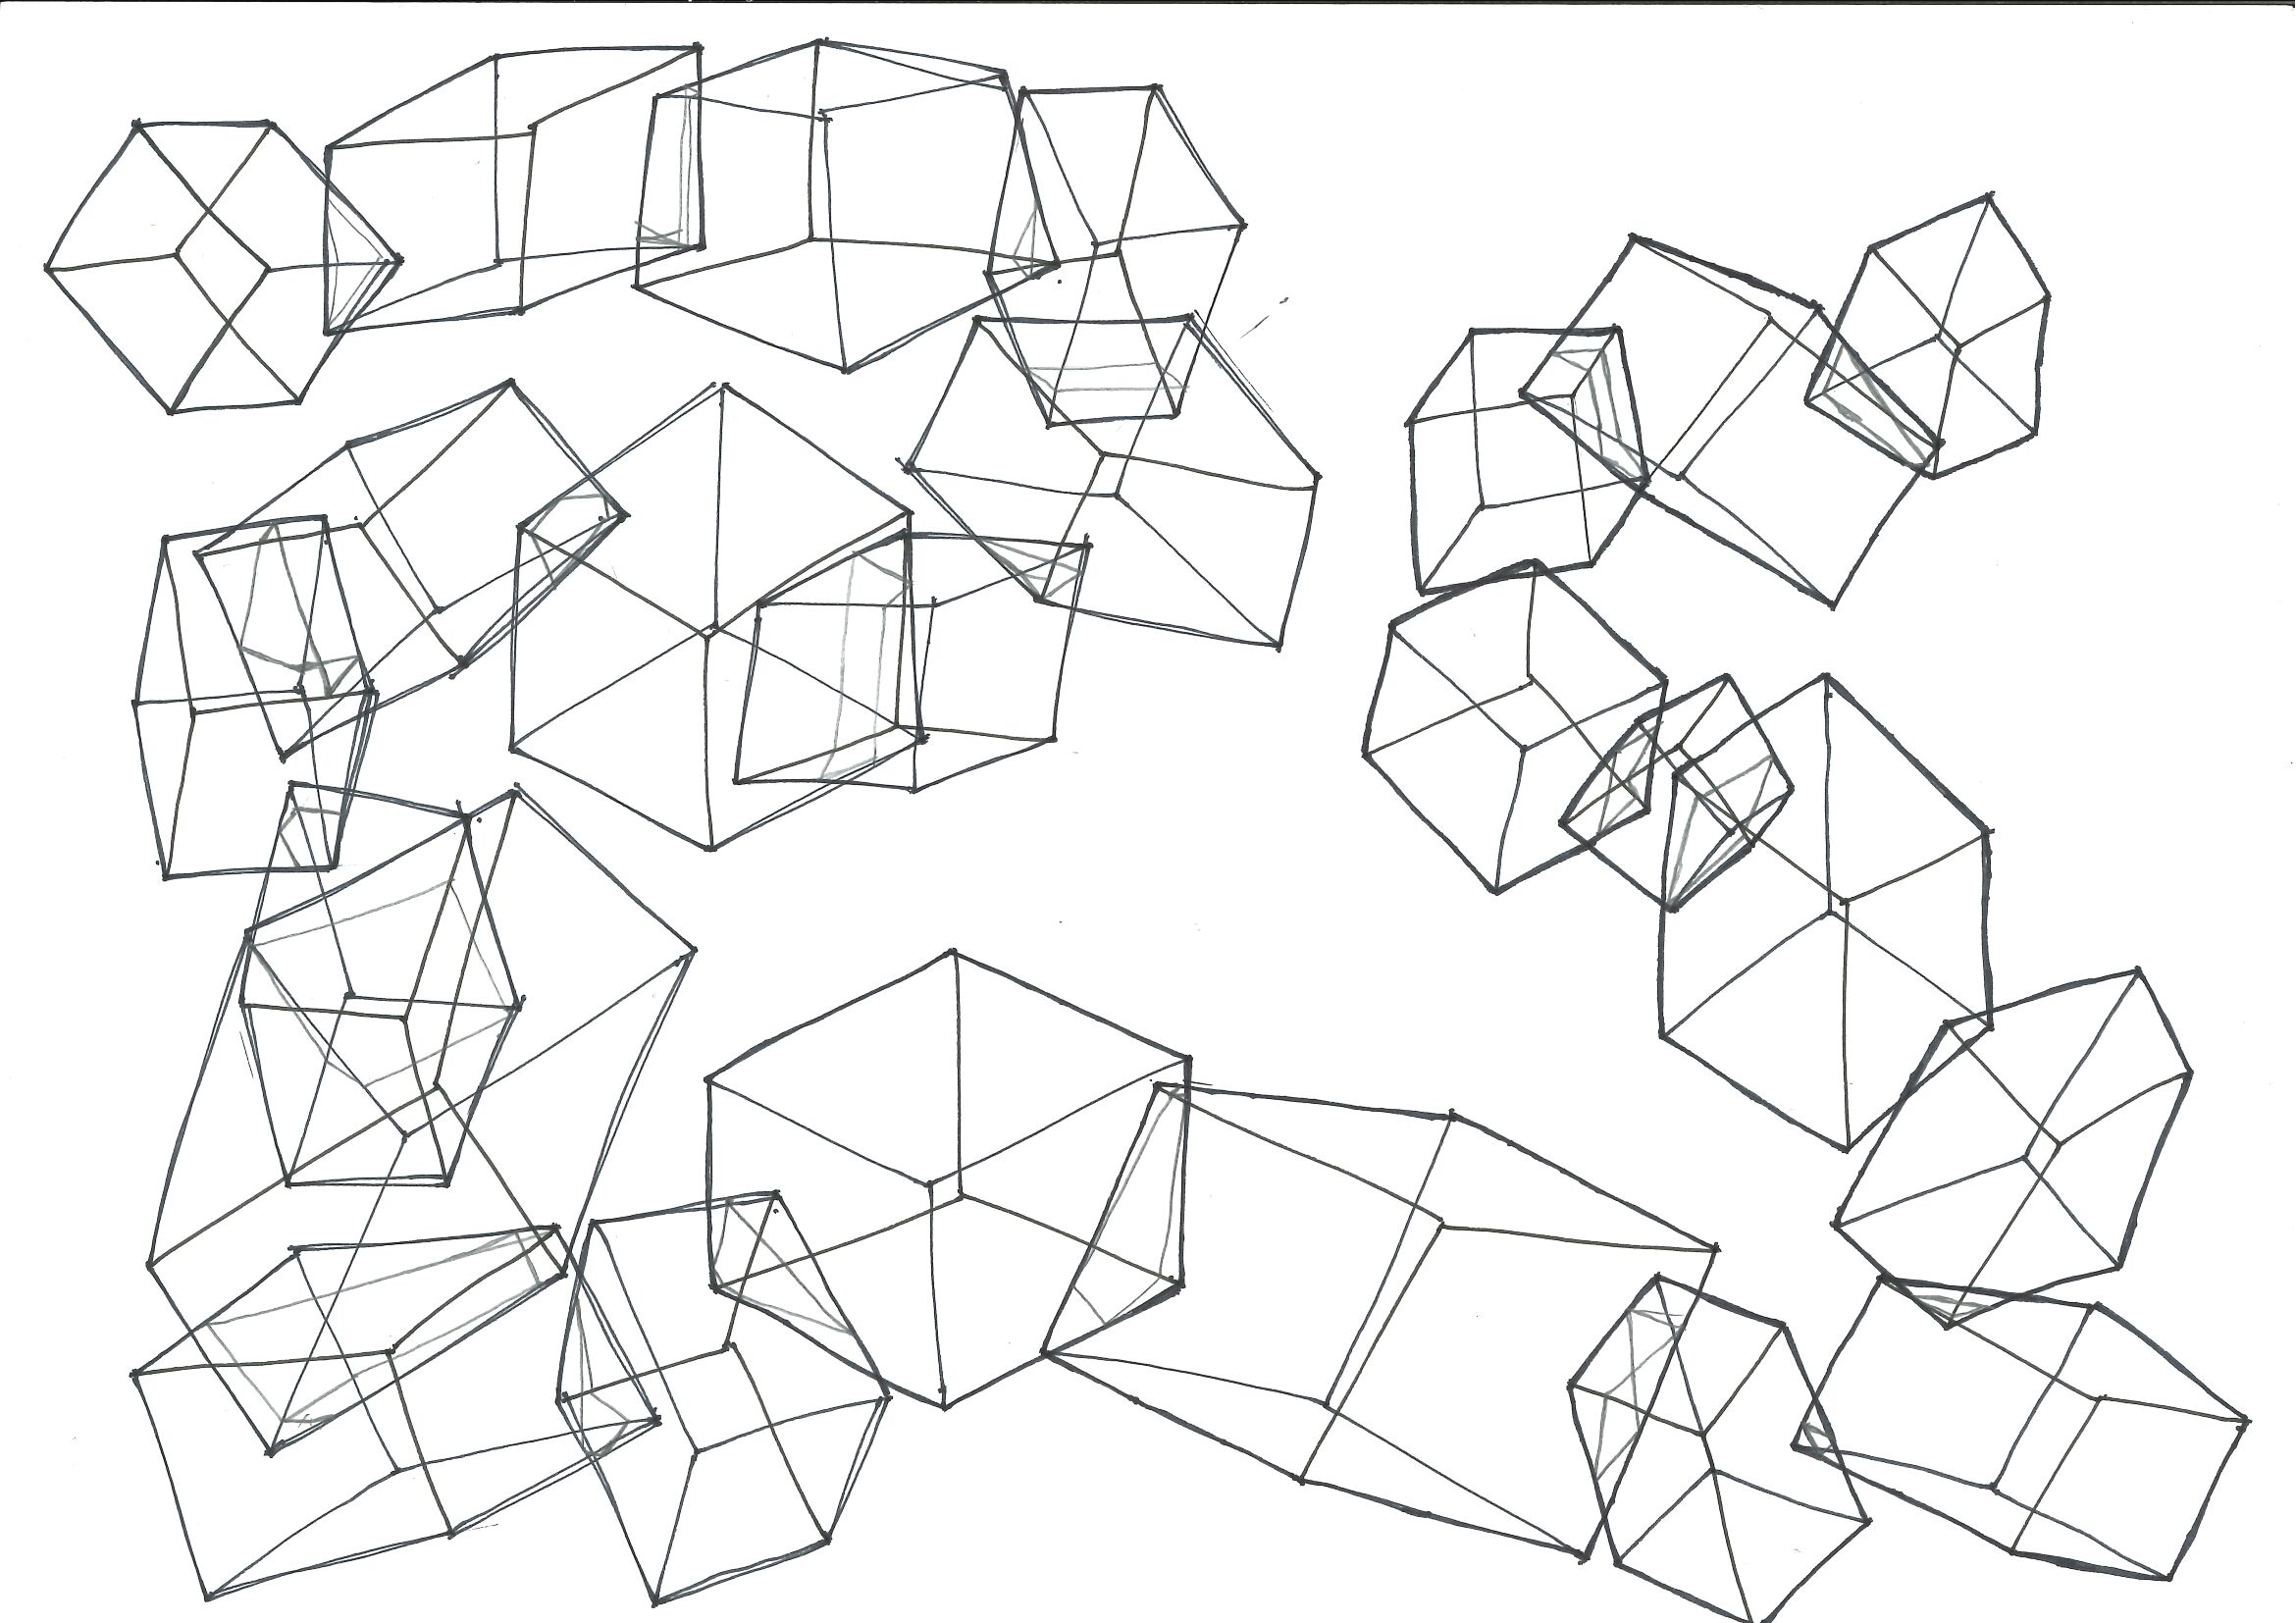
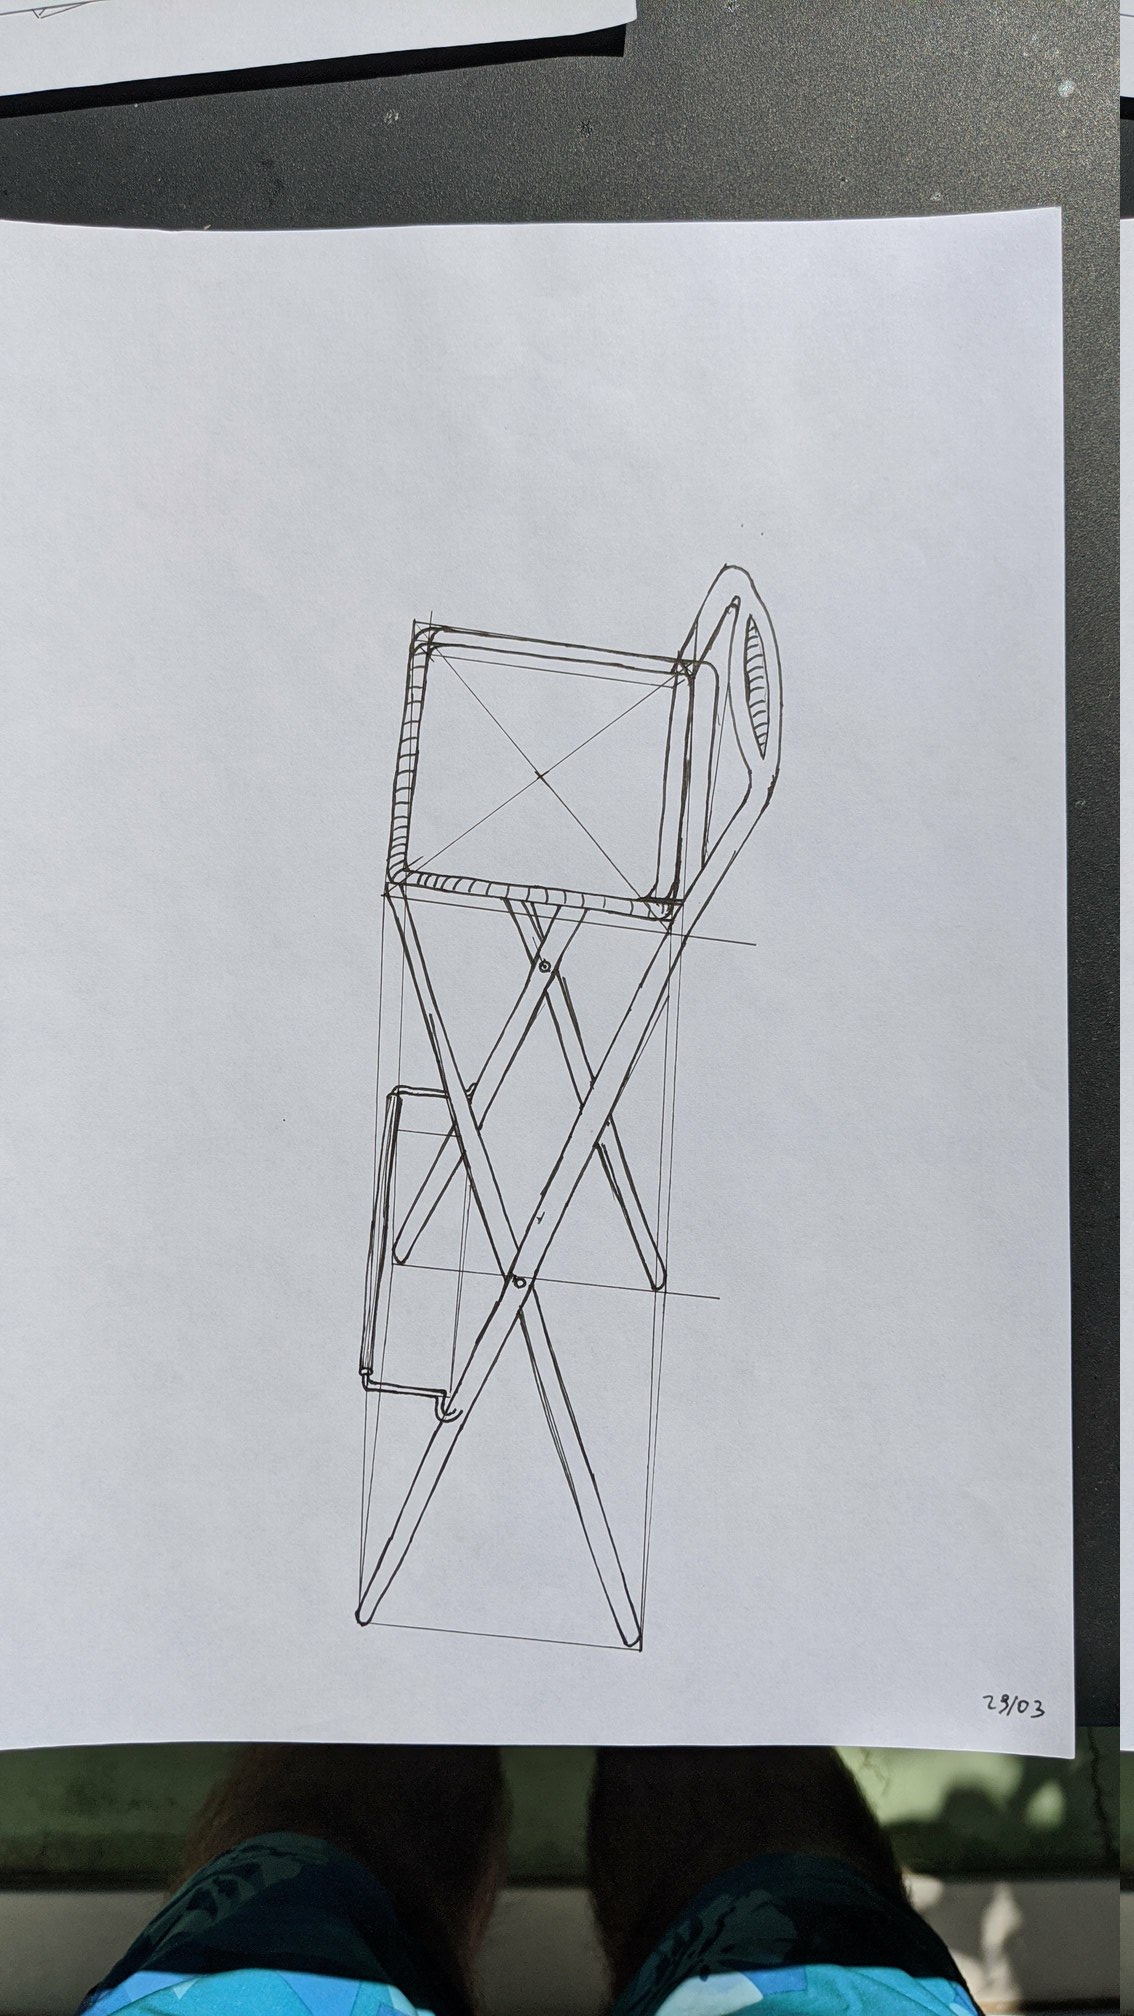
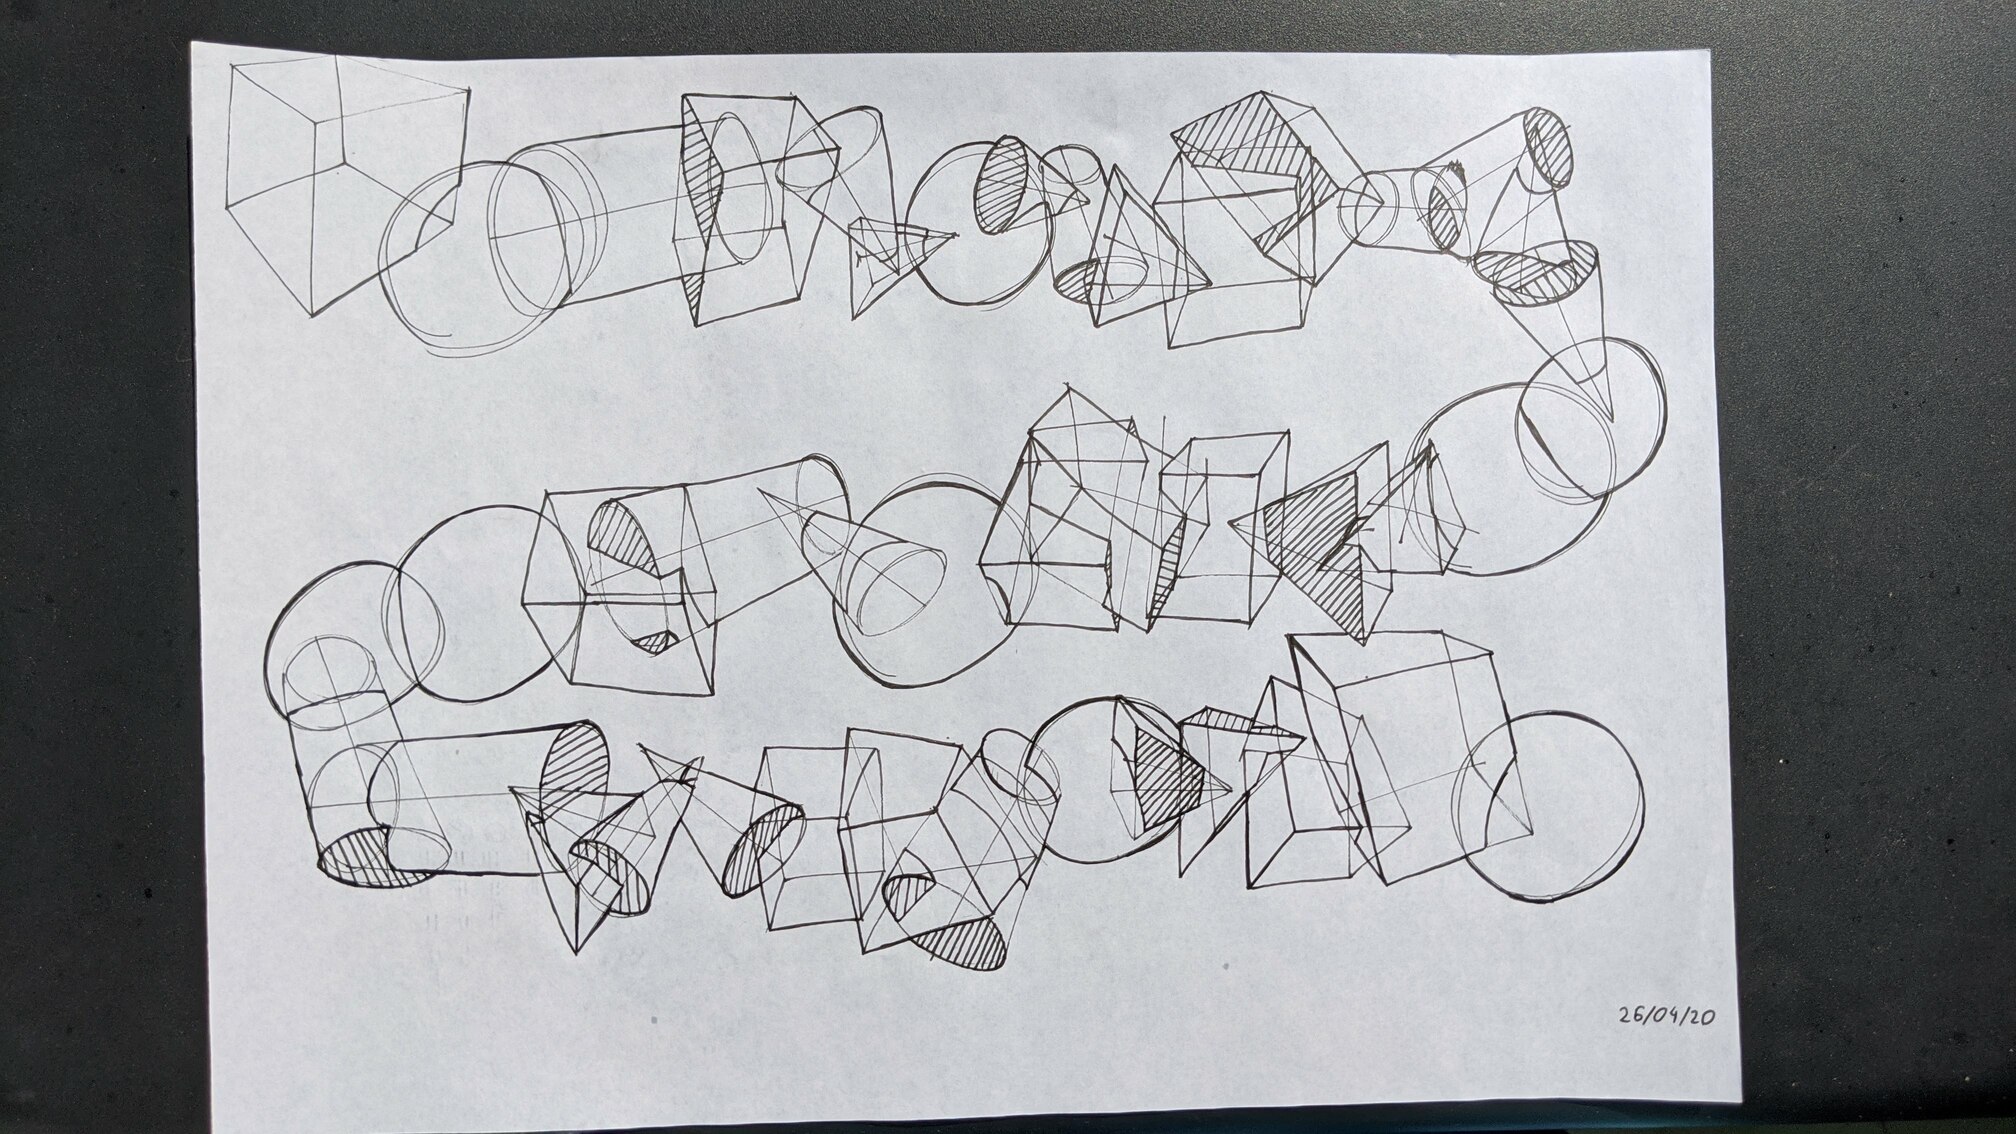
250 box challenge
After the first lesson, Uncomfortable proposes an optional “250 boxes challenge”. Initially, I decided to skip it, as it felt boring and too much. I only got back to it before lesson 6, which was a good choice, as the ability to draw boxes only starts to be useful there (for lessons 3–5 I drew natural shapes, which are more “sausage-shaped”).
After actually doing 100 of the 250 boxes, I felt I already knew how to draw the boxes (although not always being able to perfectly execute it), so I decided to not waste more time on it.
On the other hand, even after doing that many boxes, there were still some issues that were not clear to me:
- not all of the boxes drawn with the proposed “Y method” correspond to a real box. For example, the box in the Drawabox logo is not :P
- Not all of the boxes can be drawn with the method: if the line of the horizon is cutting the front face, all of the “Y”s will have the shape of an arrow instead
In retrospect, after doing a couple (tens of?) boxes, it would have been more useful to follow up with the following exercises:
- try to imagine the orientation of the box and draw it,
- start drawing the box with one side and fill the rest.
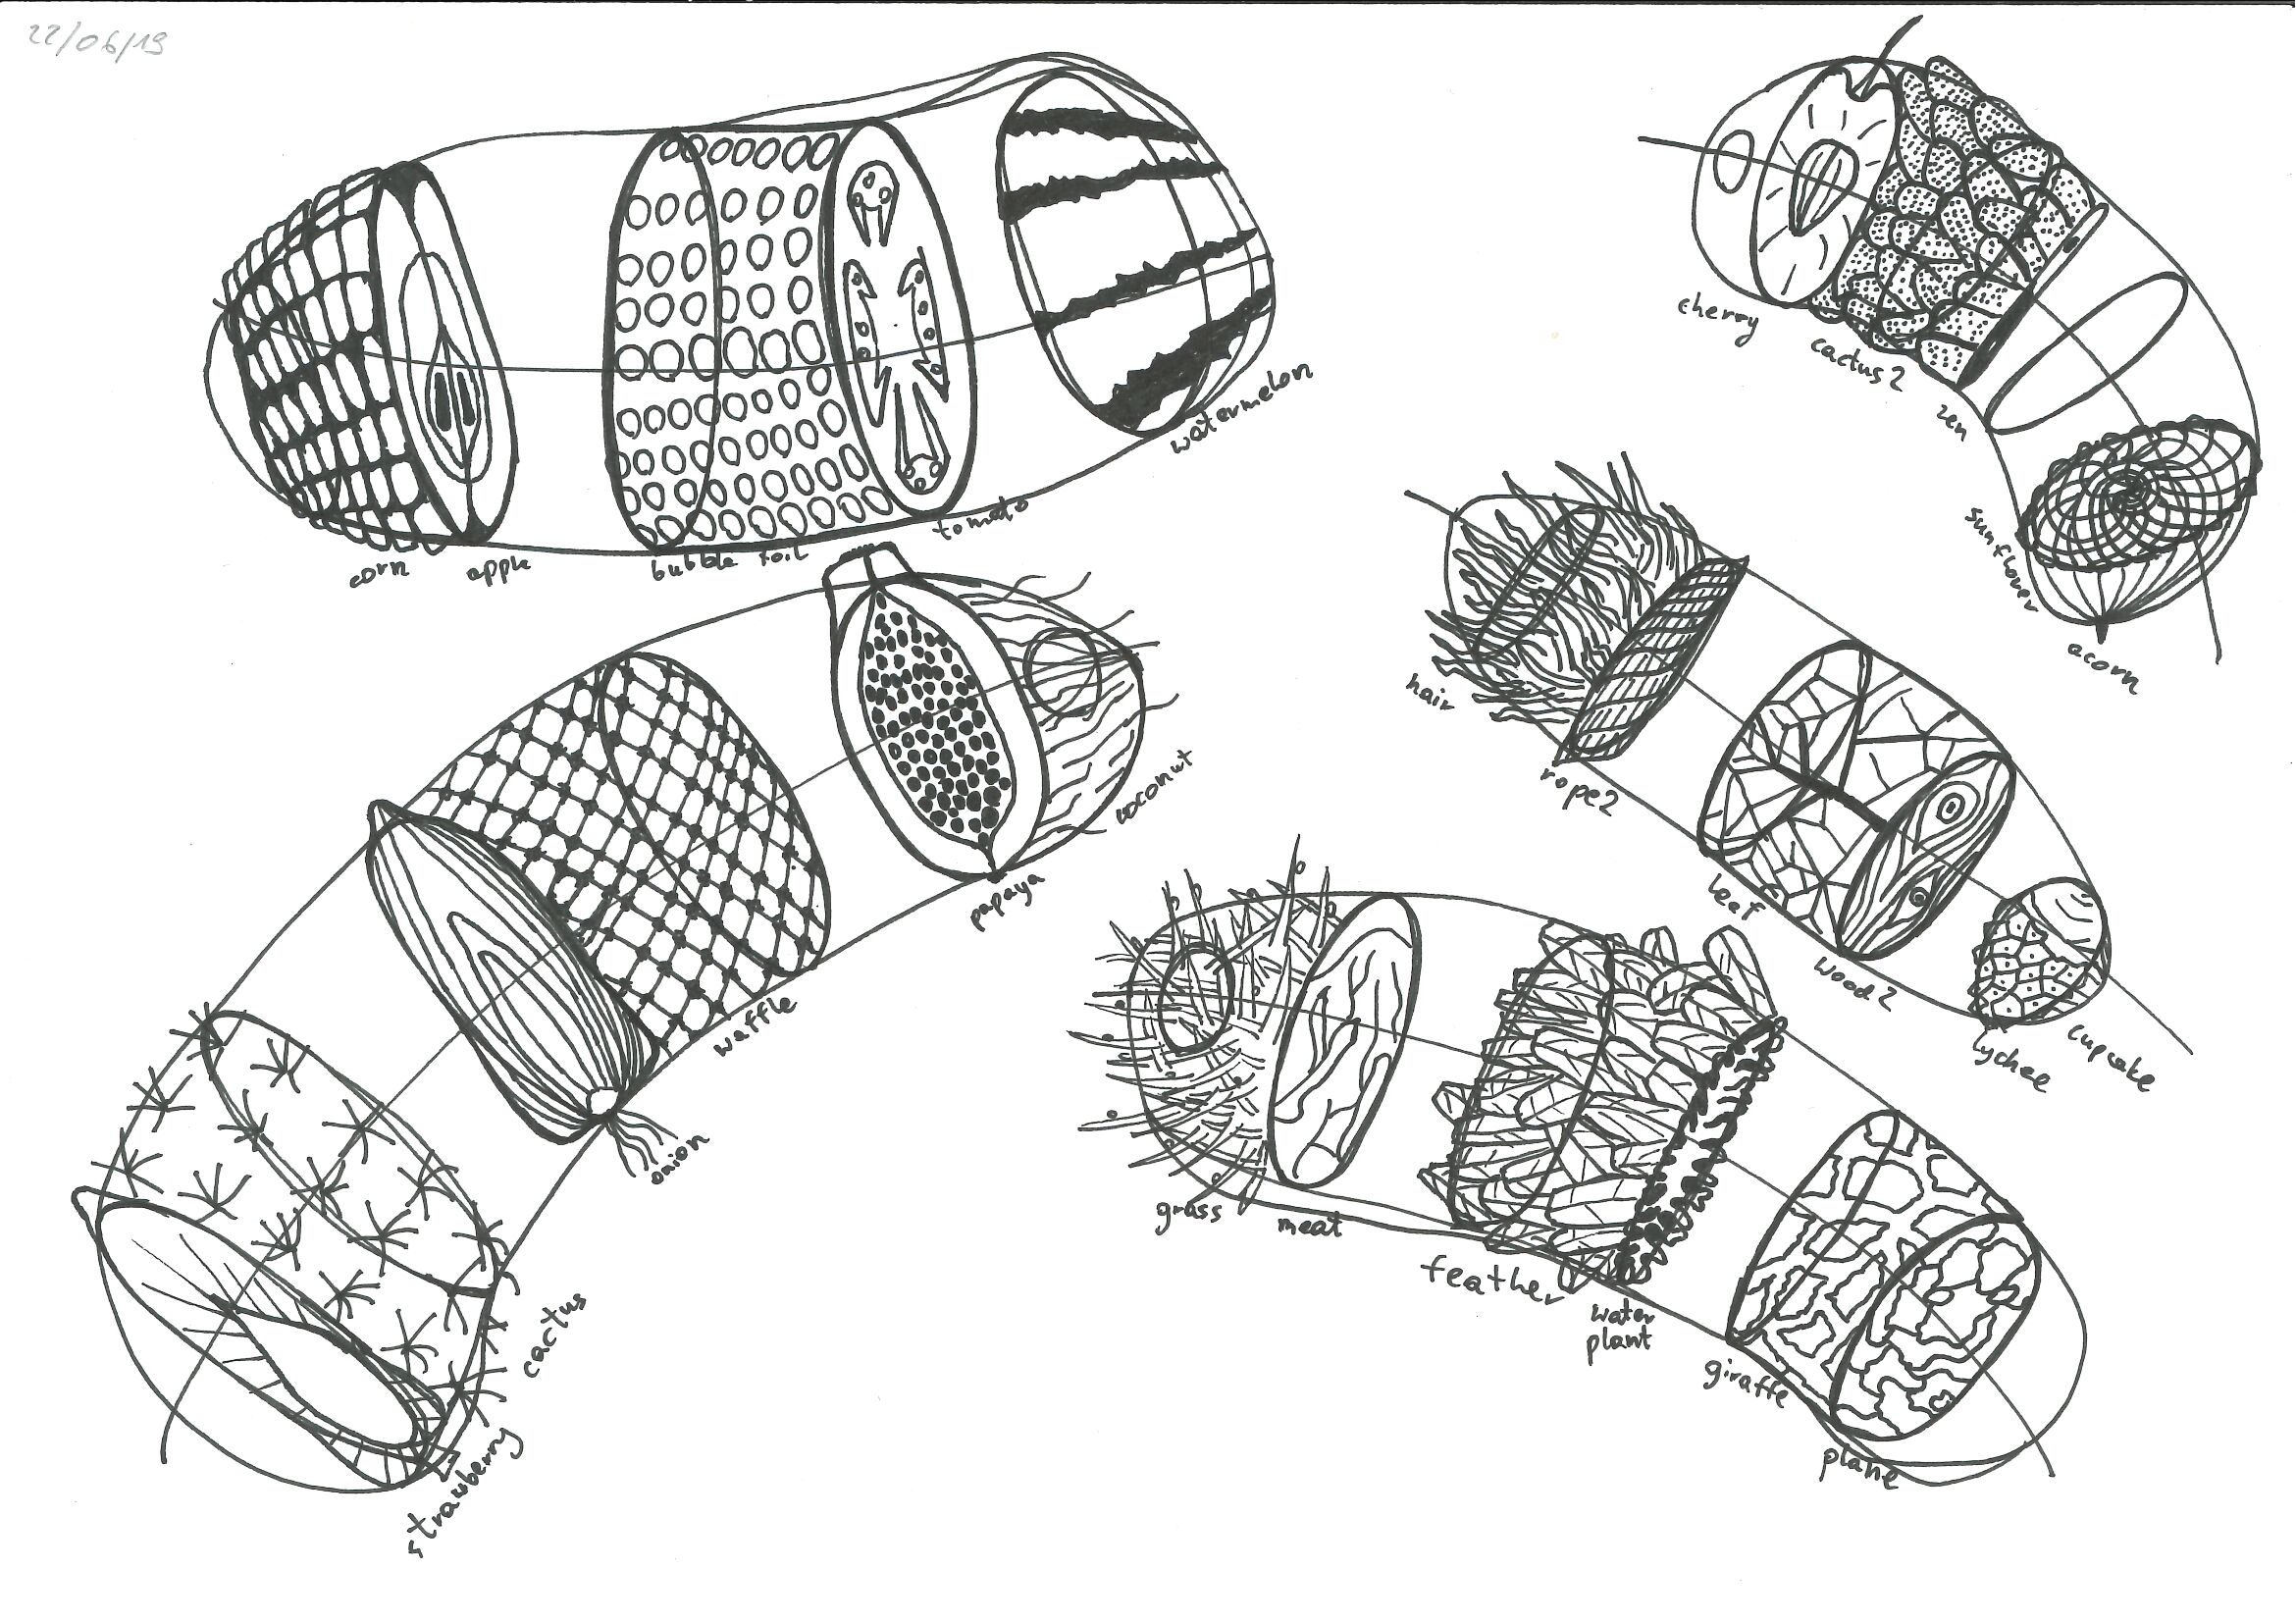
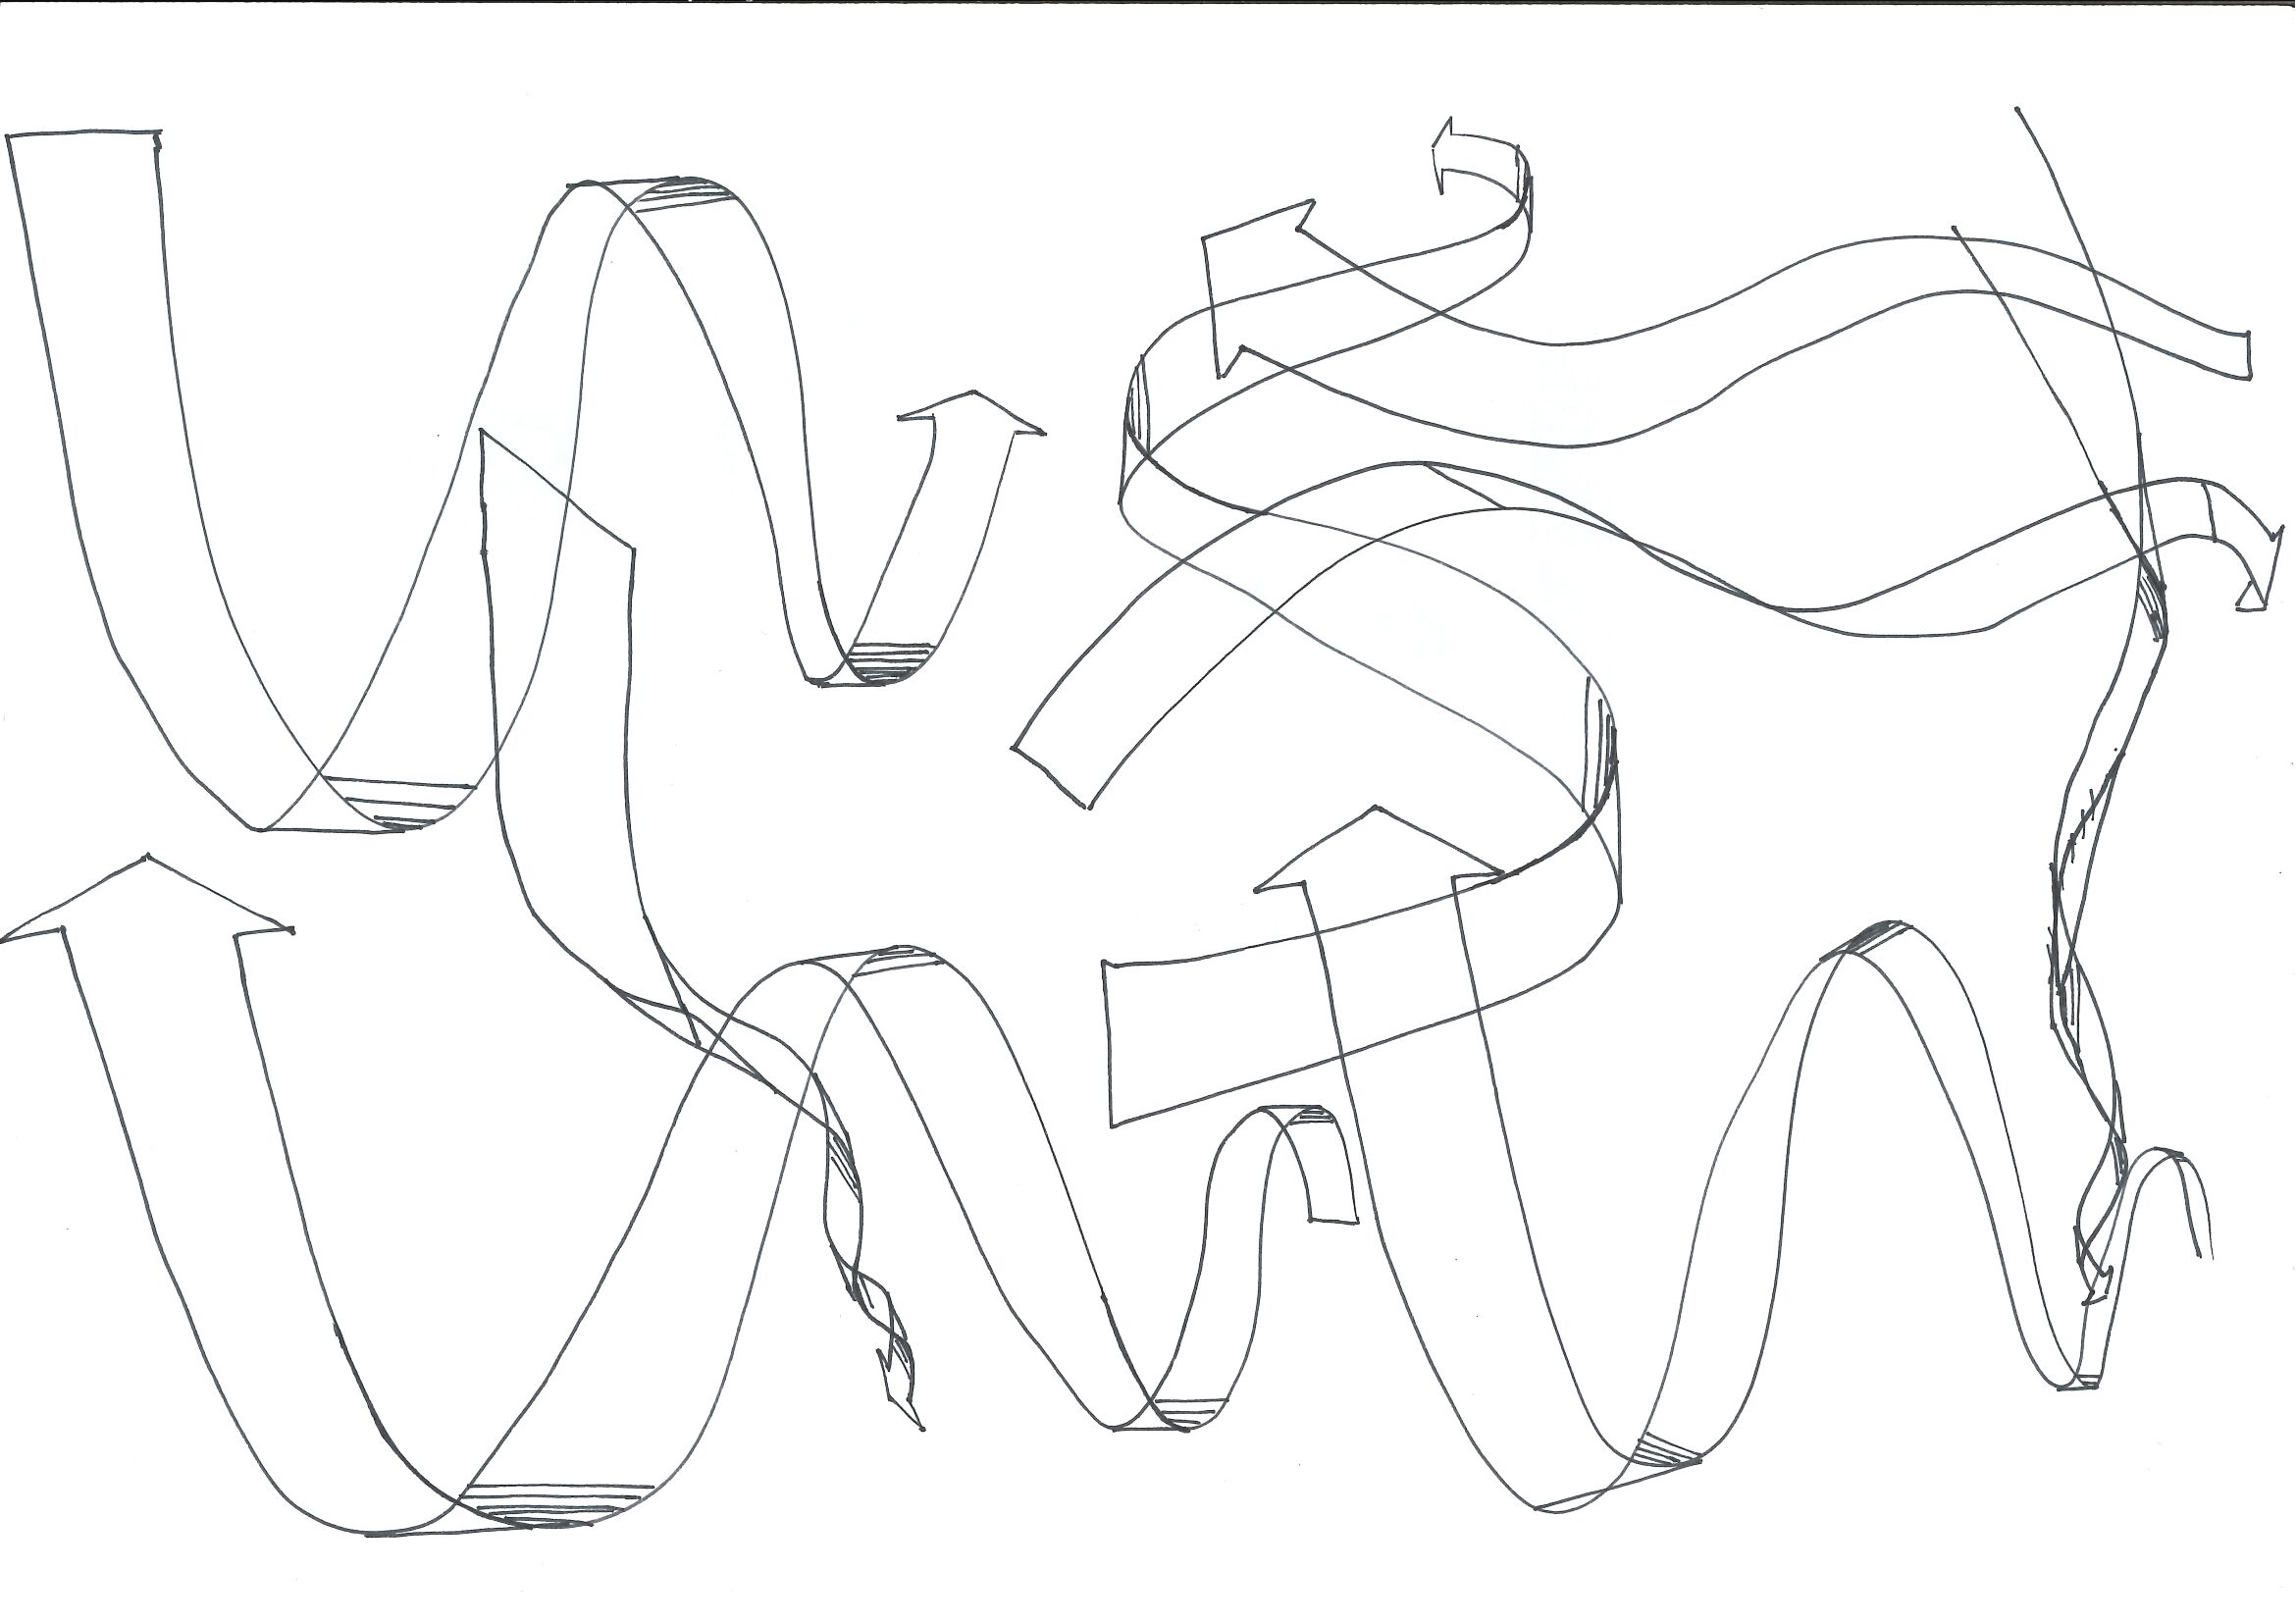
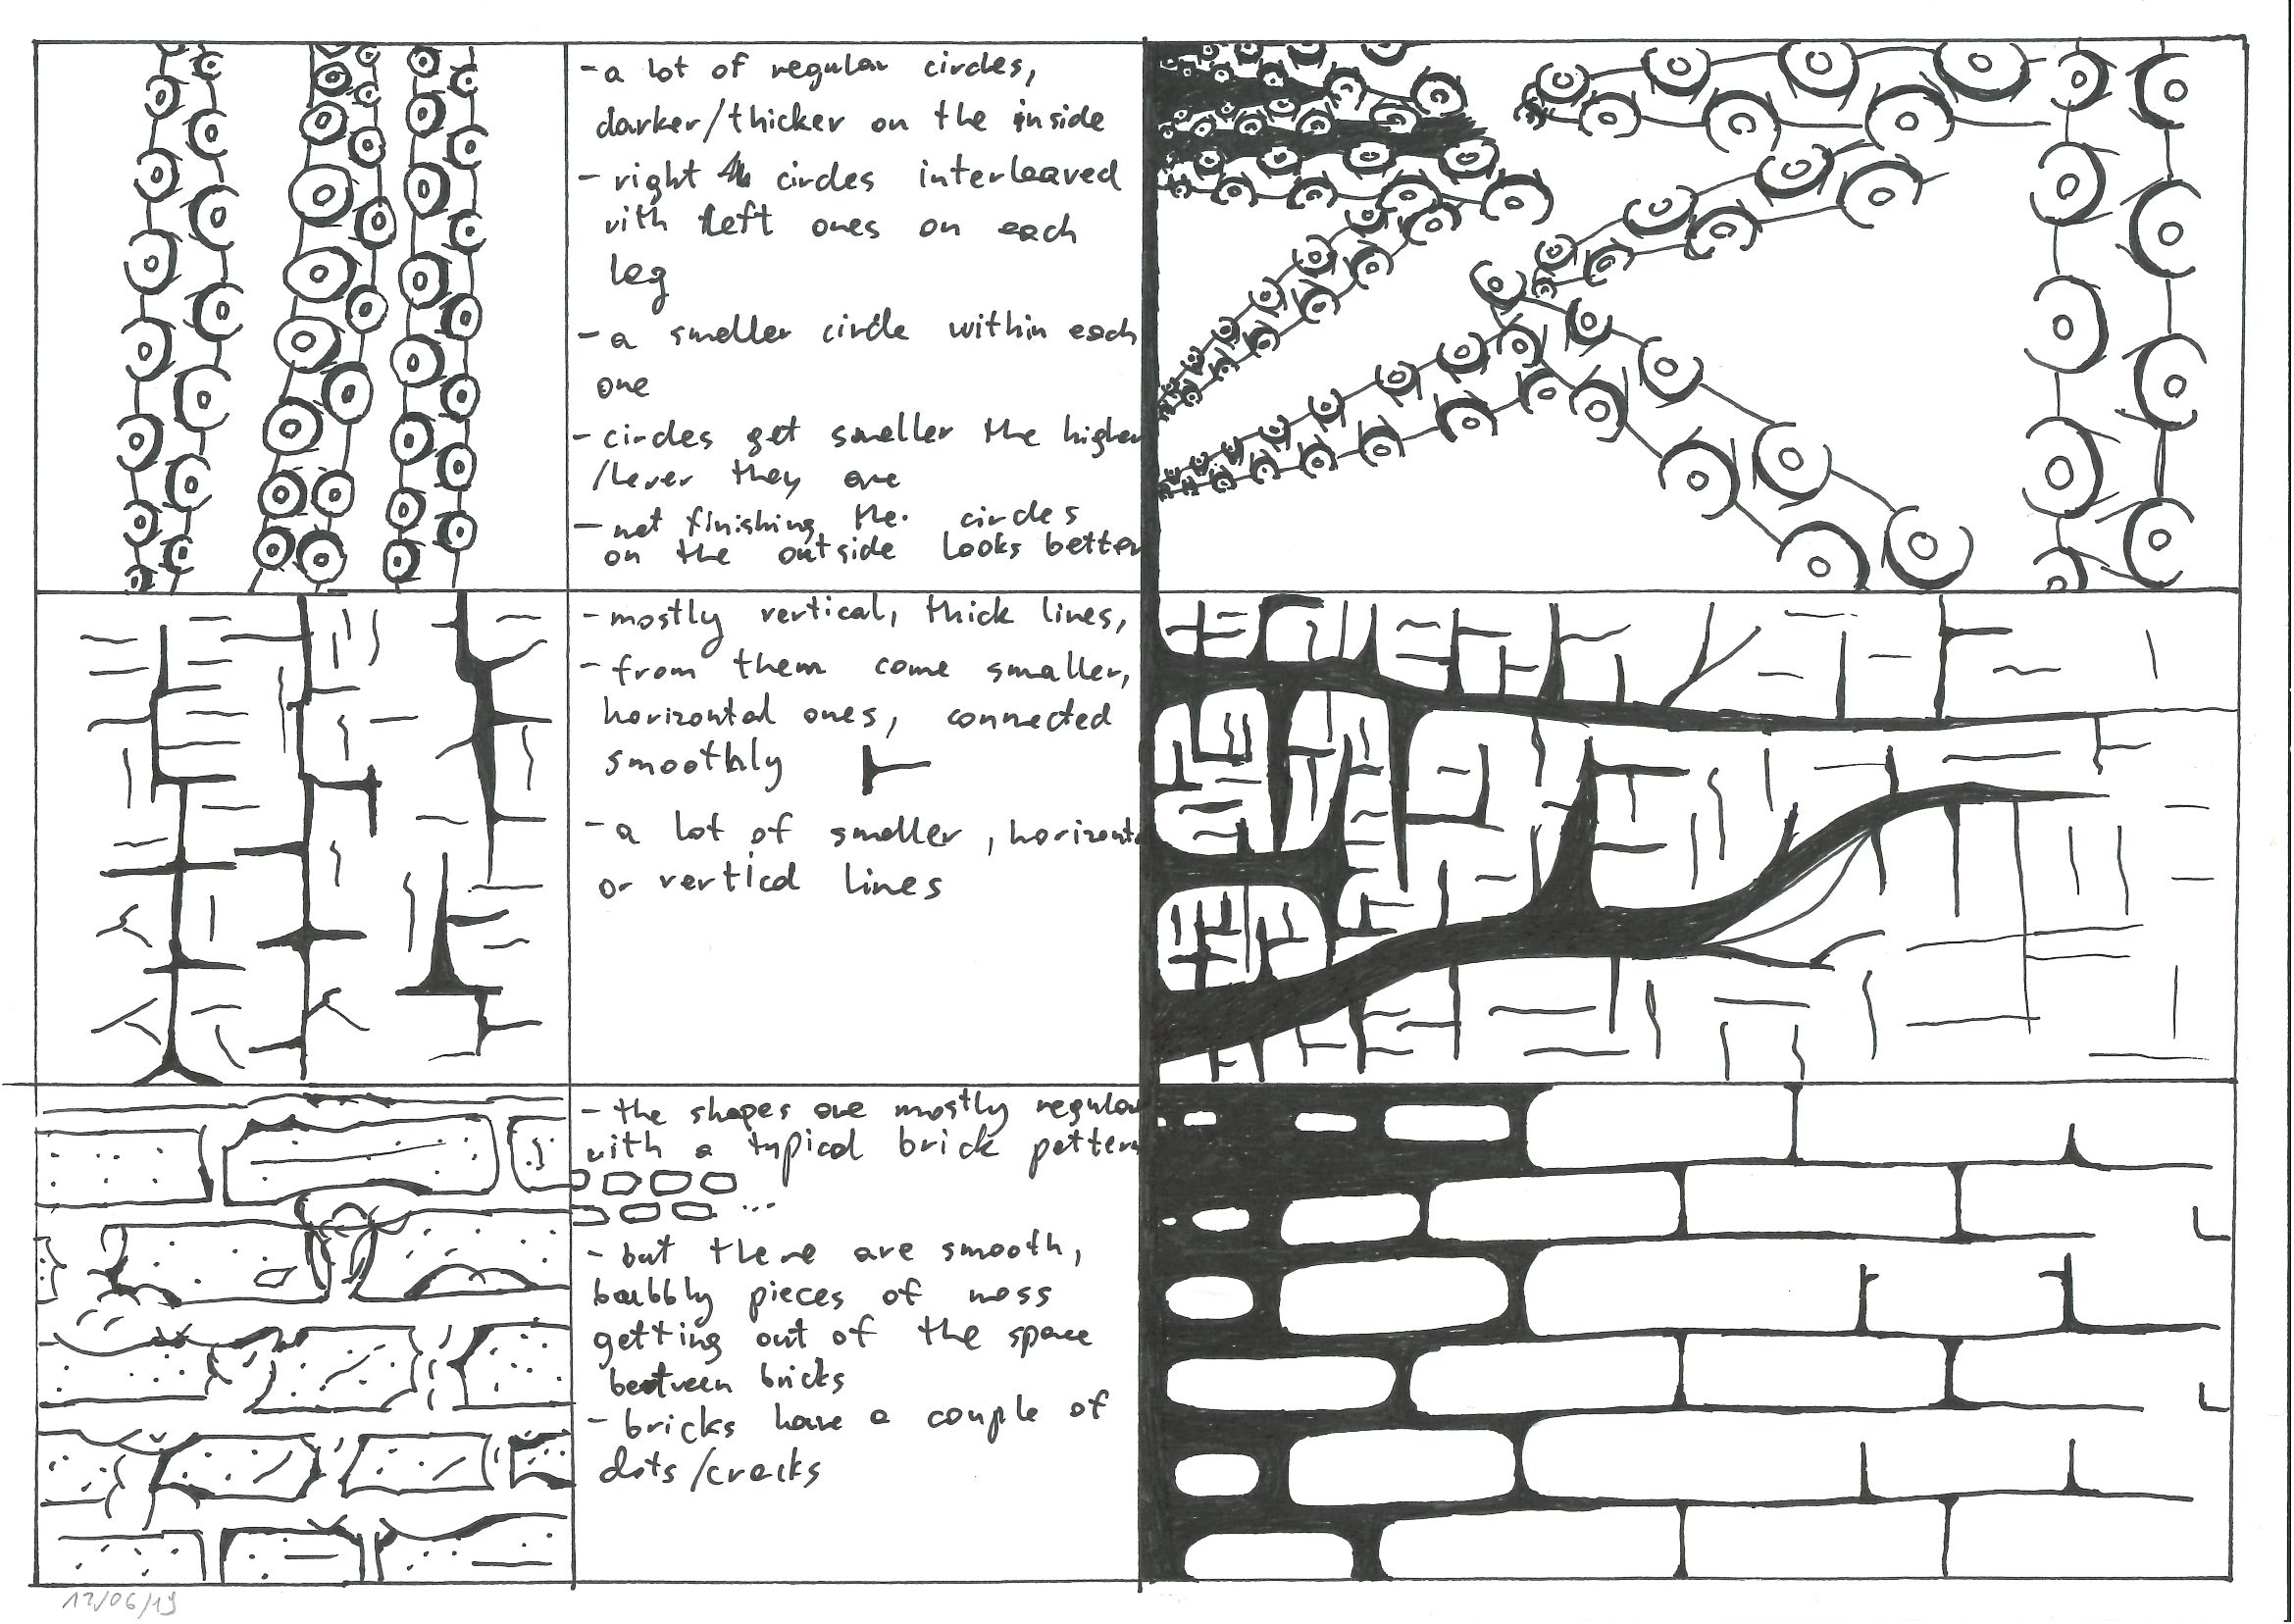
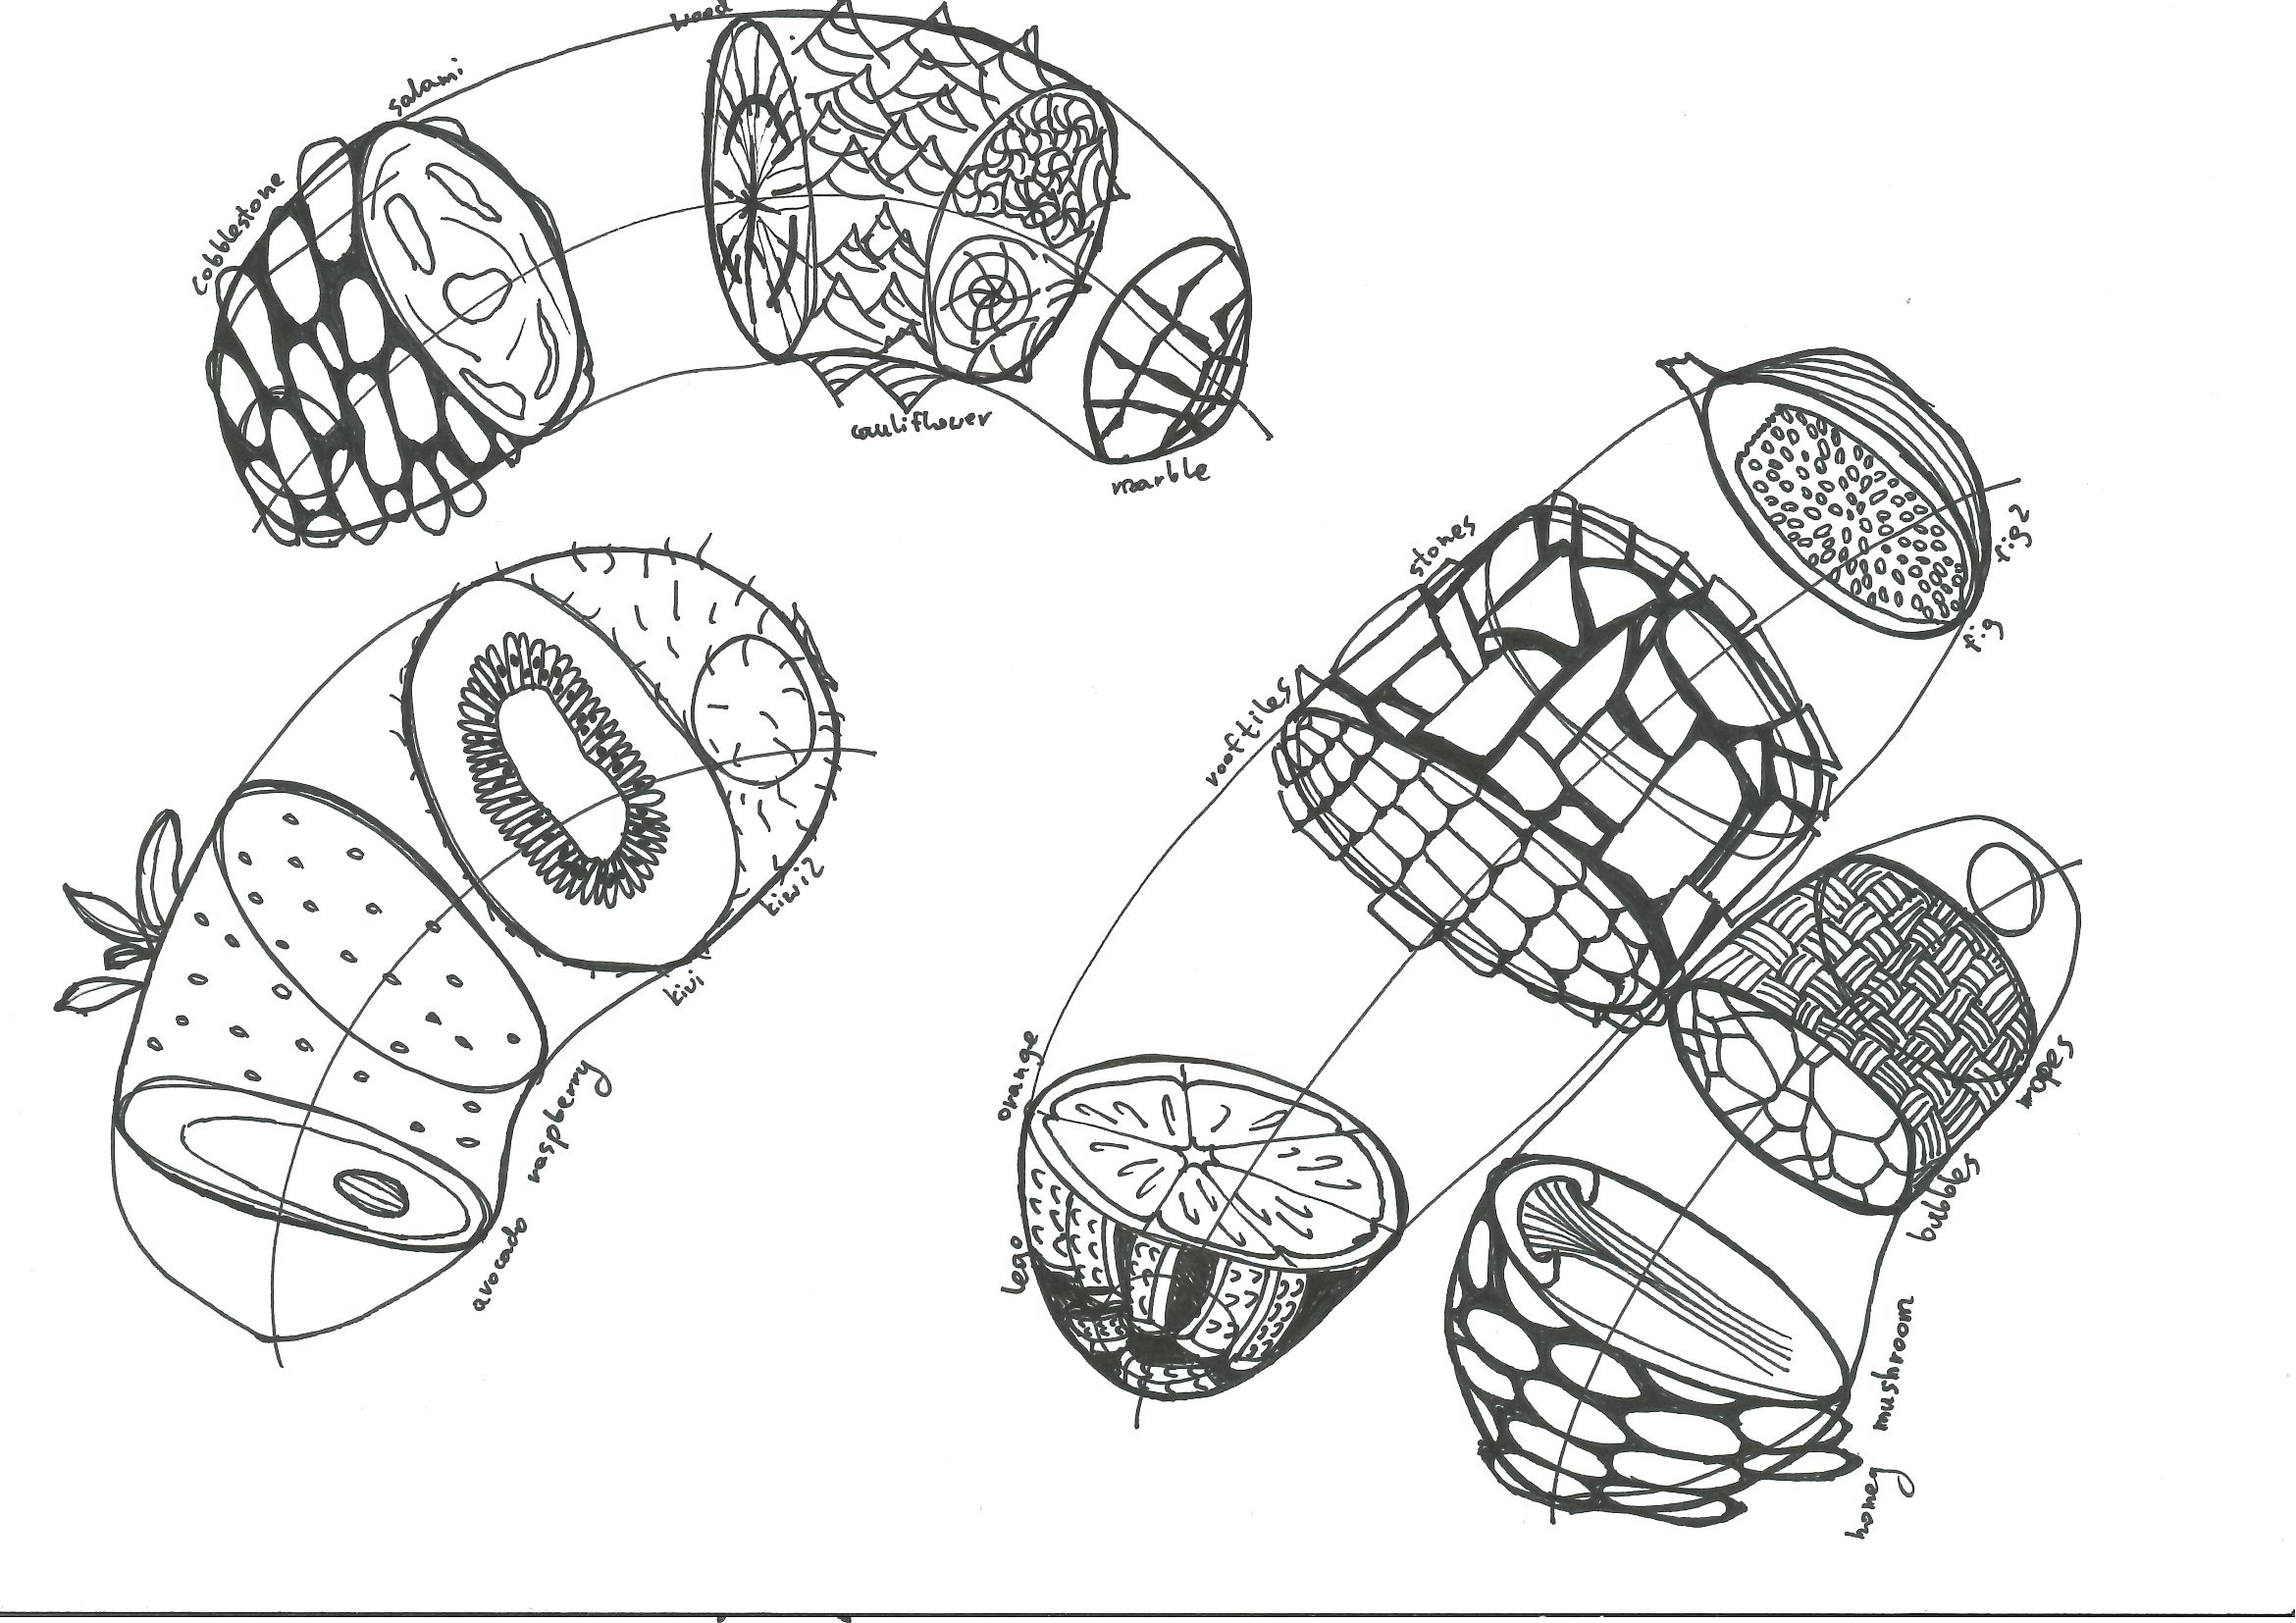
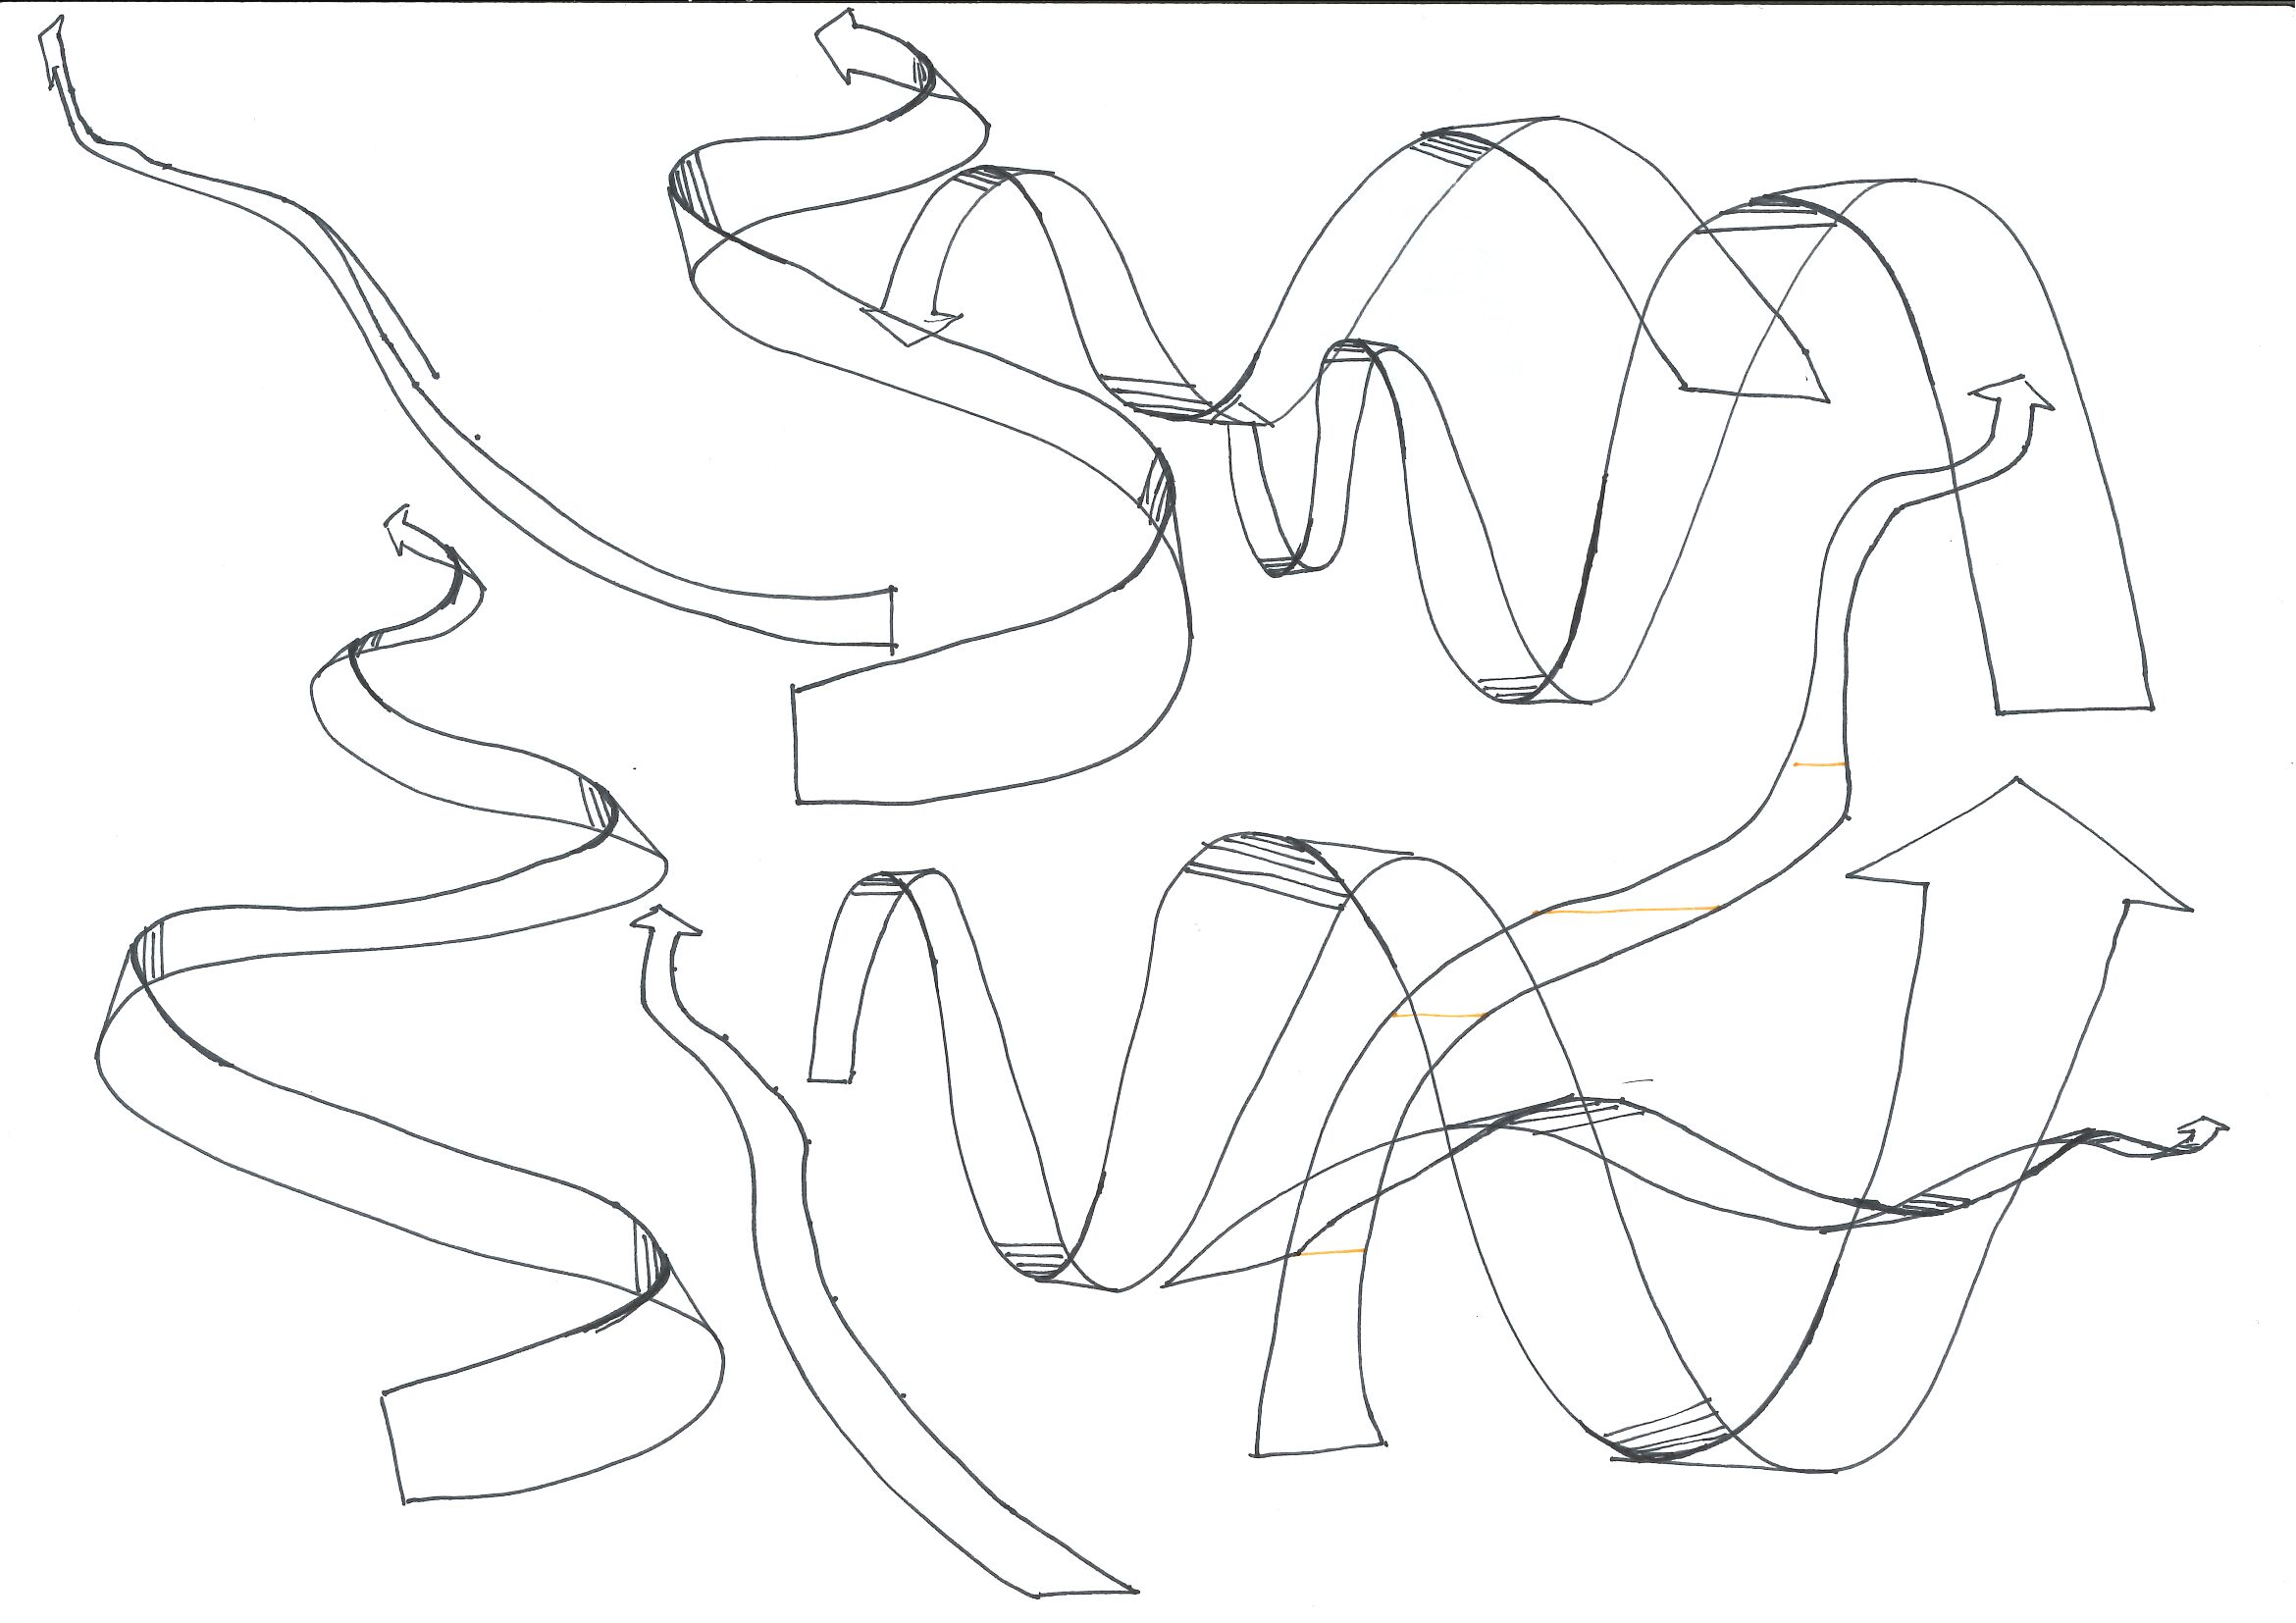
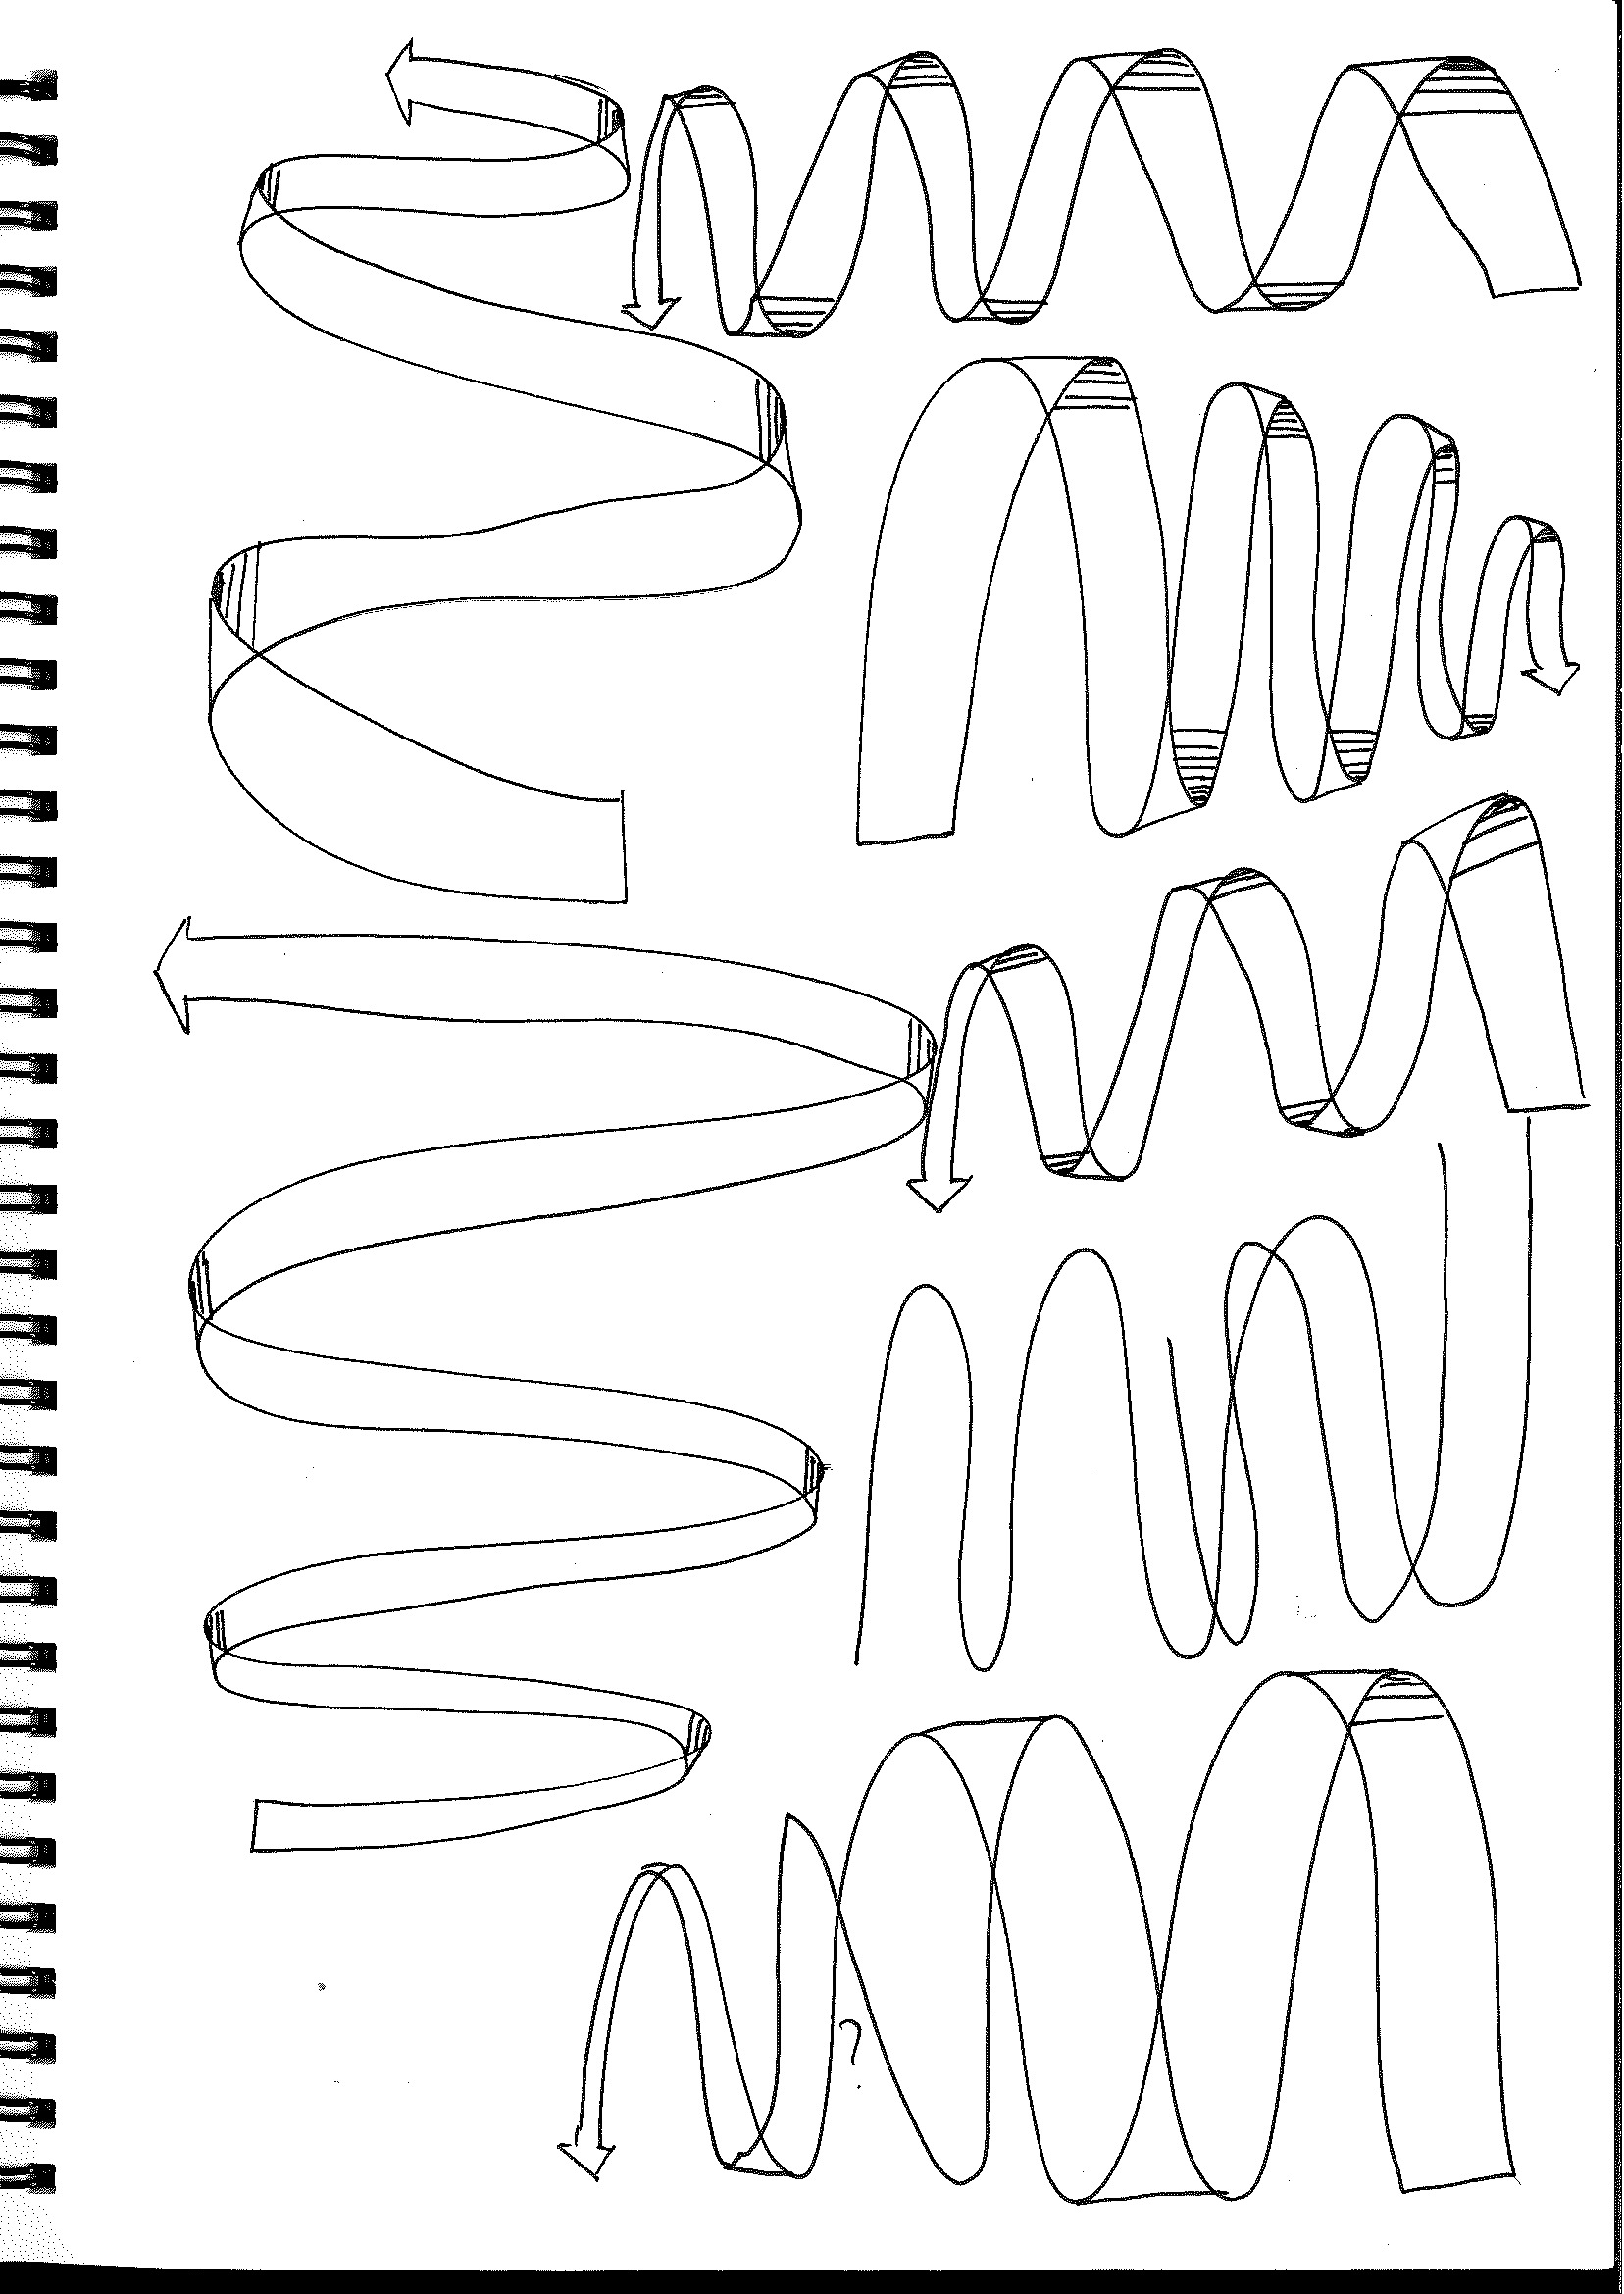
Lesson 2: Contour Lines, Texture and Construction
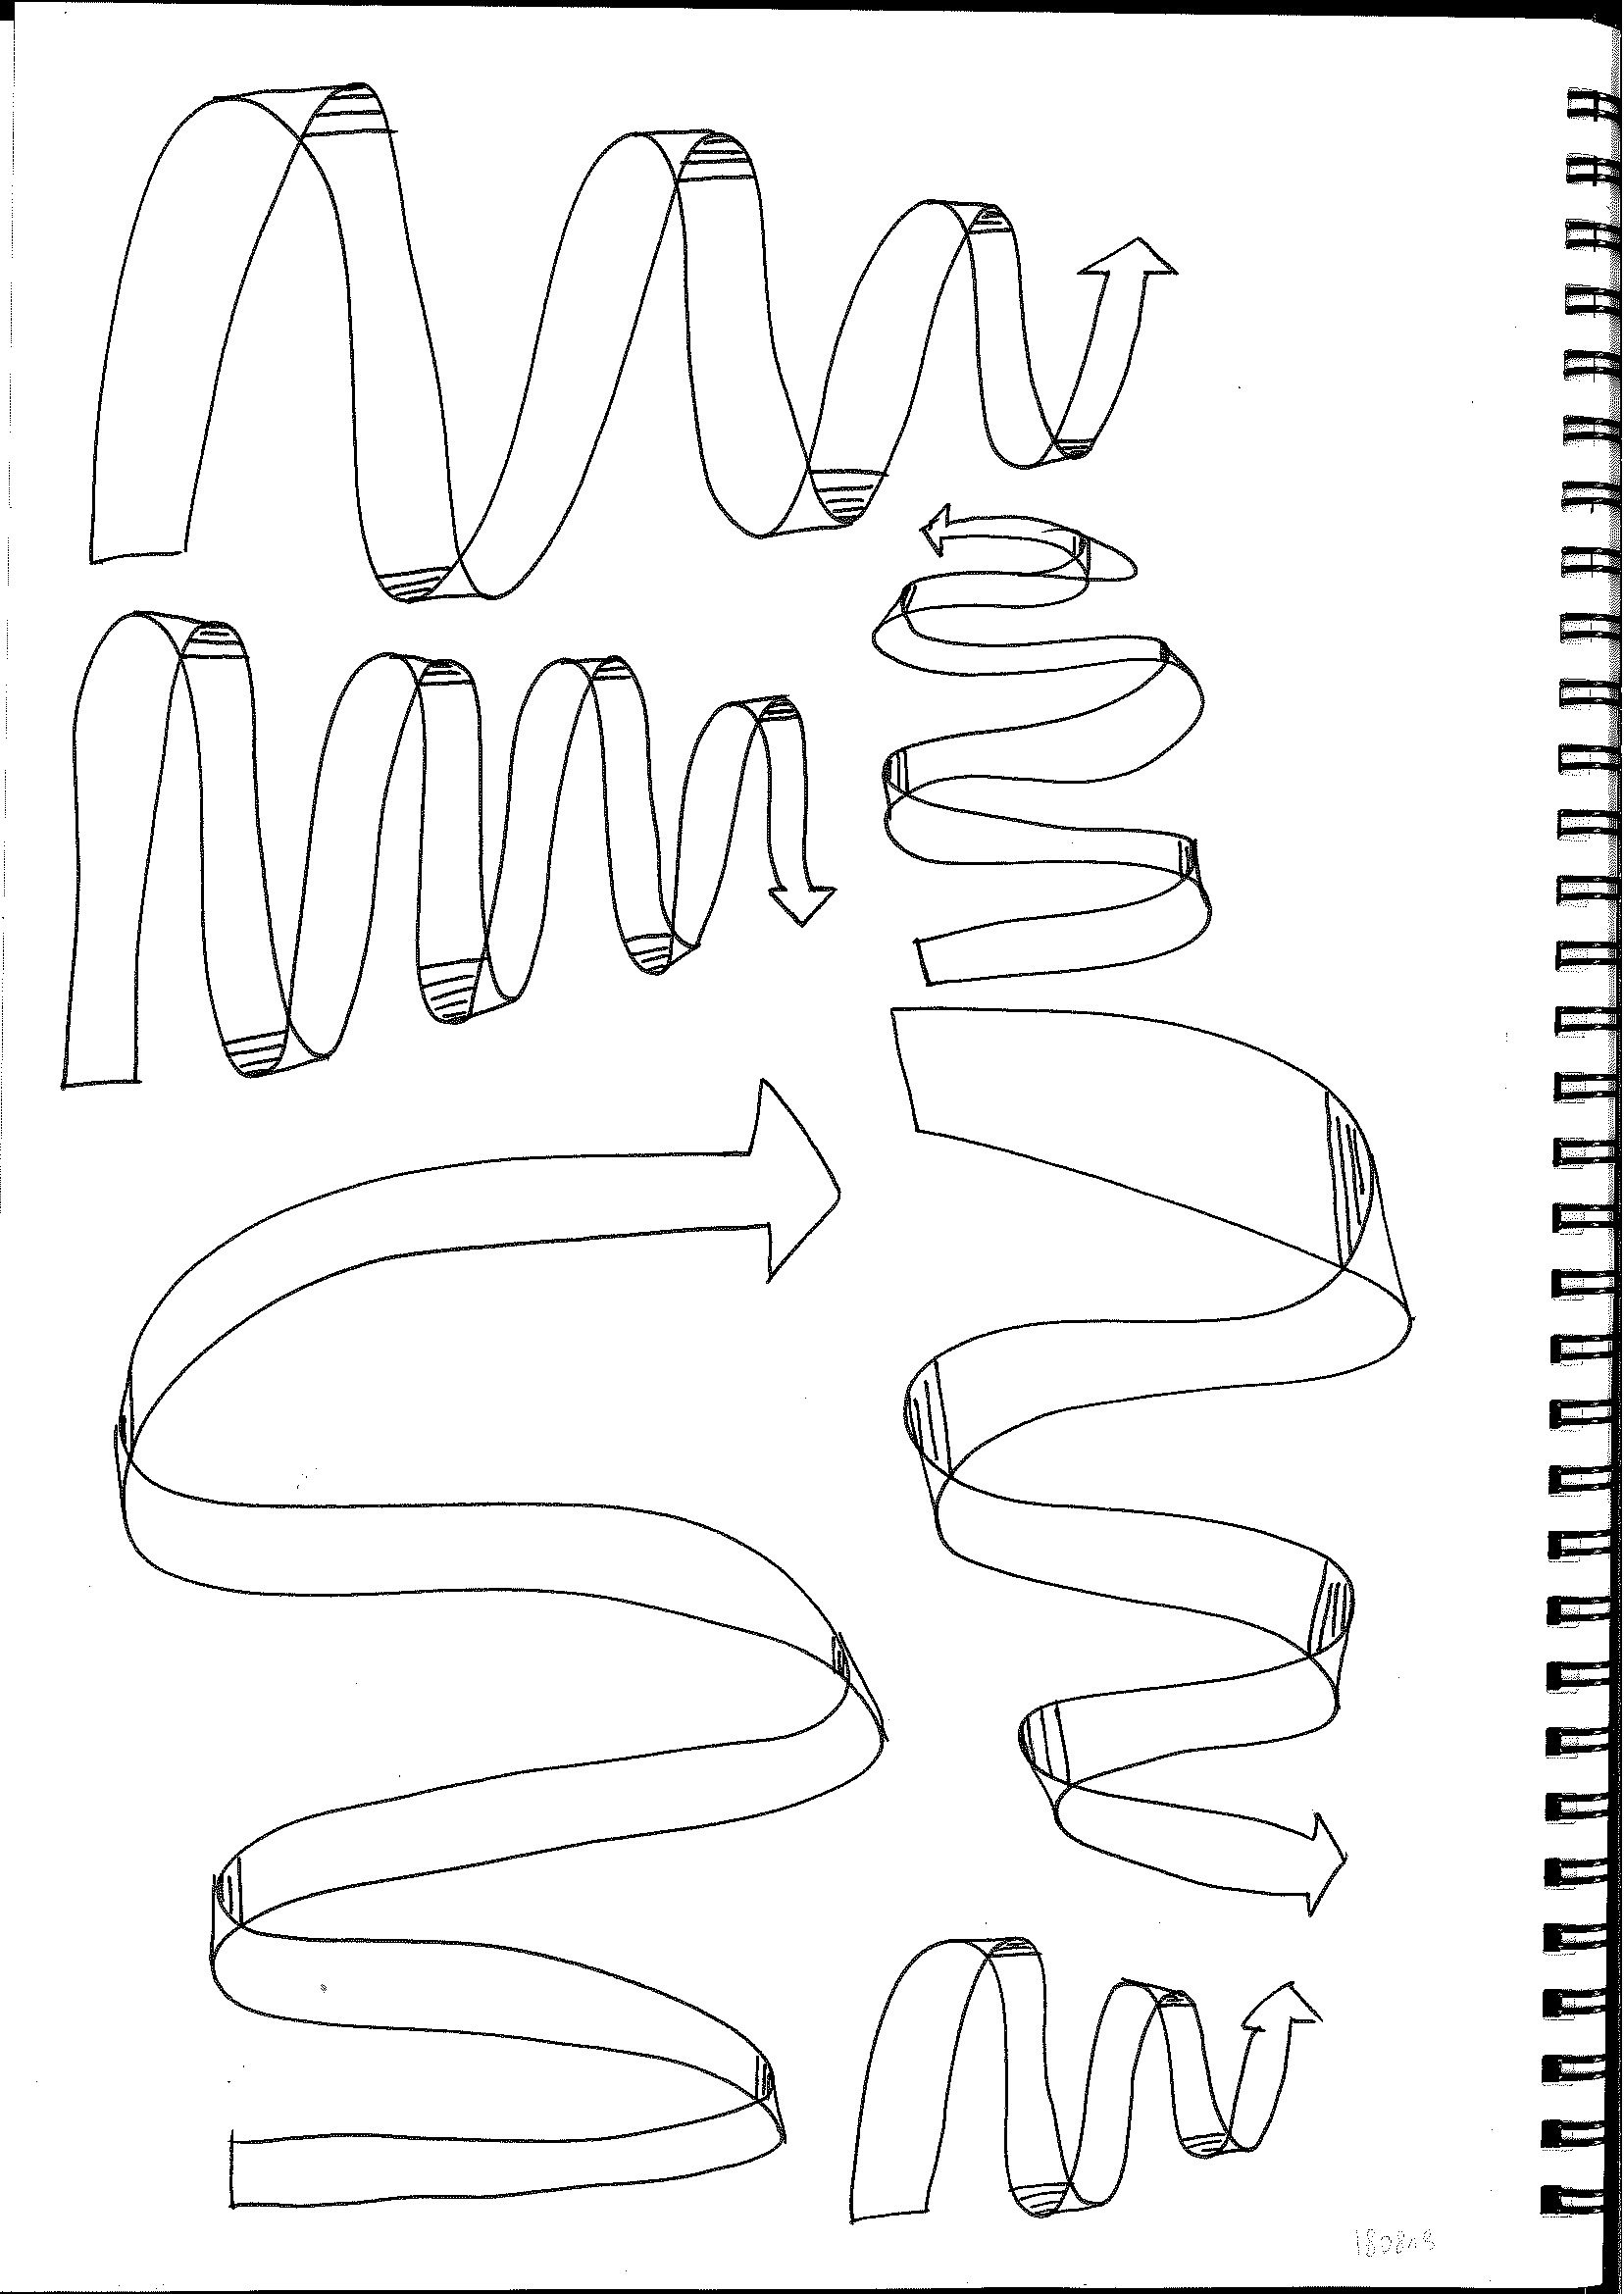
The second lesson introduces the basics of 3D. I remember the ribbon-made arrows were very hard at the beginning (which you can see on the pictures), but I think I improved a lot while doing the exercises.
Apart from 3D, this lesson contains exercises on texture, which felt out of place in there (and in the course in general, as it is focused on constructional drawing, ie. making sure that the things have the correct general form). On the other hand, texture exercises were the first exercises that looked nice, which was a useful motivation boost after doing tens of boring exercises in the first two lessons.
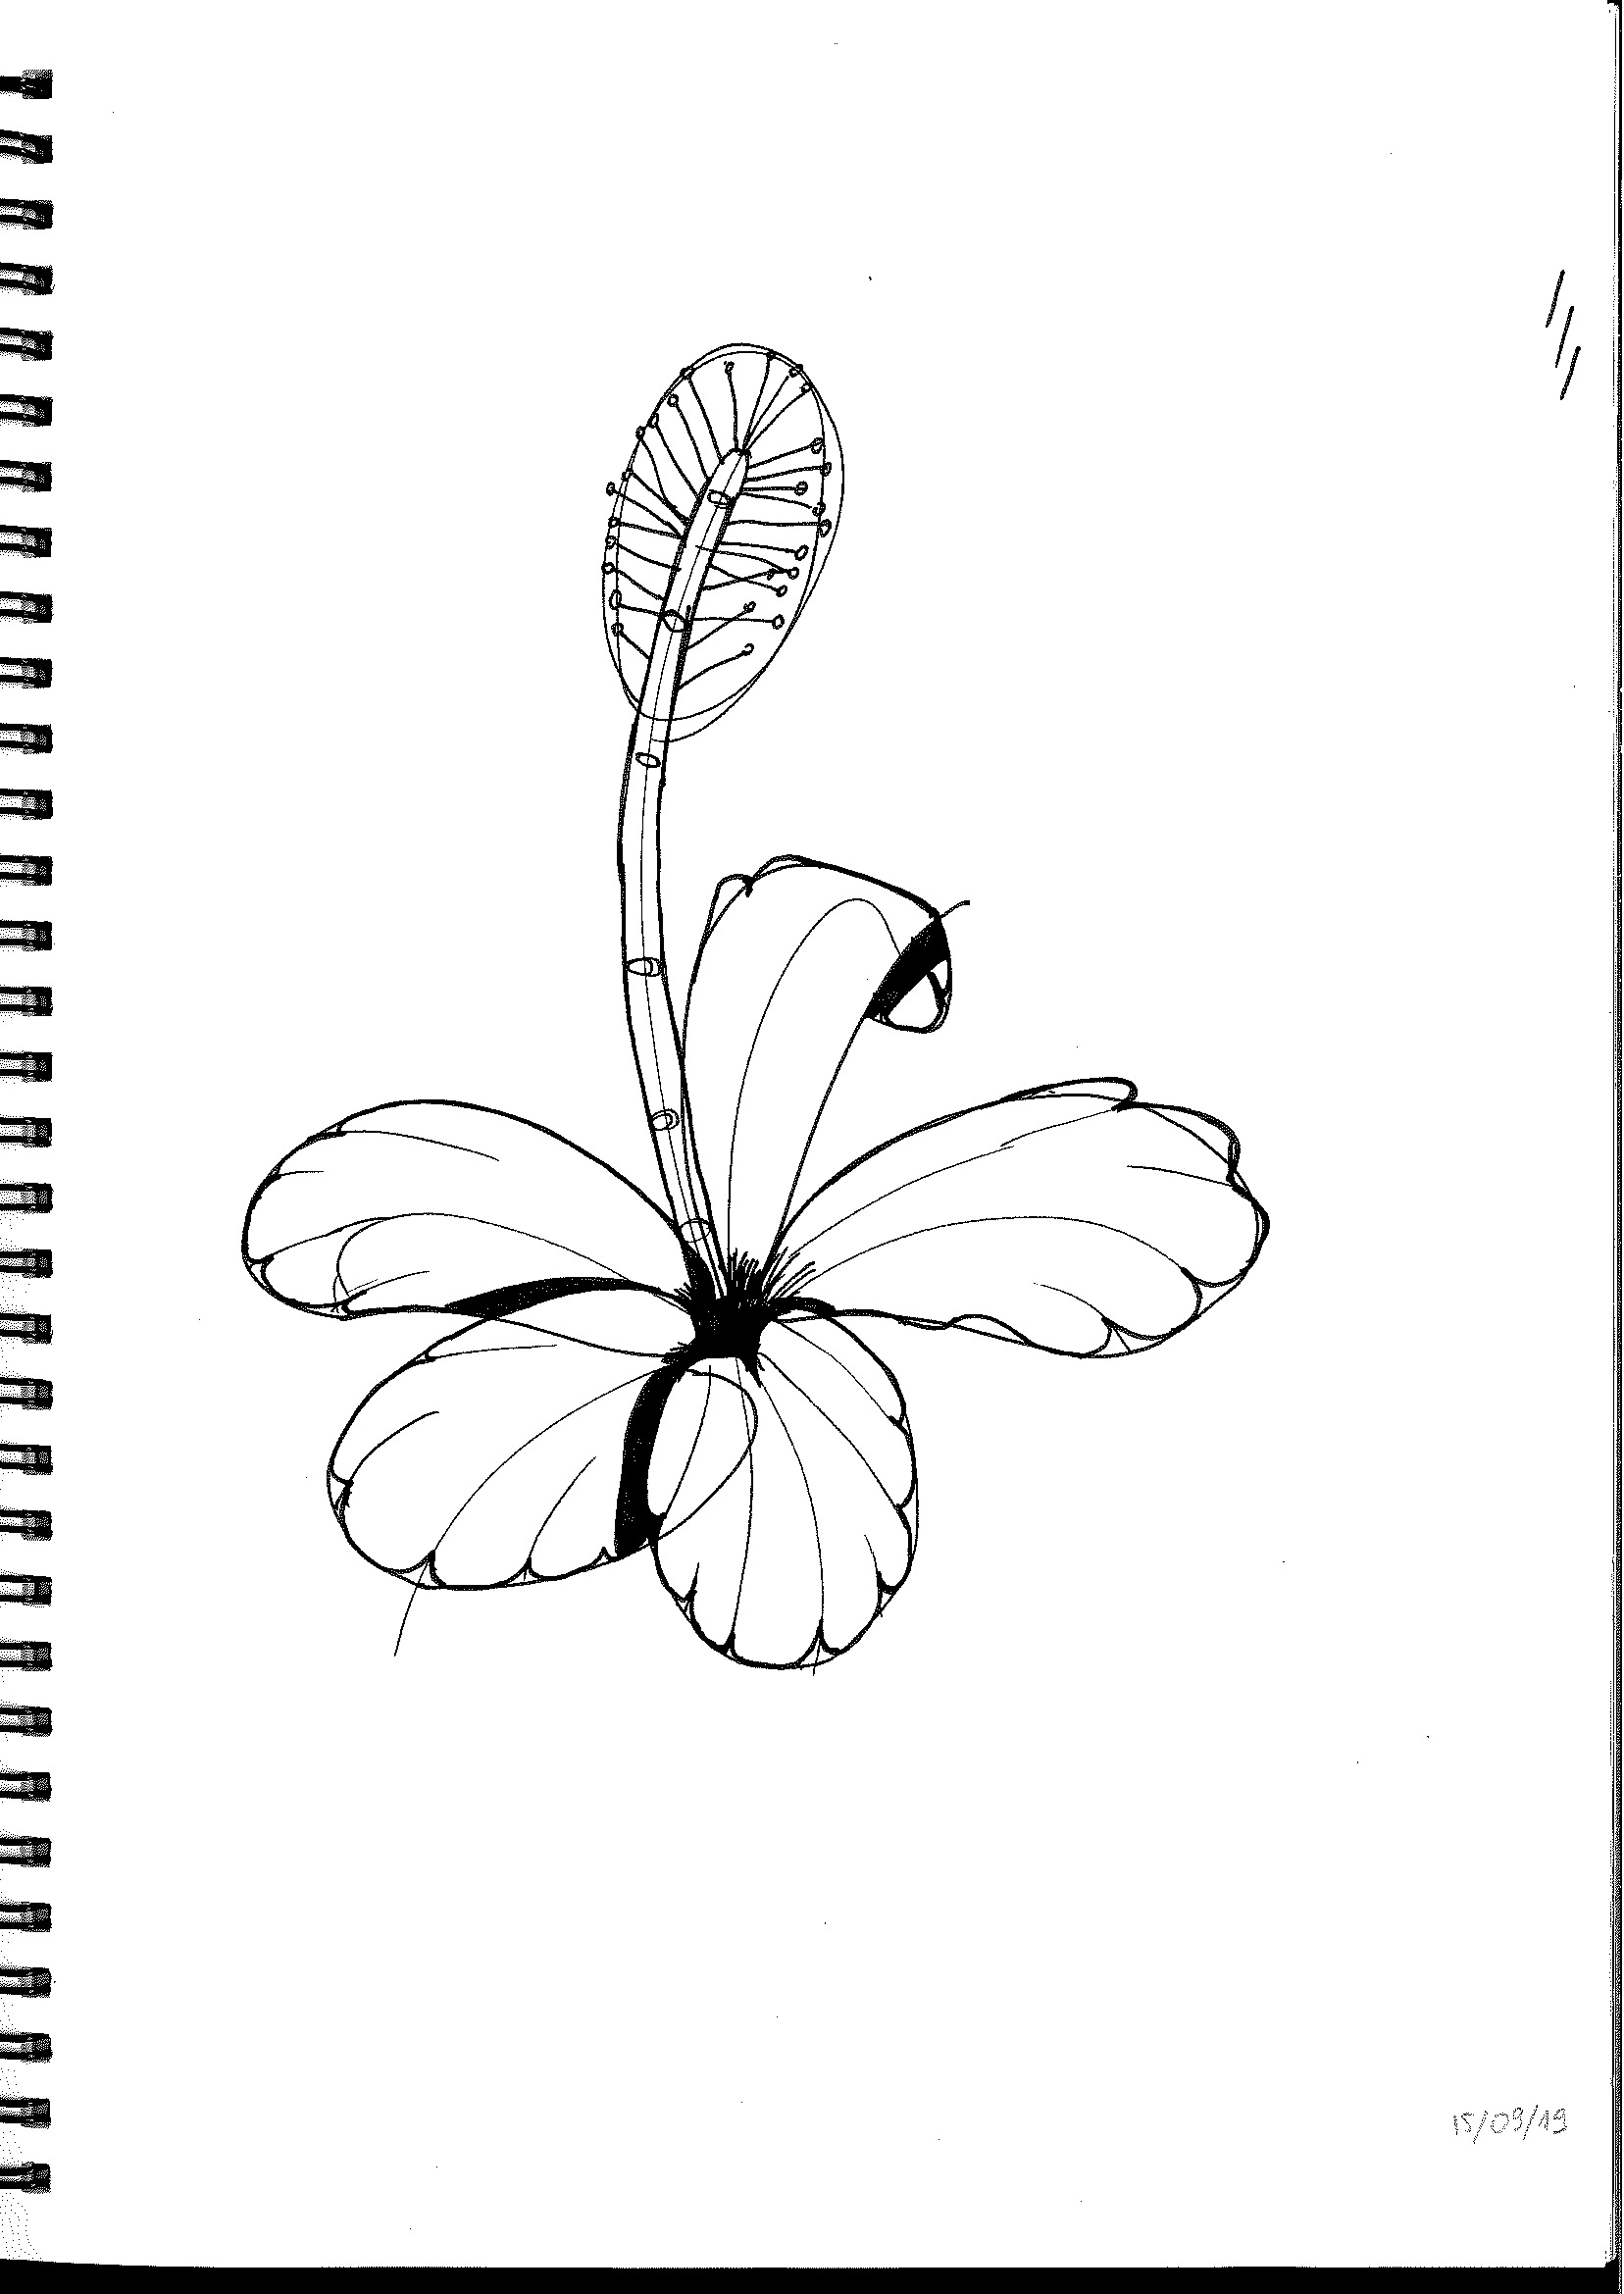
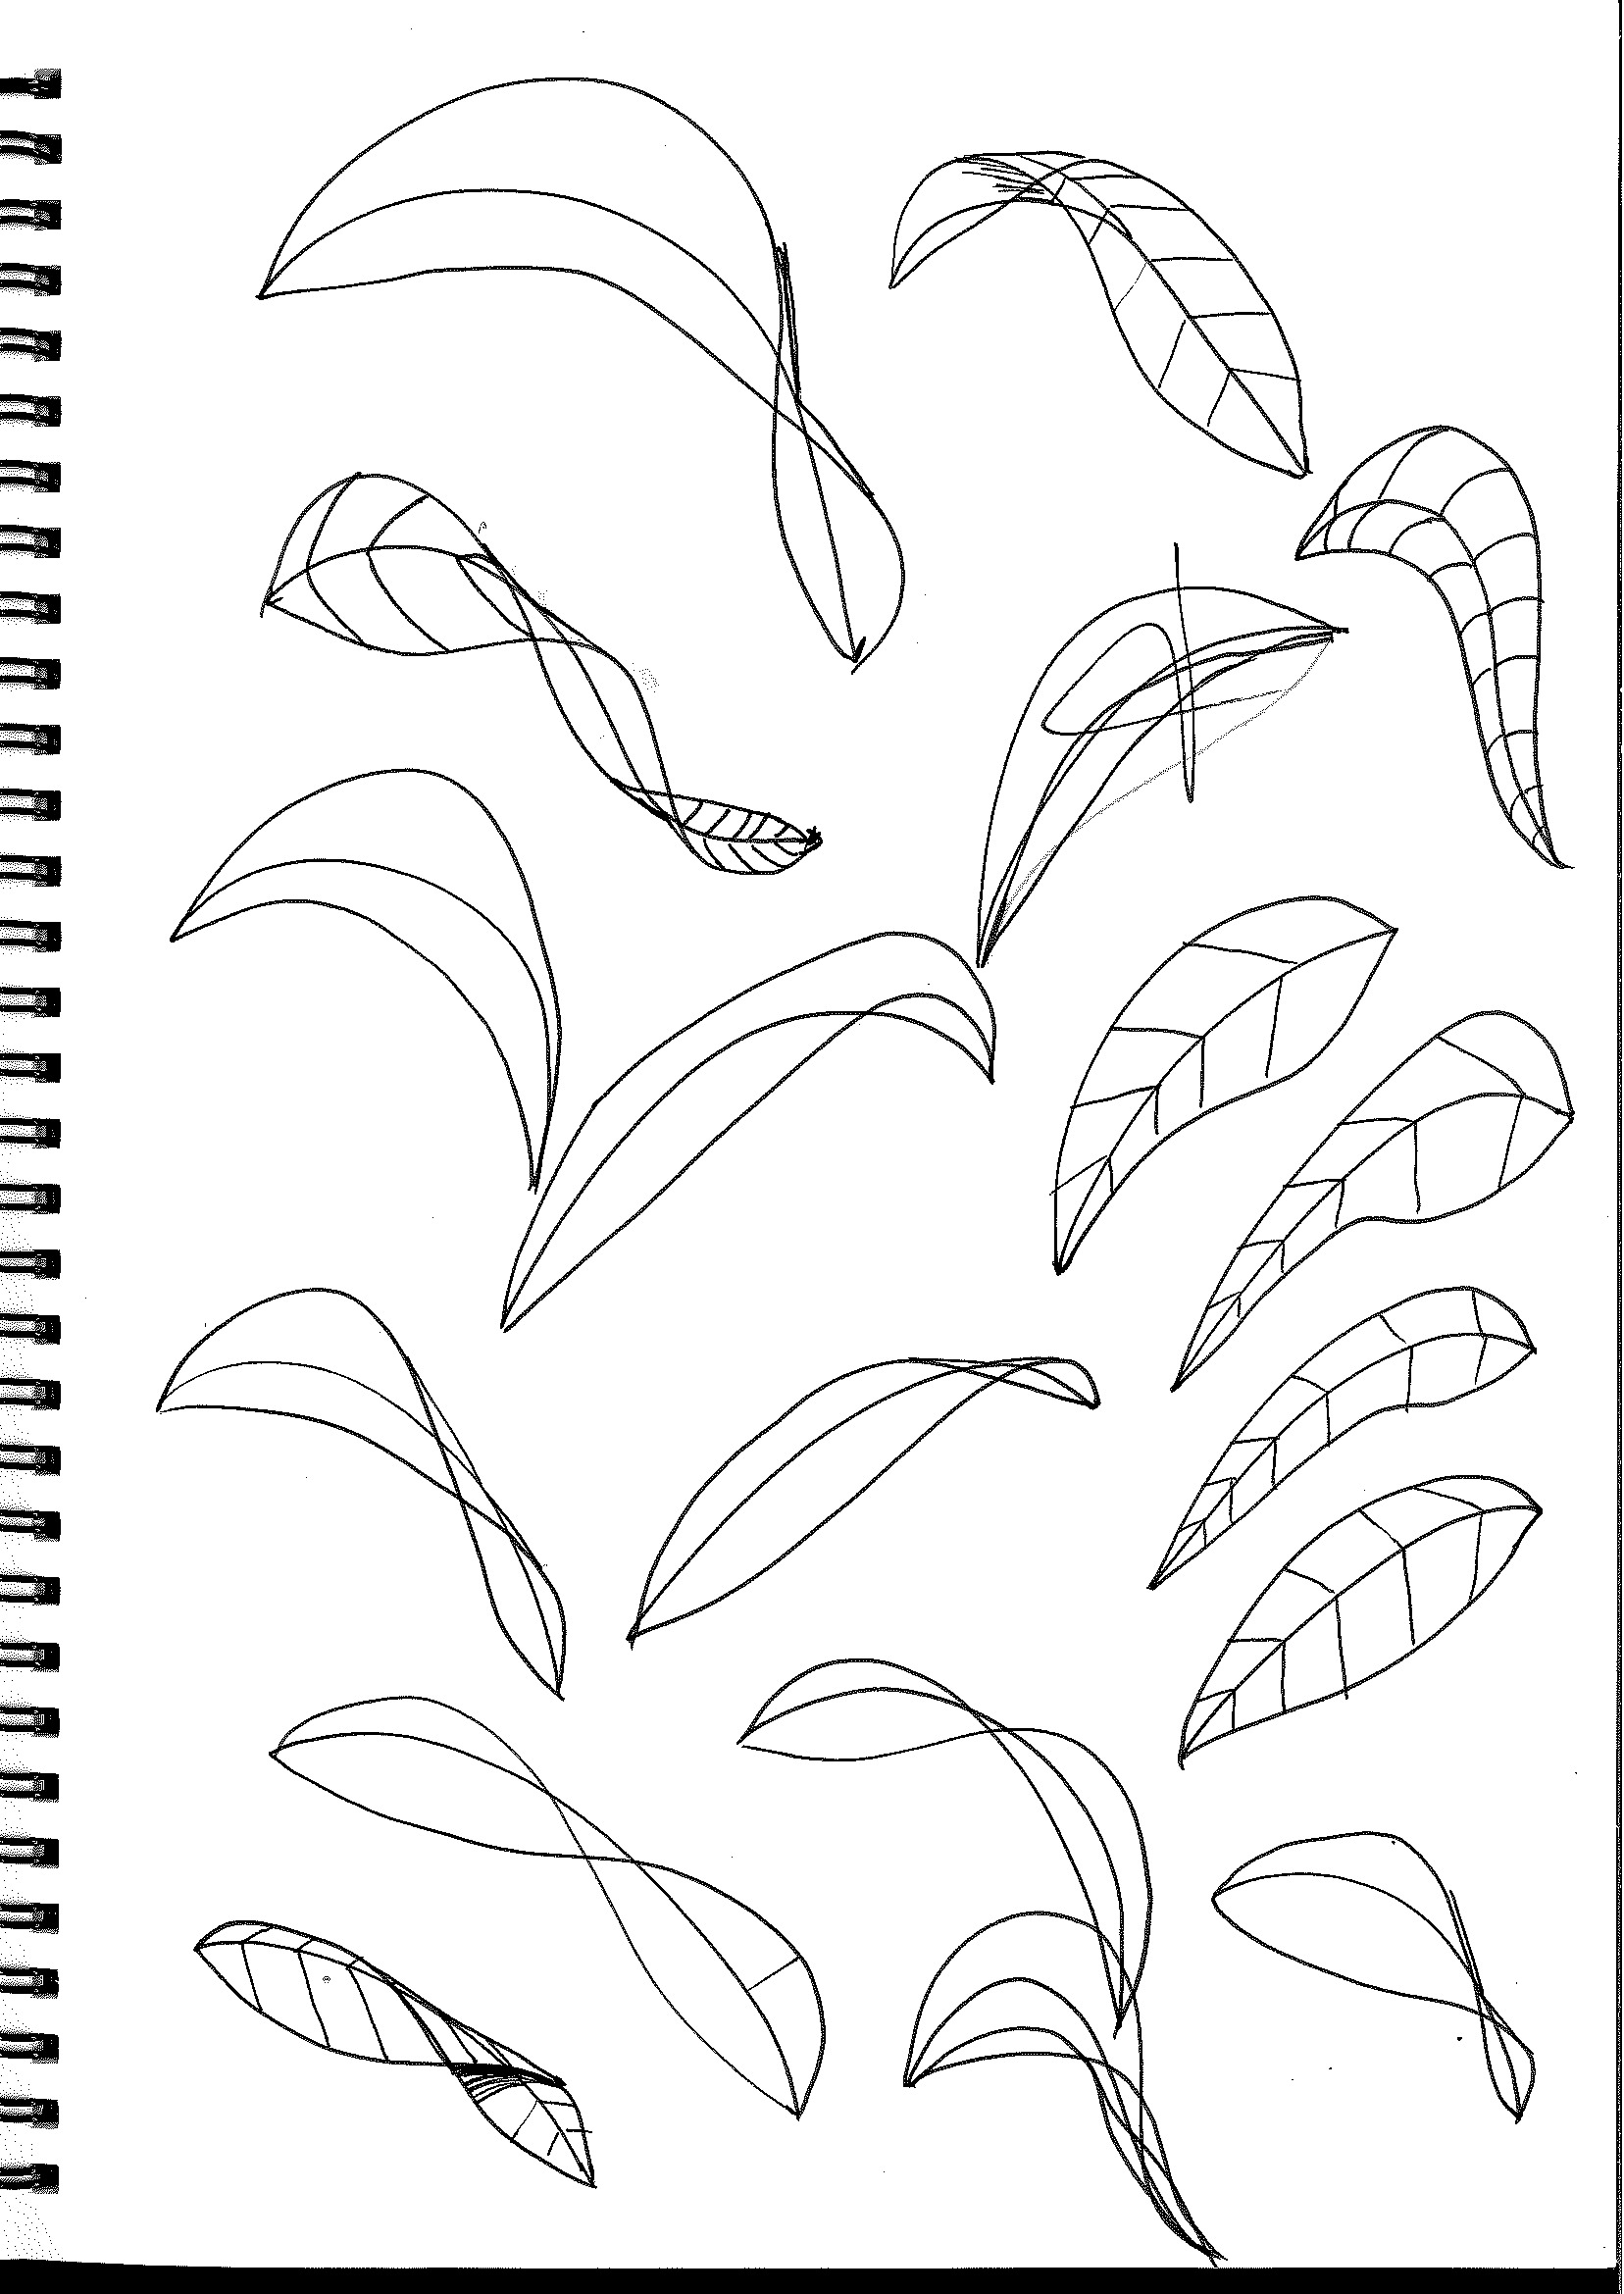
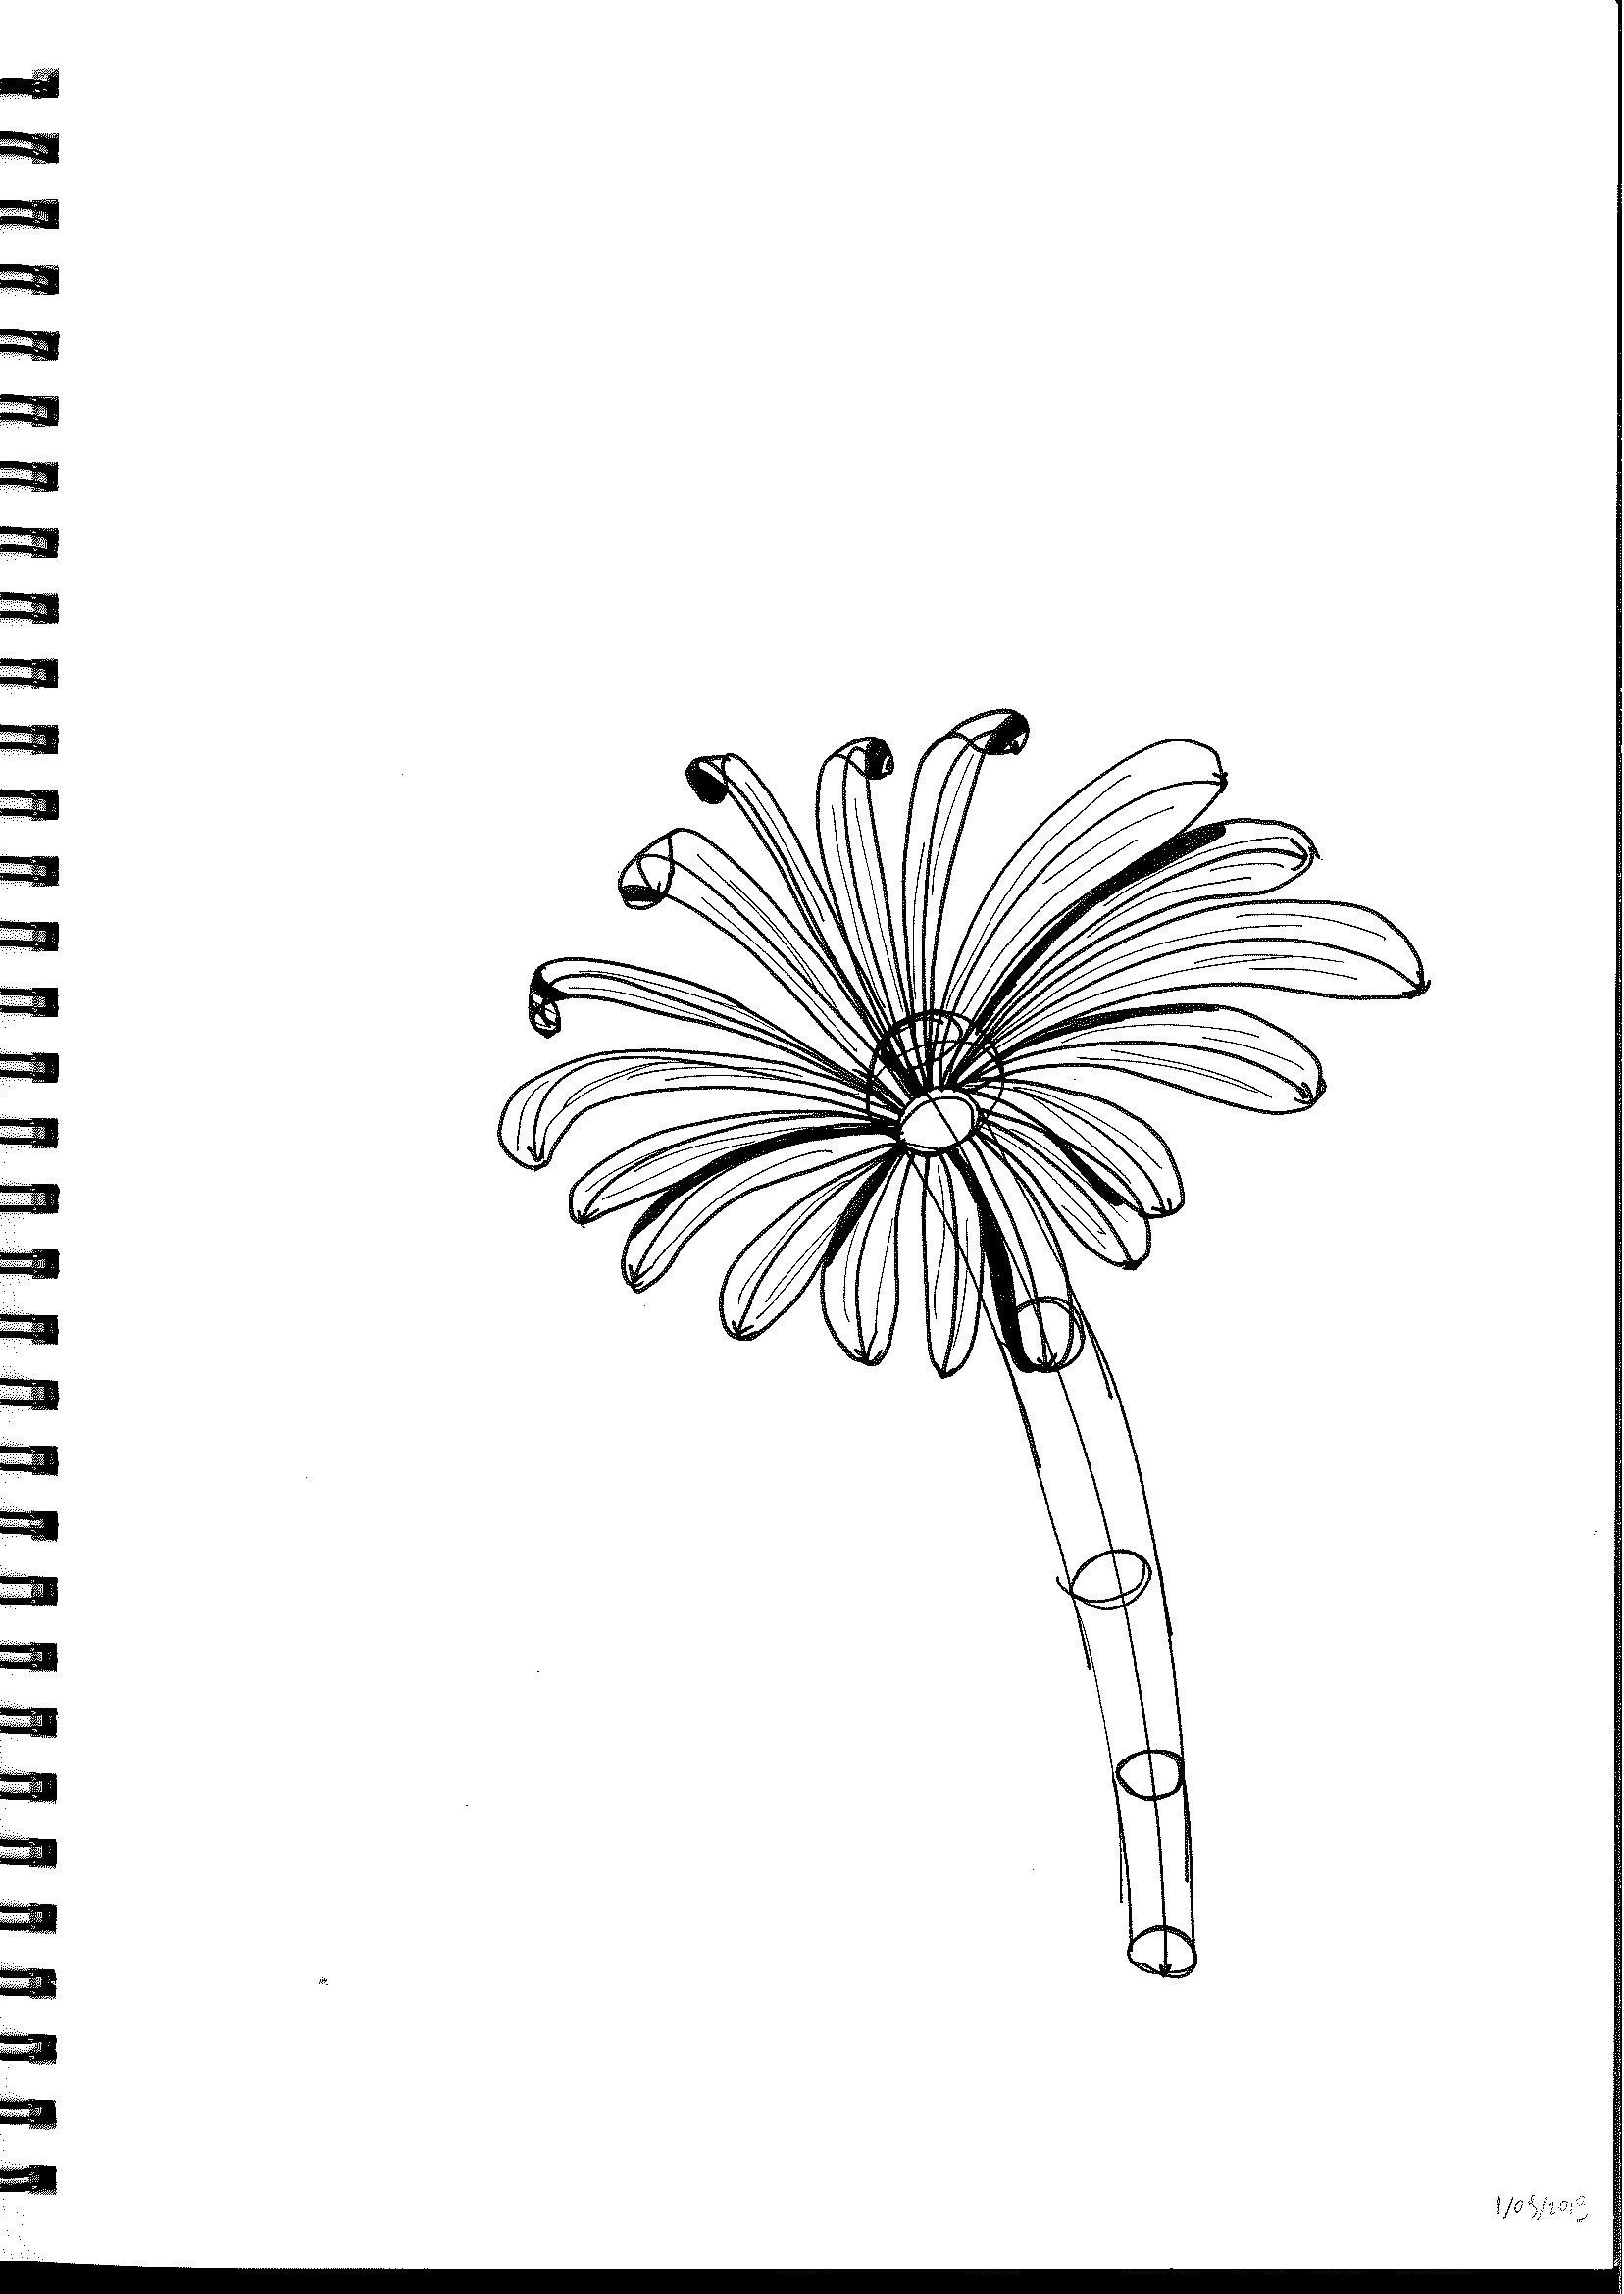
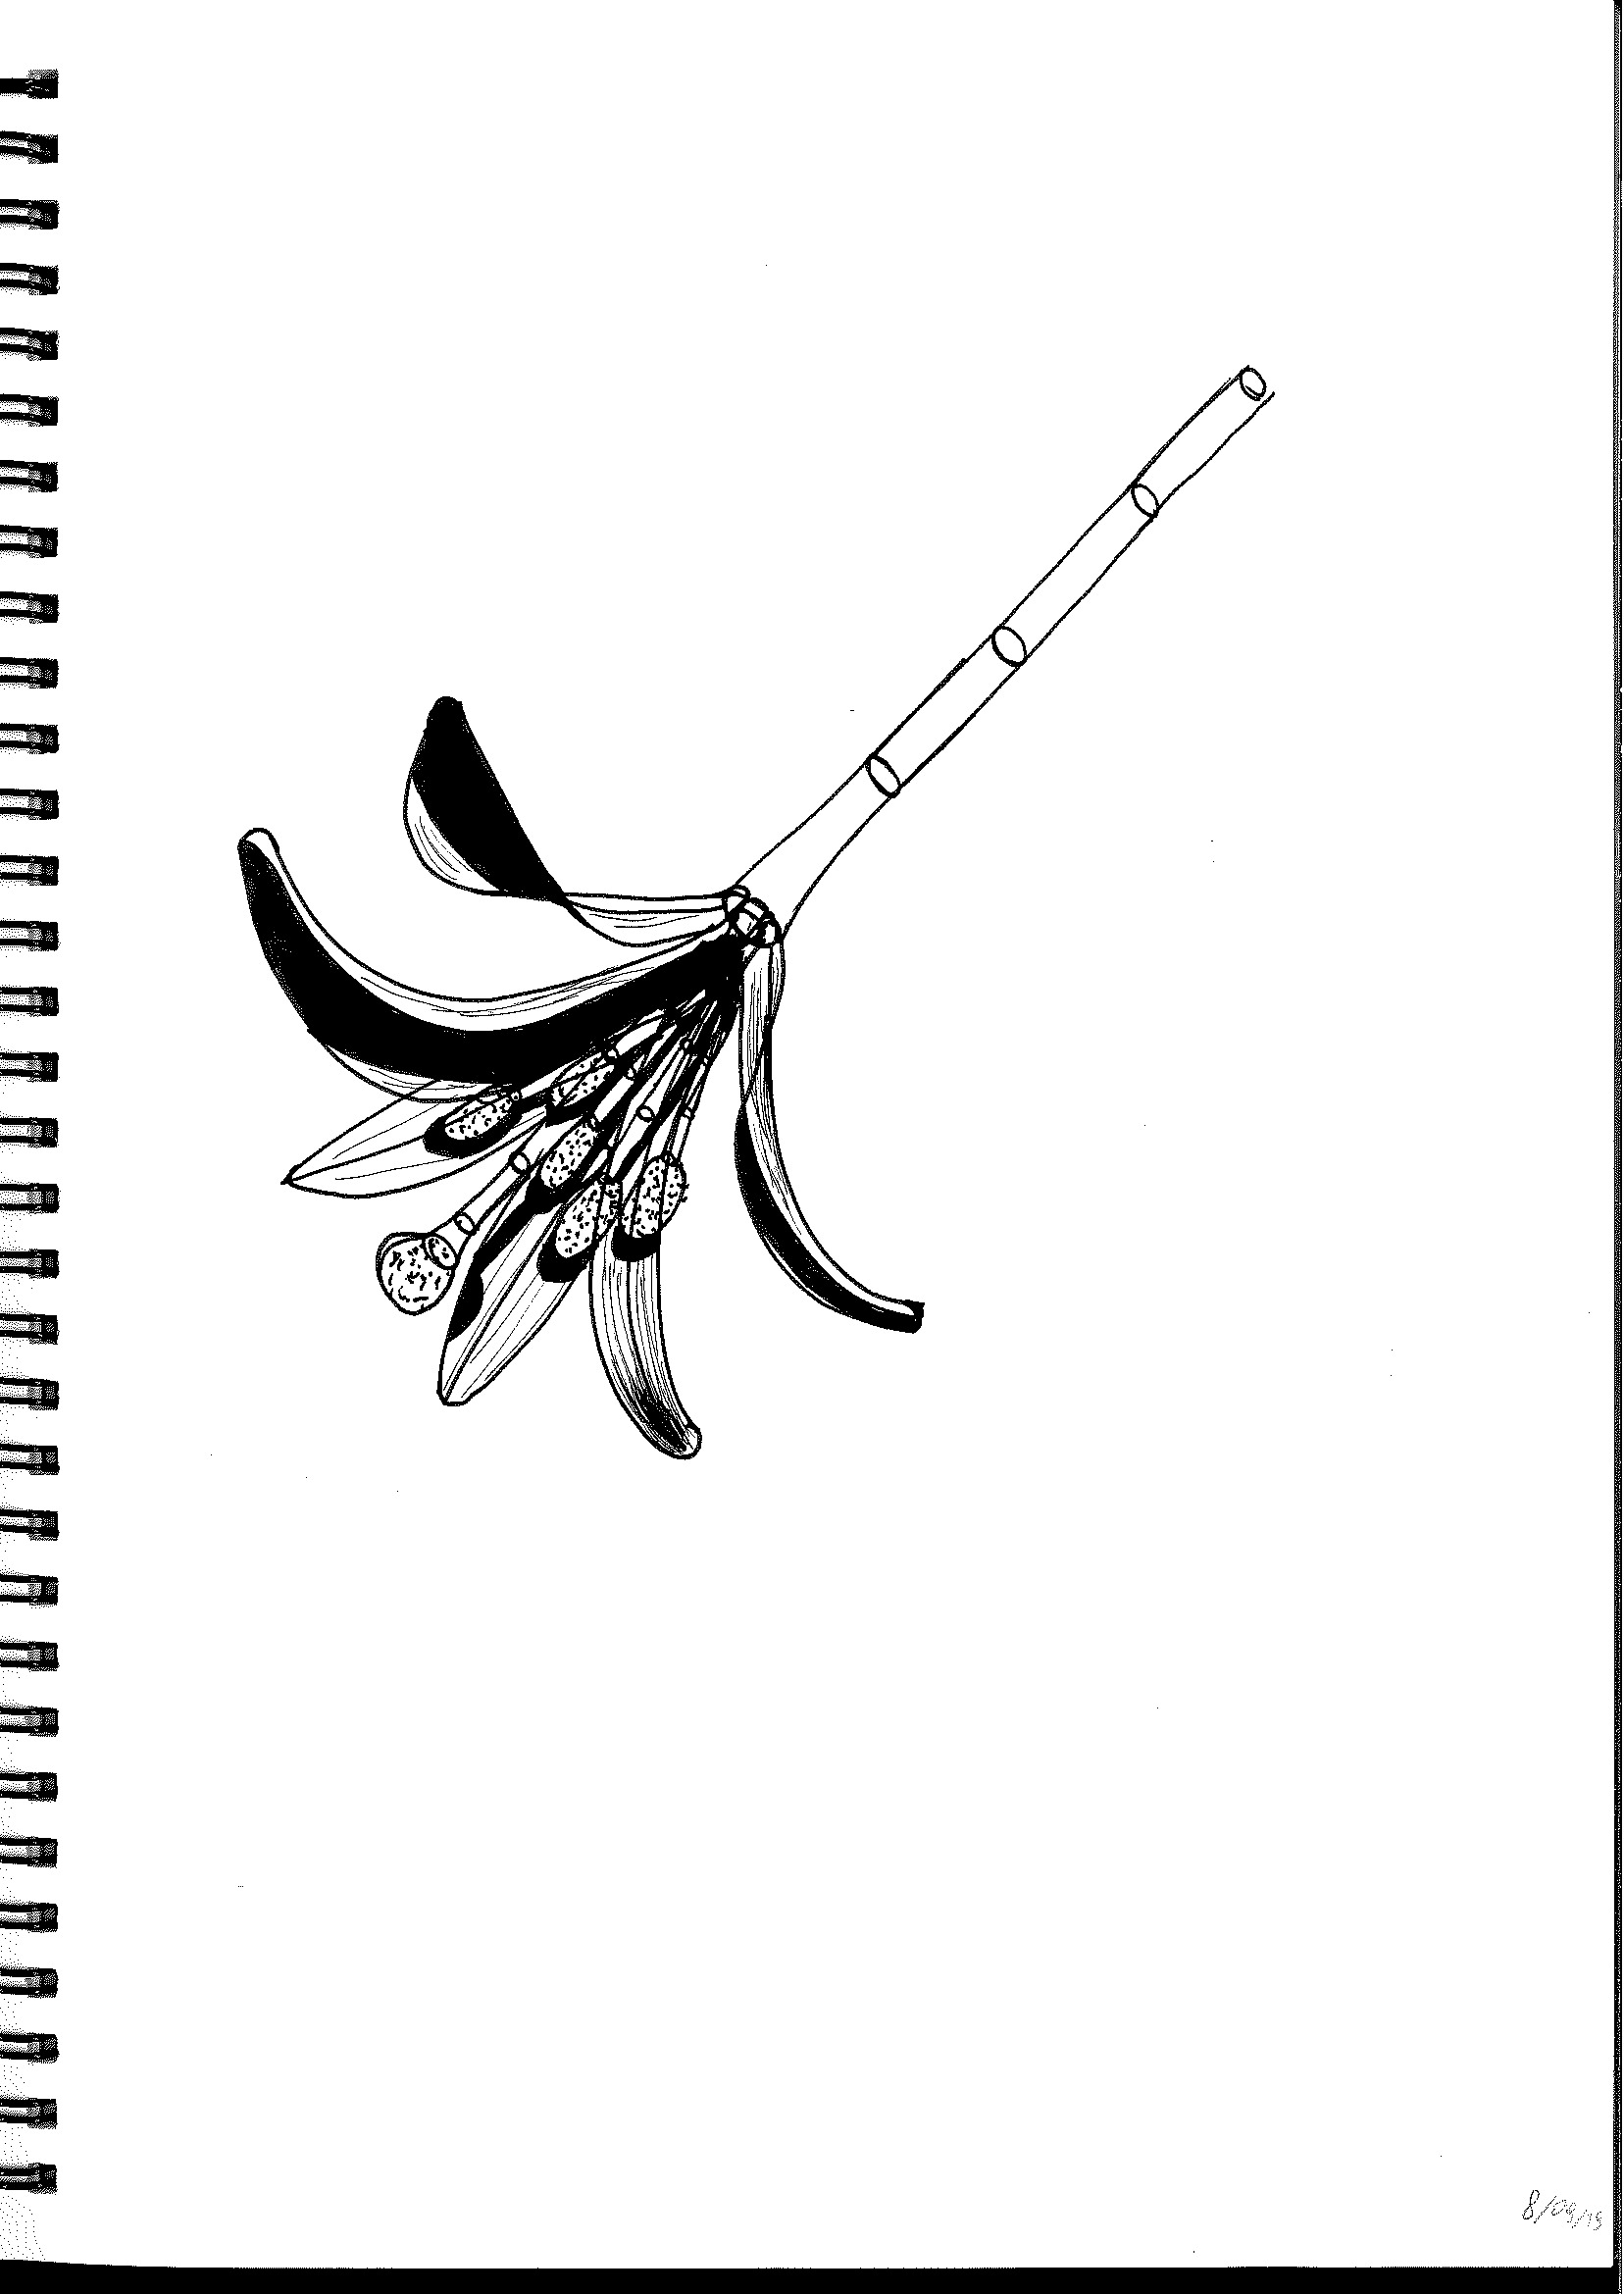
Lesson 3: Applying Construction to Plants
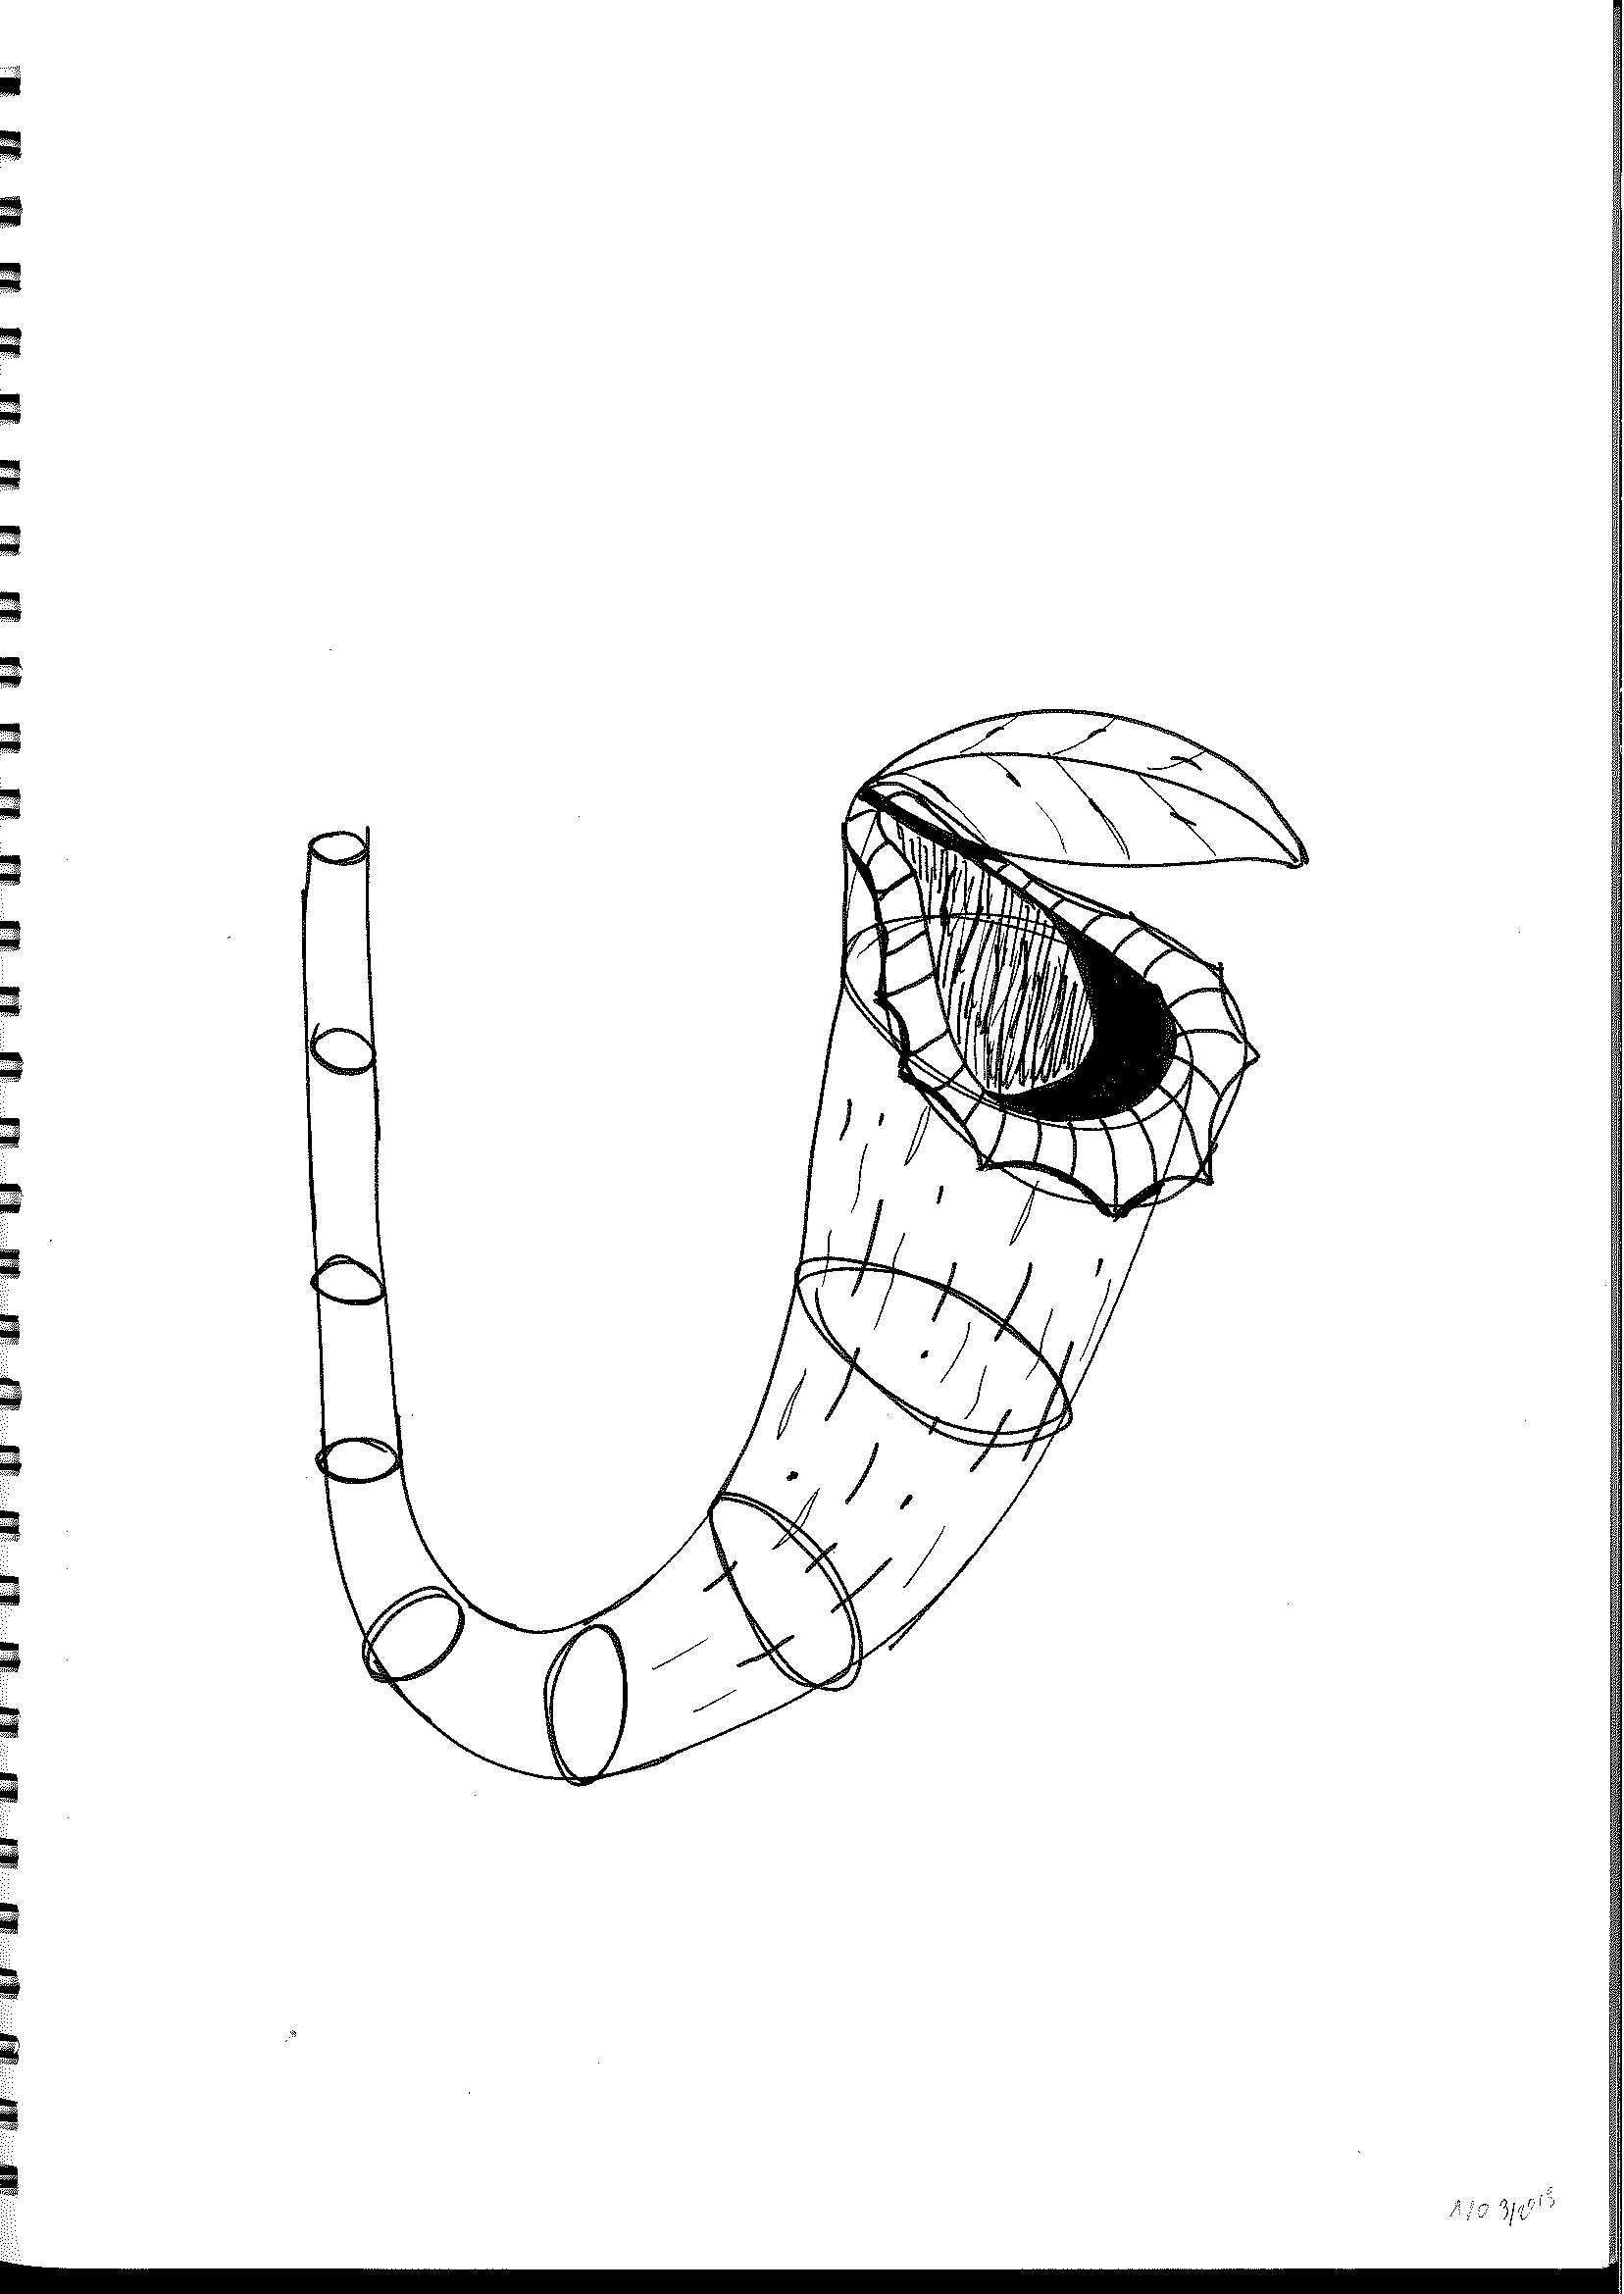
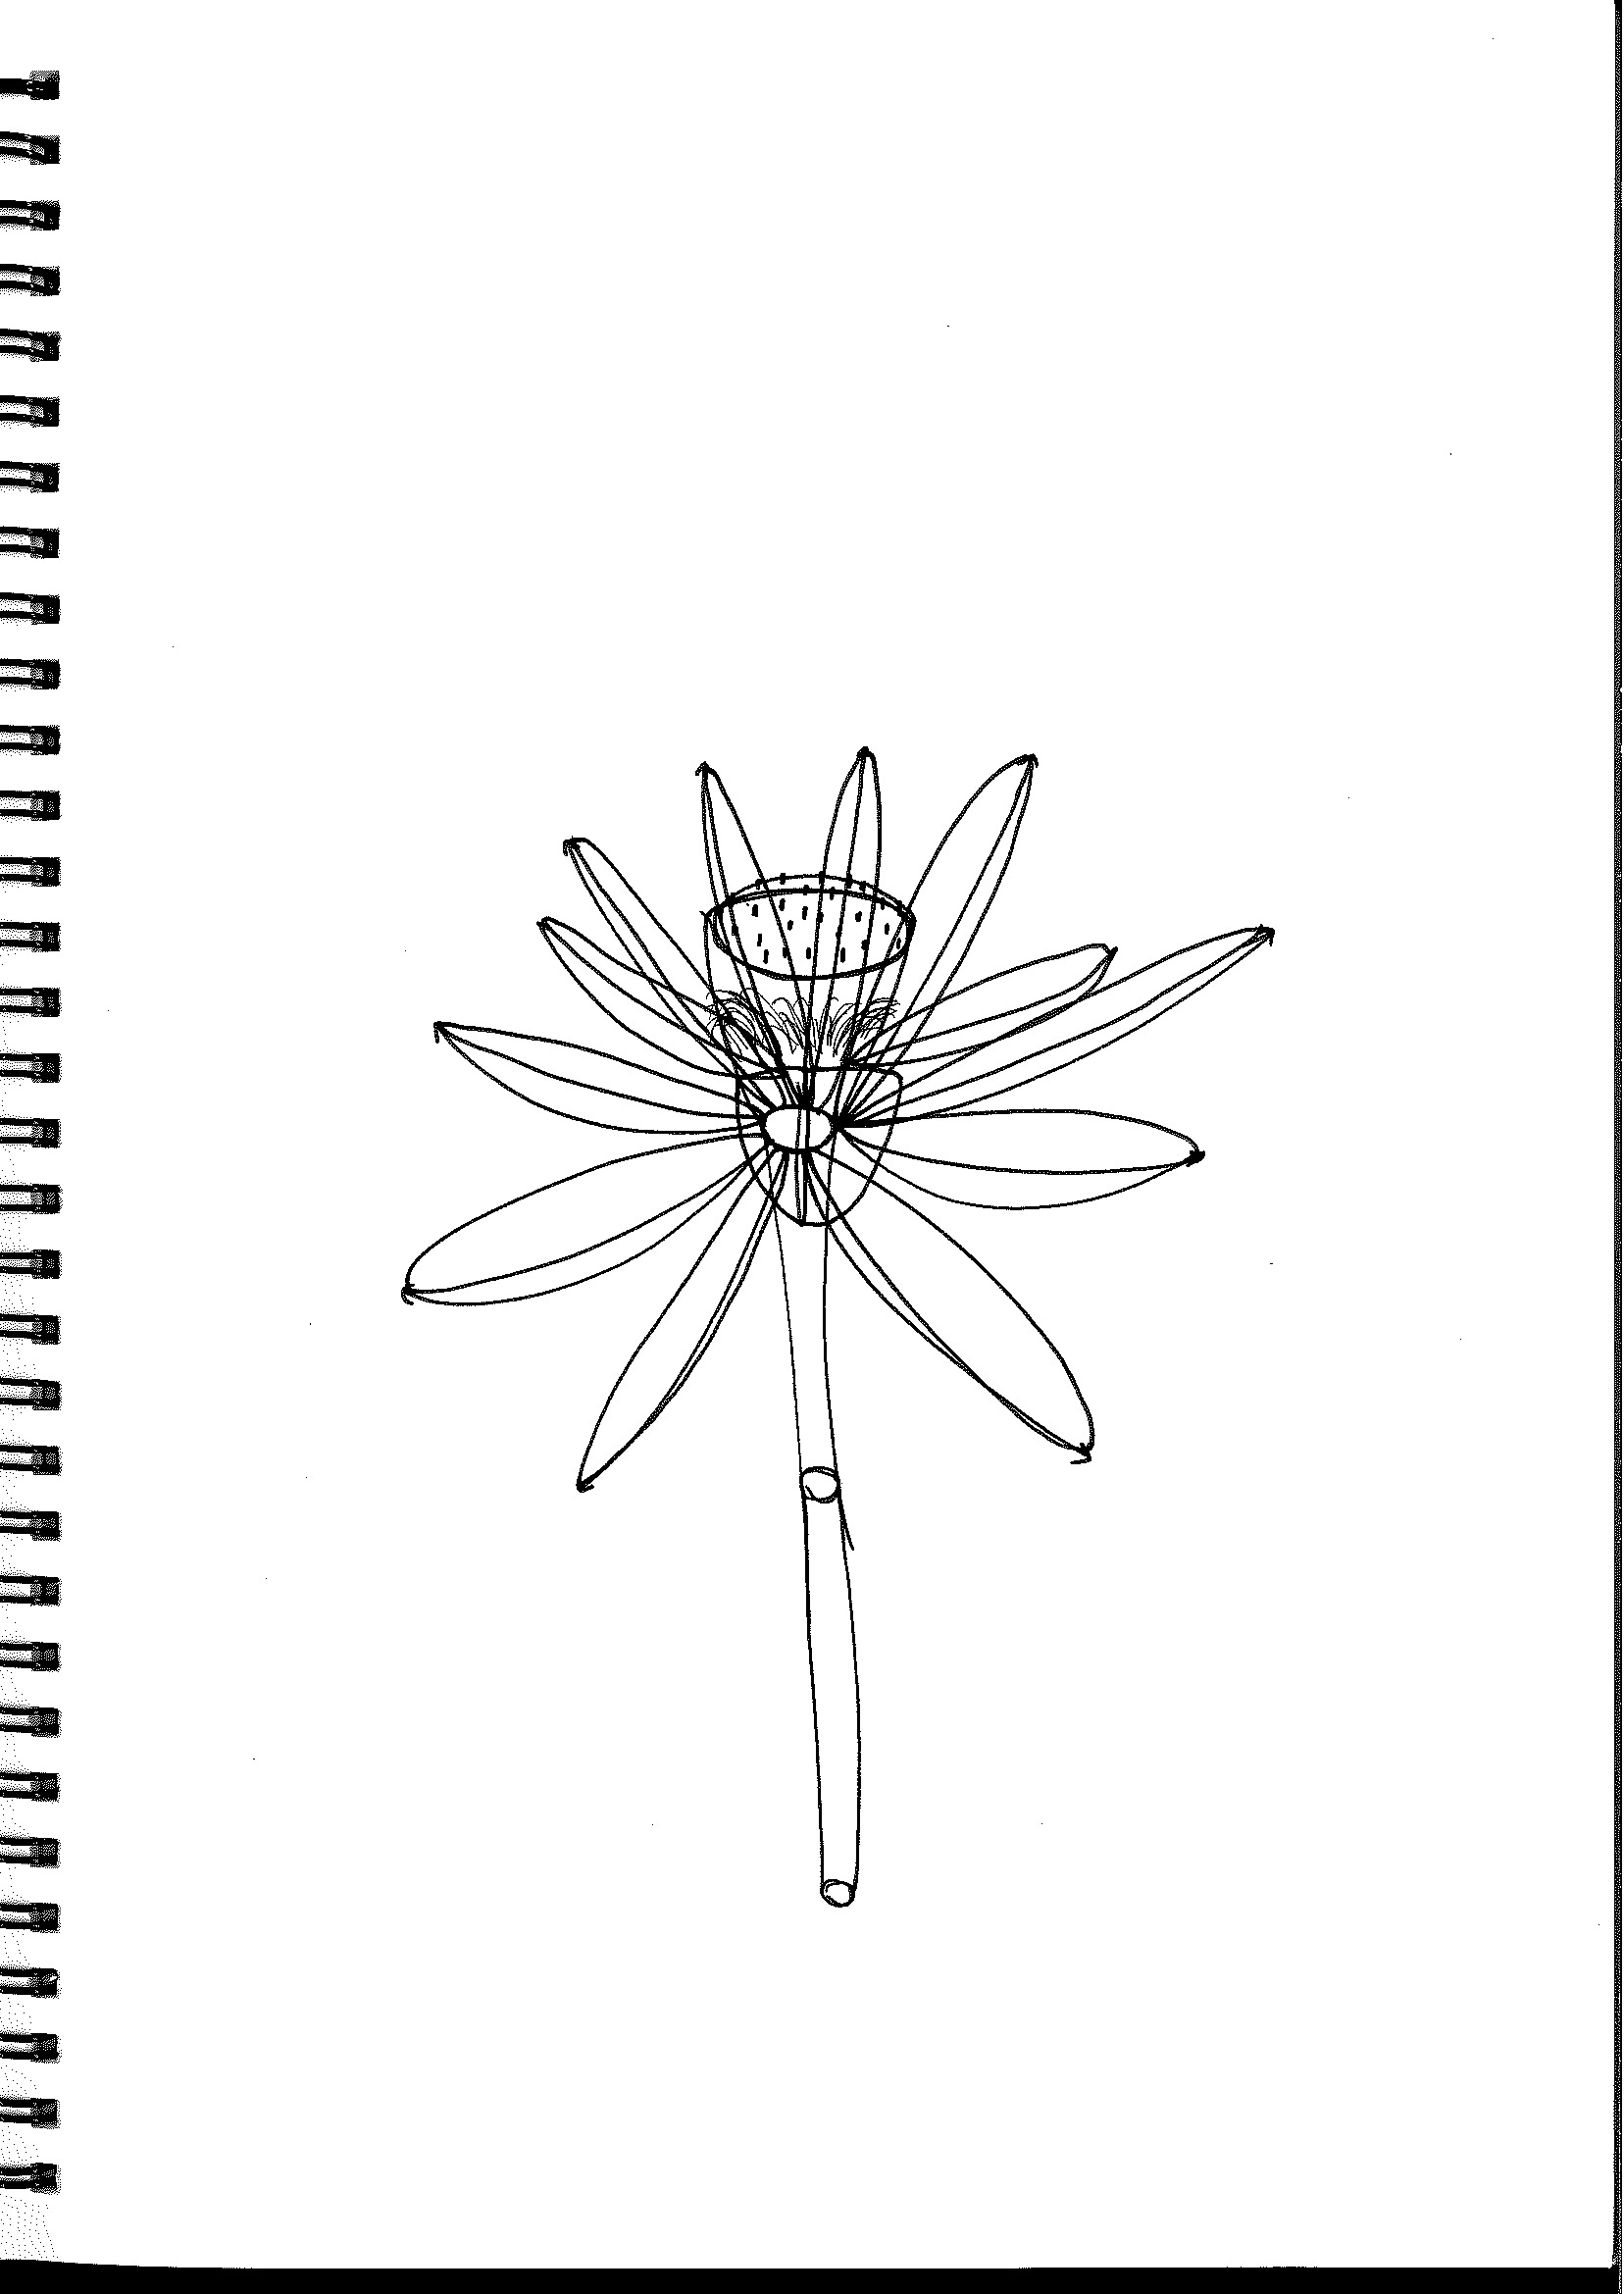
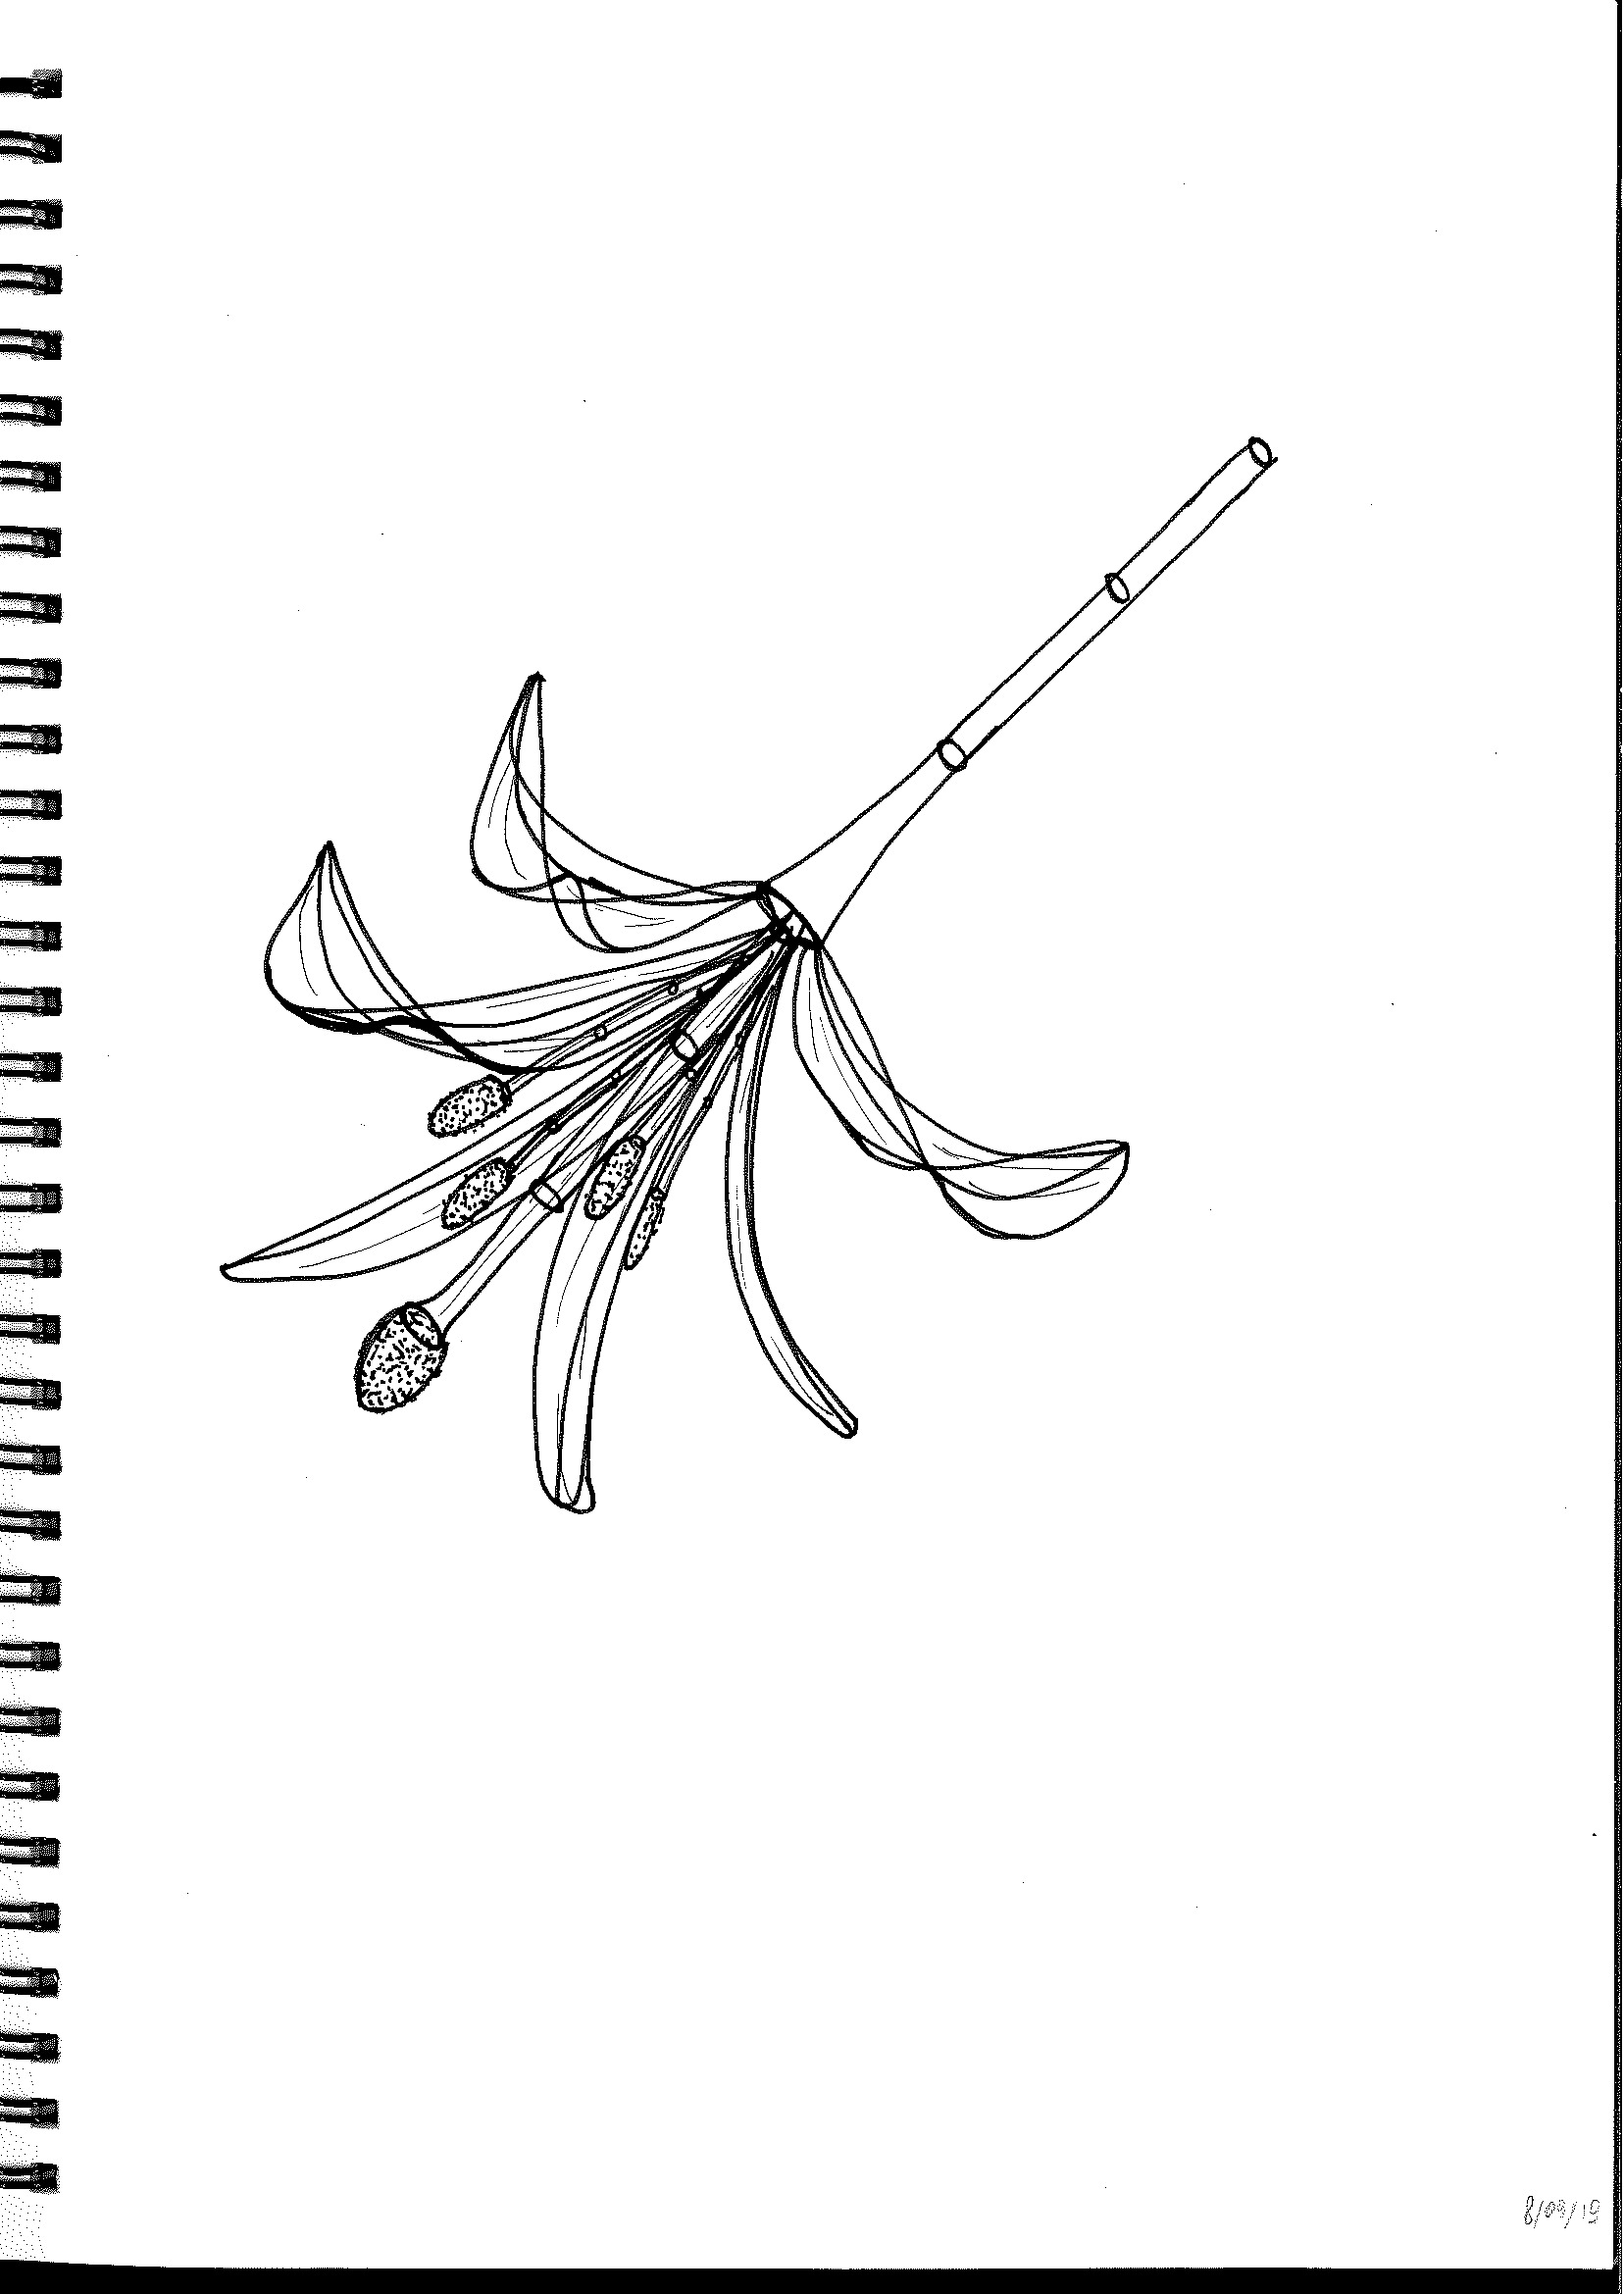
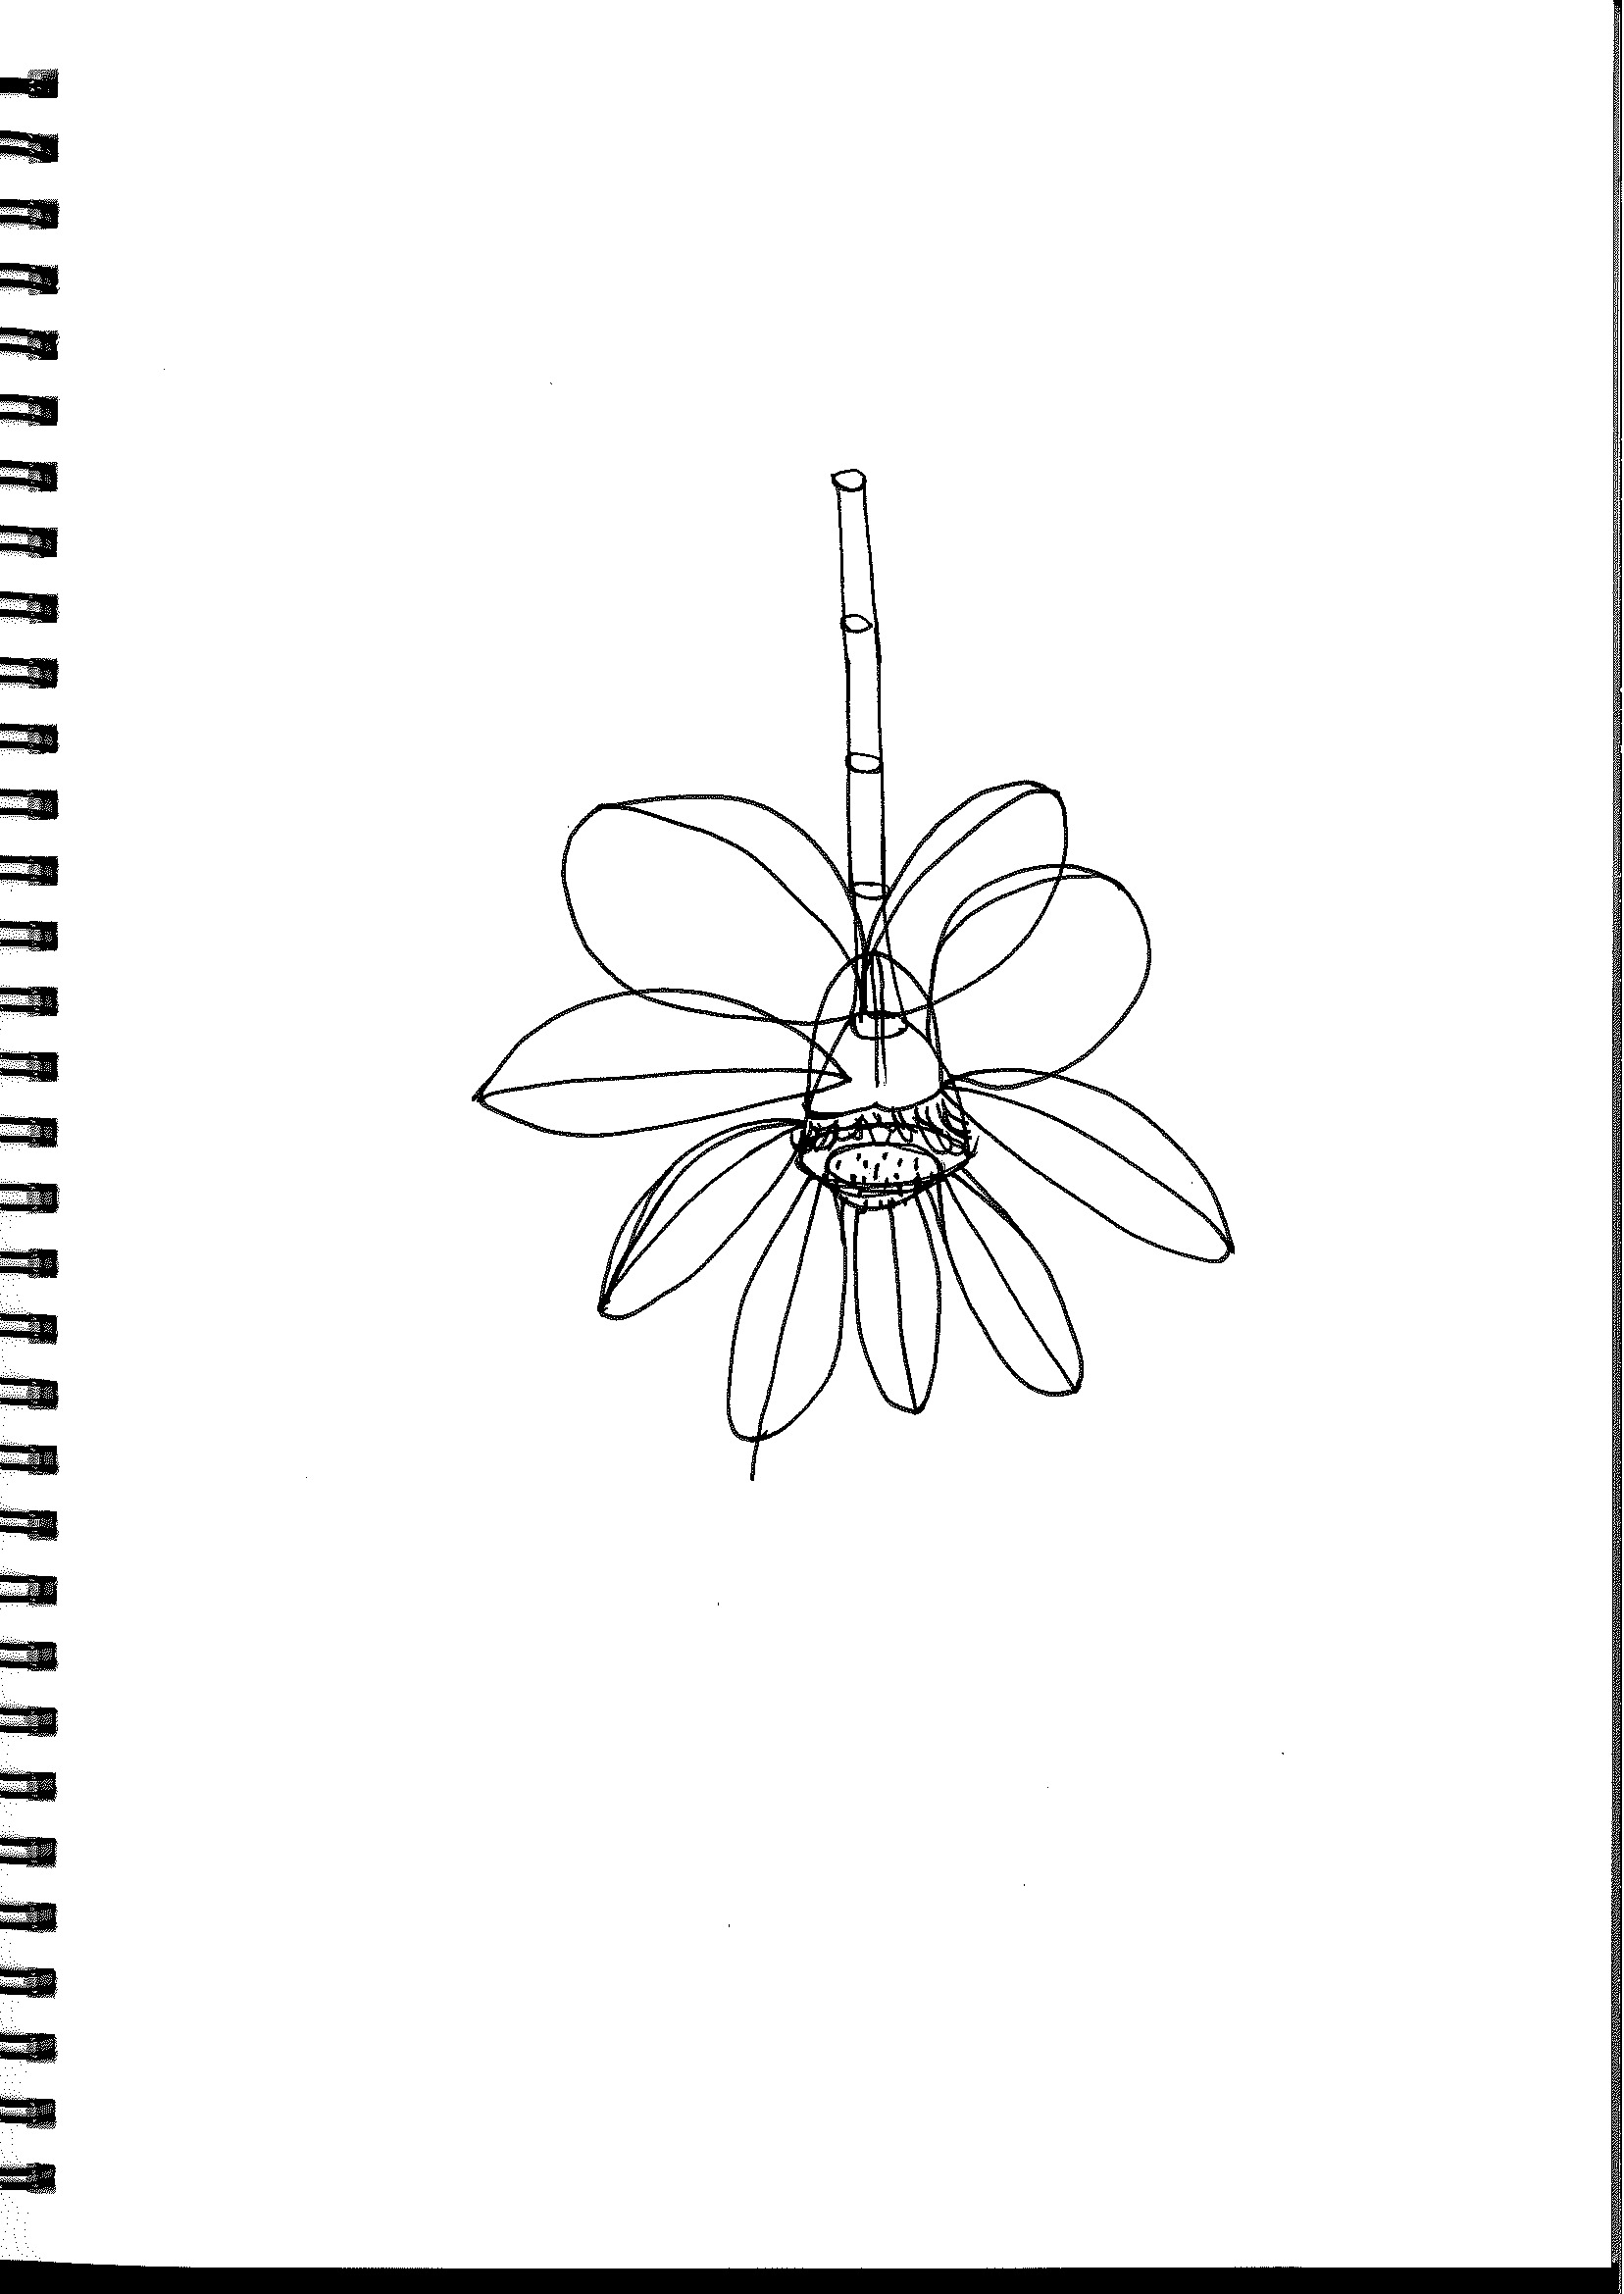
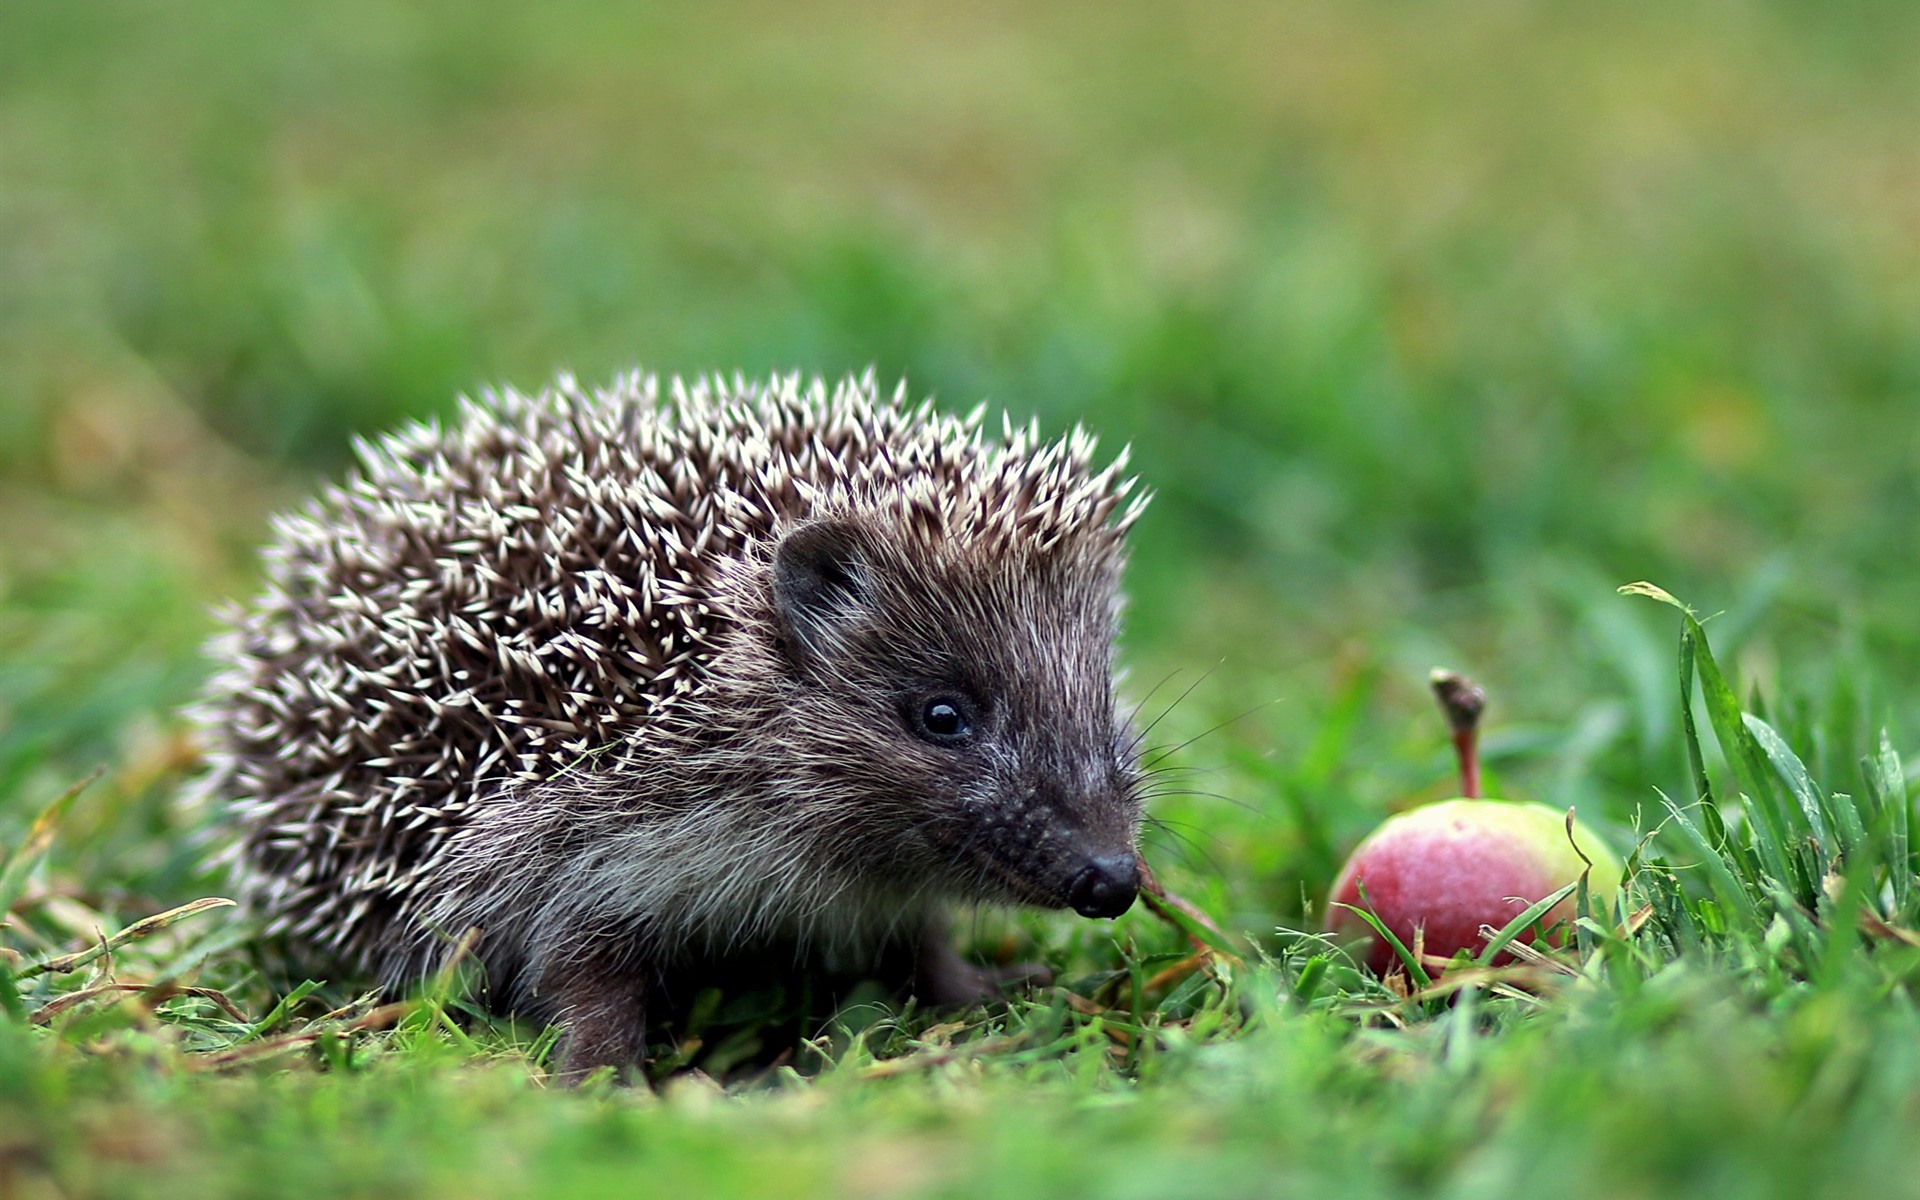
Lesson 3 starts the second part of the course, where the students apply the learned concepts to different types of things. In all of them, it is encouraged to draw from reference, to concentrate on construction as opposed to imagining the object itself.
This lesson’s topic is plants, which are a nice start, as most of the parts here (namely petals) are still 2D, so the perspective is not as hard.
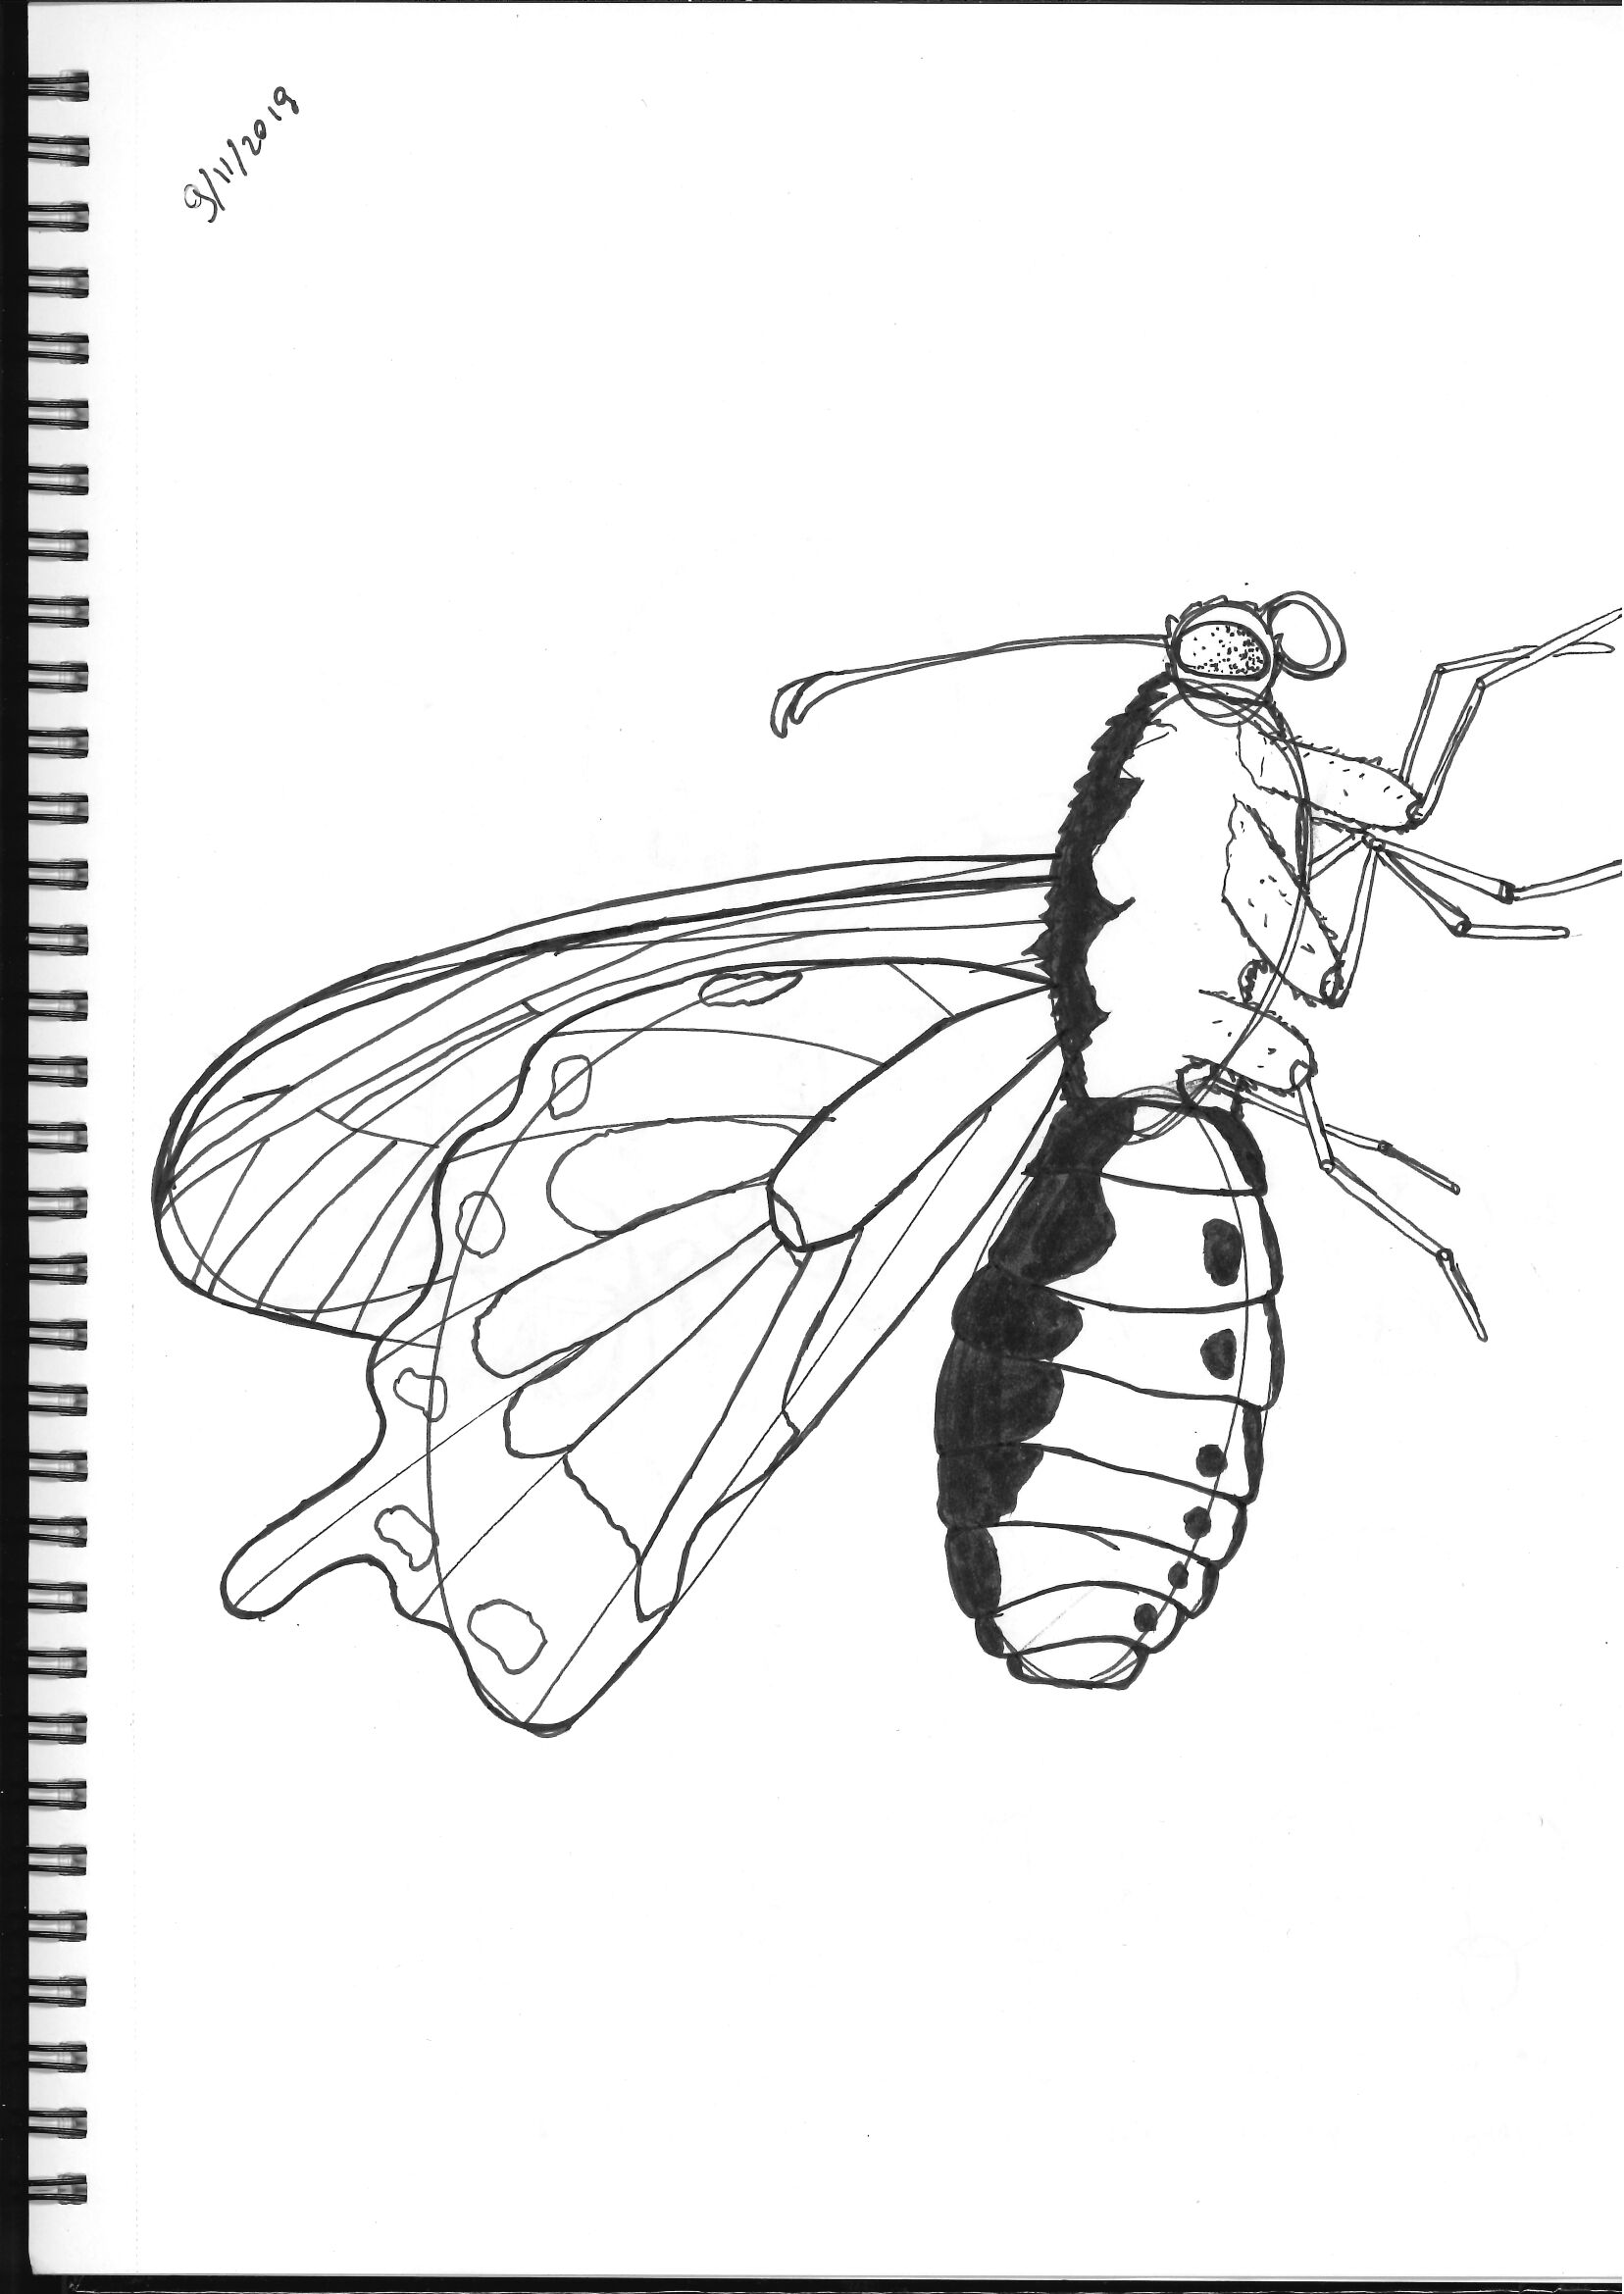
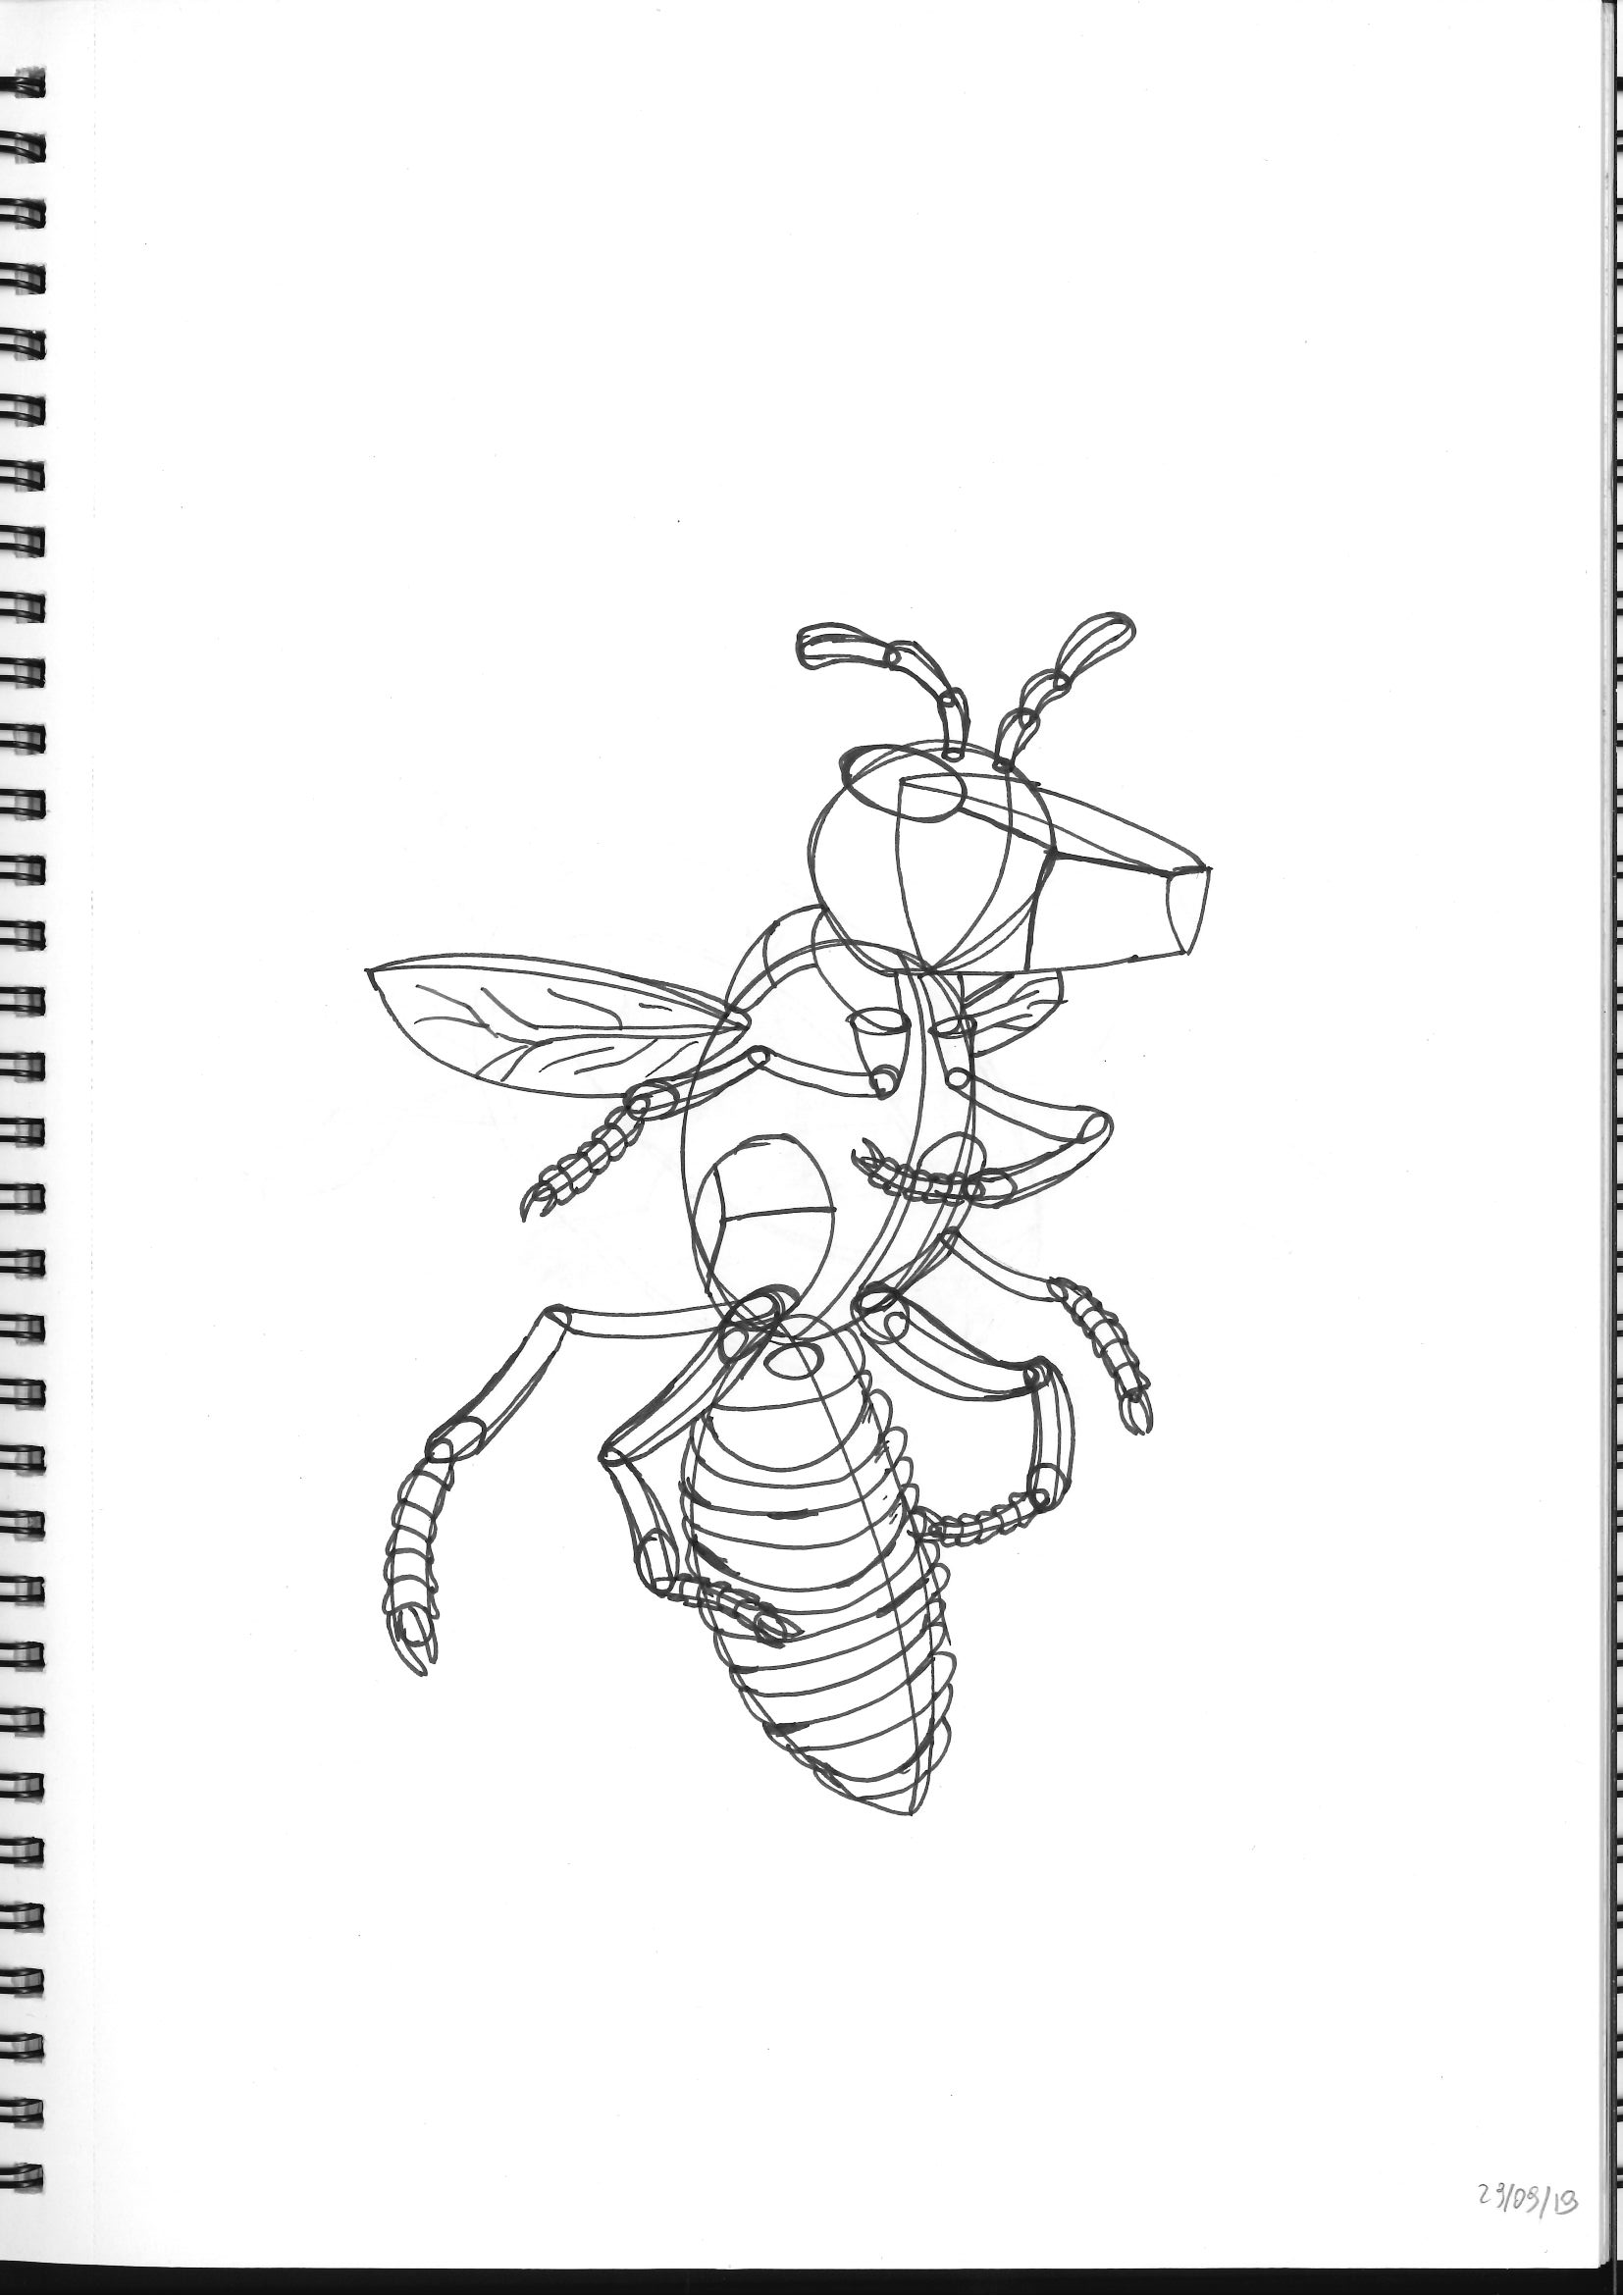
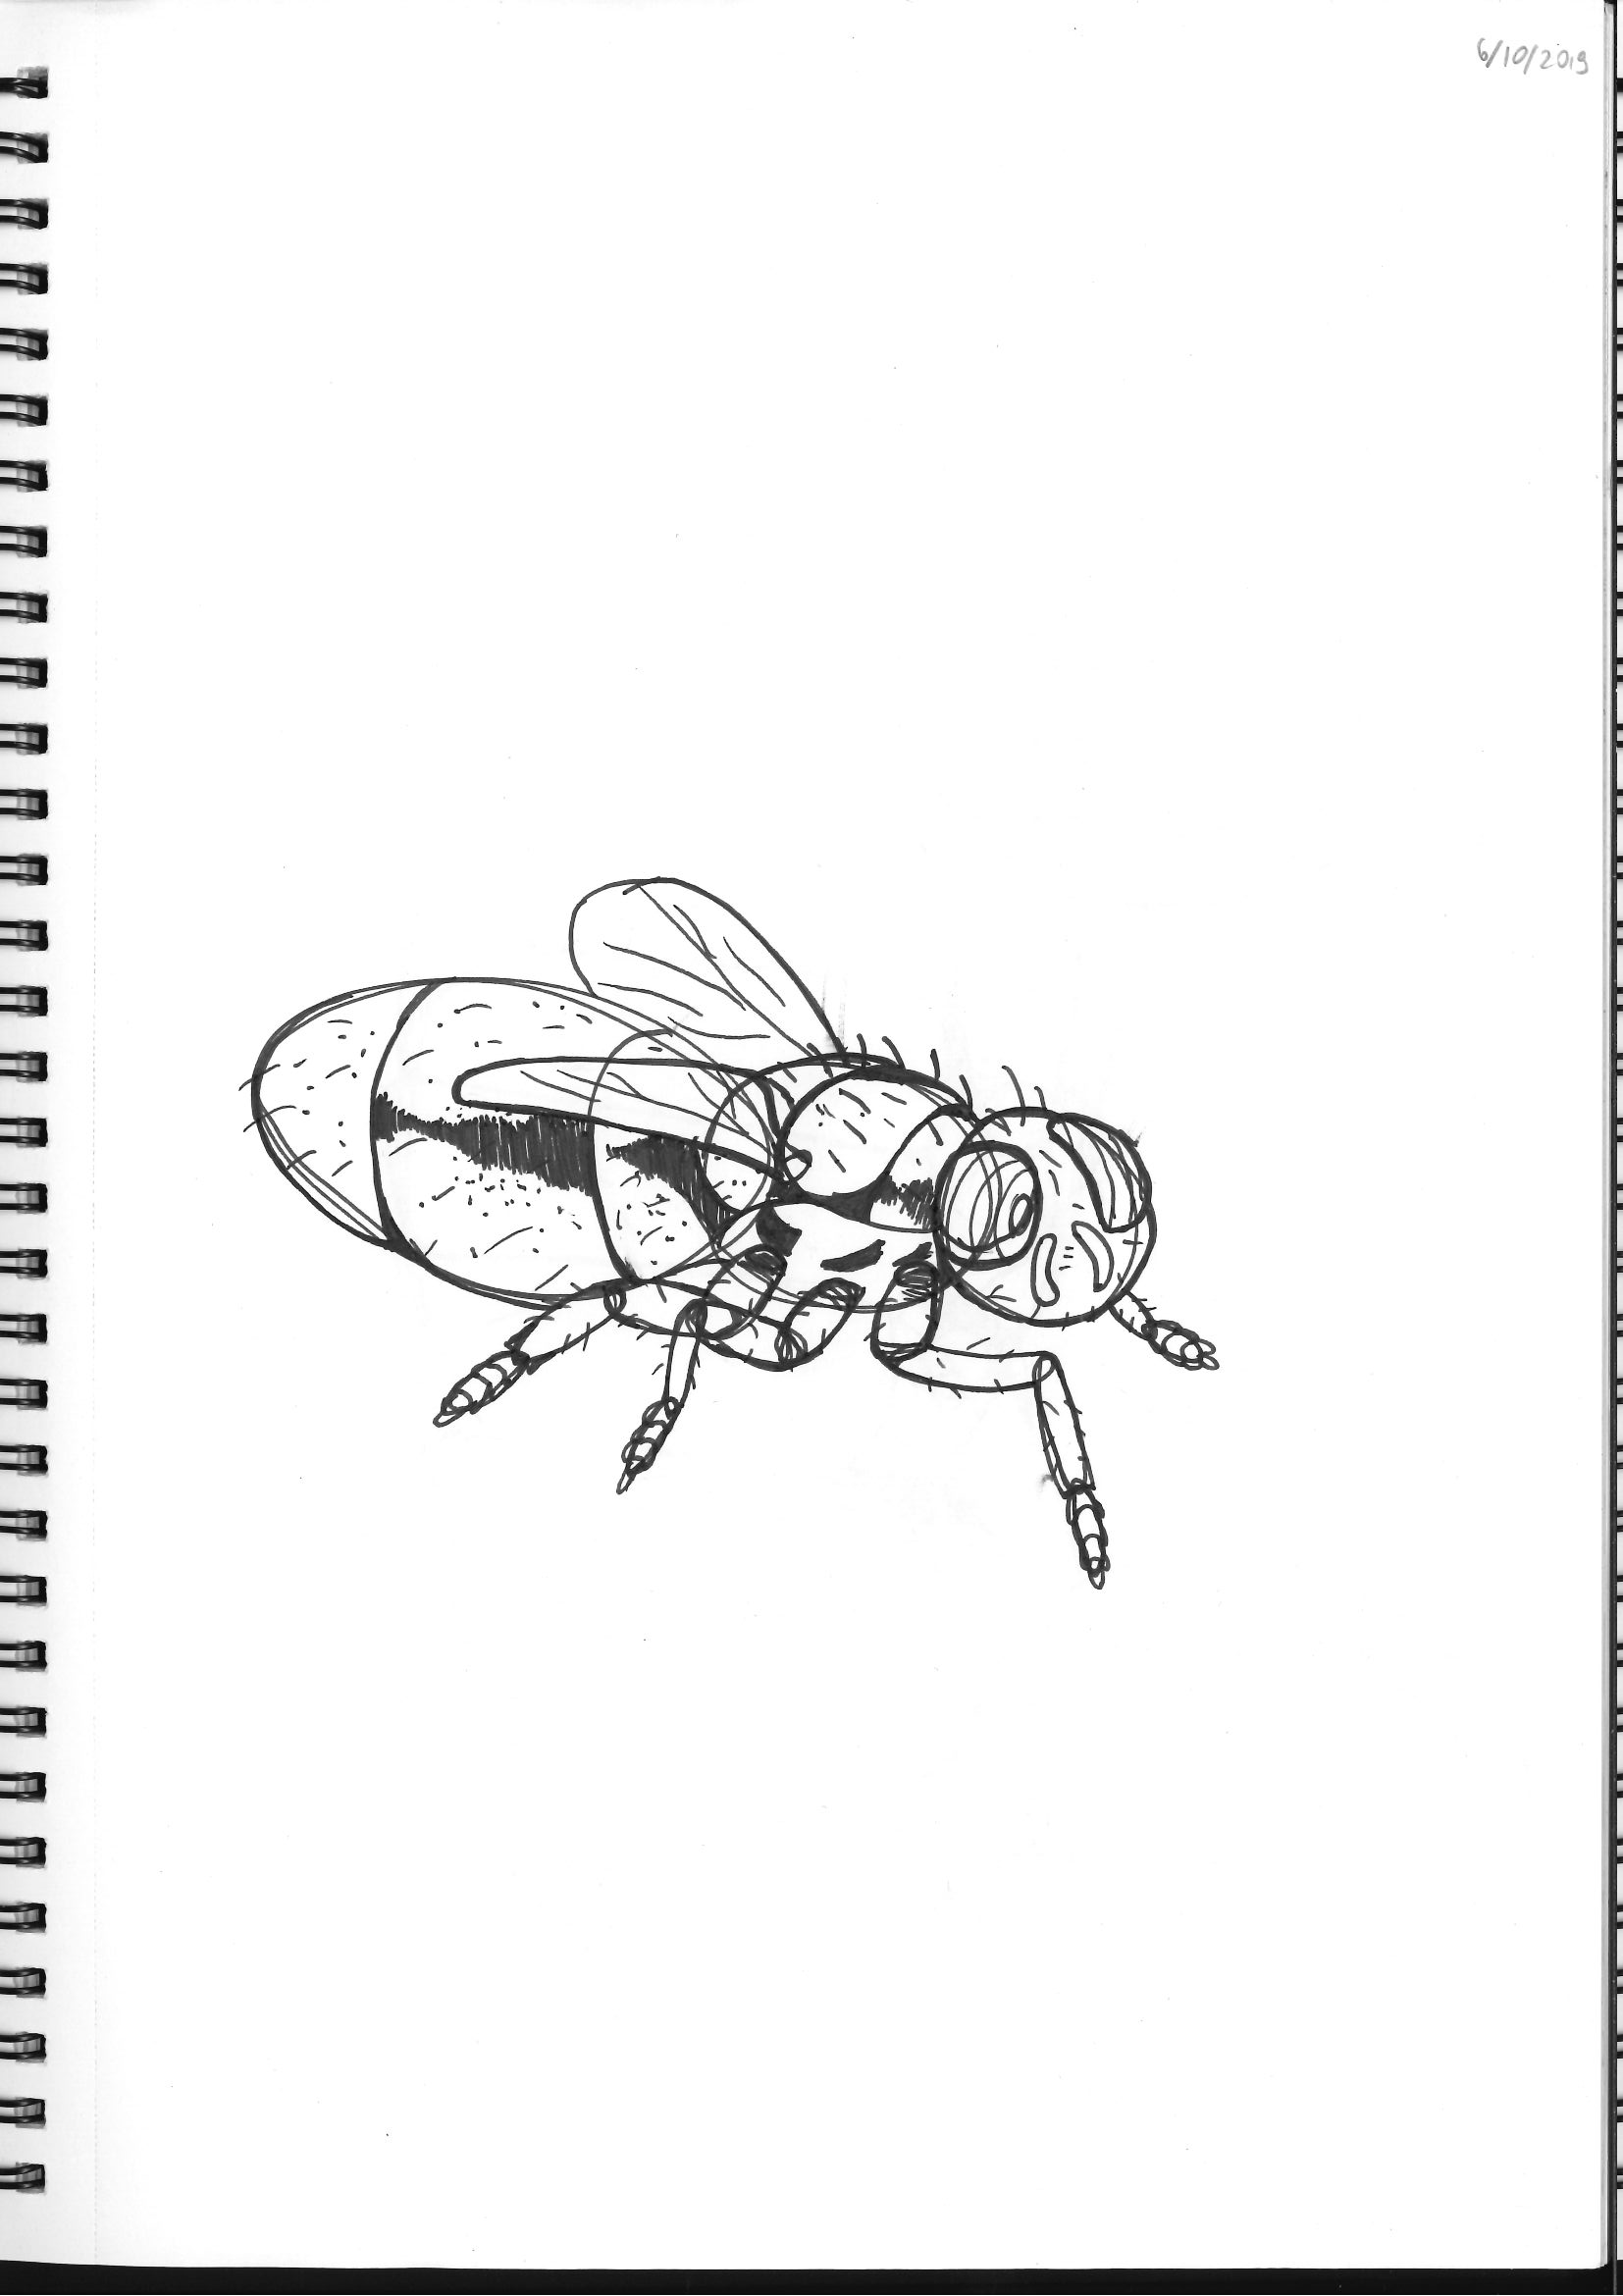
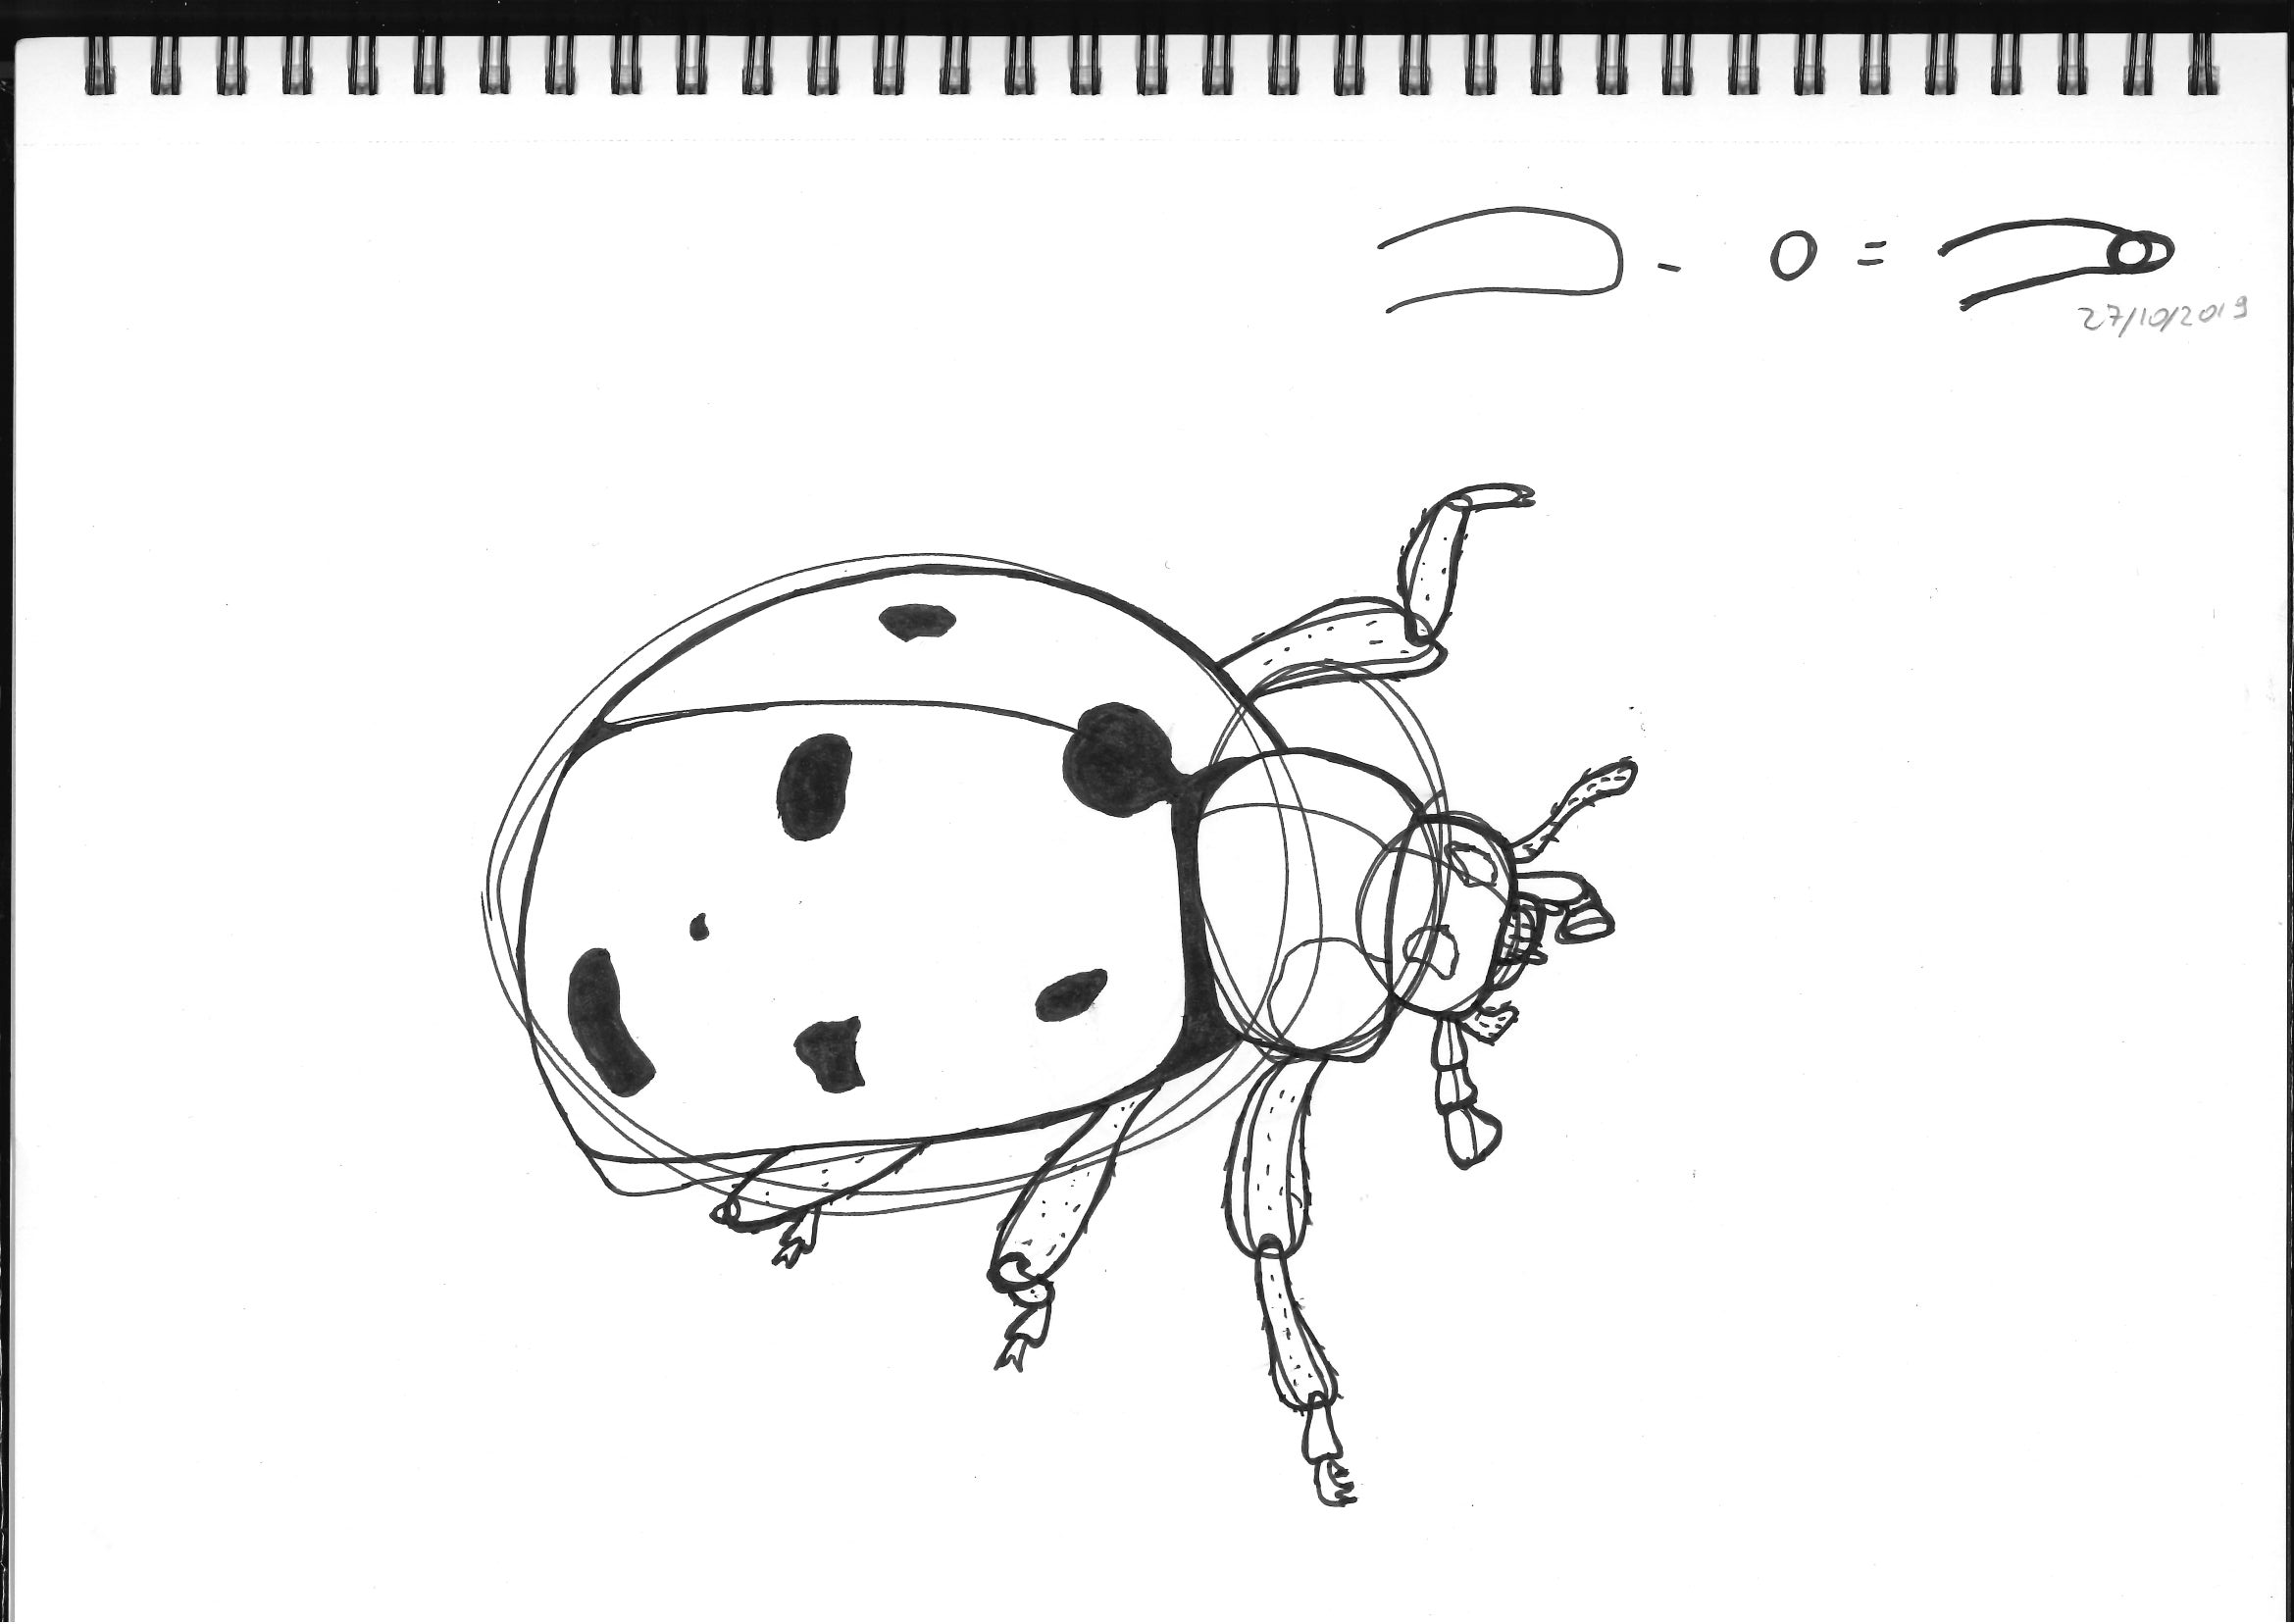
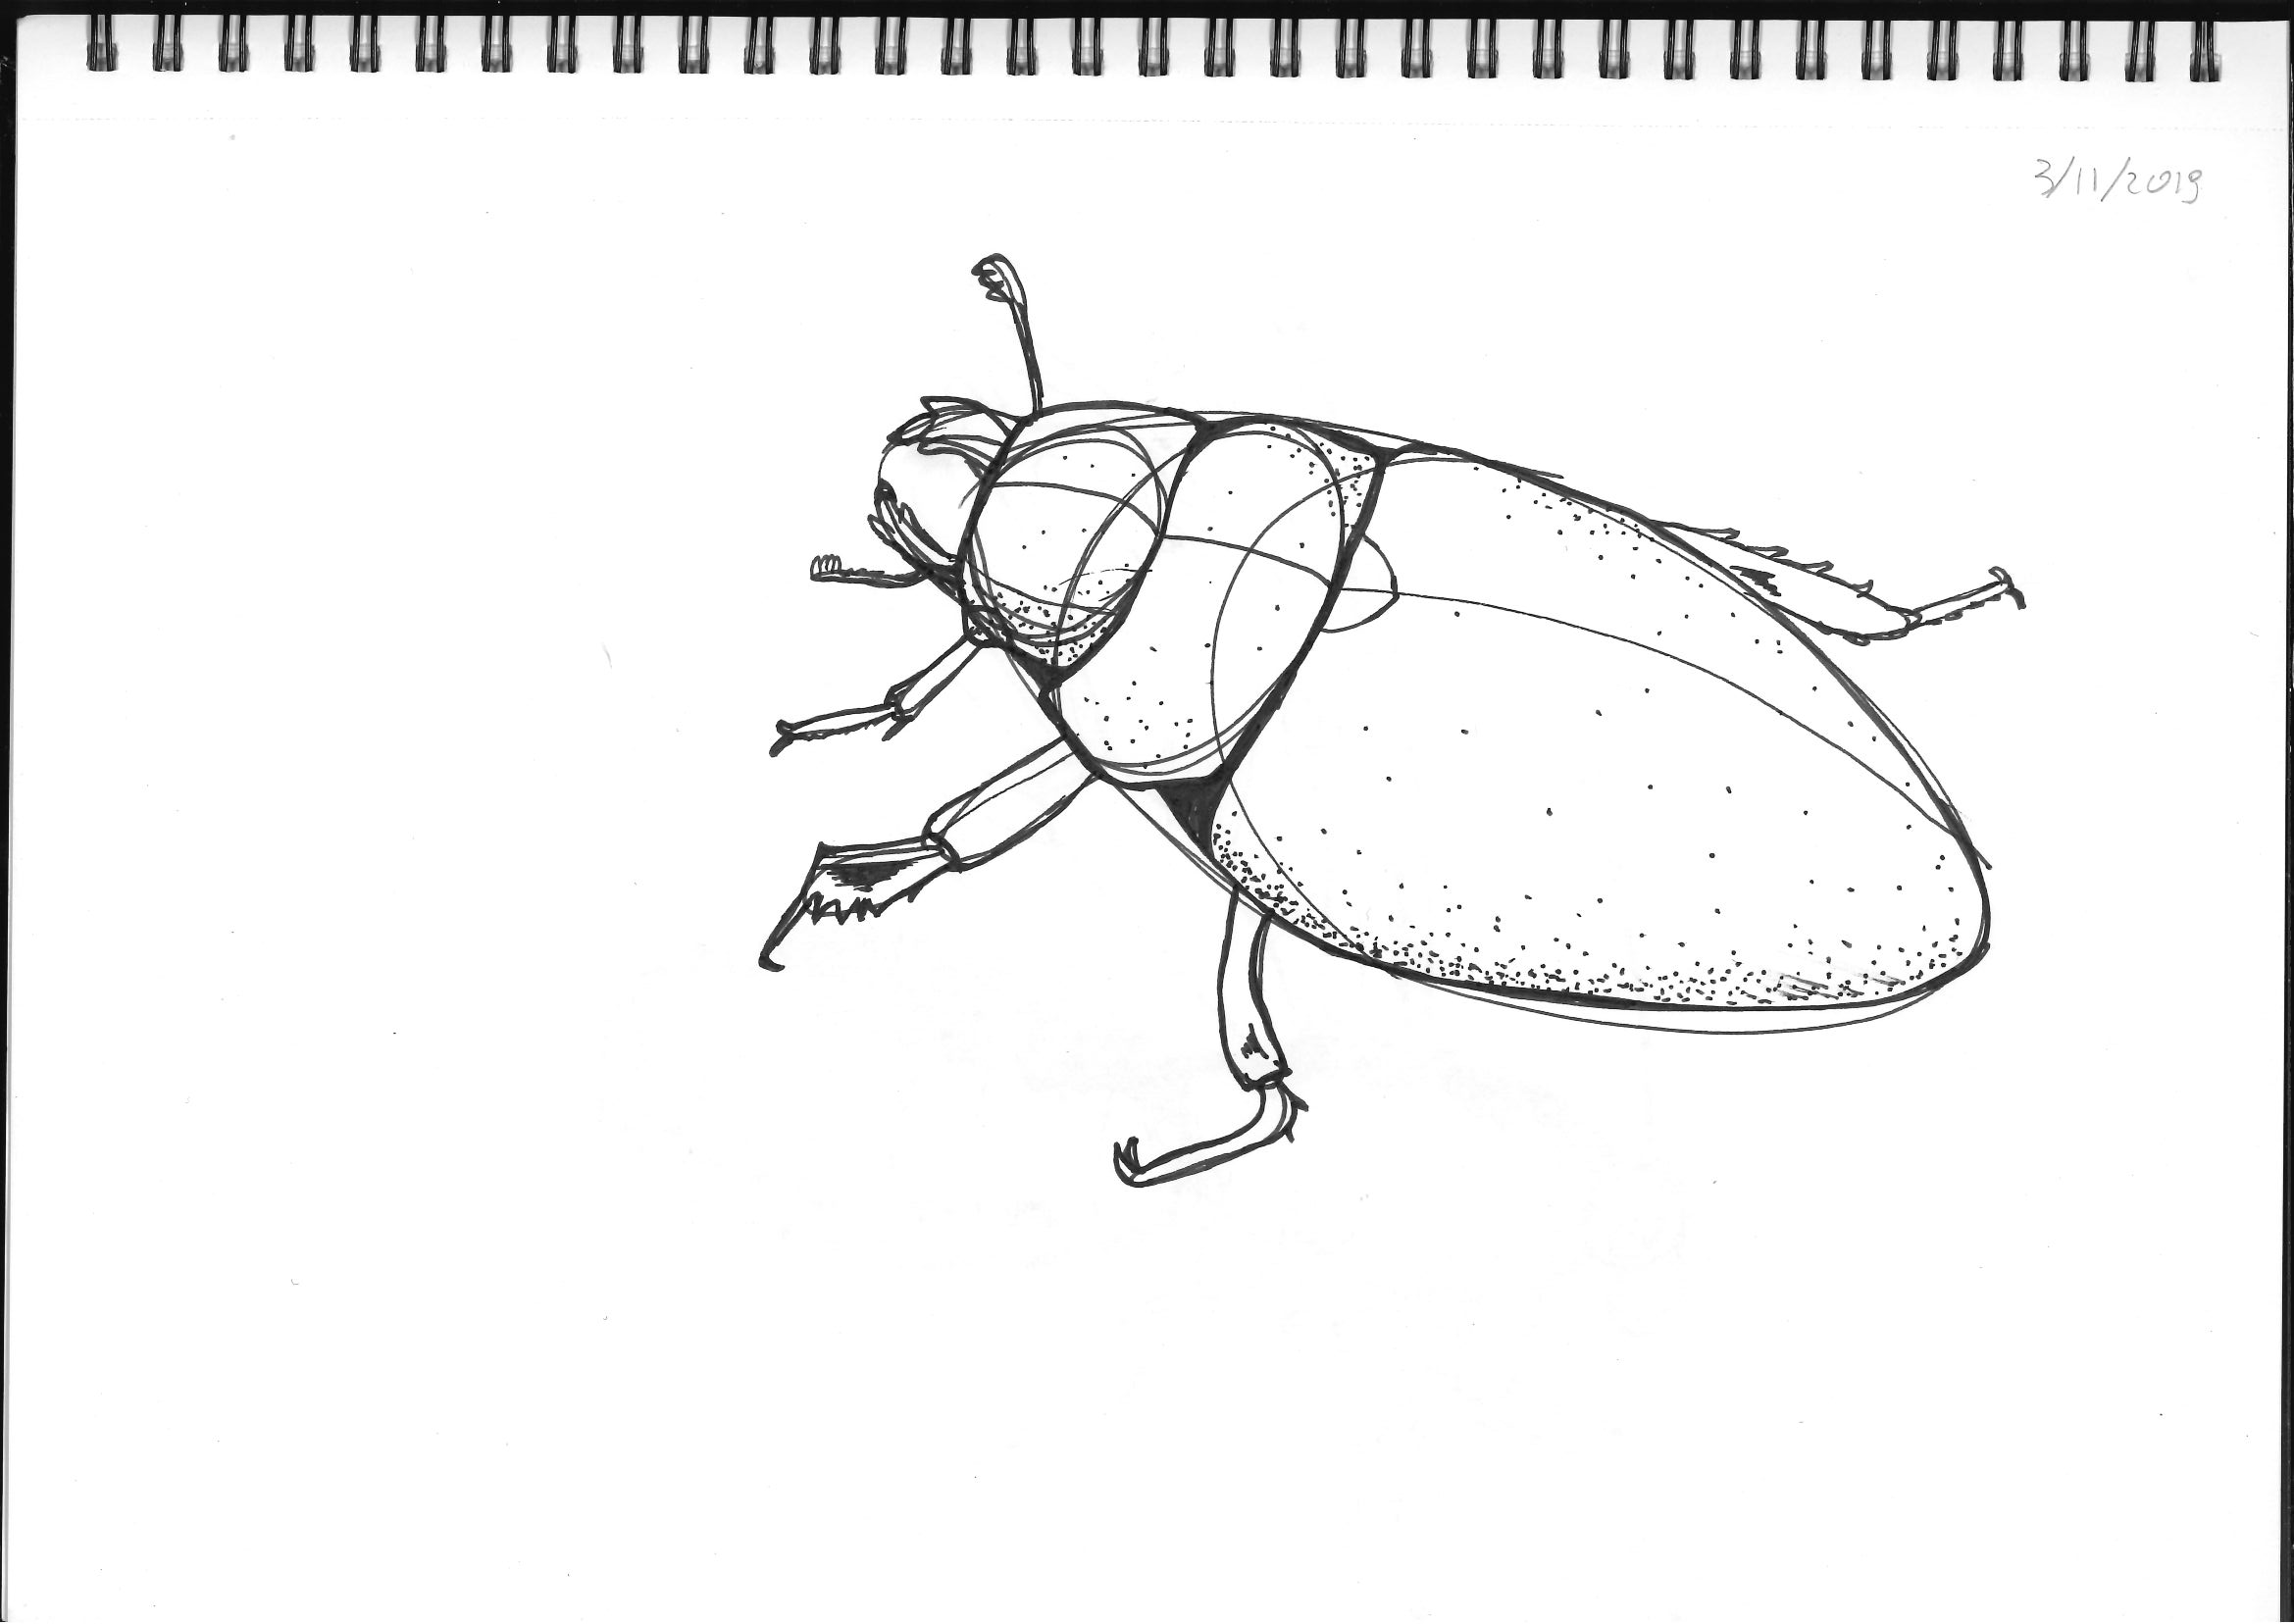
Lesson 4: Applying Construction to Insects and Arachnids
The next lesson is about insects. One observation I made here is that I tended to draw small pictures which made the line too thick (as it is fixed to 0.5mm with the fineliner).
Apart from trying to make bigger pictures (which made them nicer independently from the thinner lines), I also moved to a 0.4mm fineliner (and 0.1mm one for doing construction lines in lessons 6 & 7).
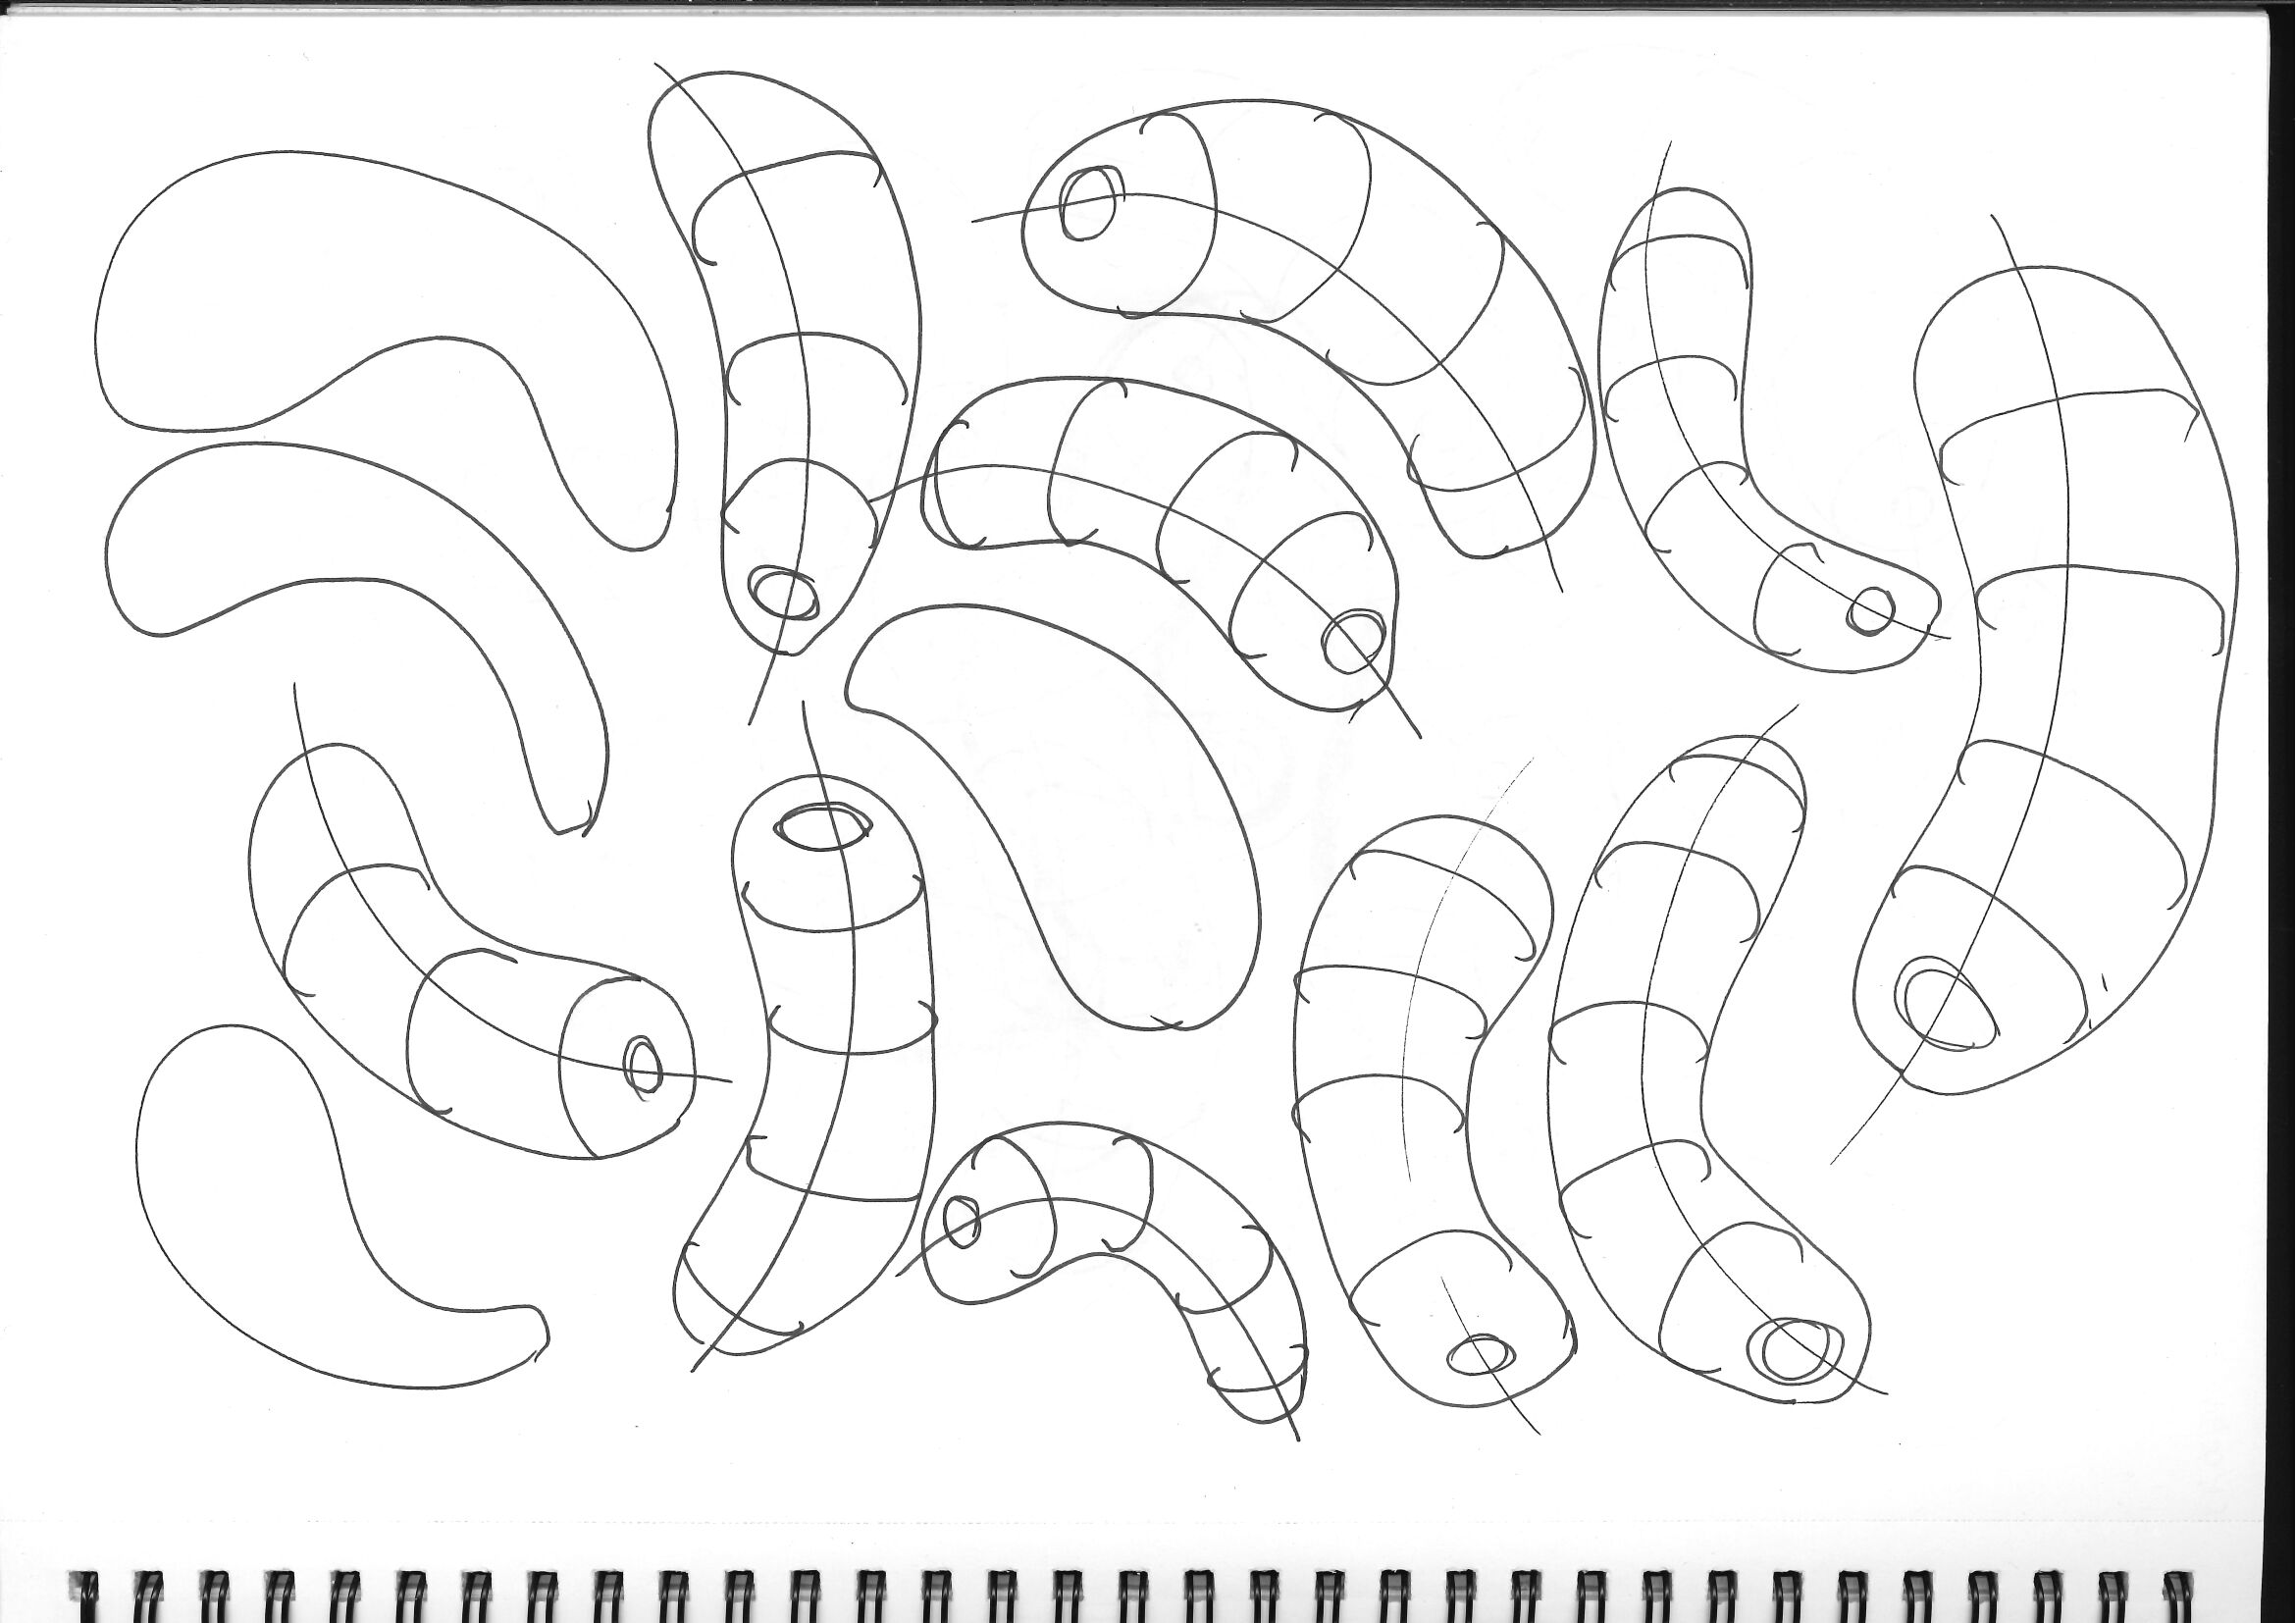
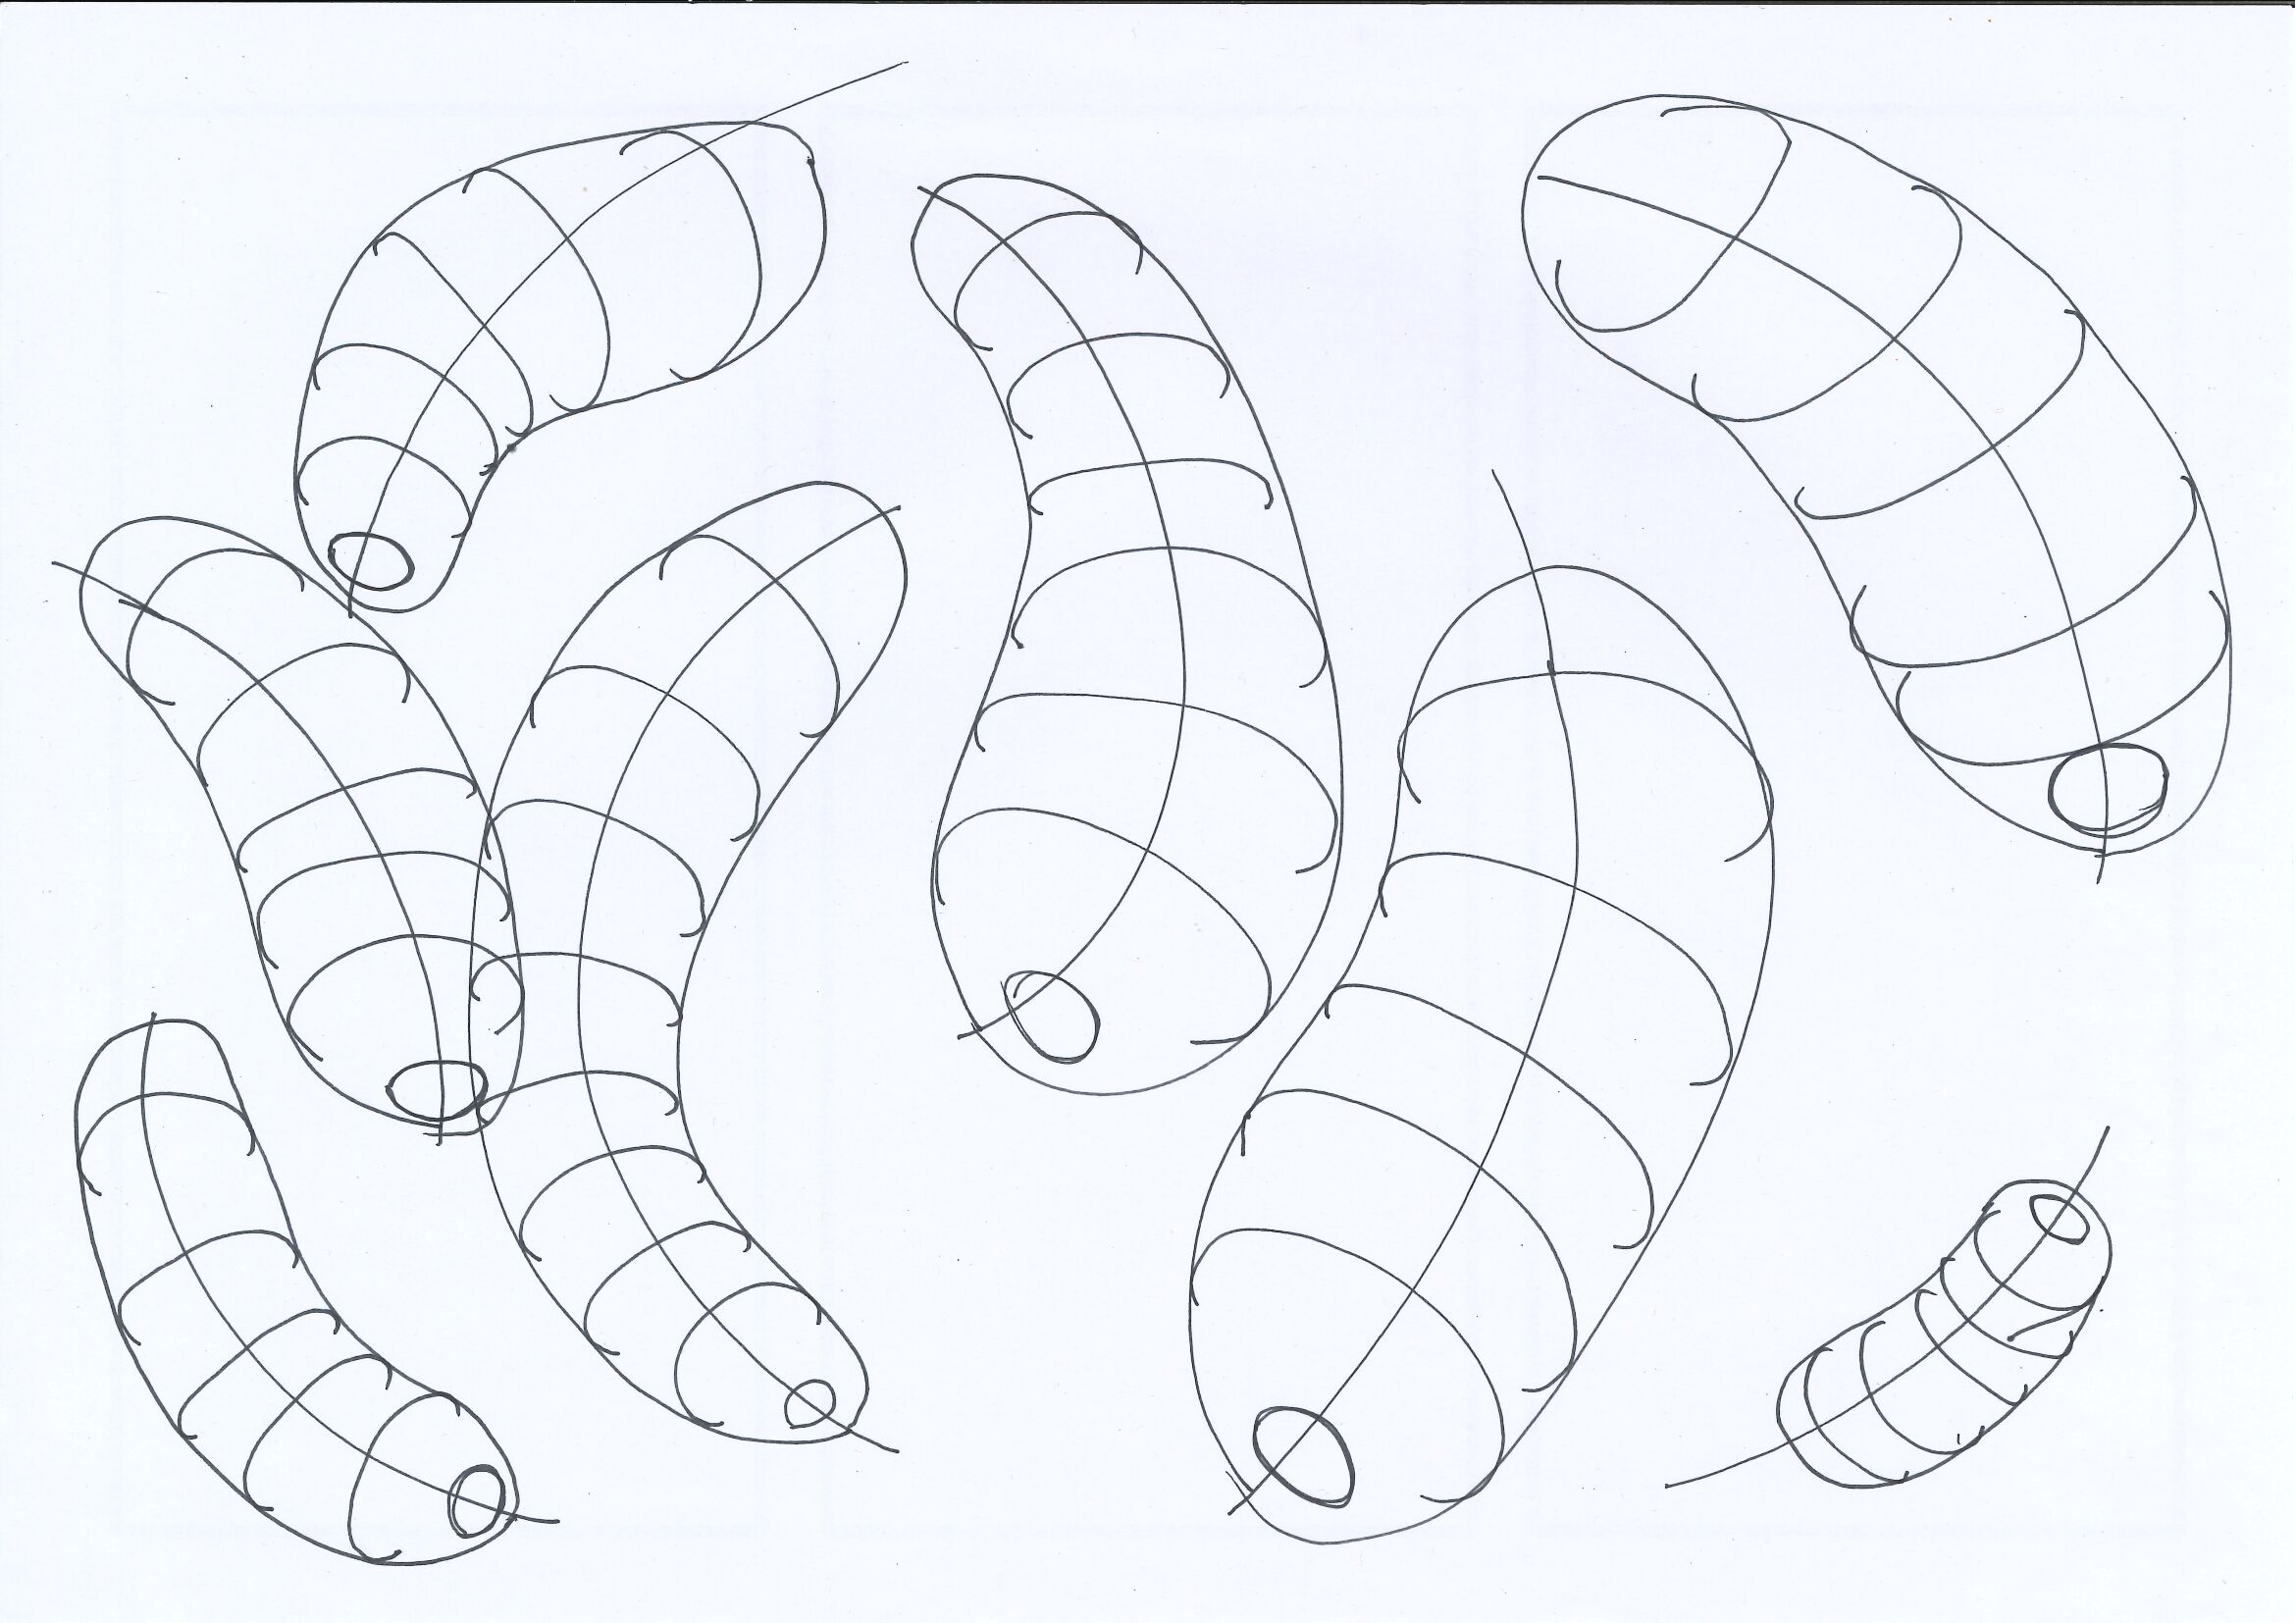
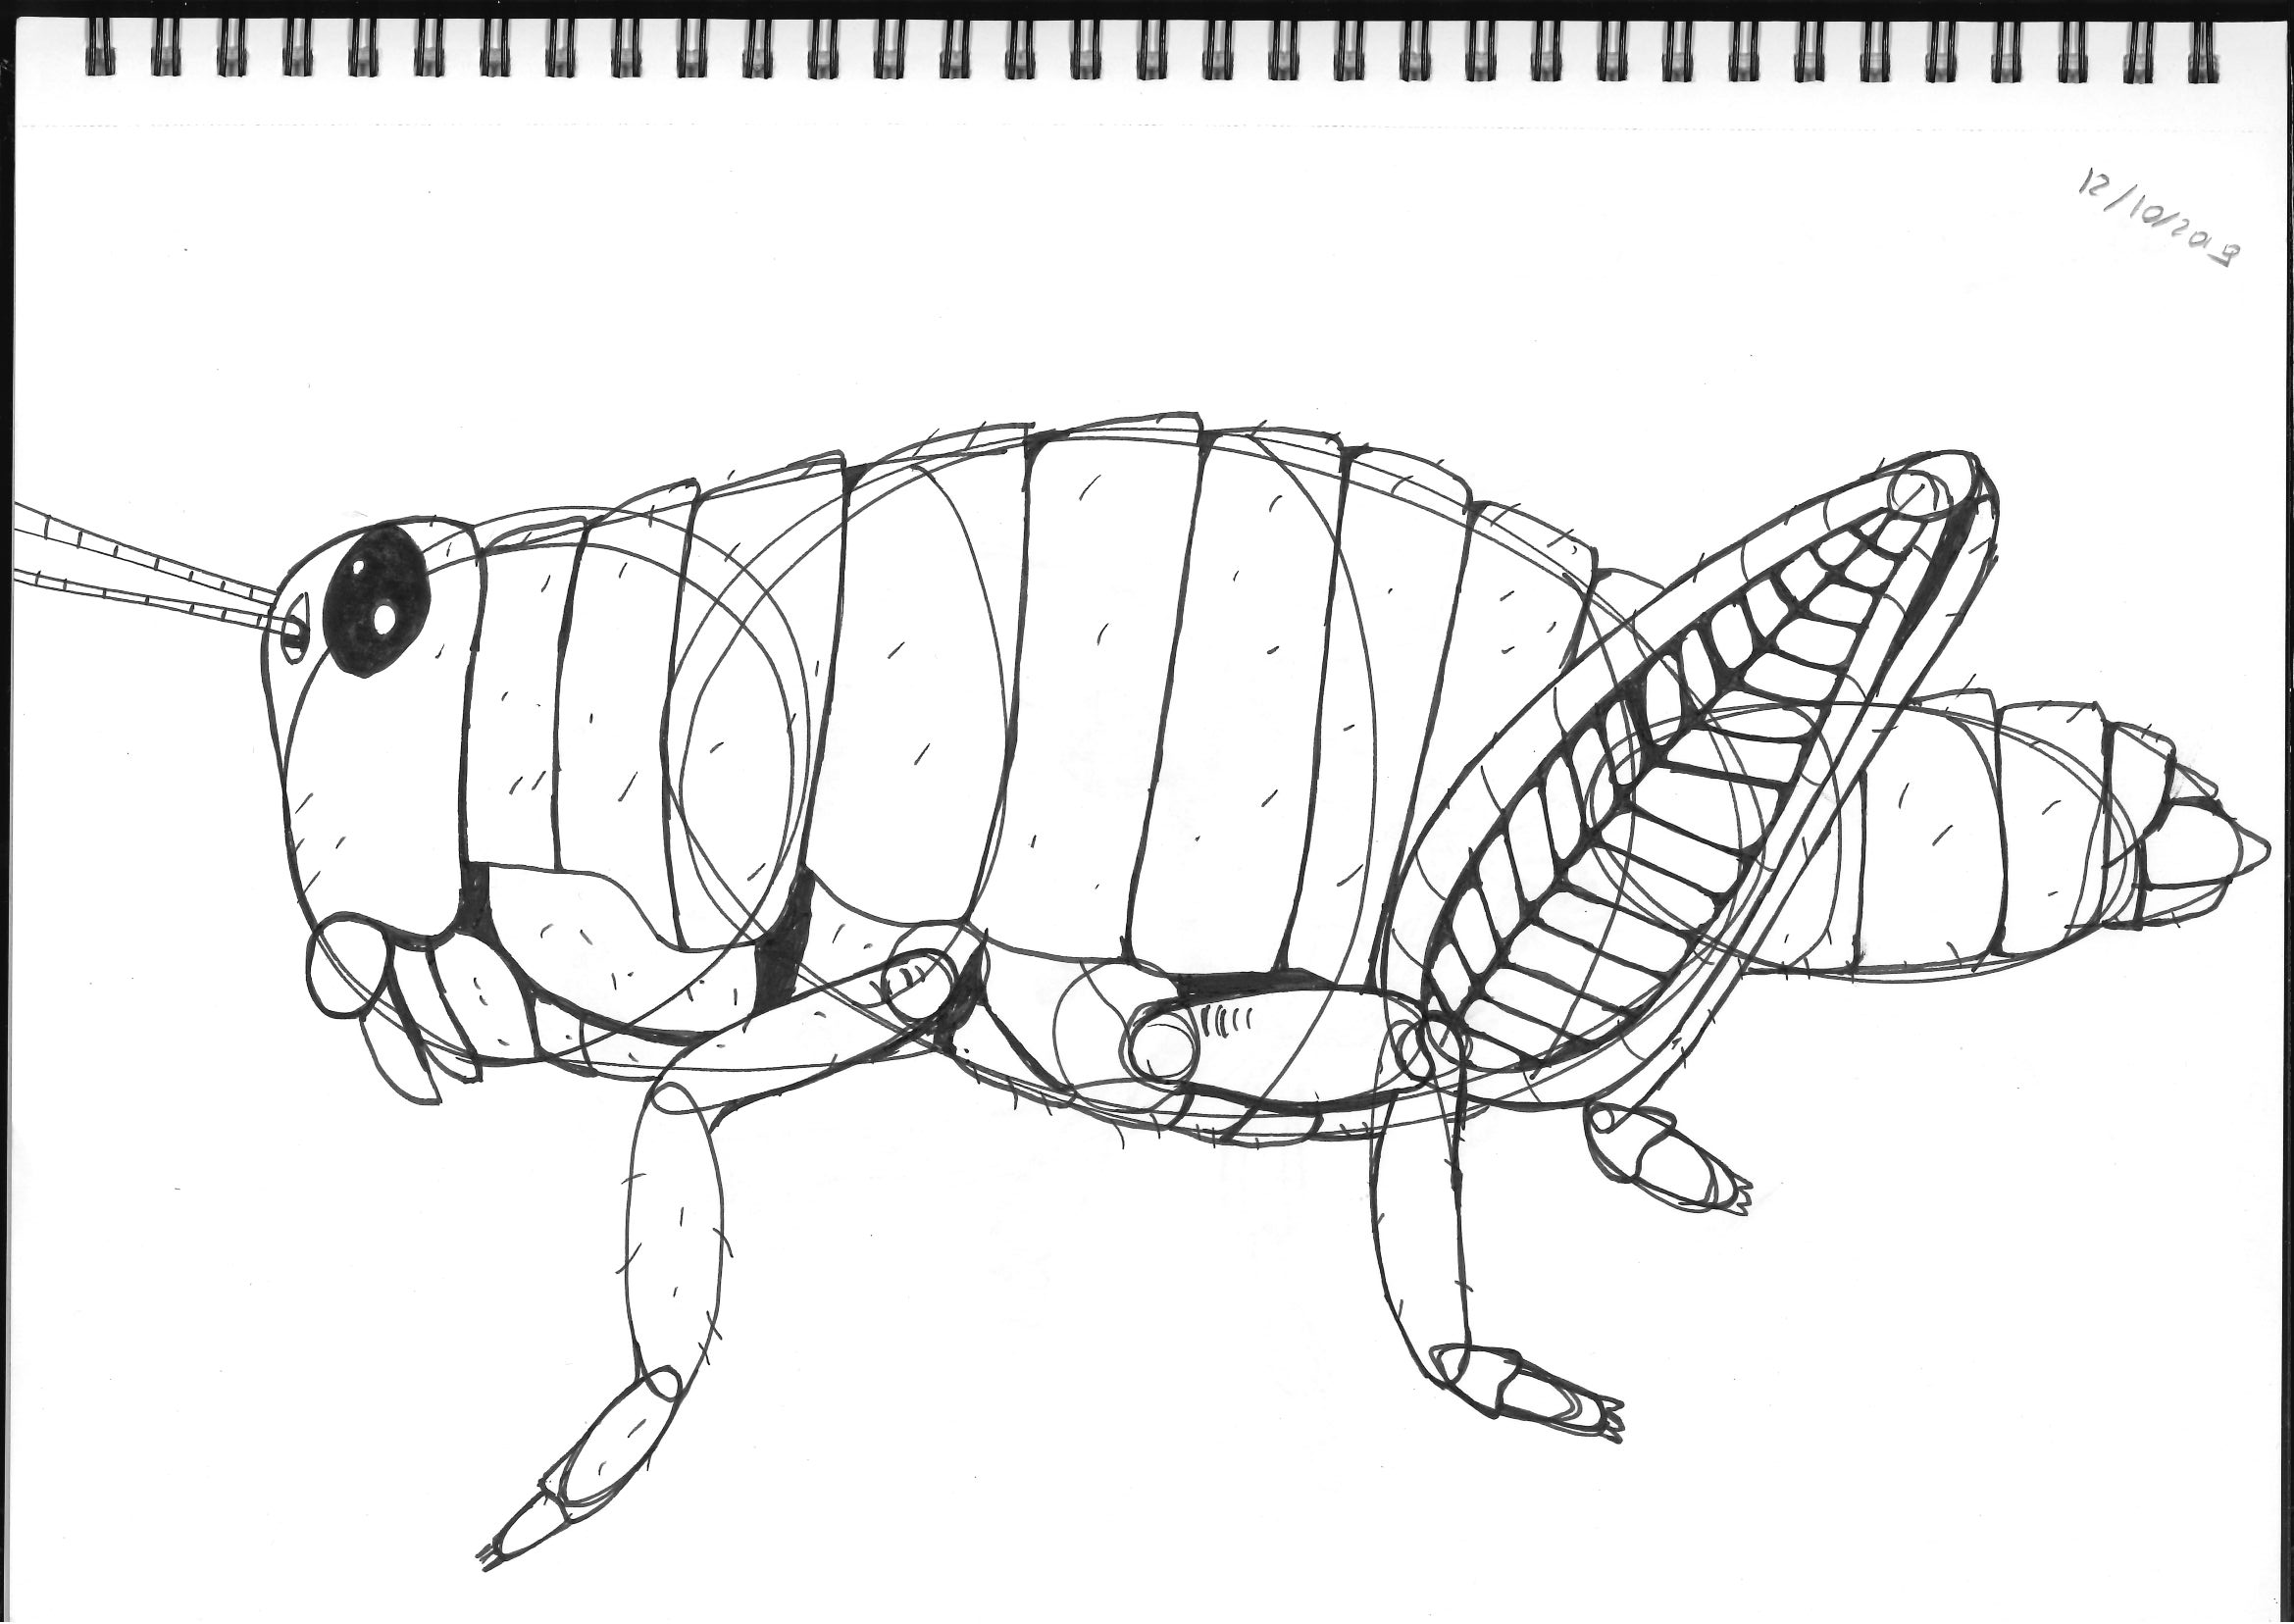
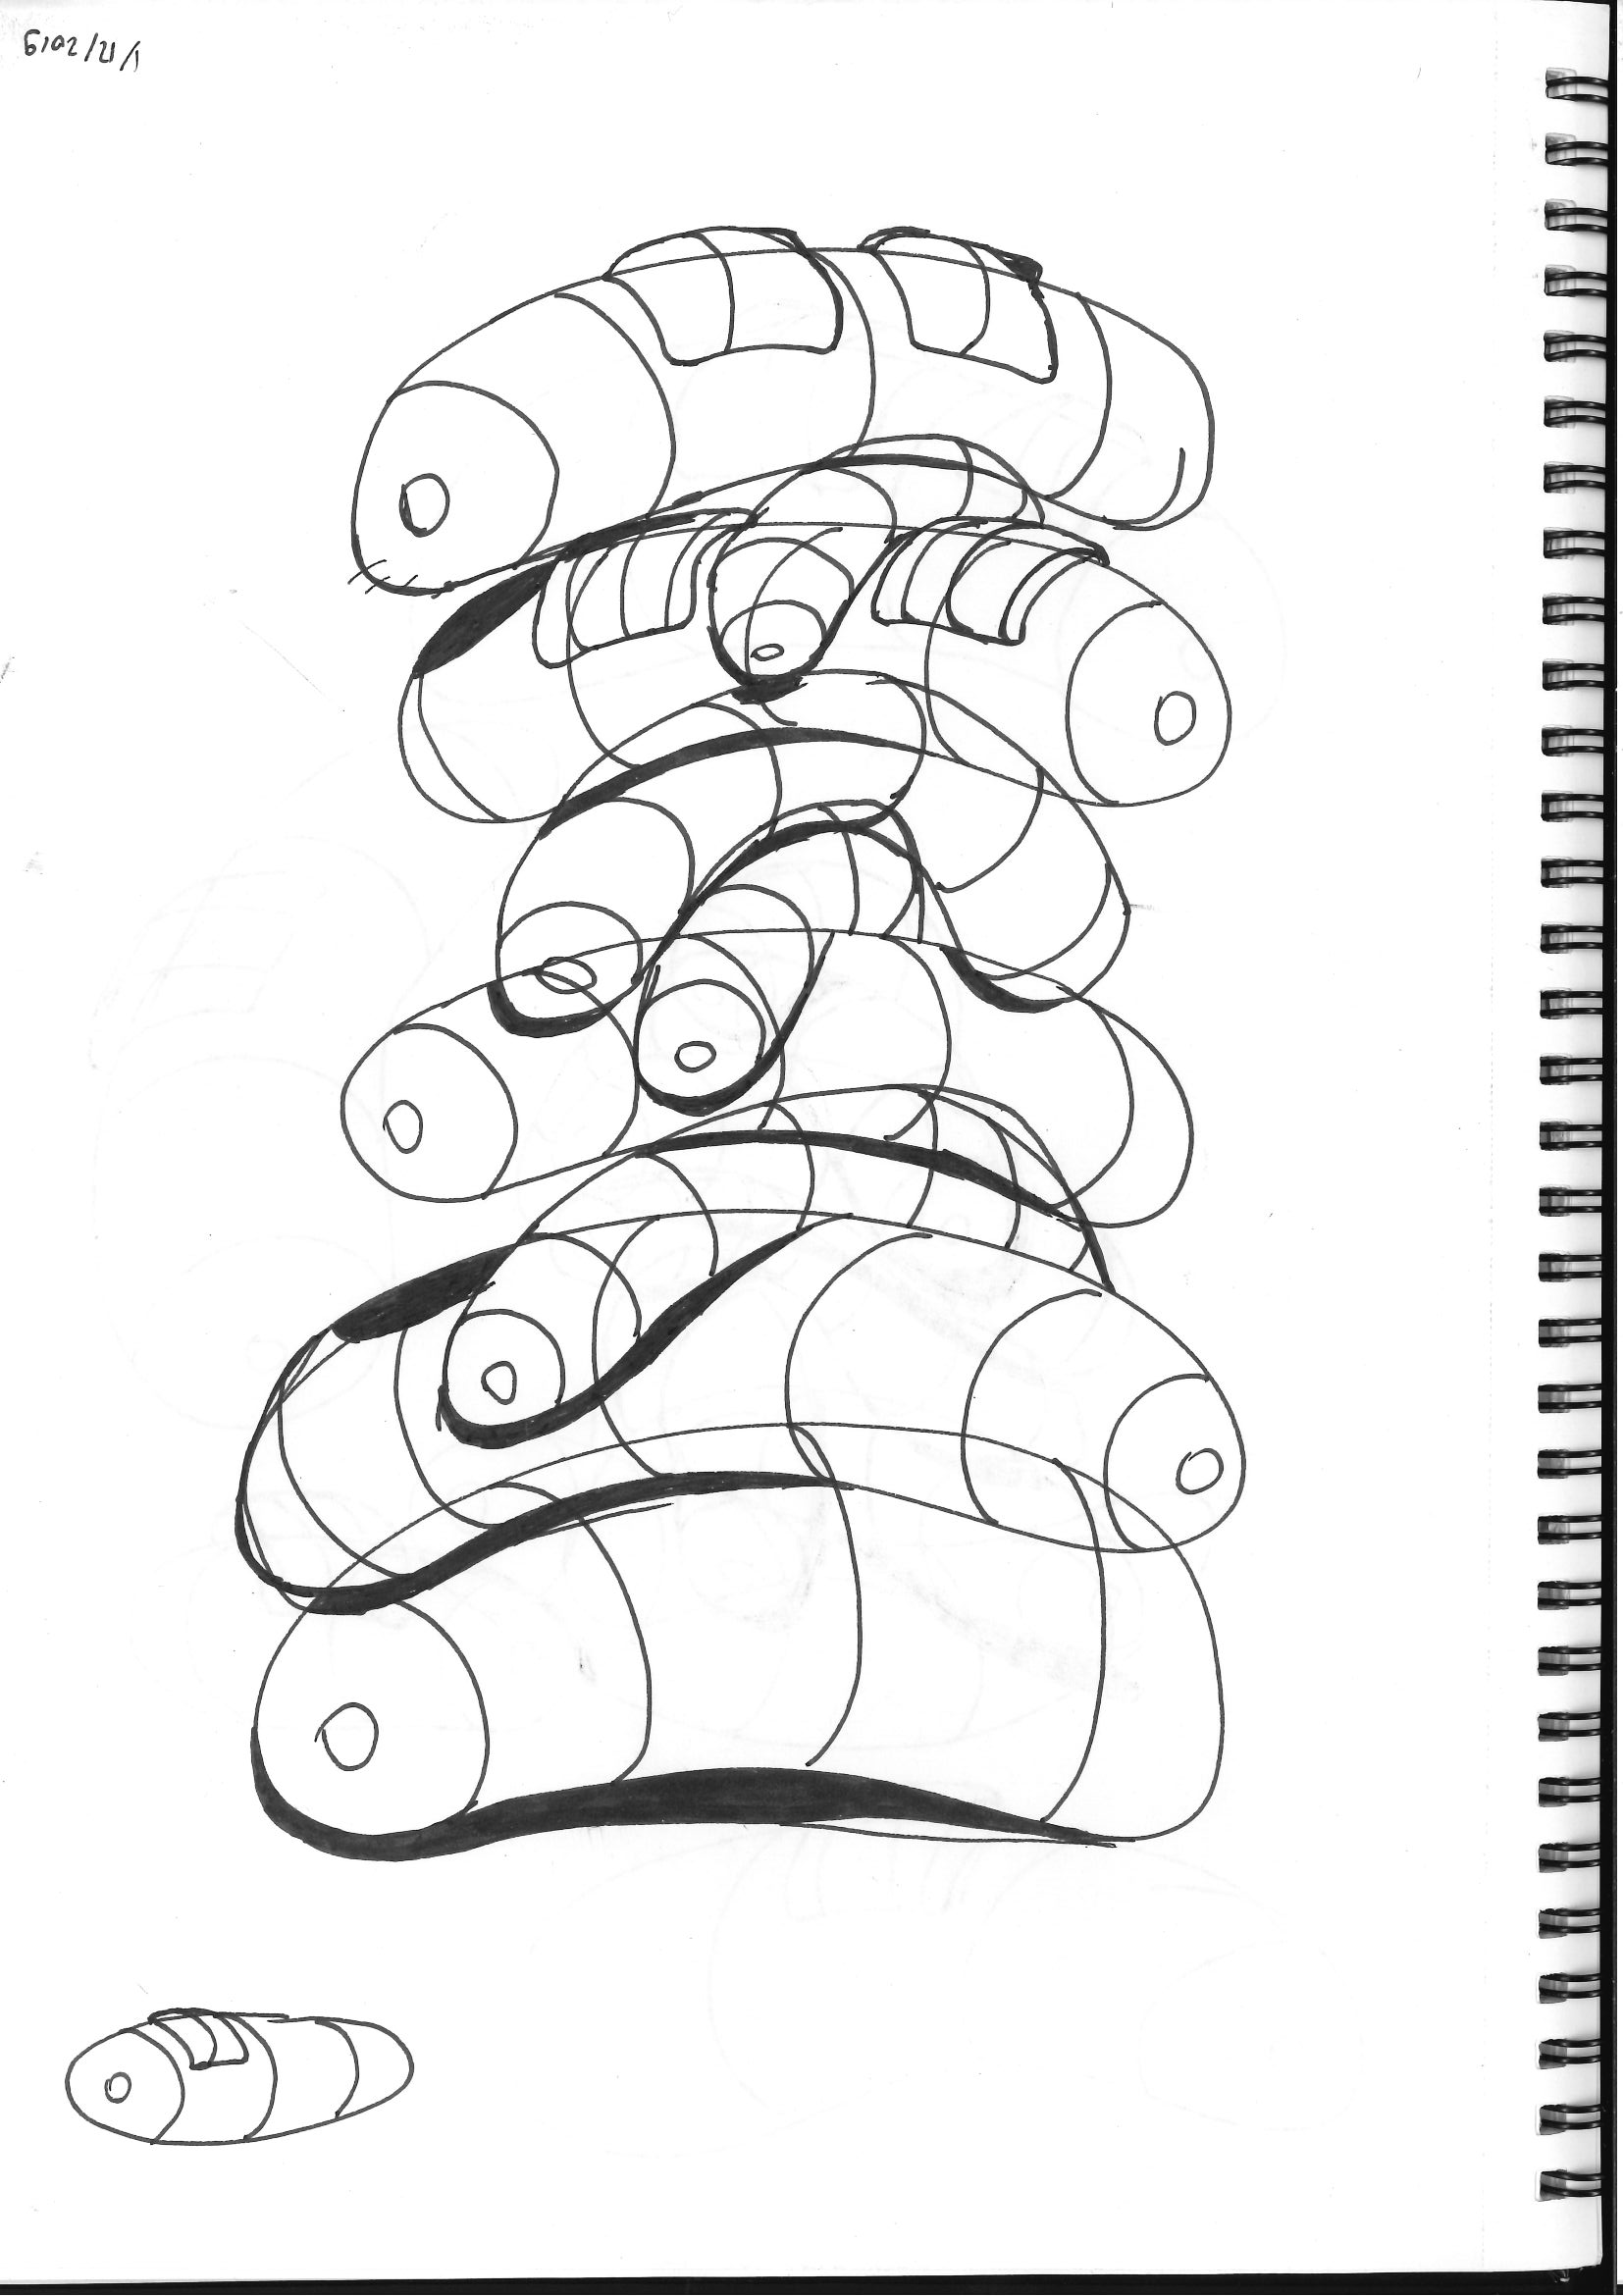
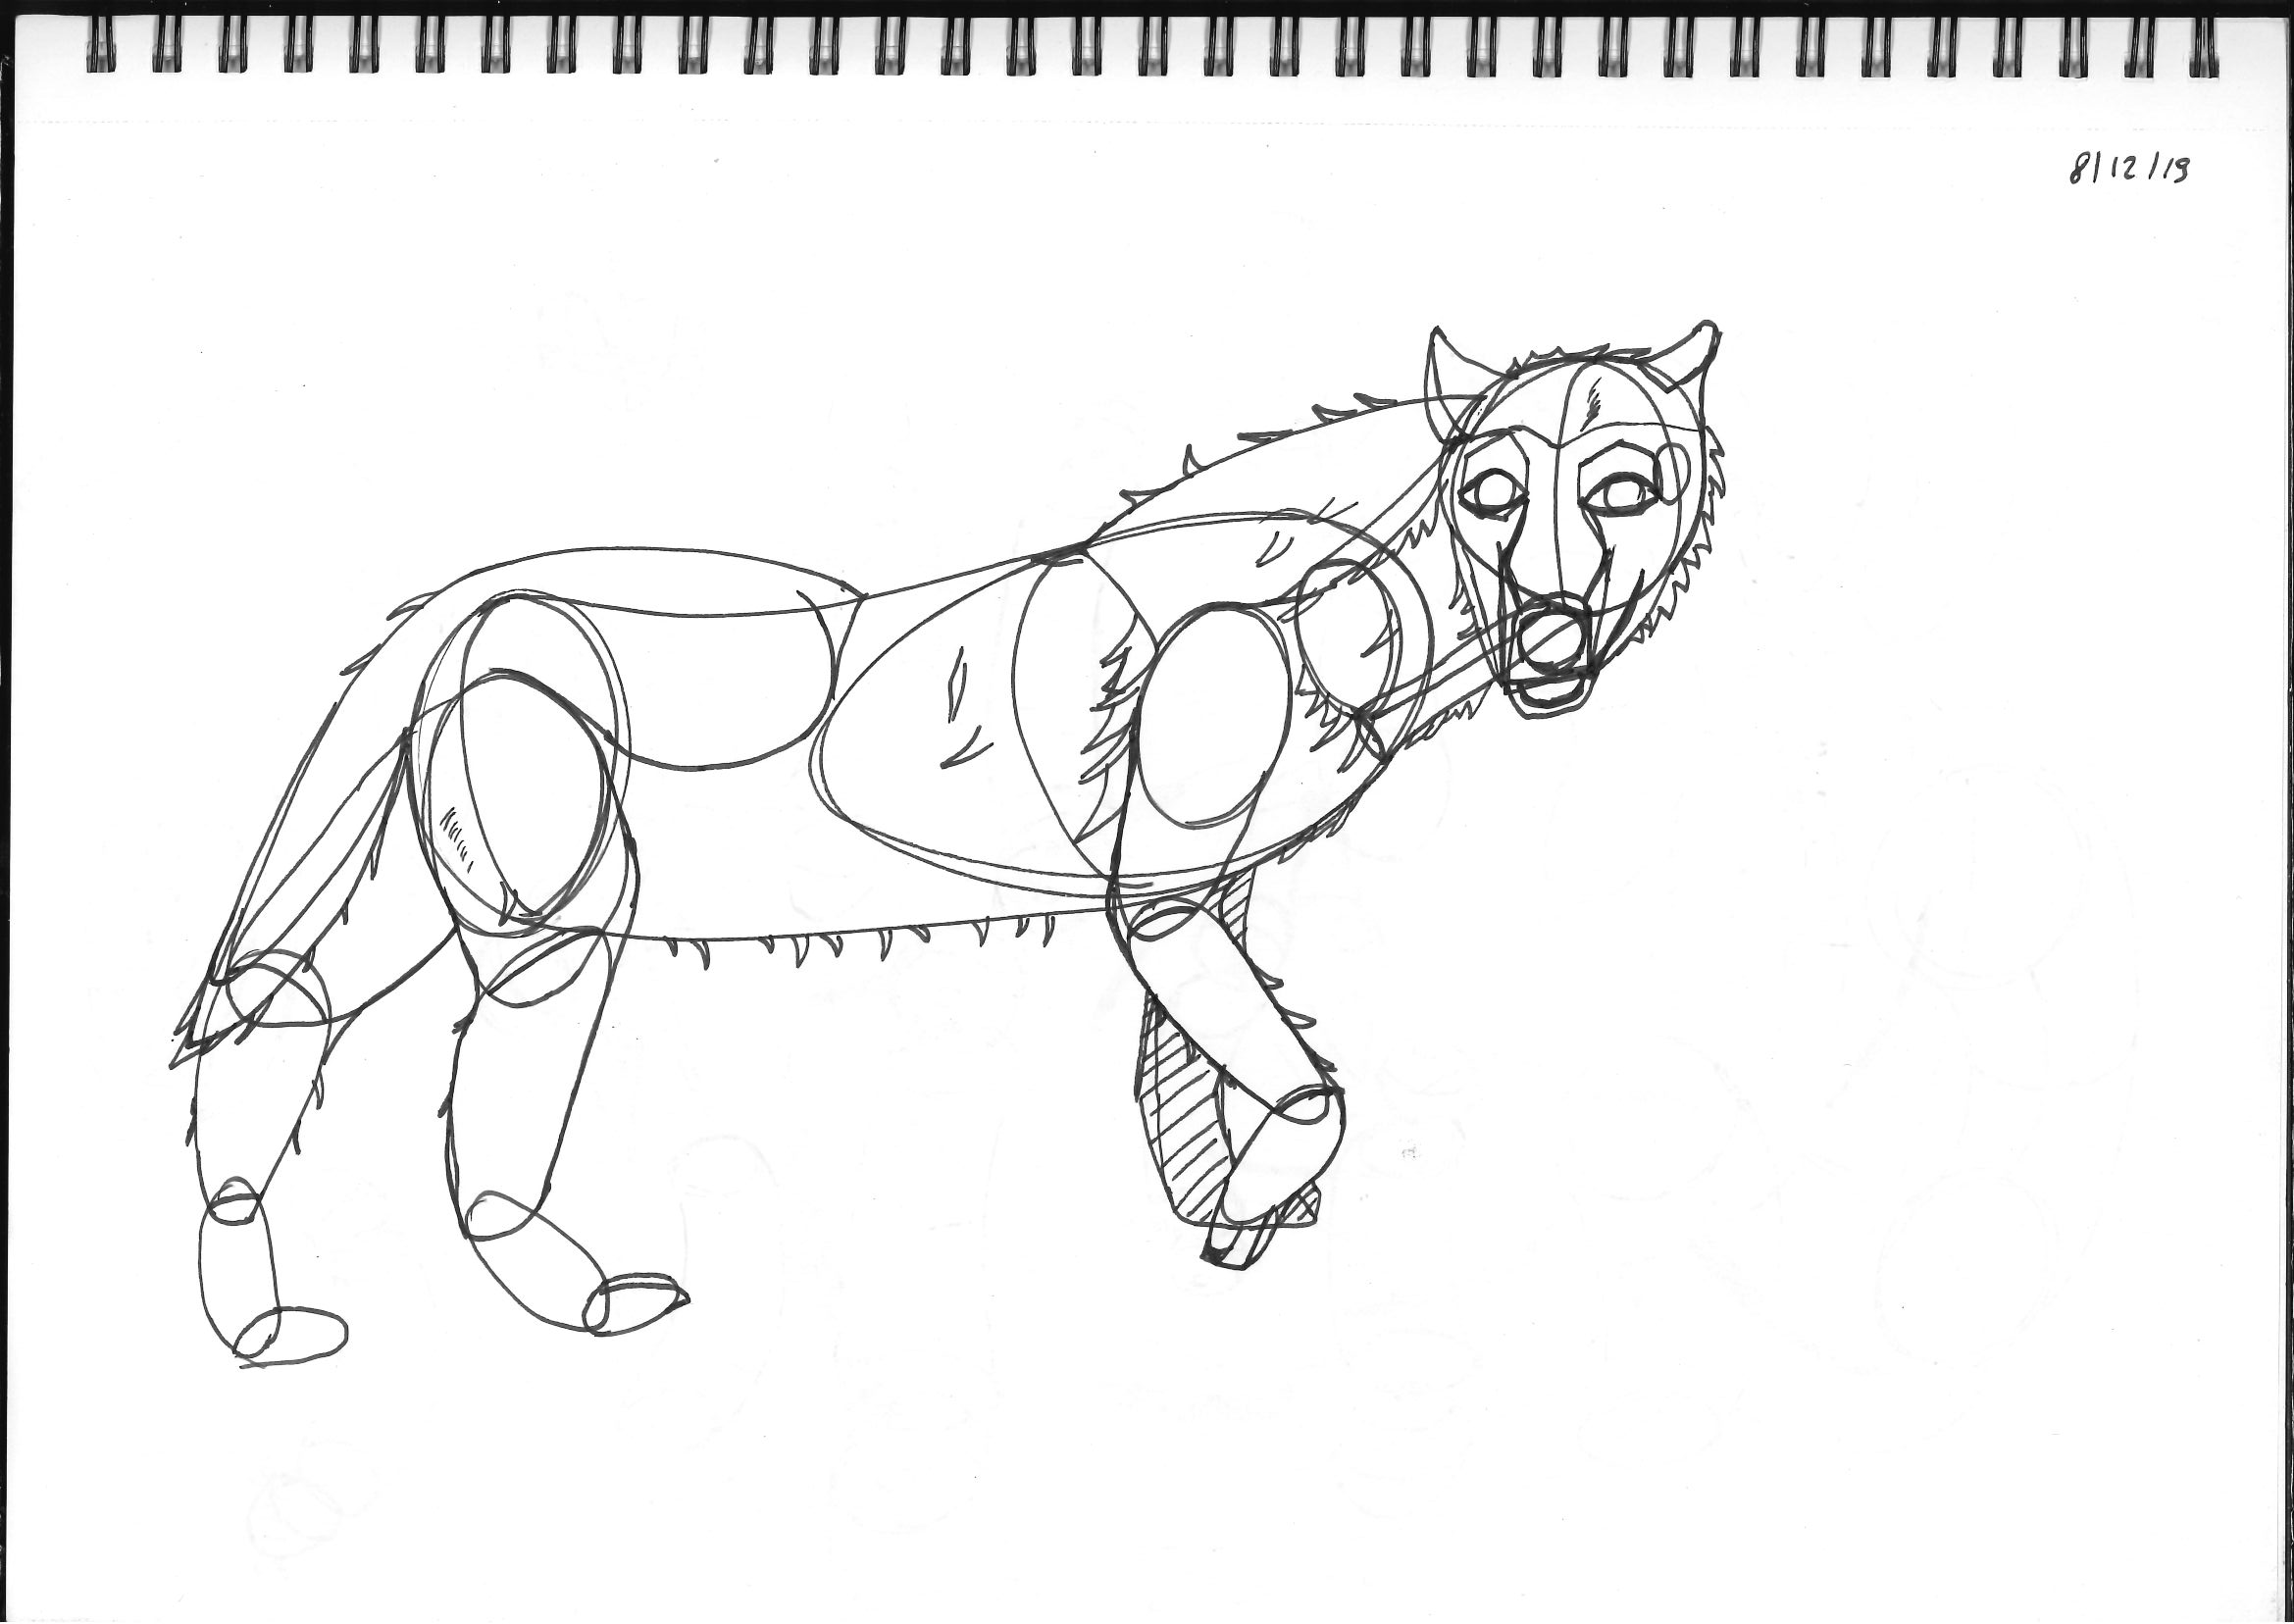
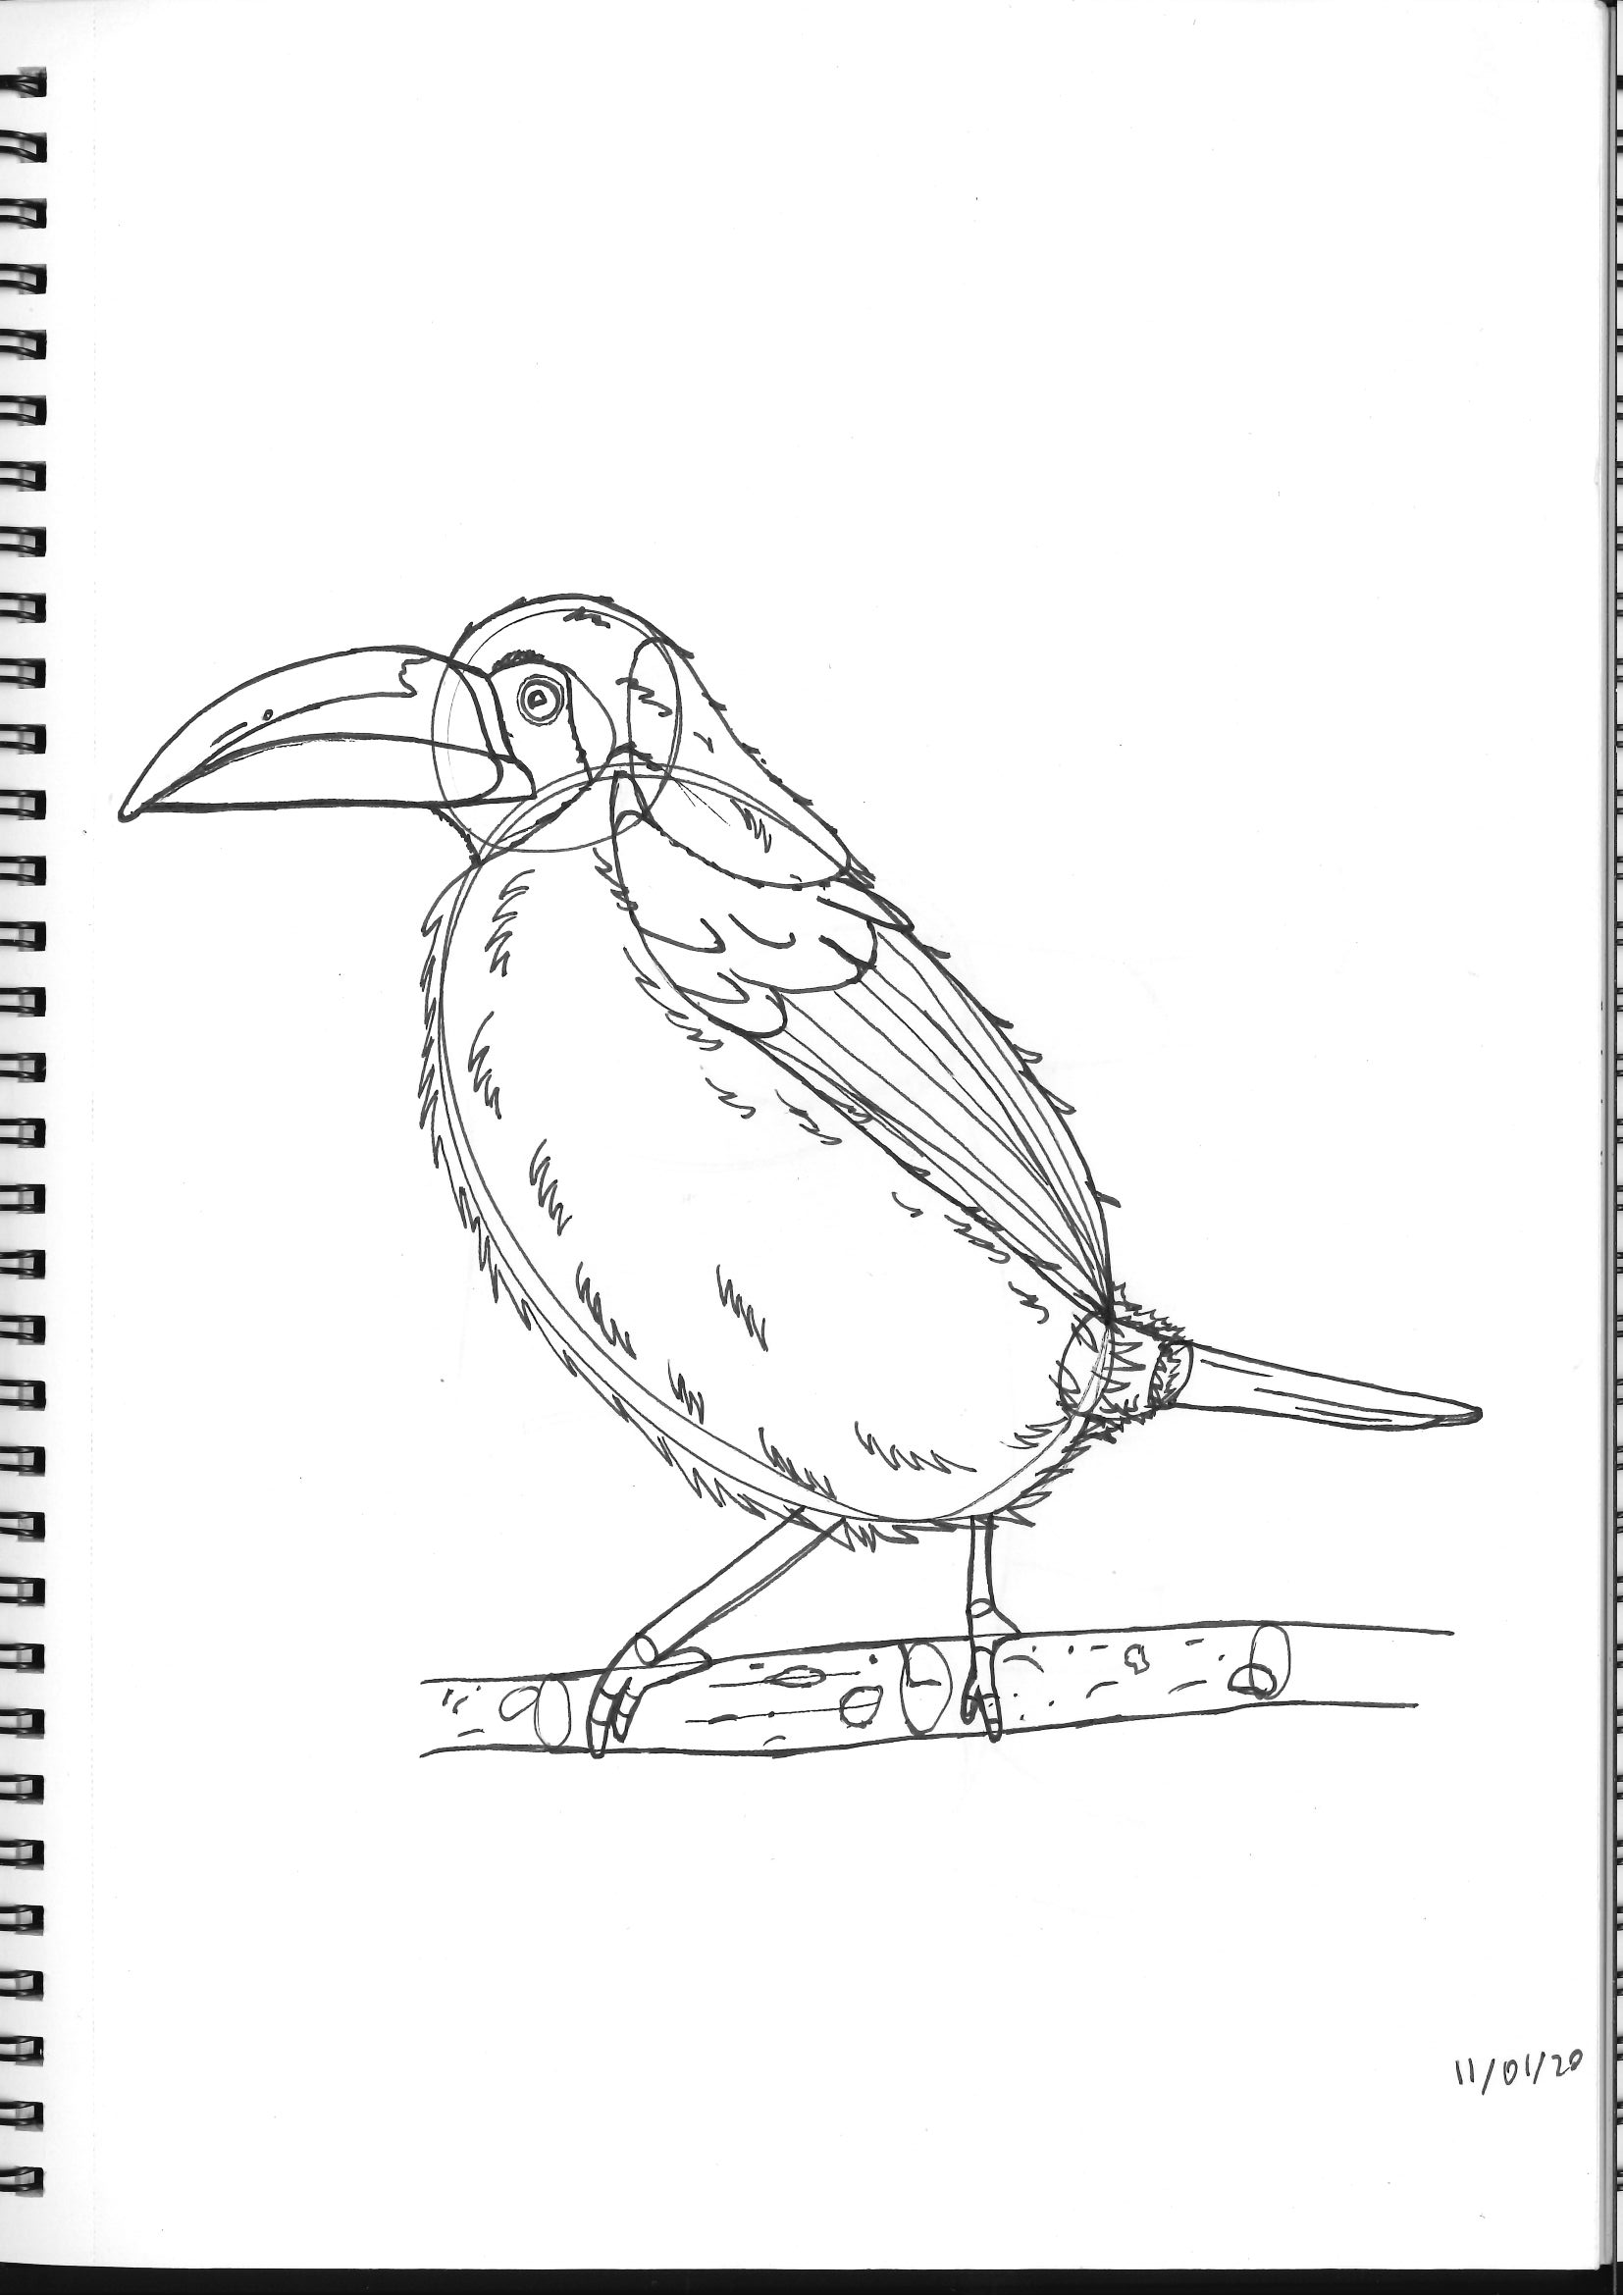
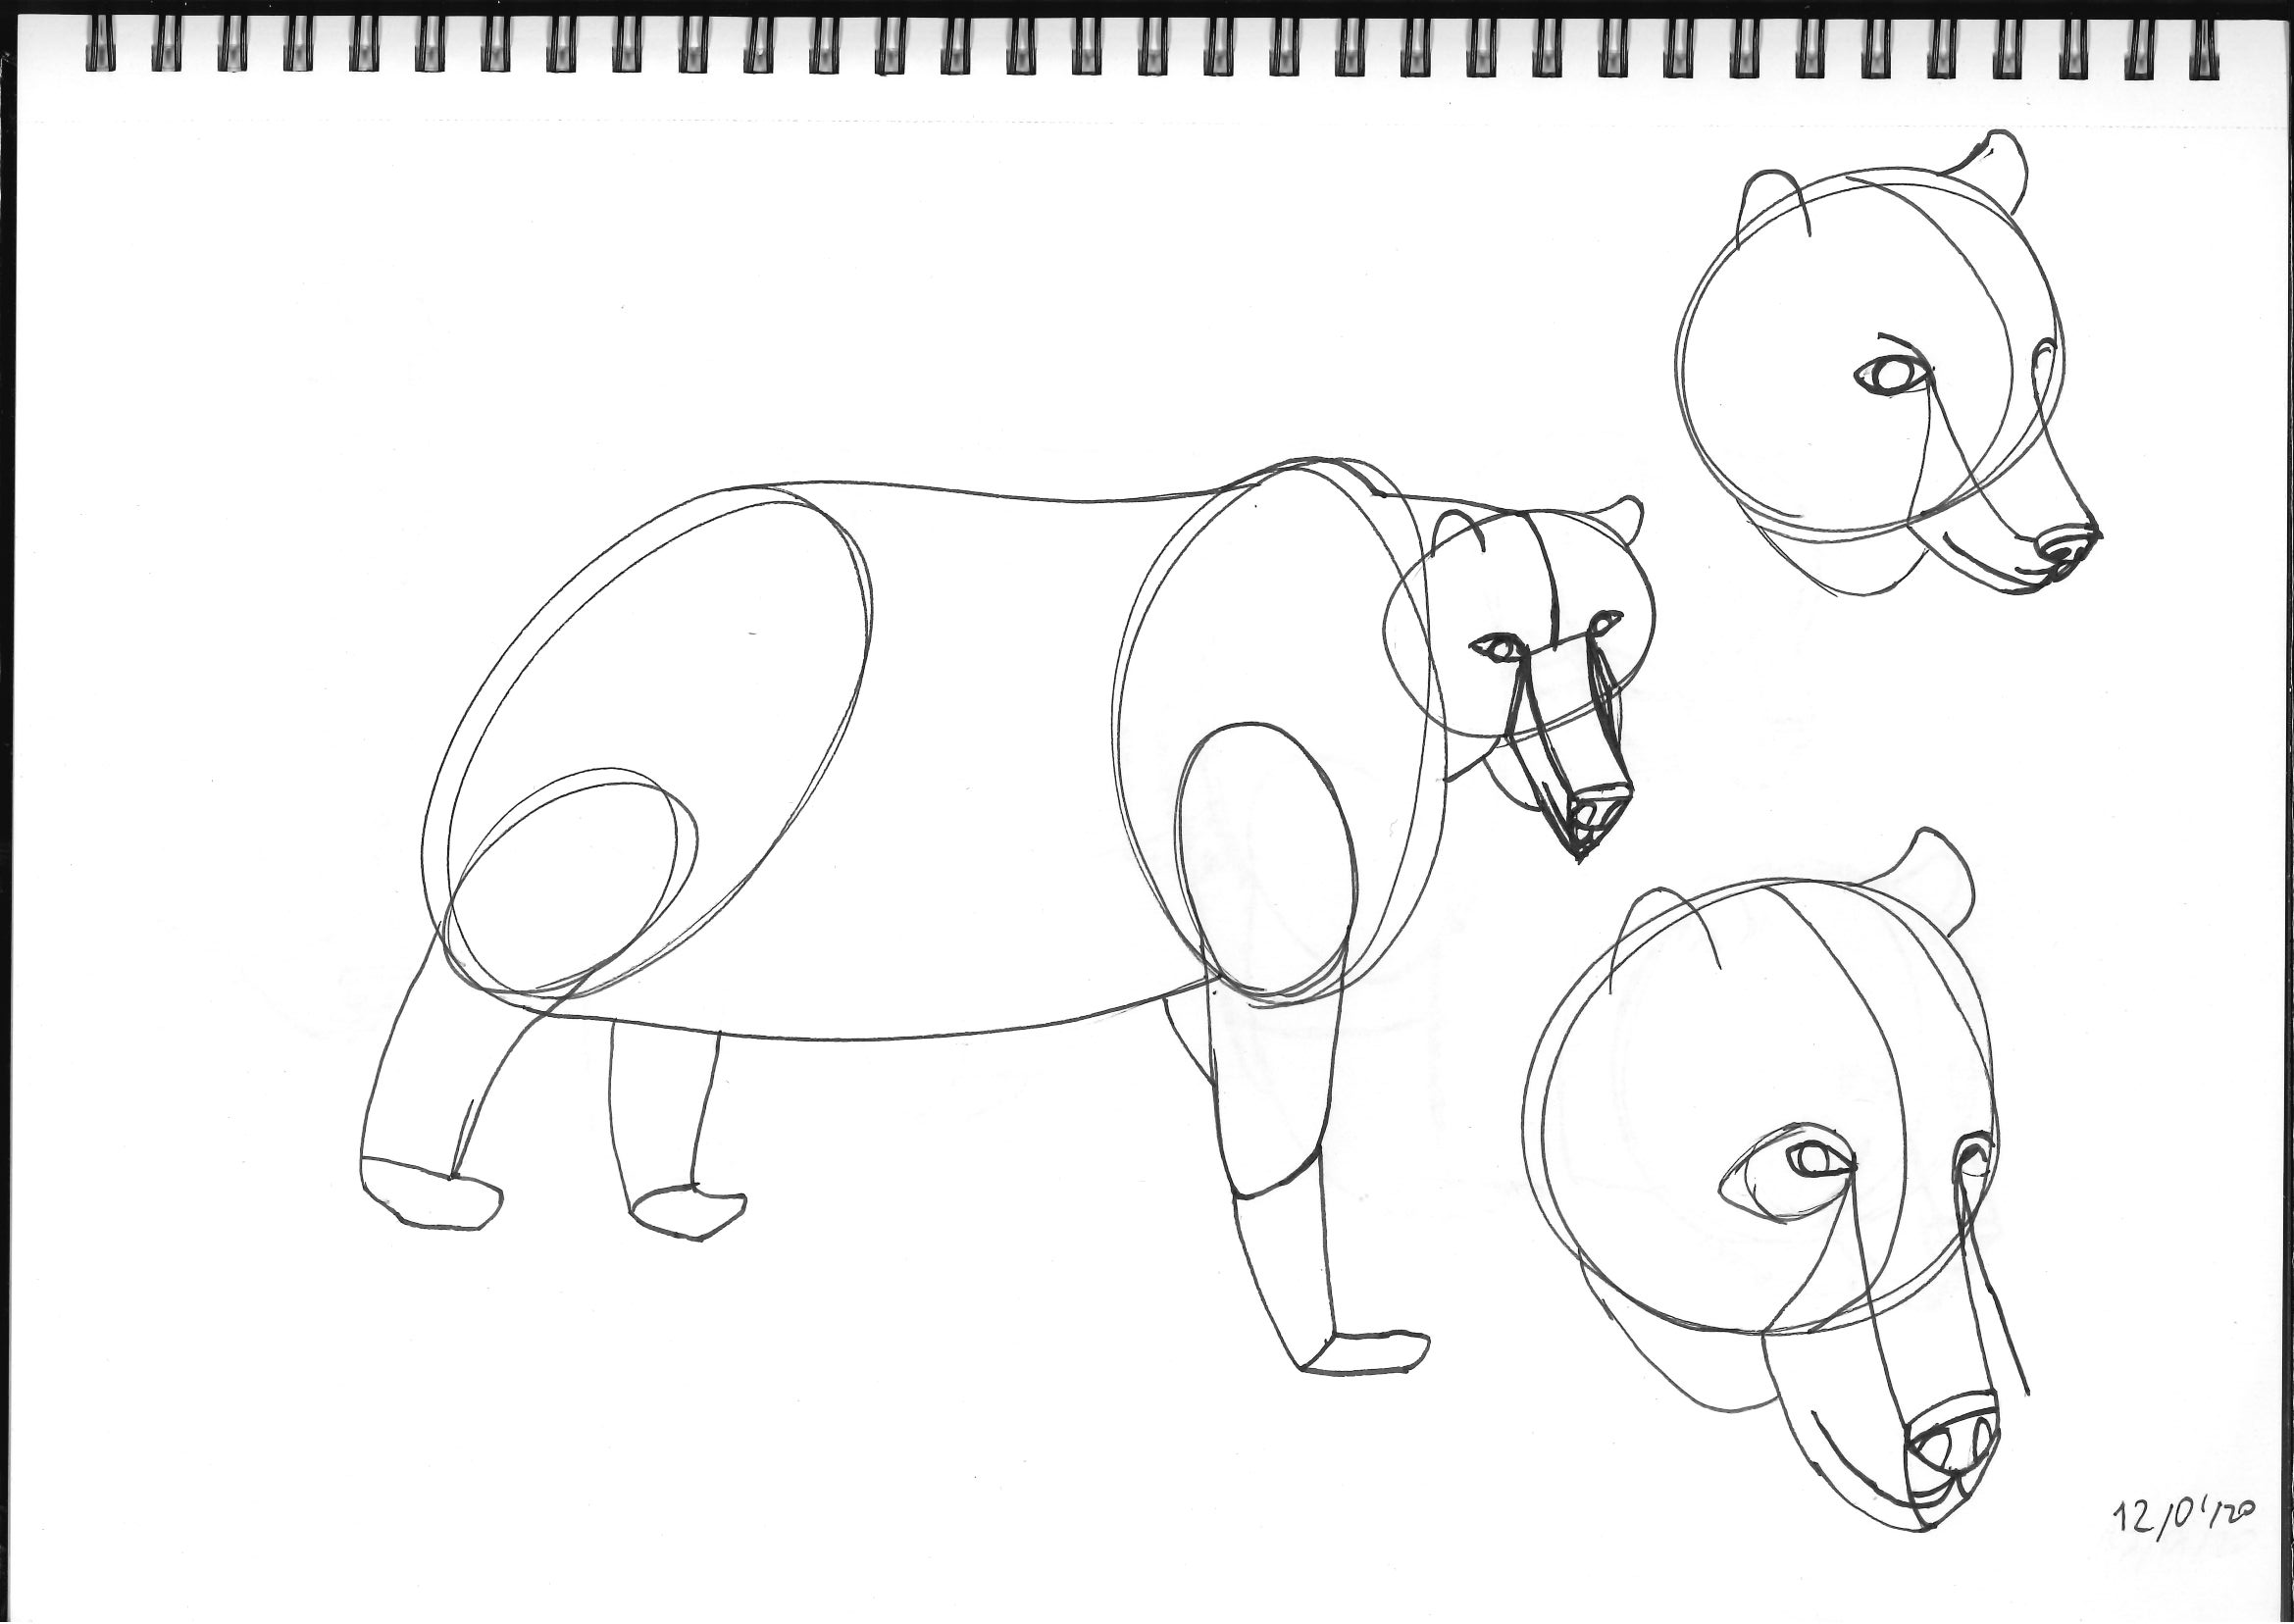
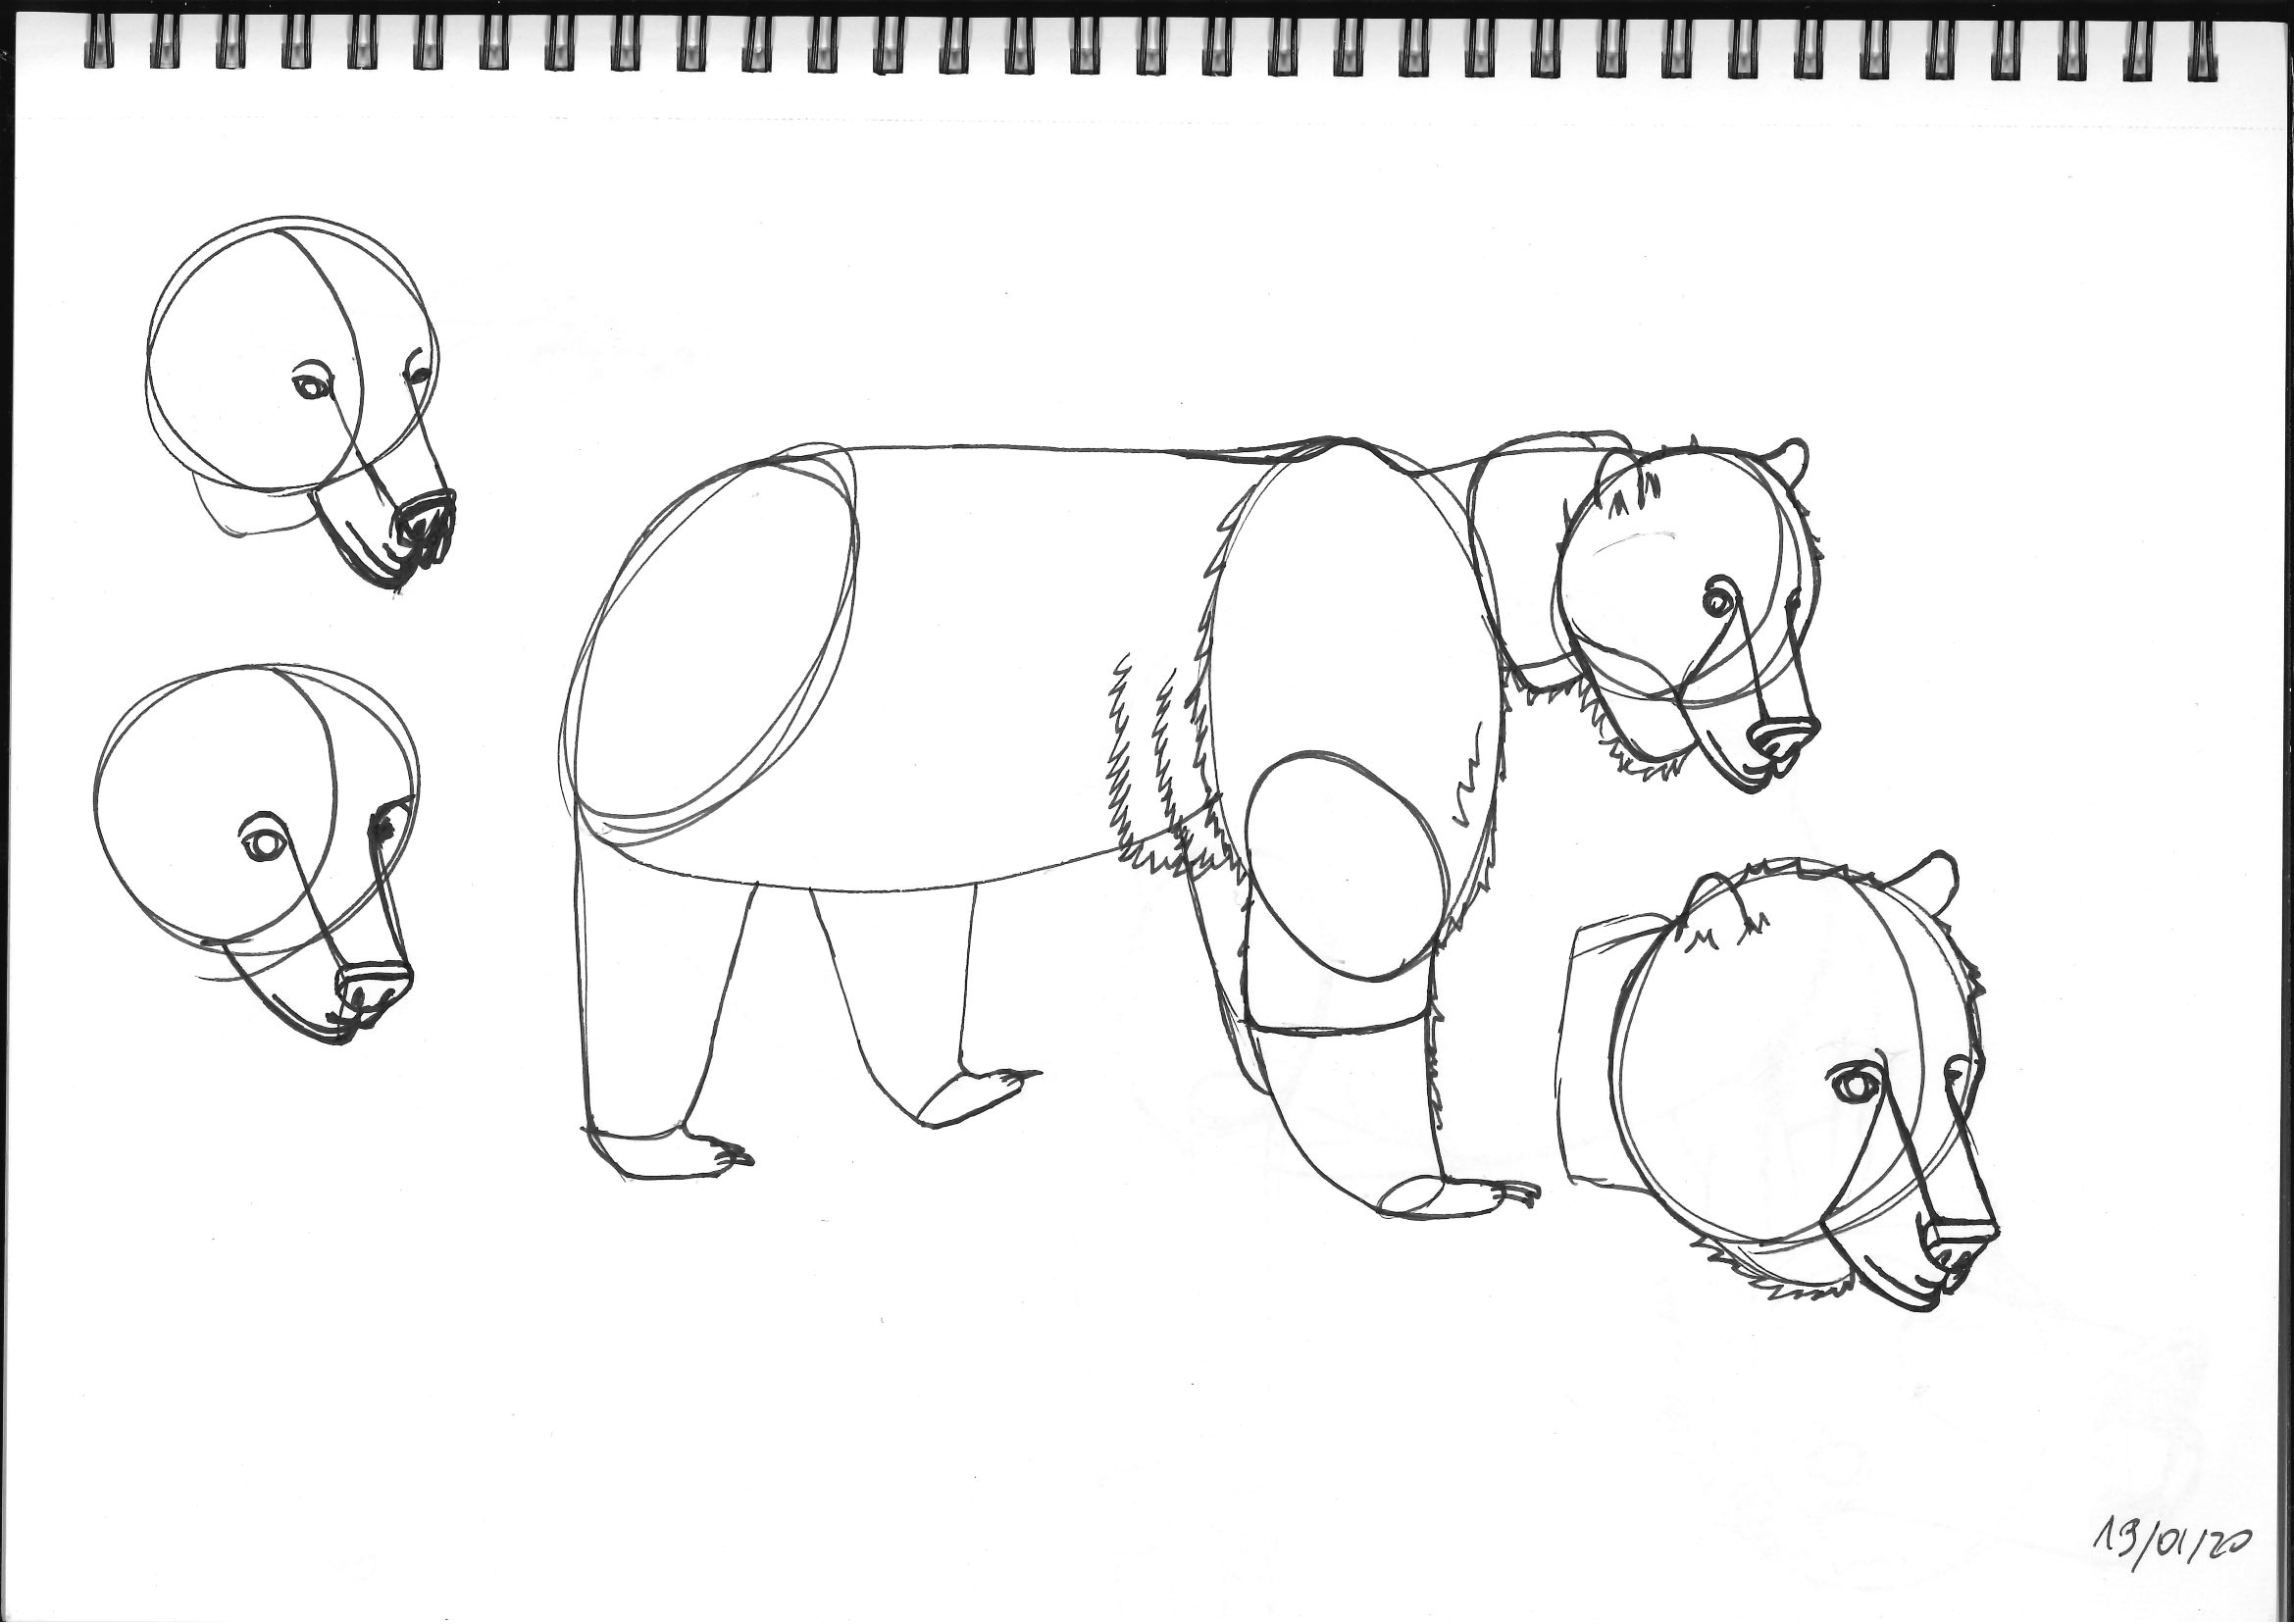
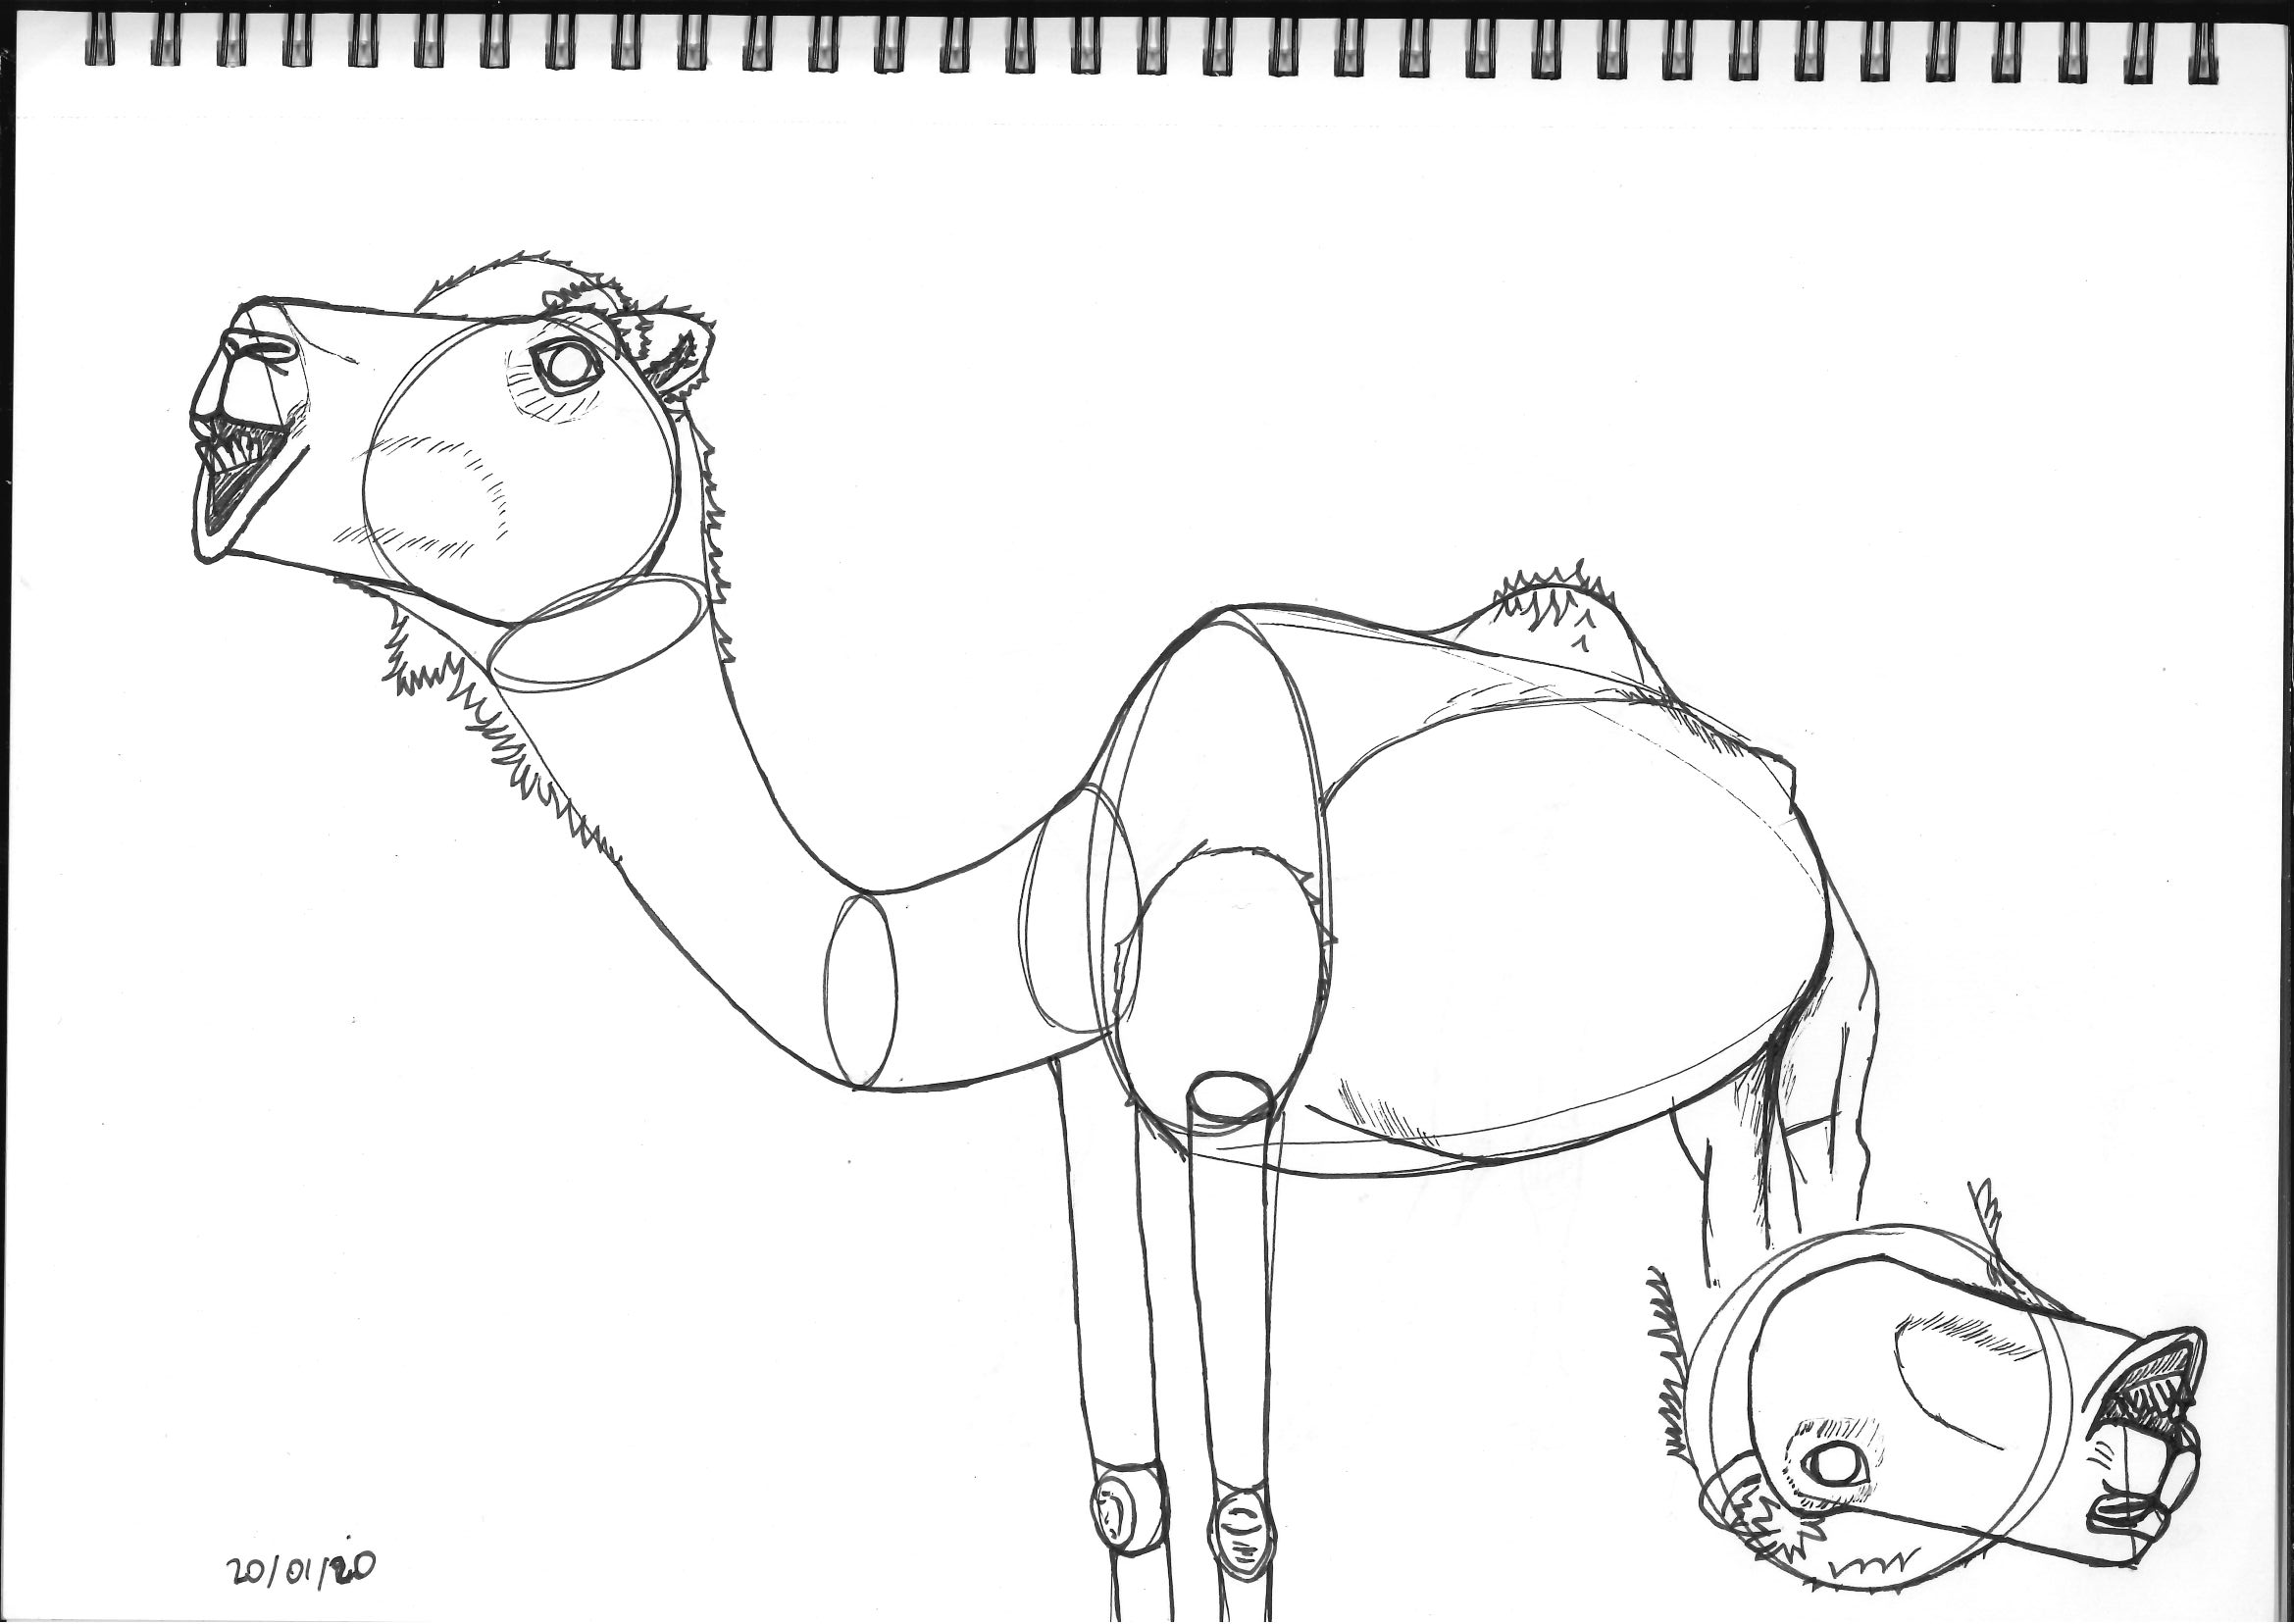
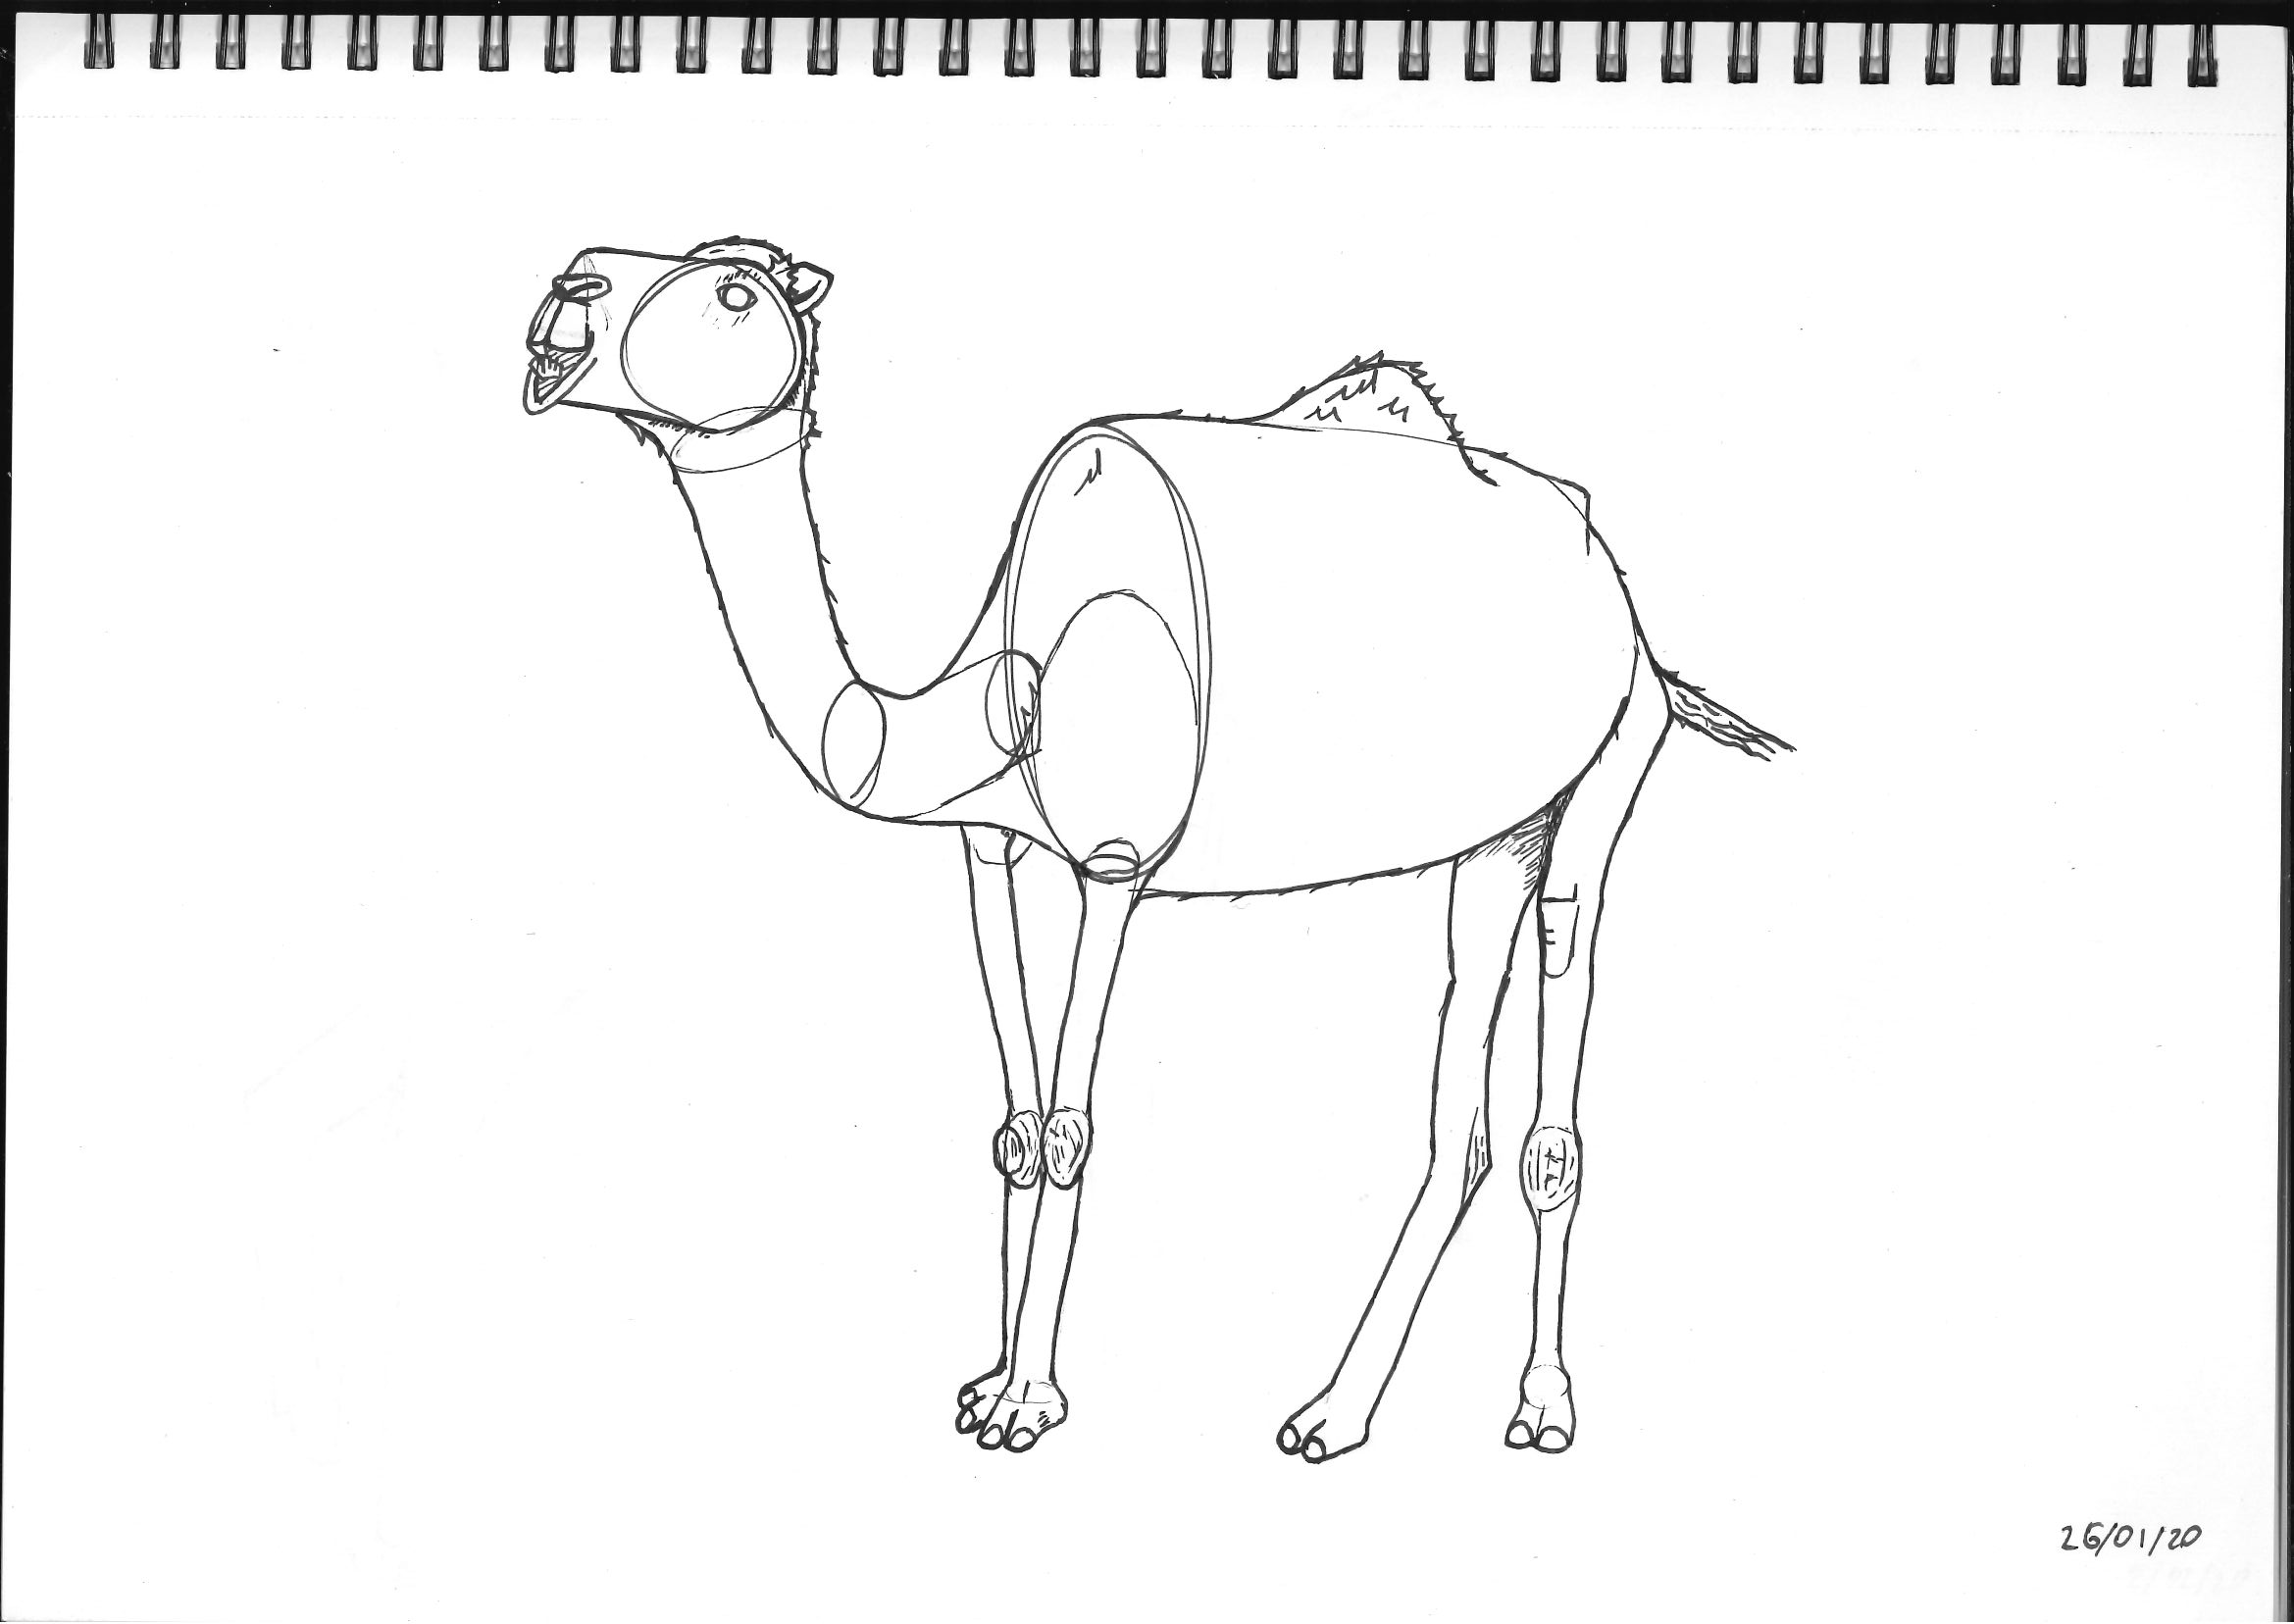
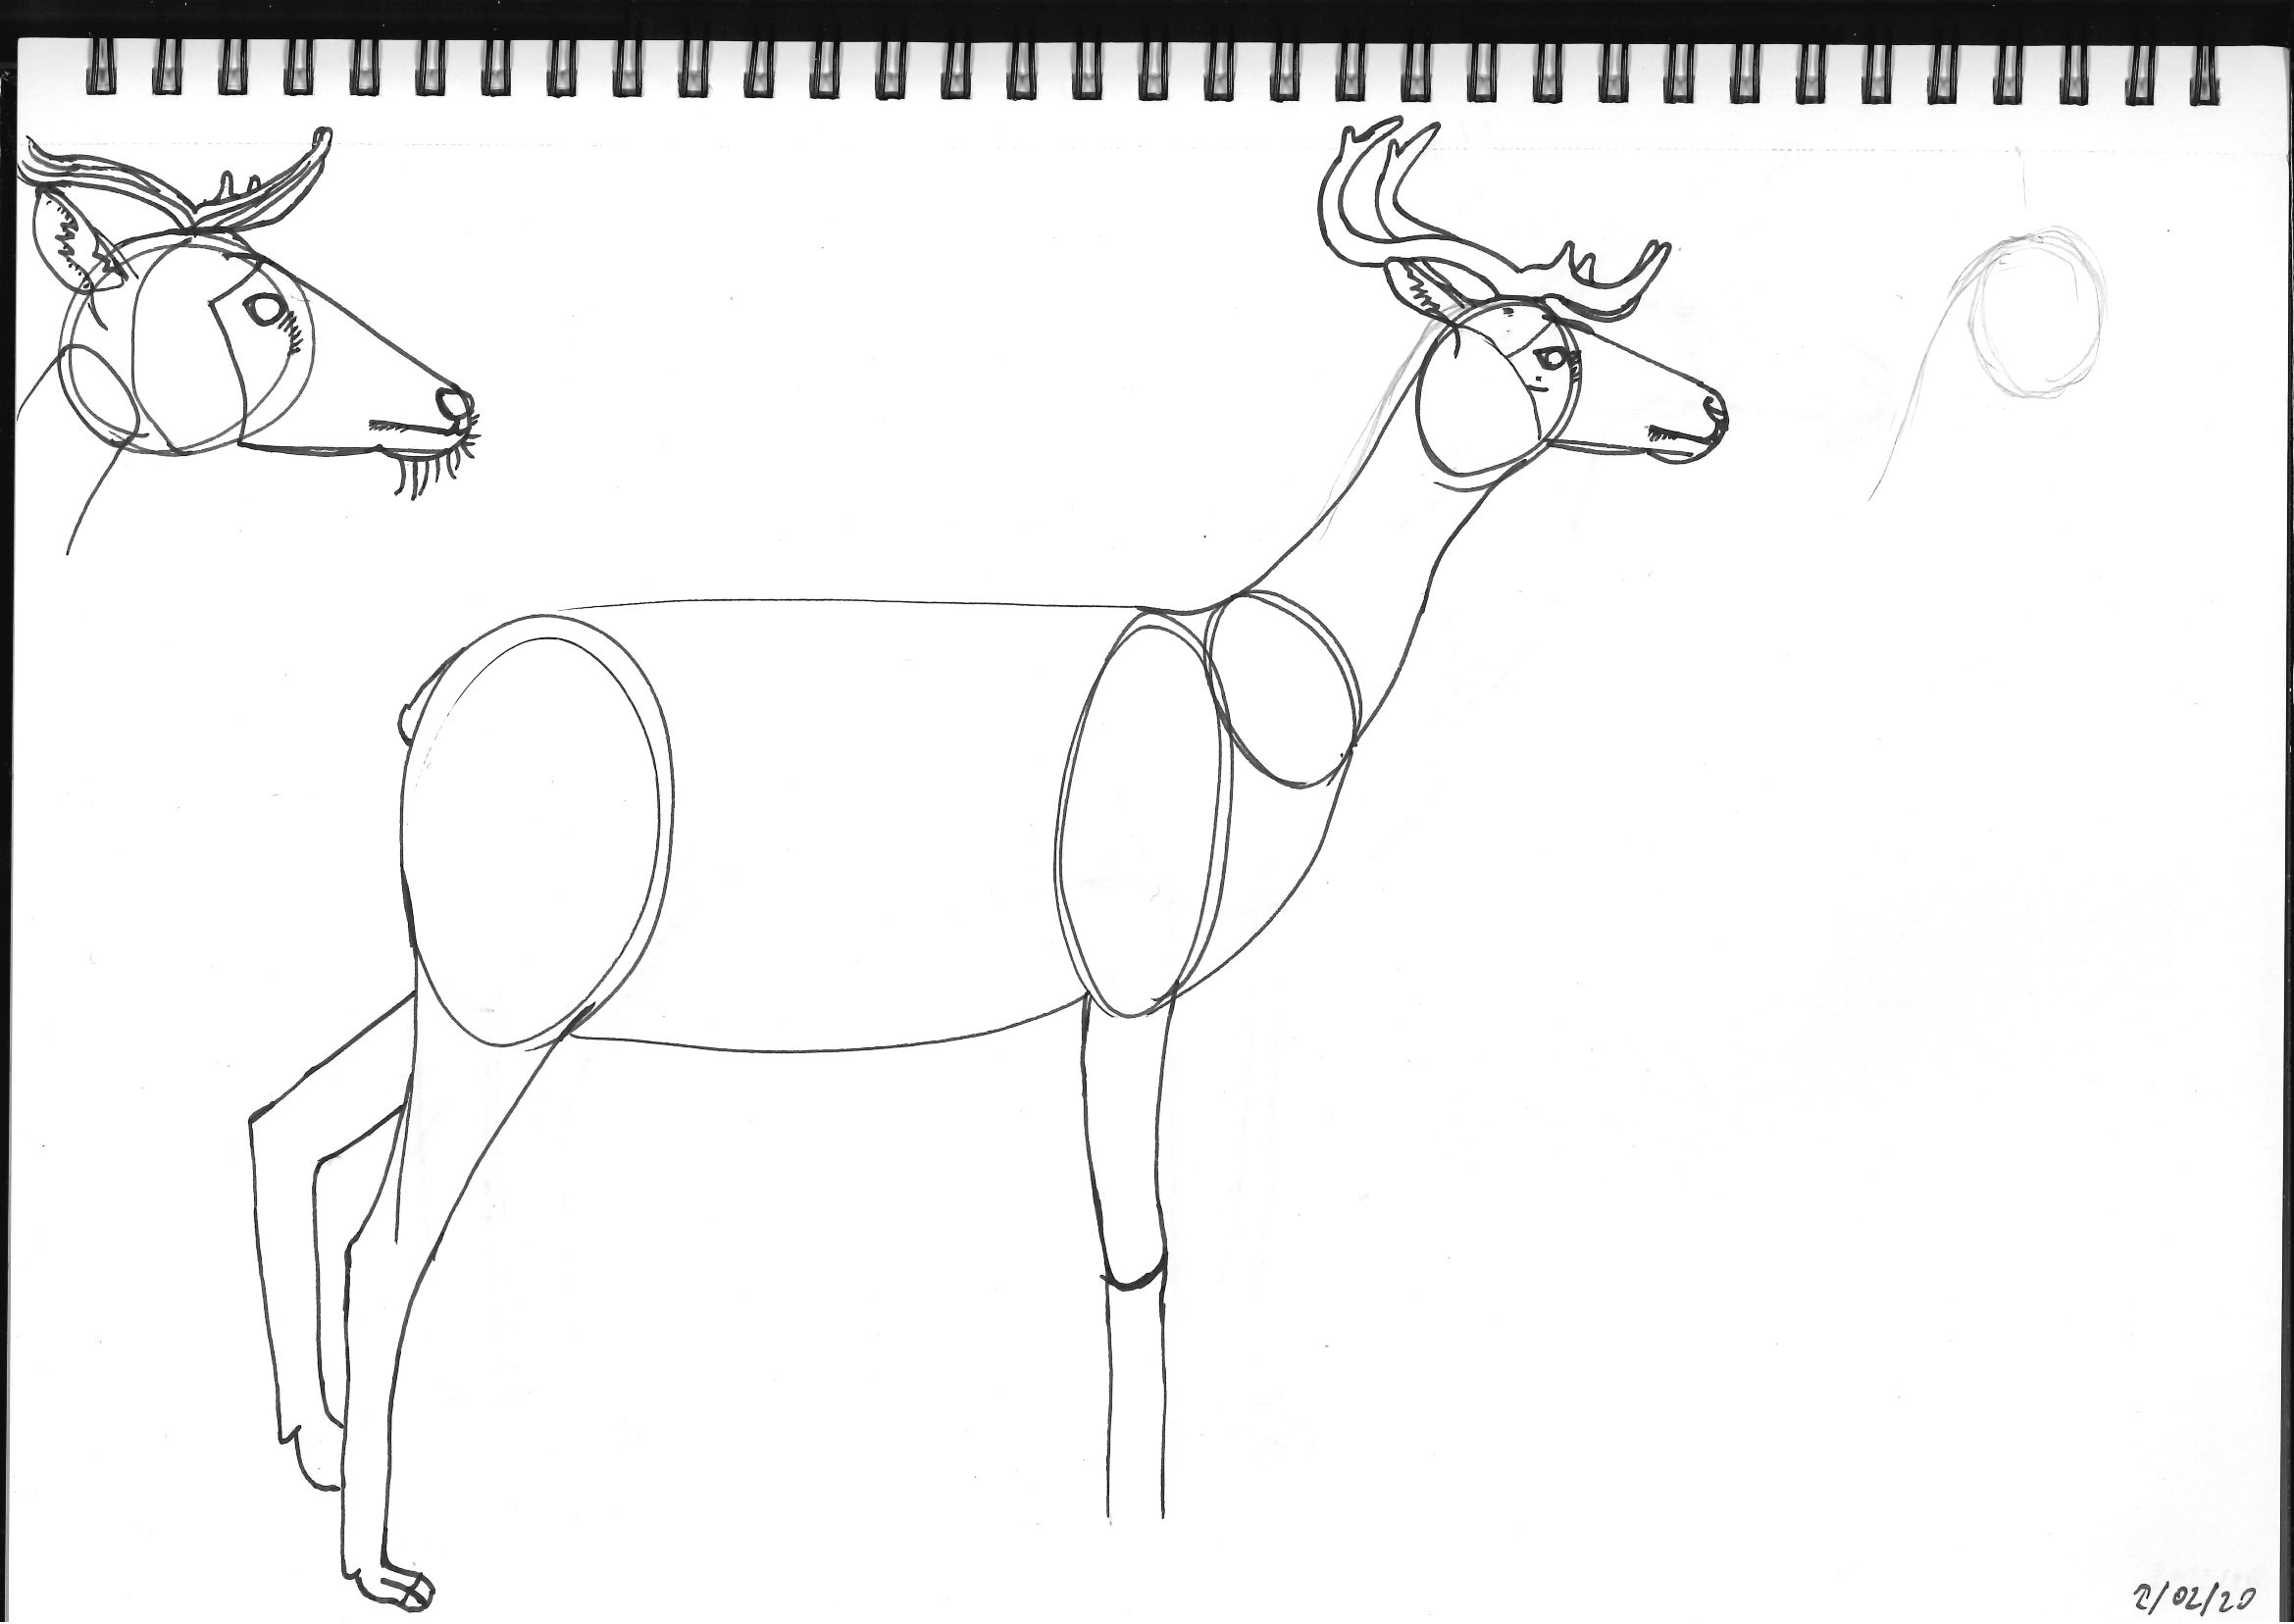
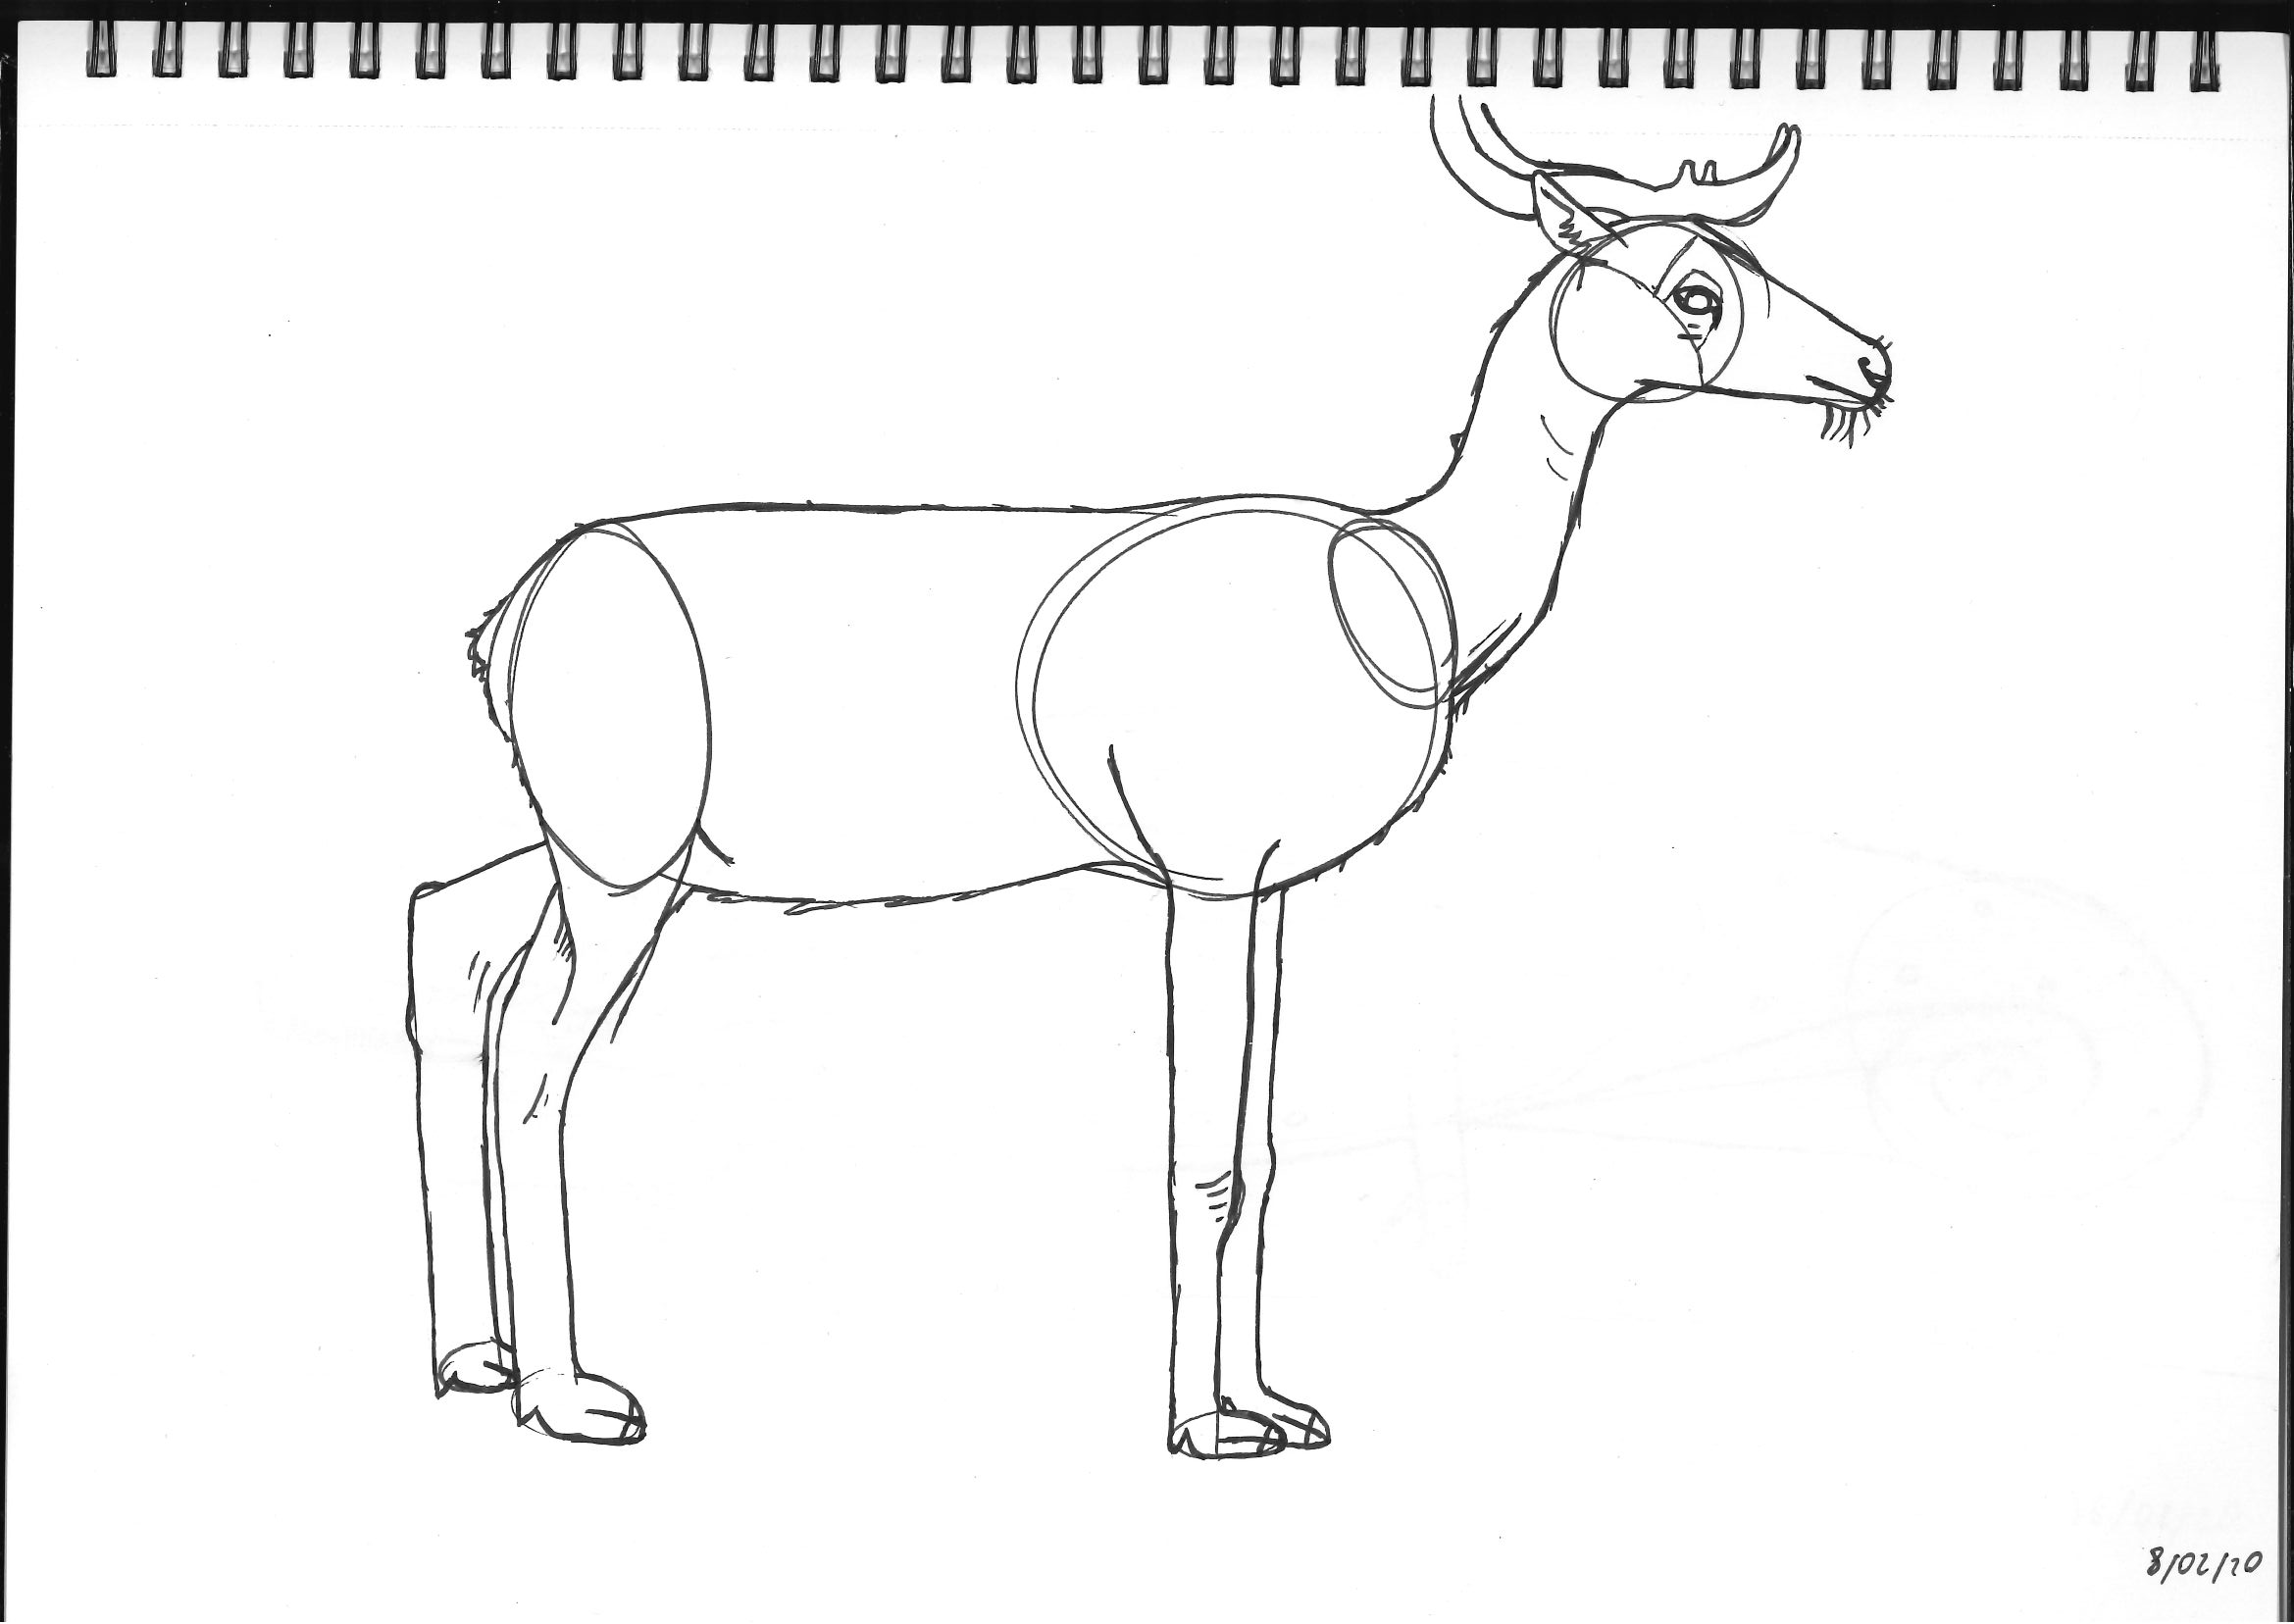
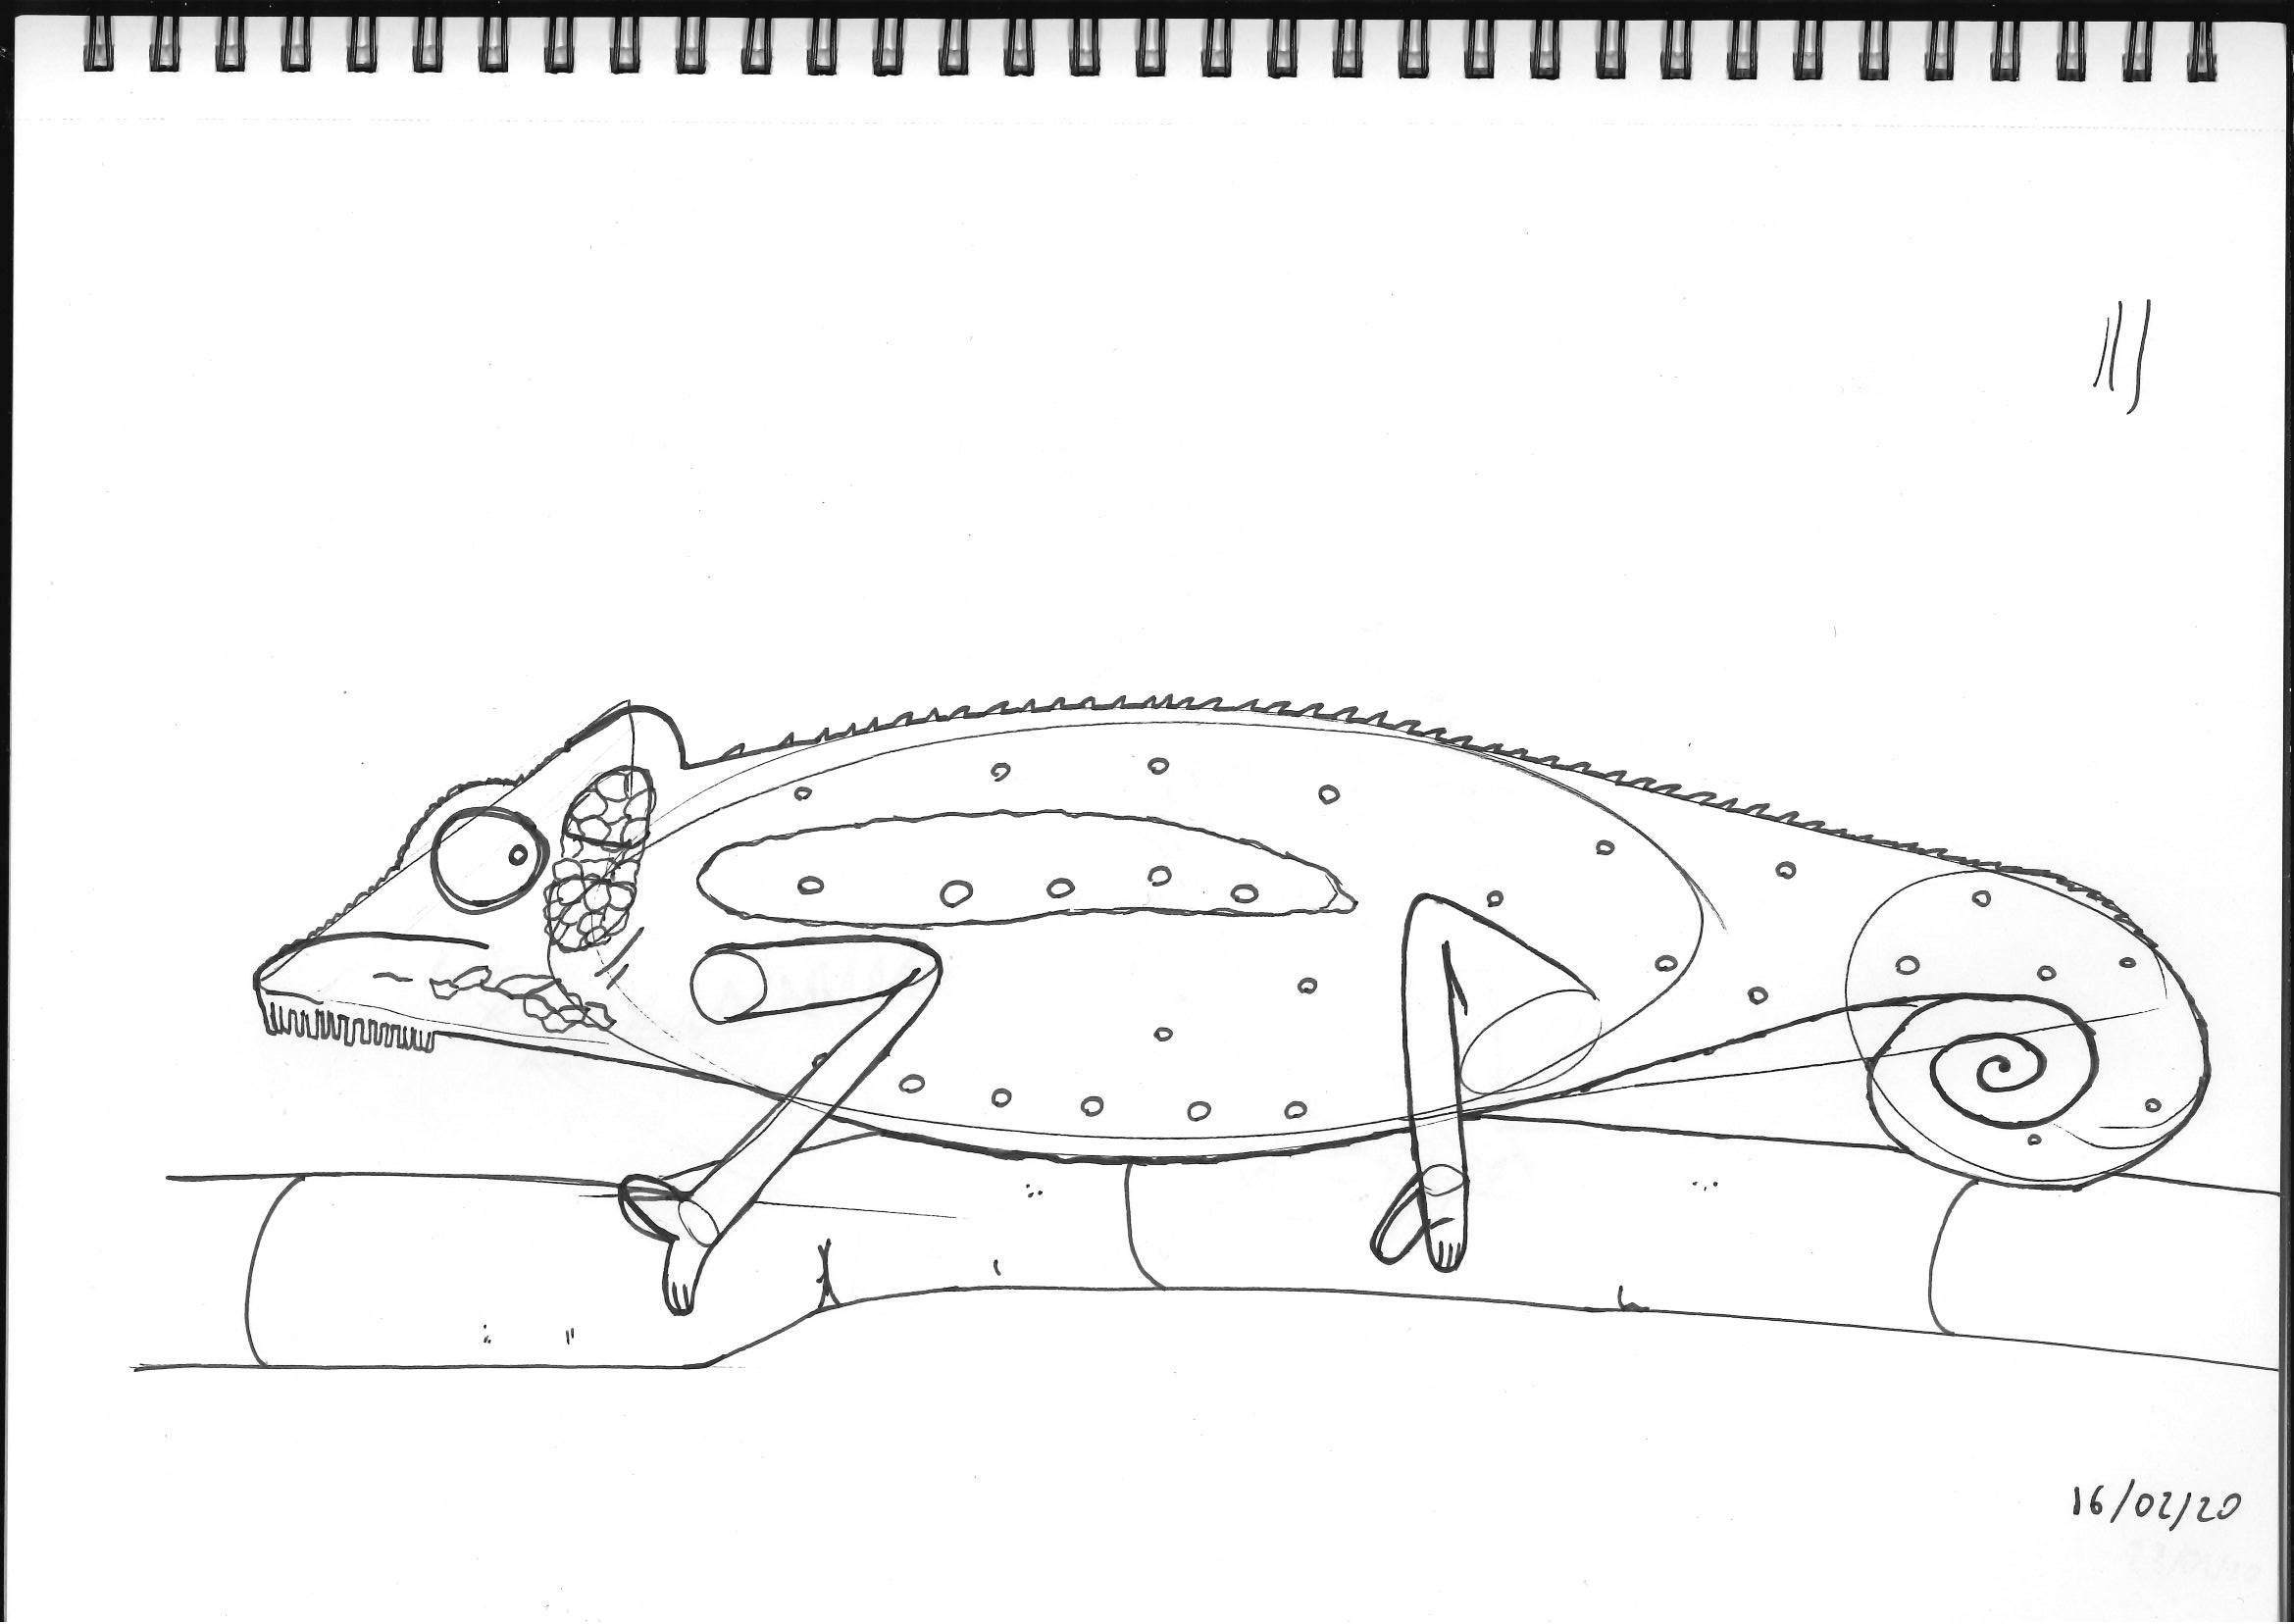
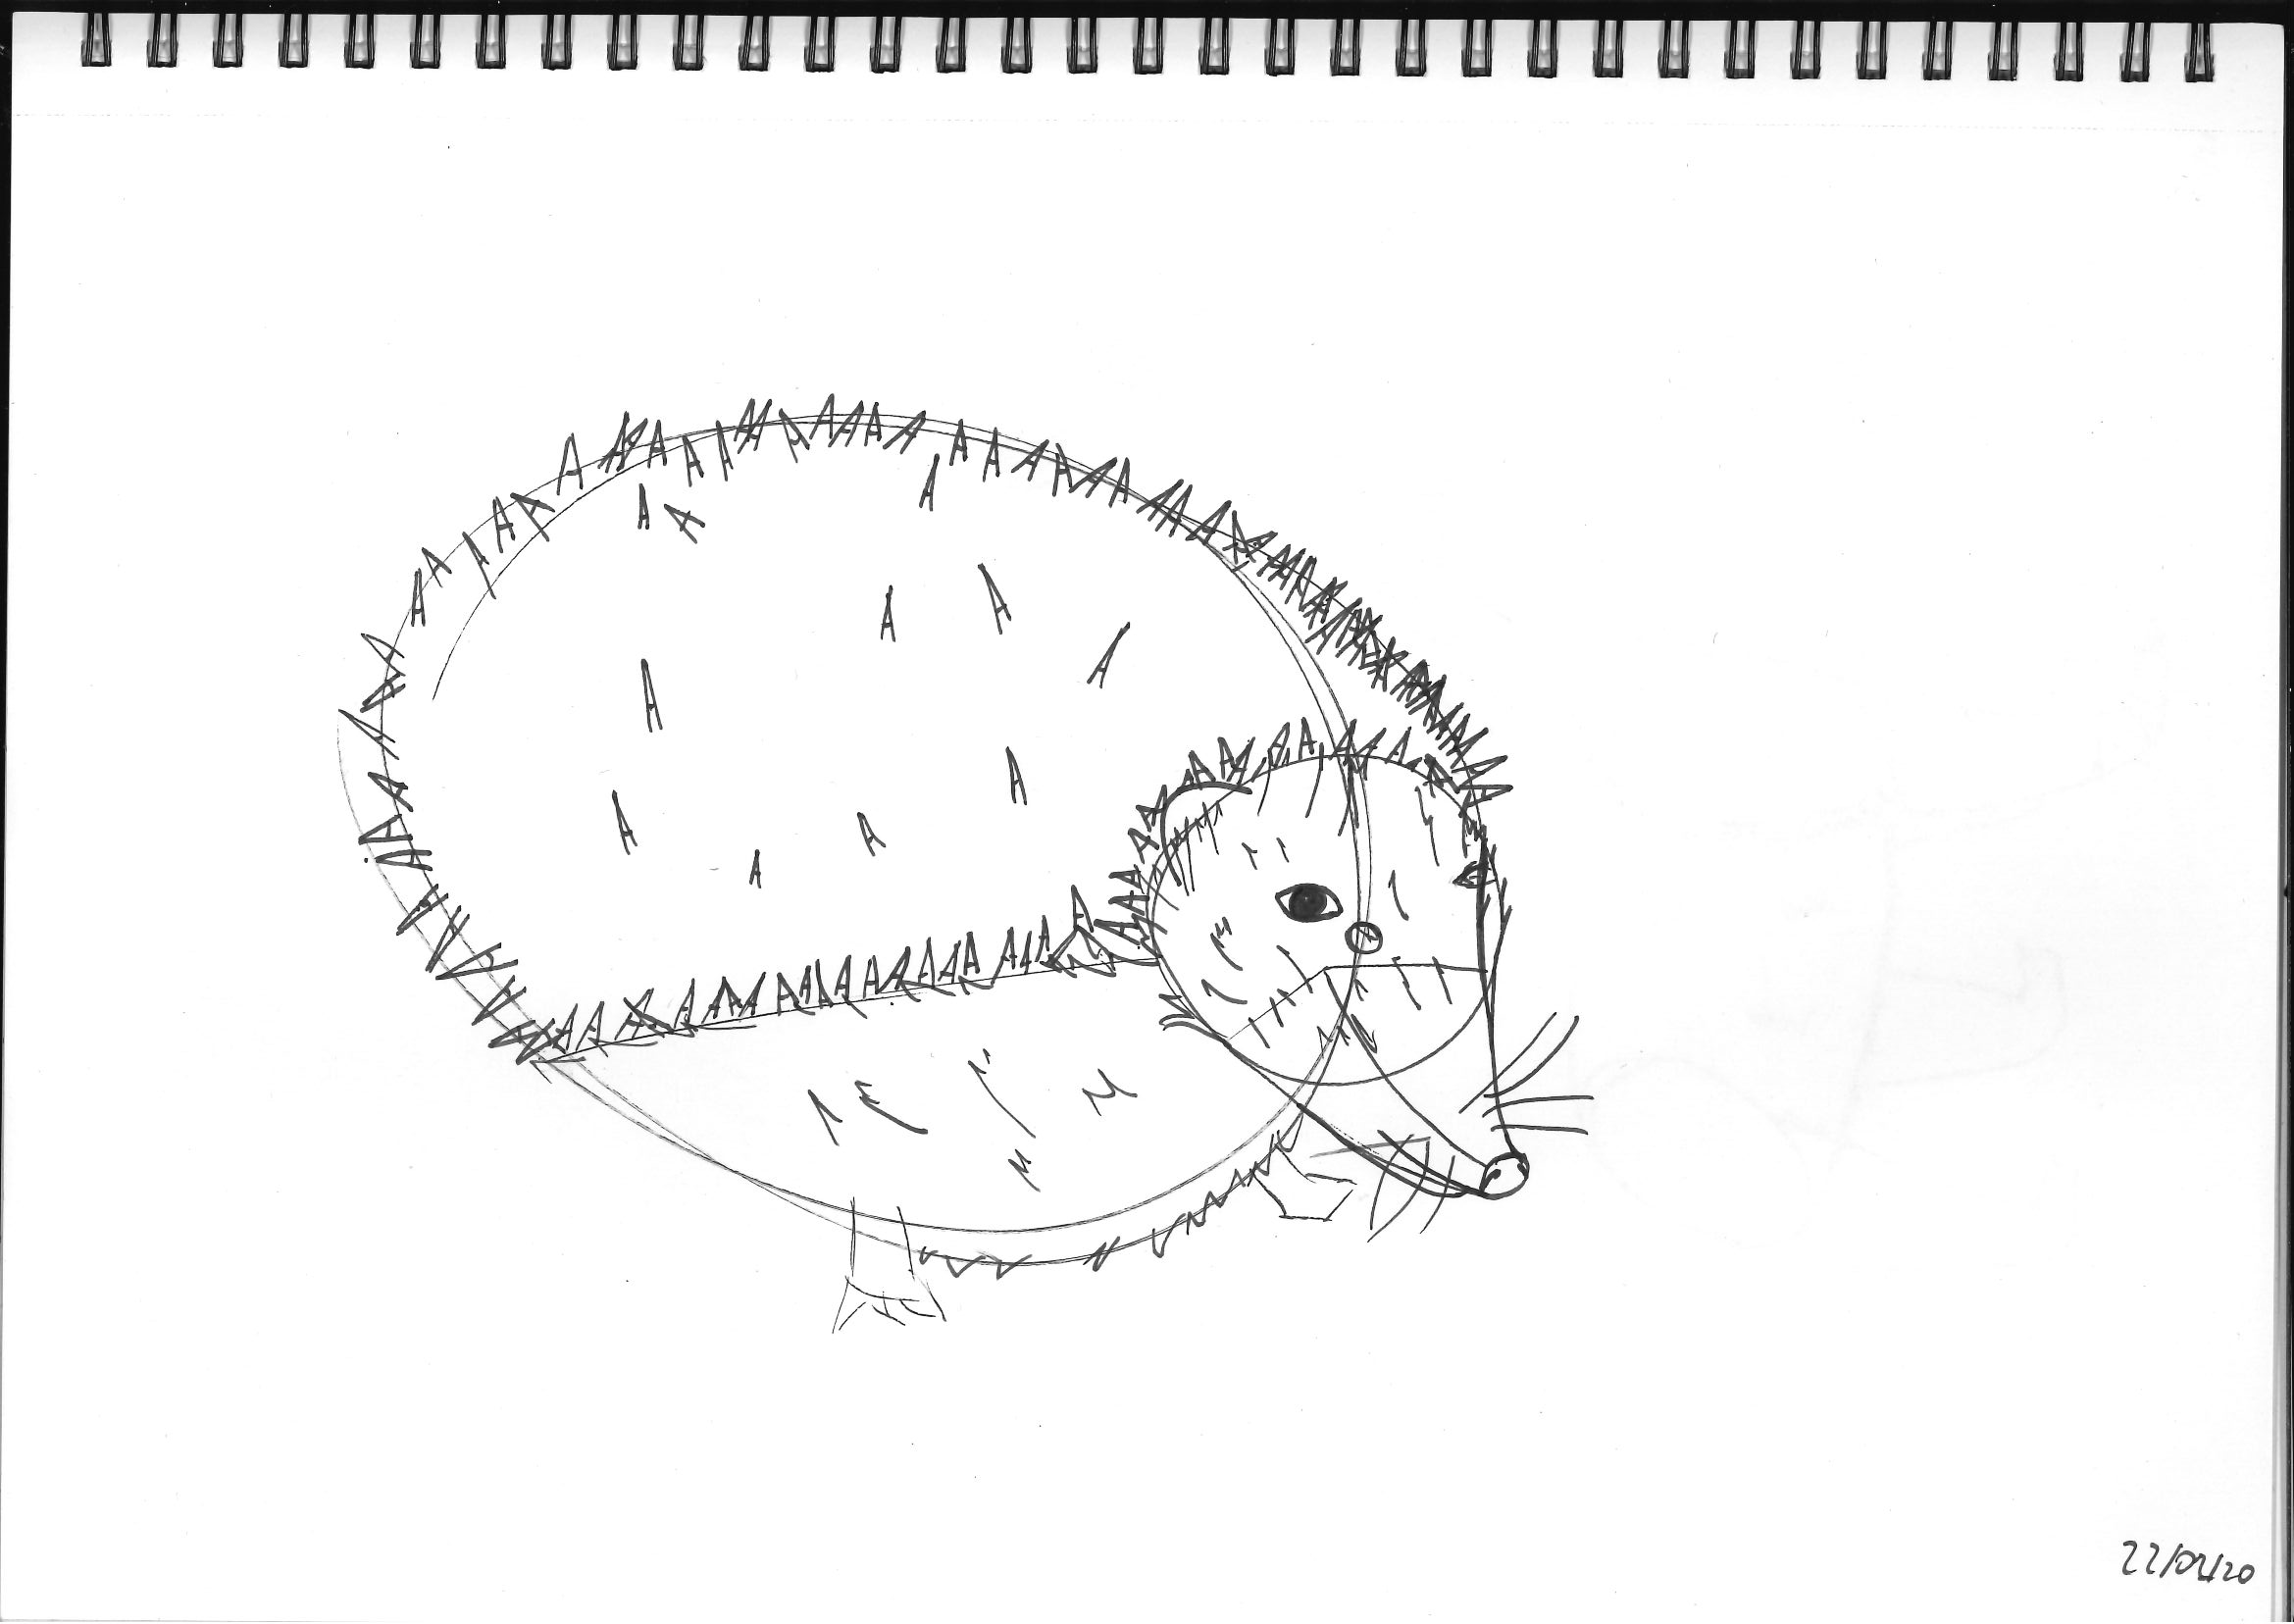
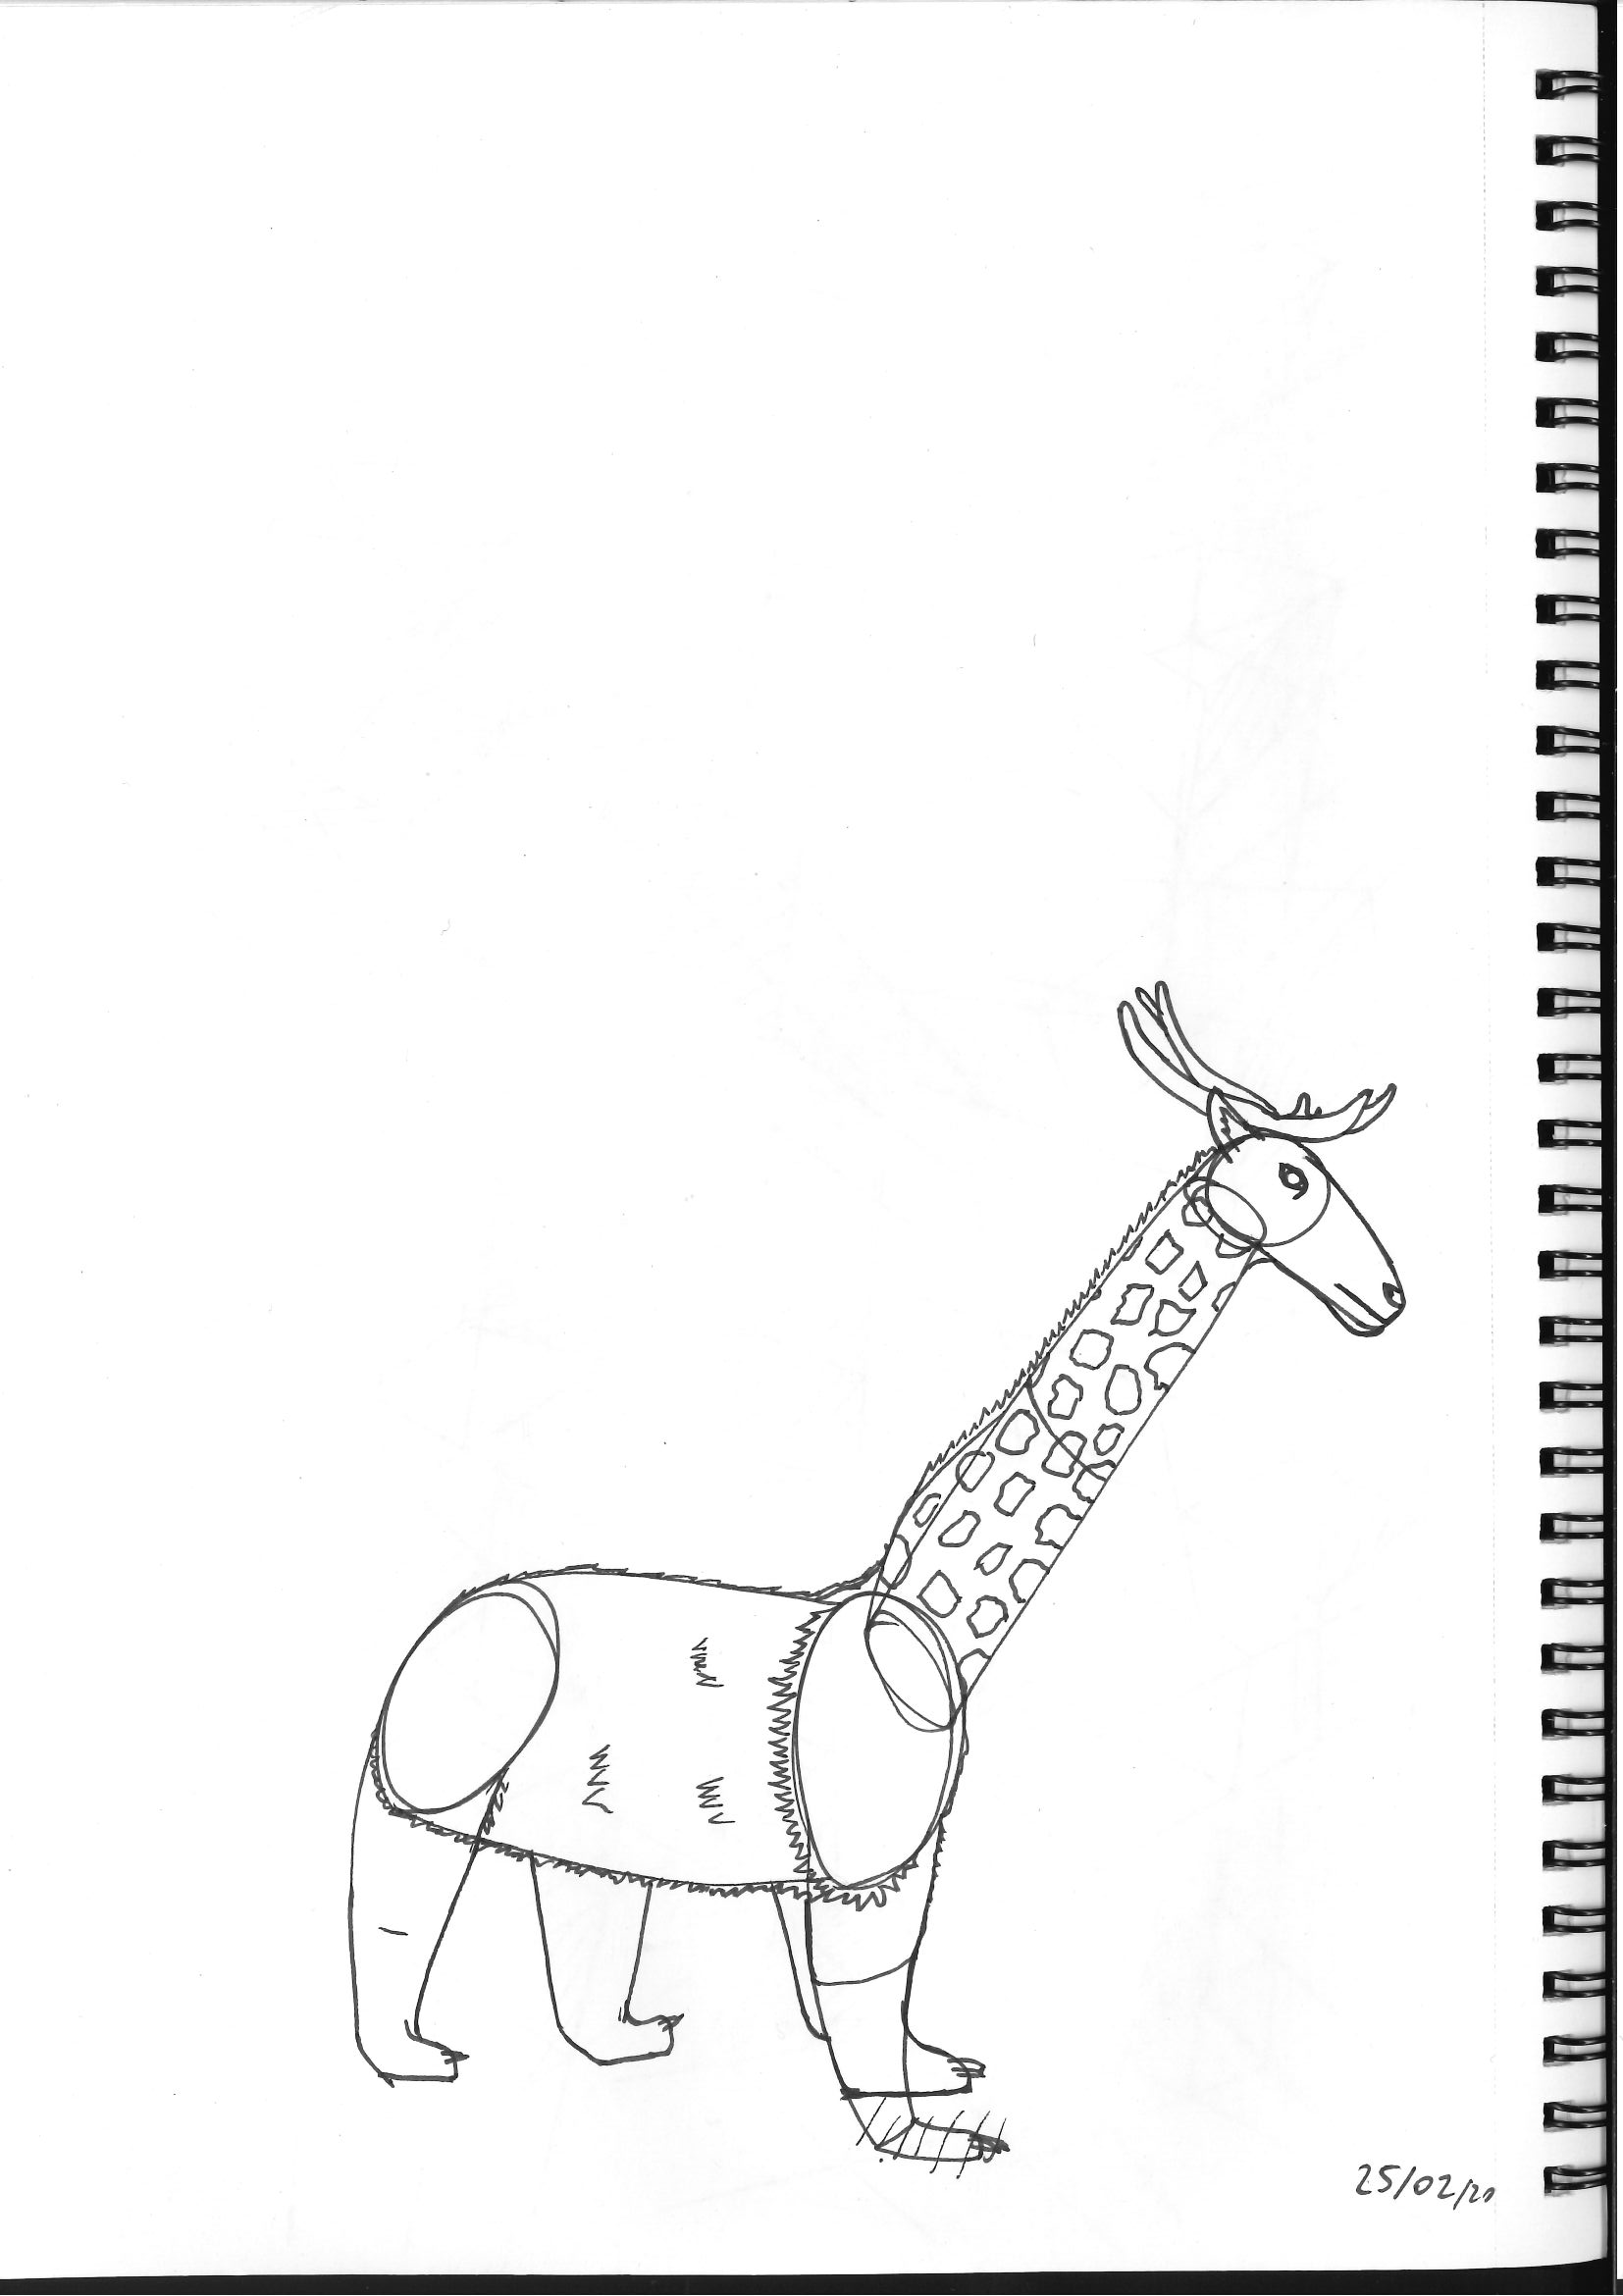
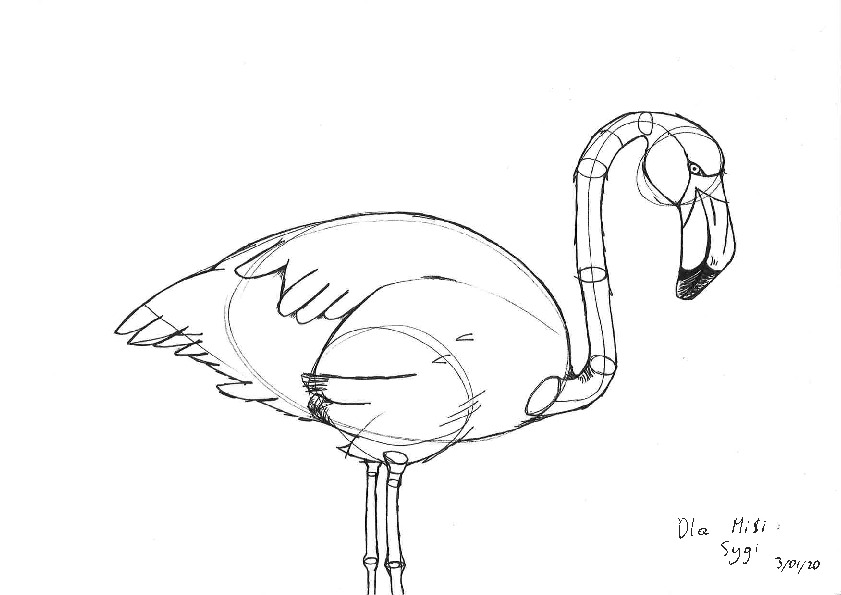
Lesson 5: Applying Construction to Animals
Animals had a surprisingly high good-look to hardness to create ratios, i.e. despite not being comfortable with my skills at all at this point, I have to say some of the pictures are actually not bad :)
Also, I observed that re-doing a given picture makes it easier (and better), but also teaches you less.
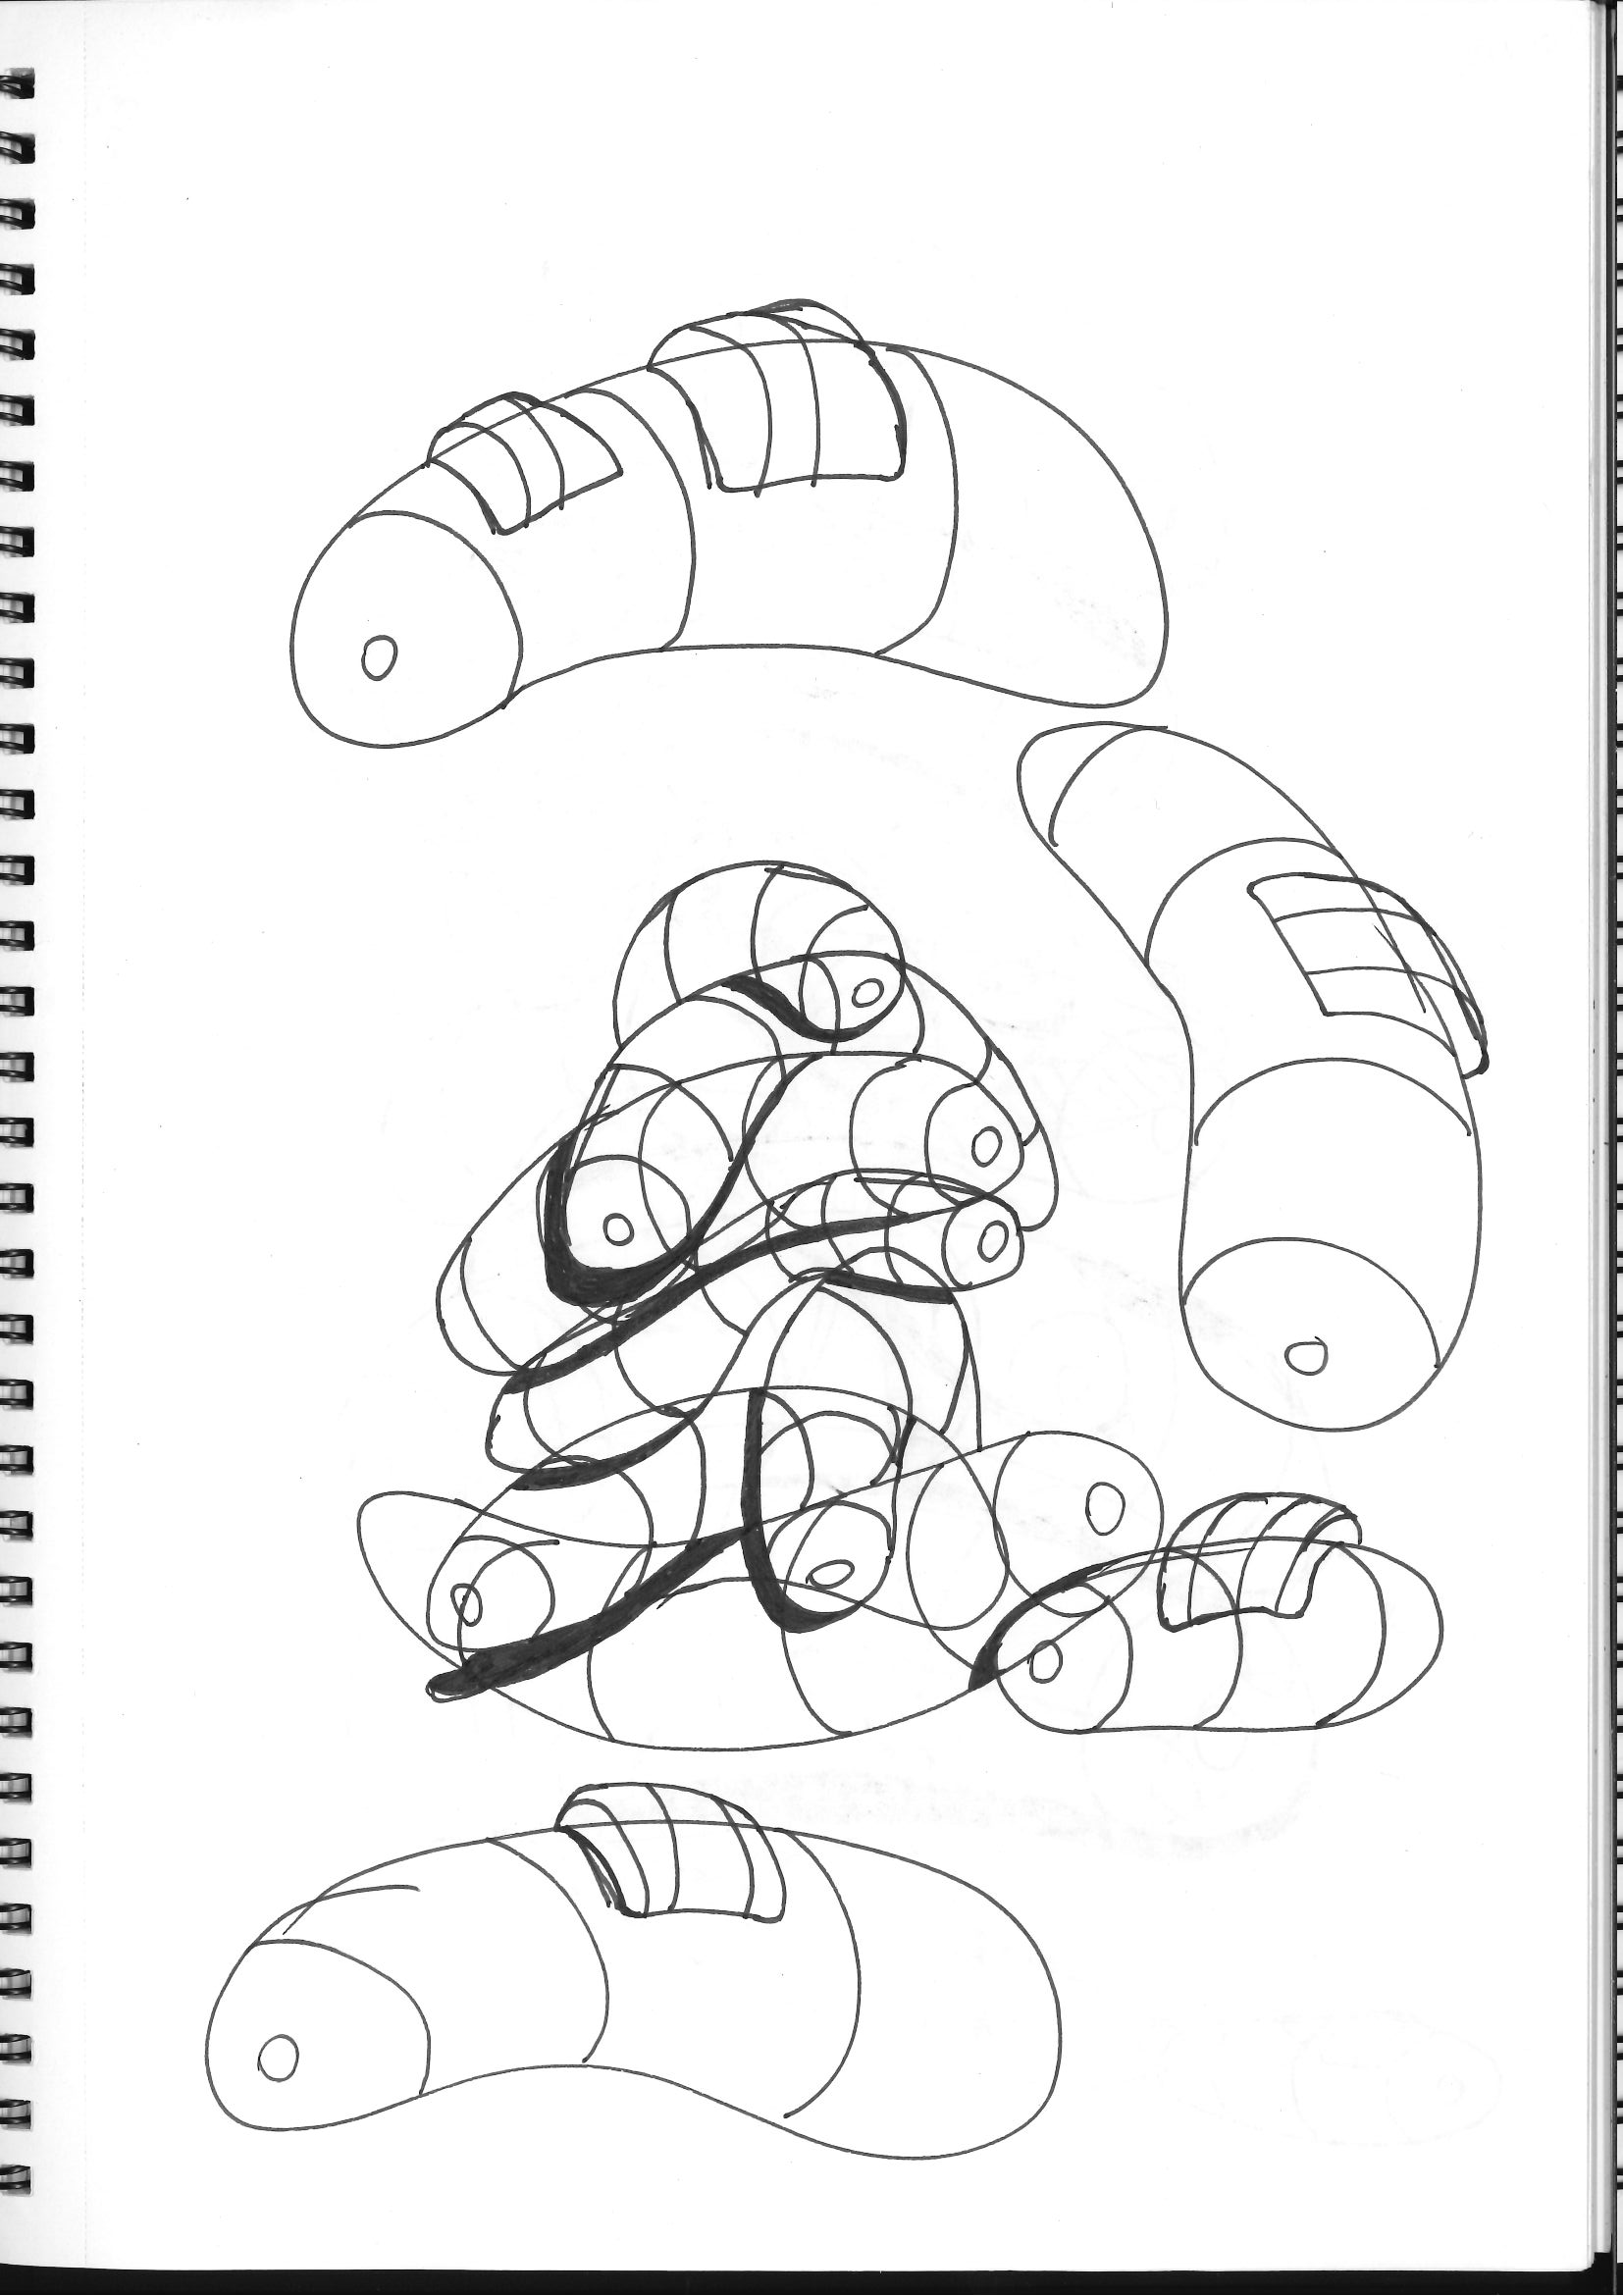
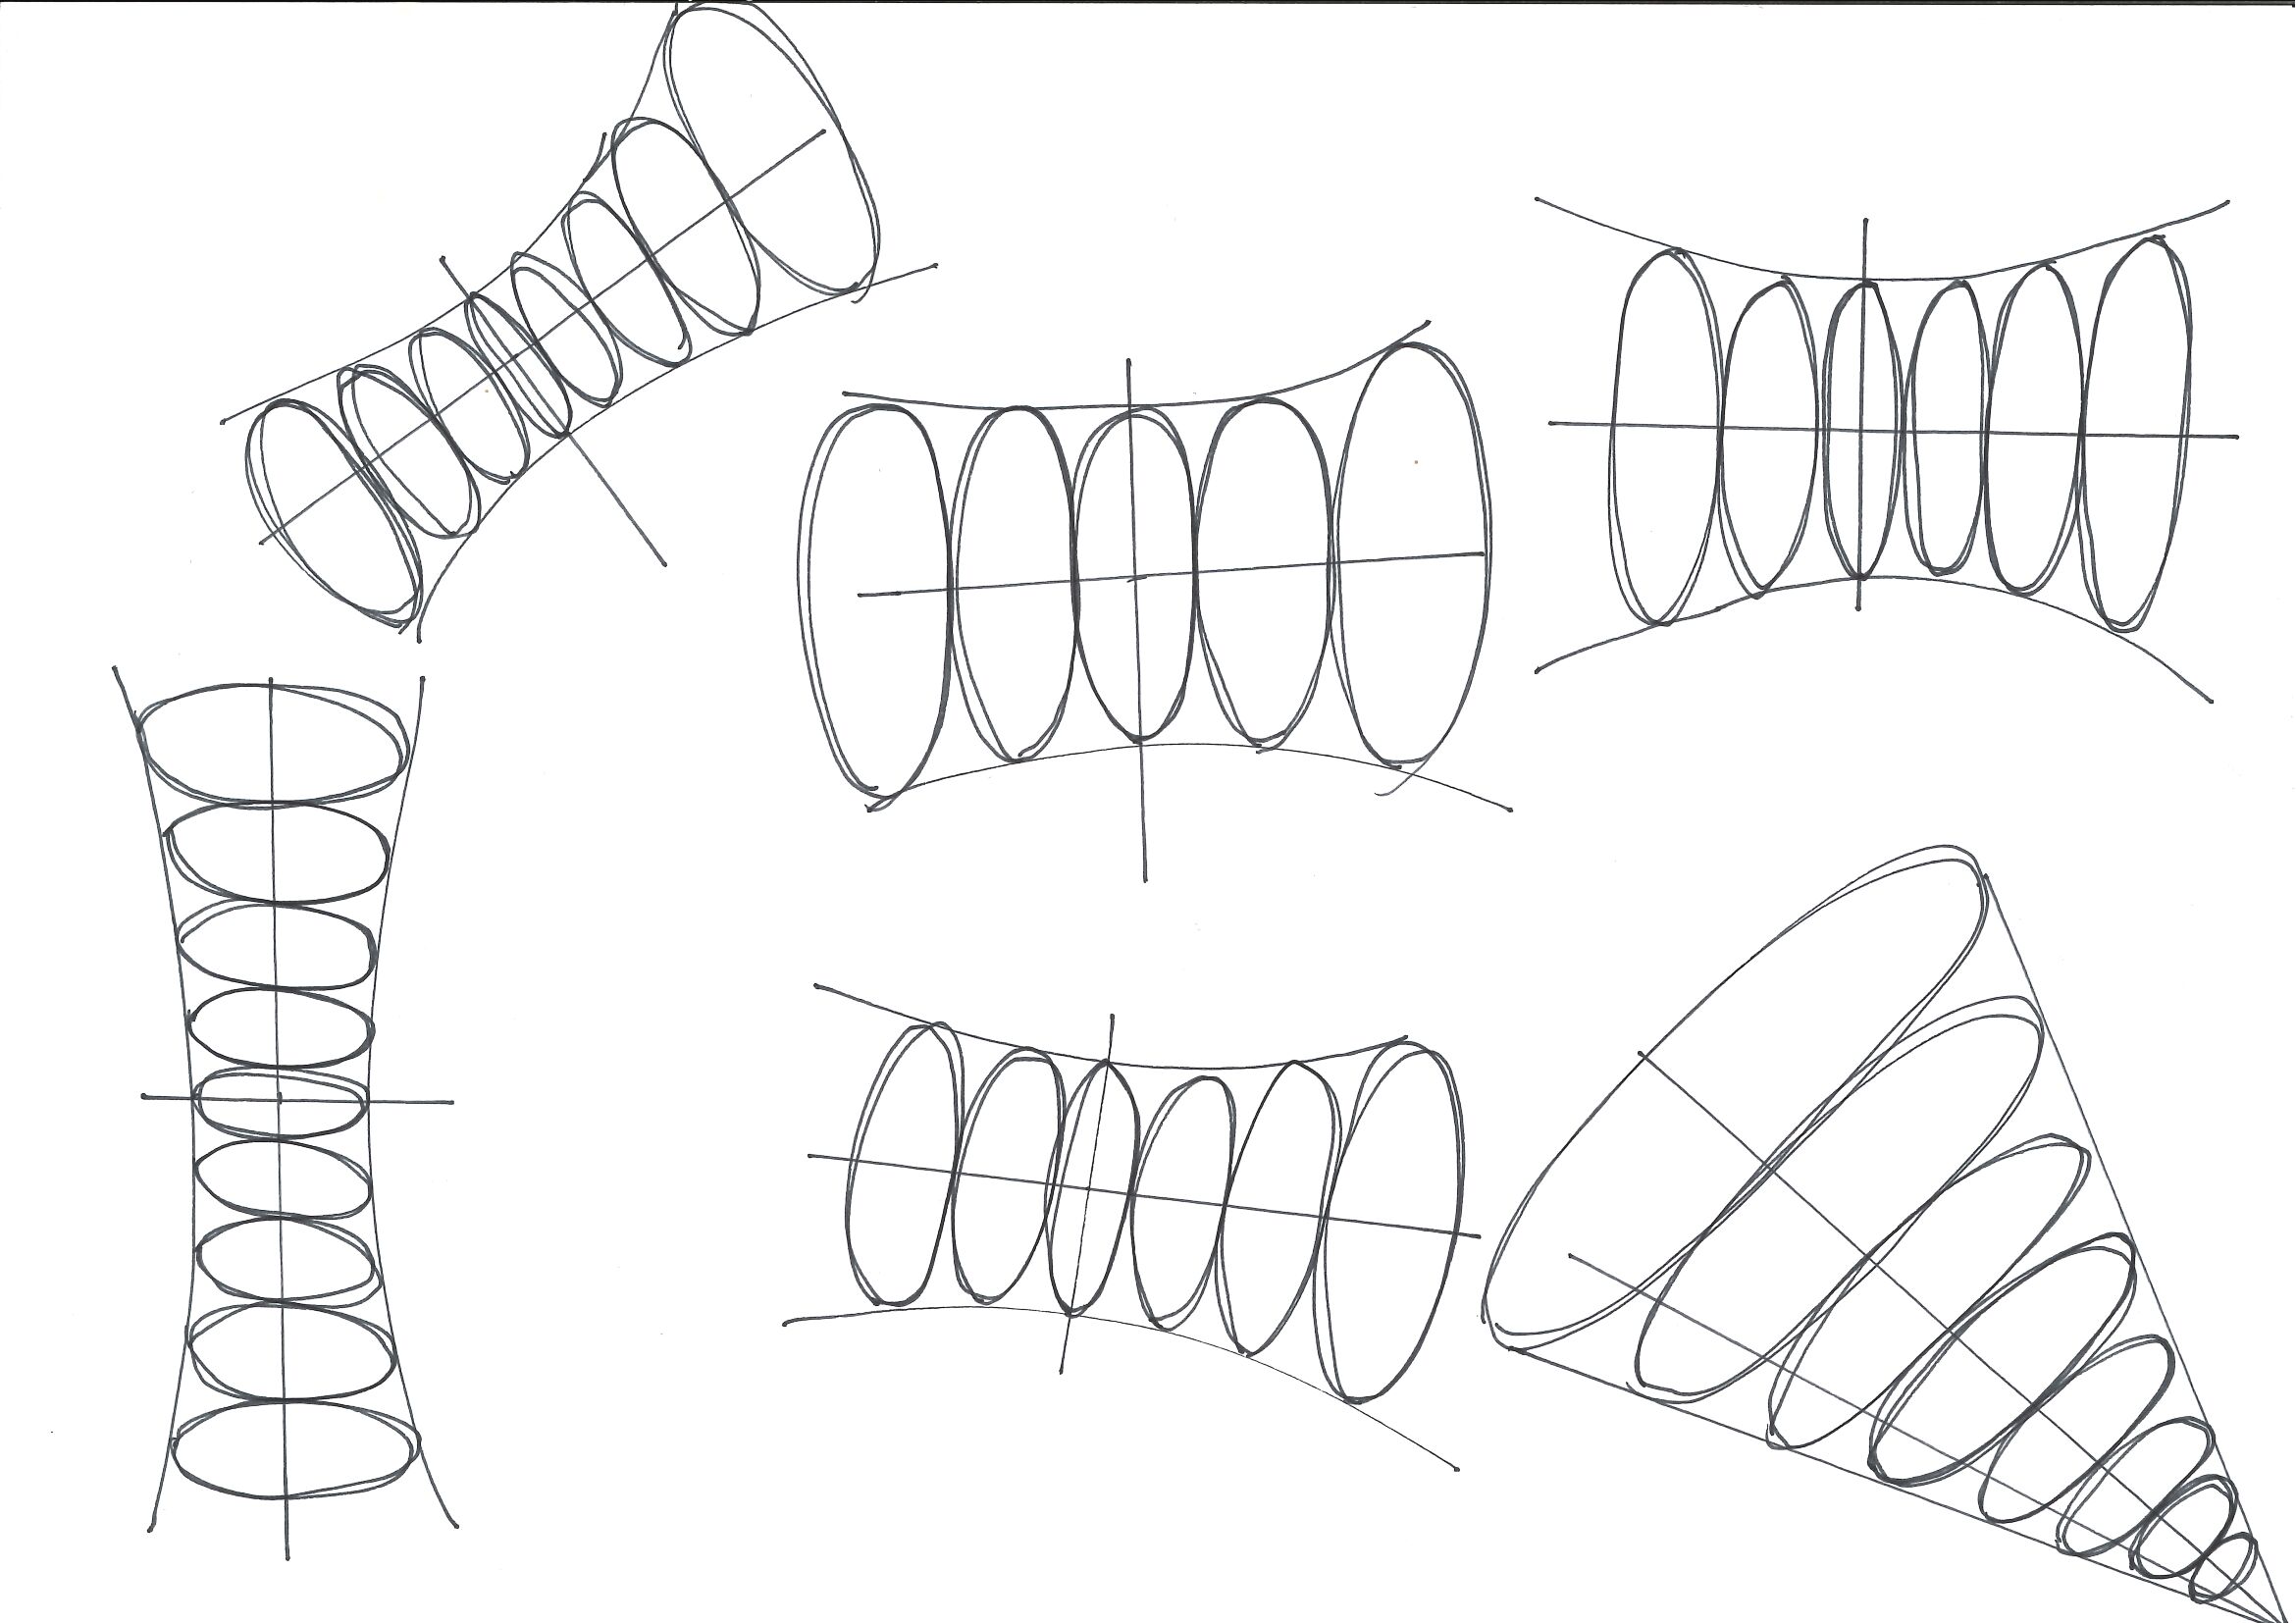
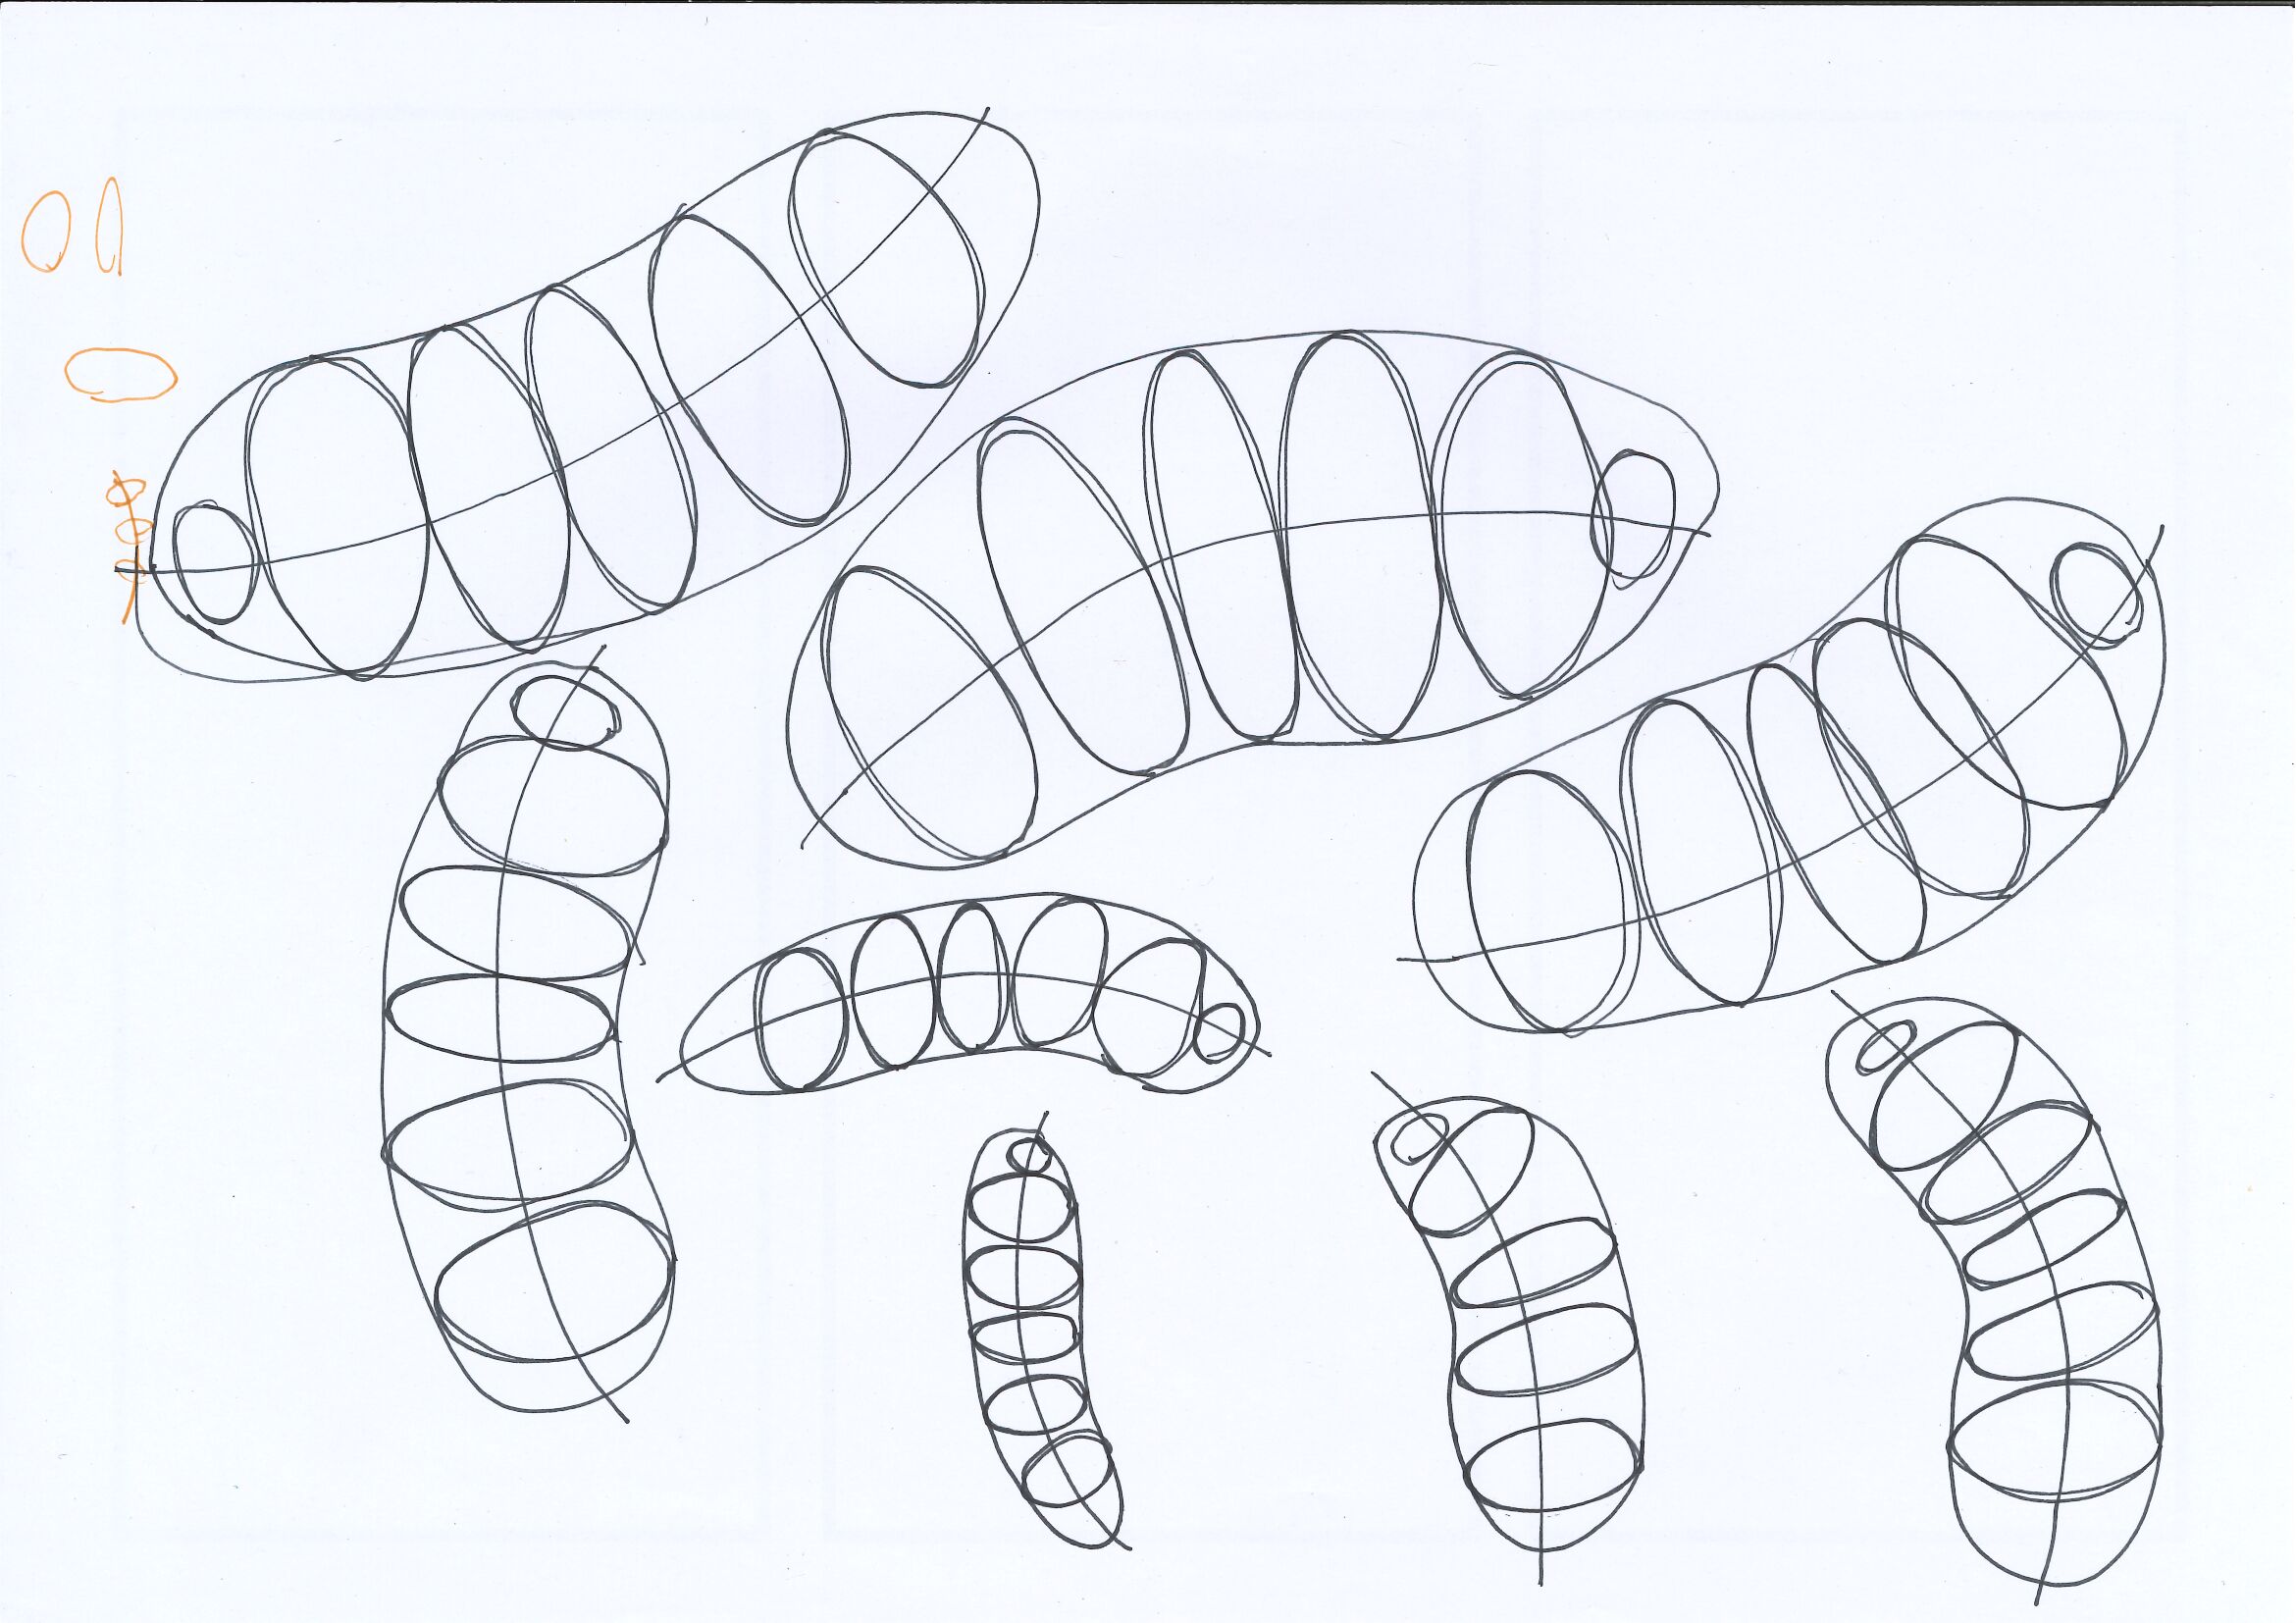
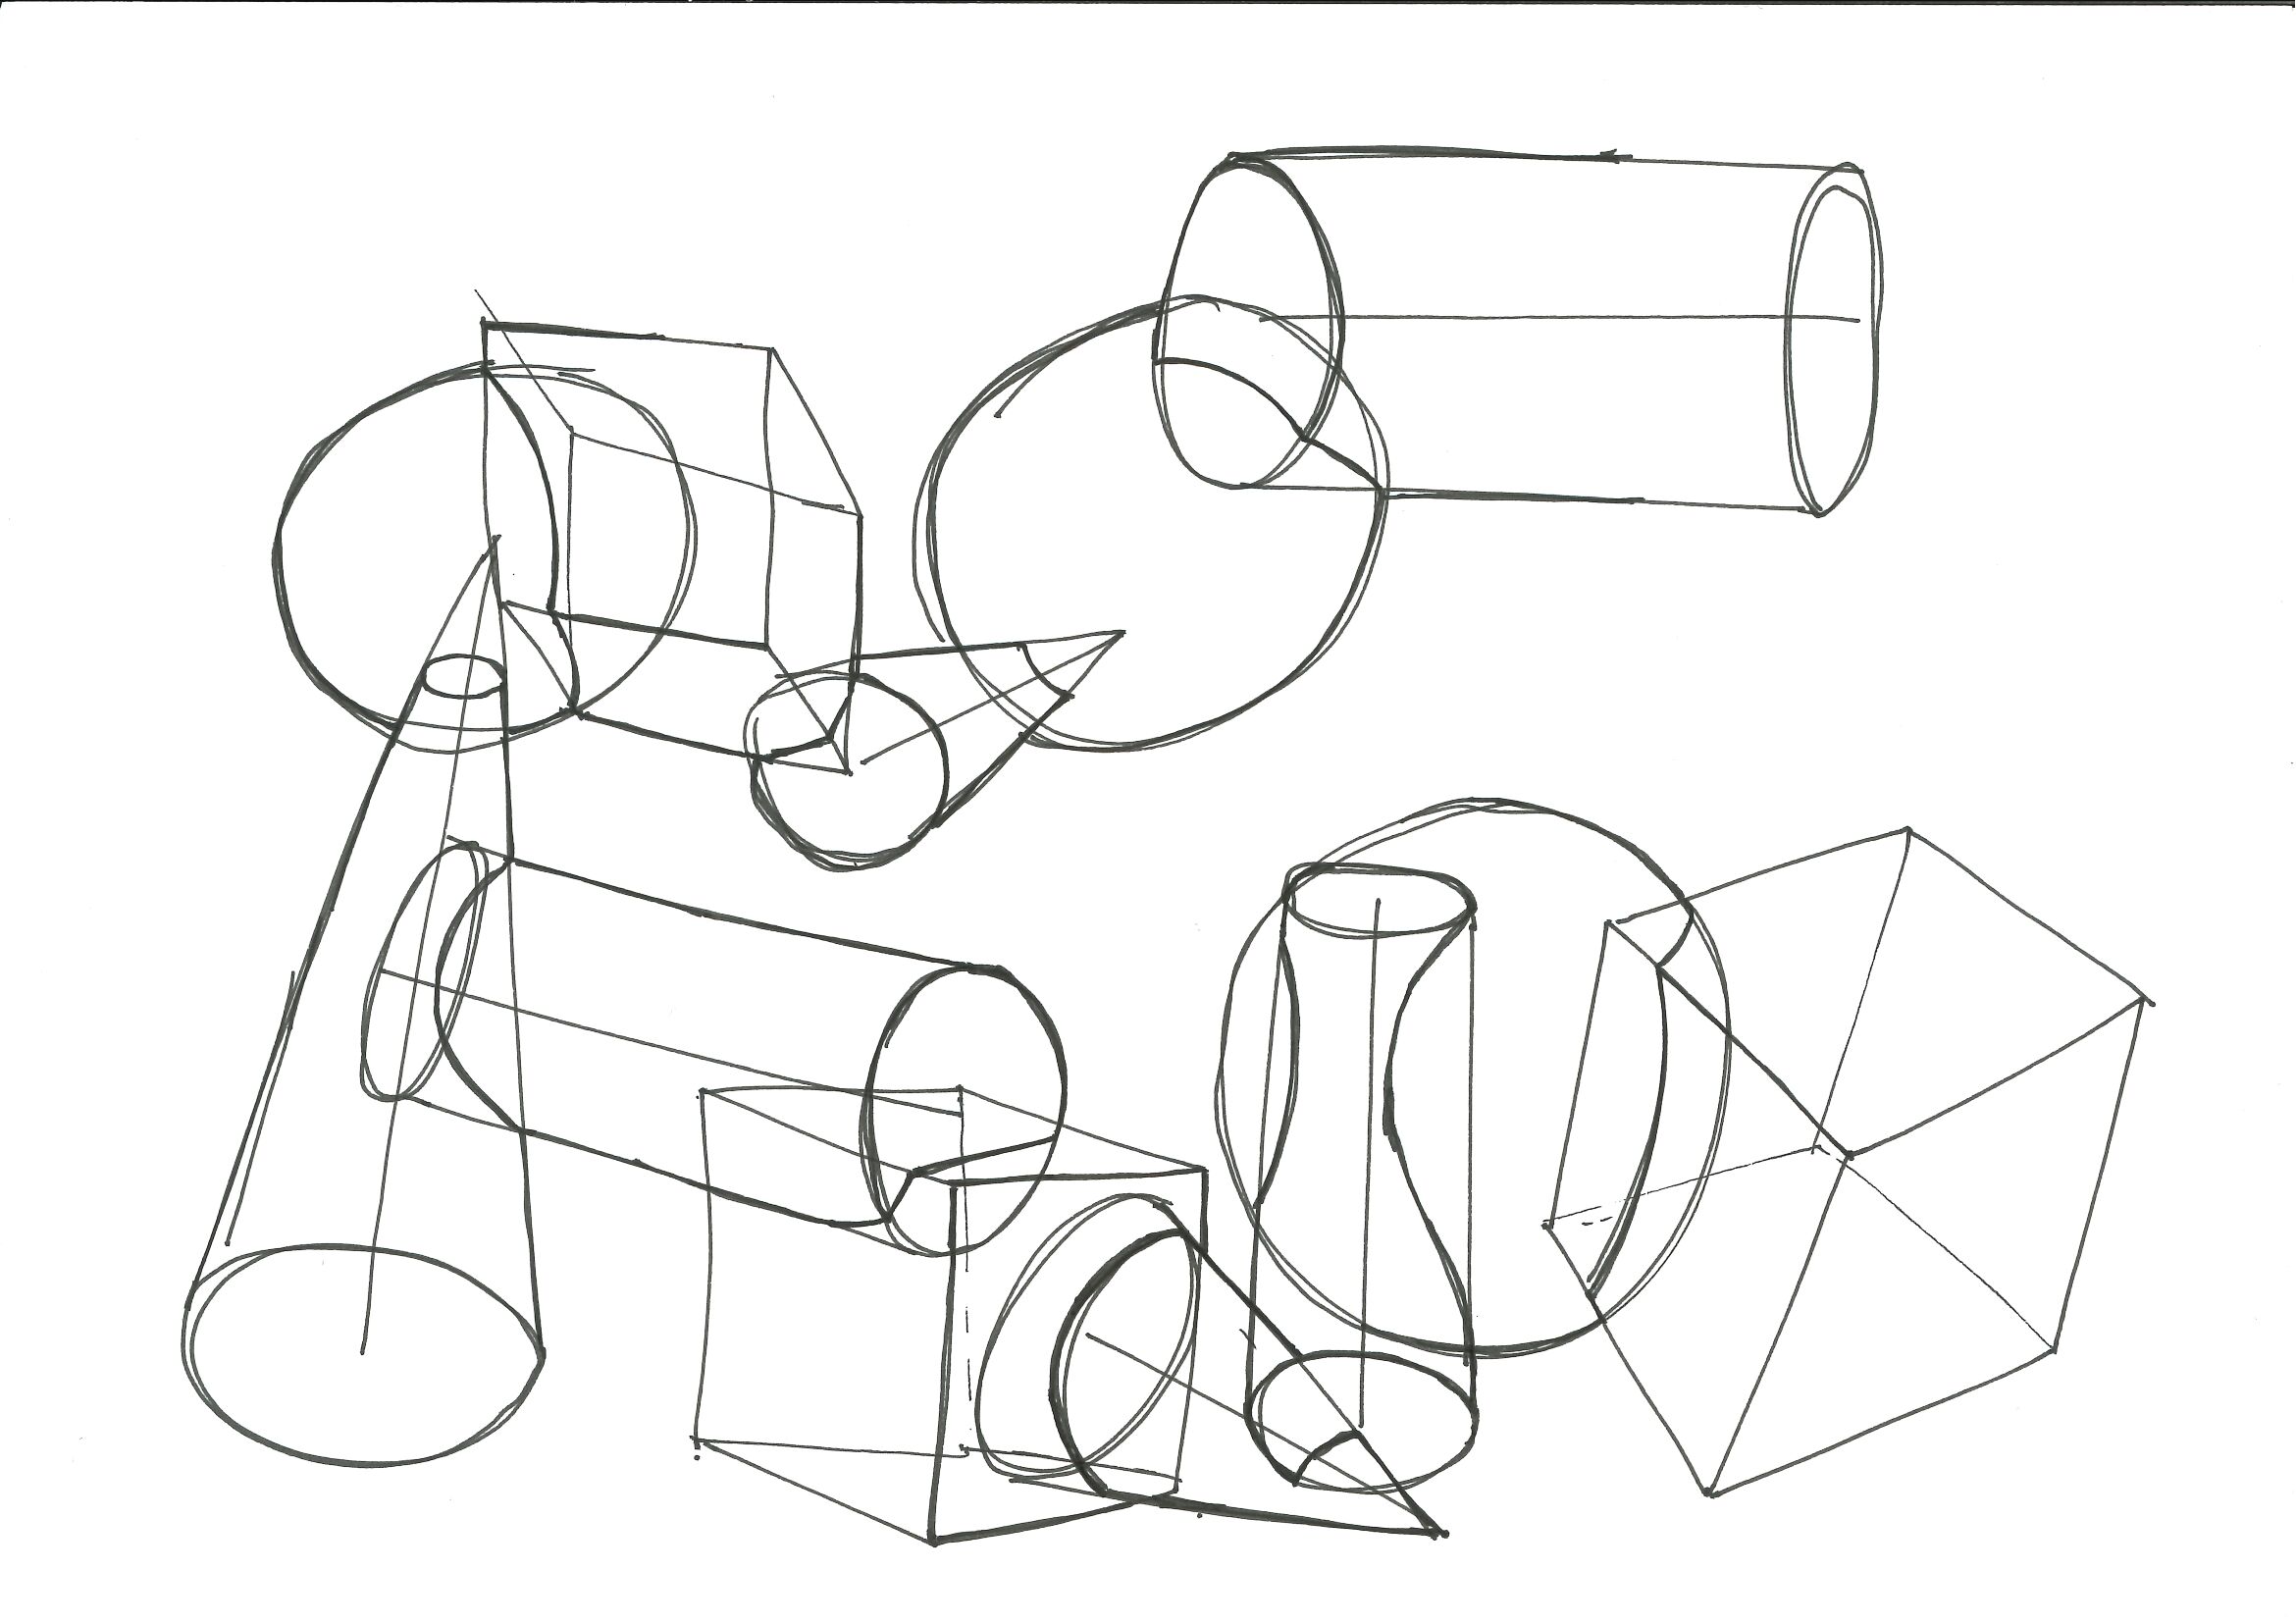
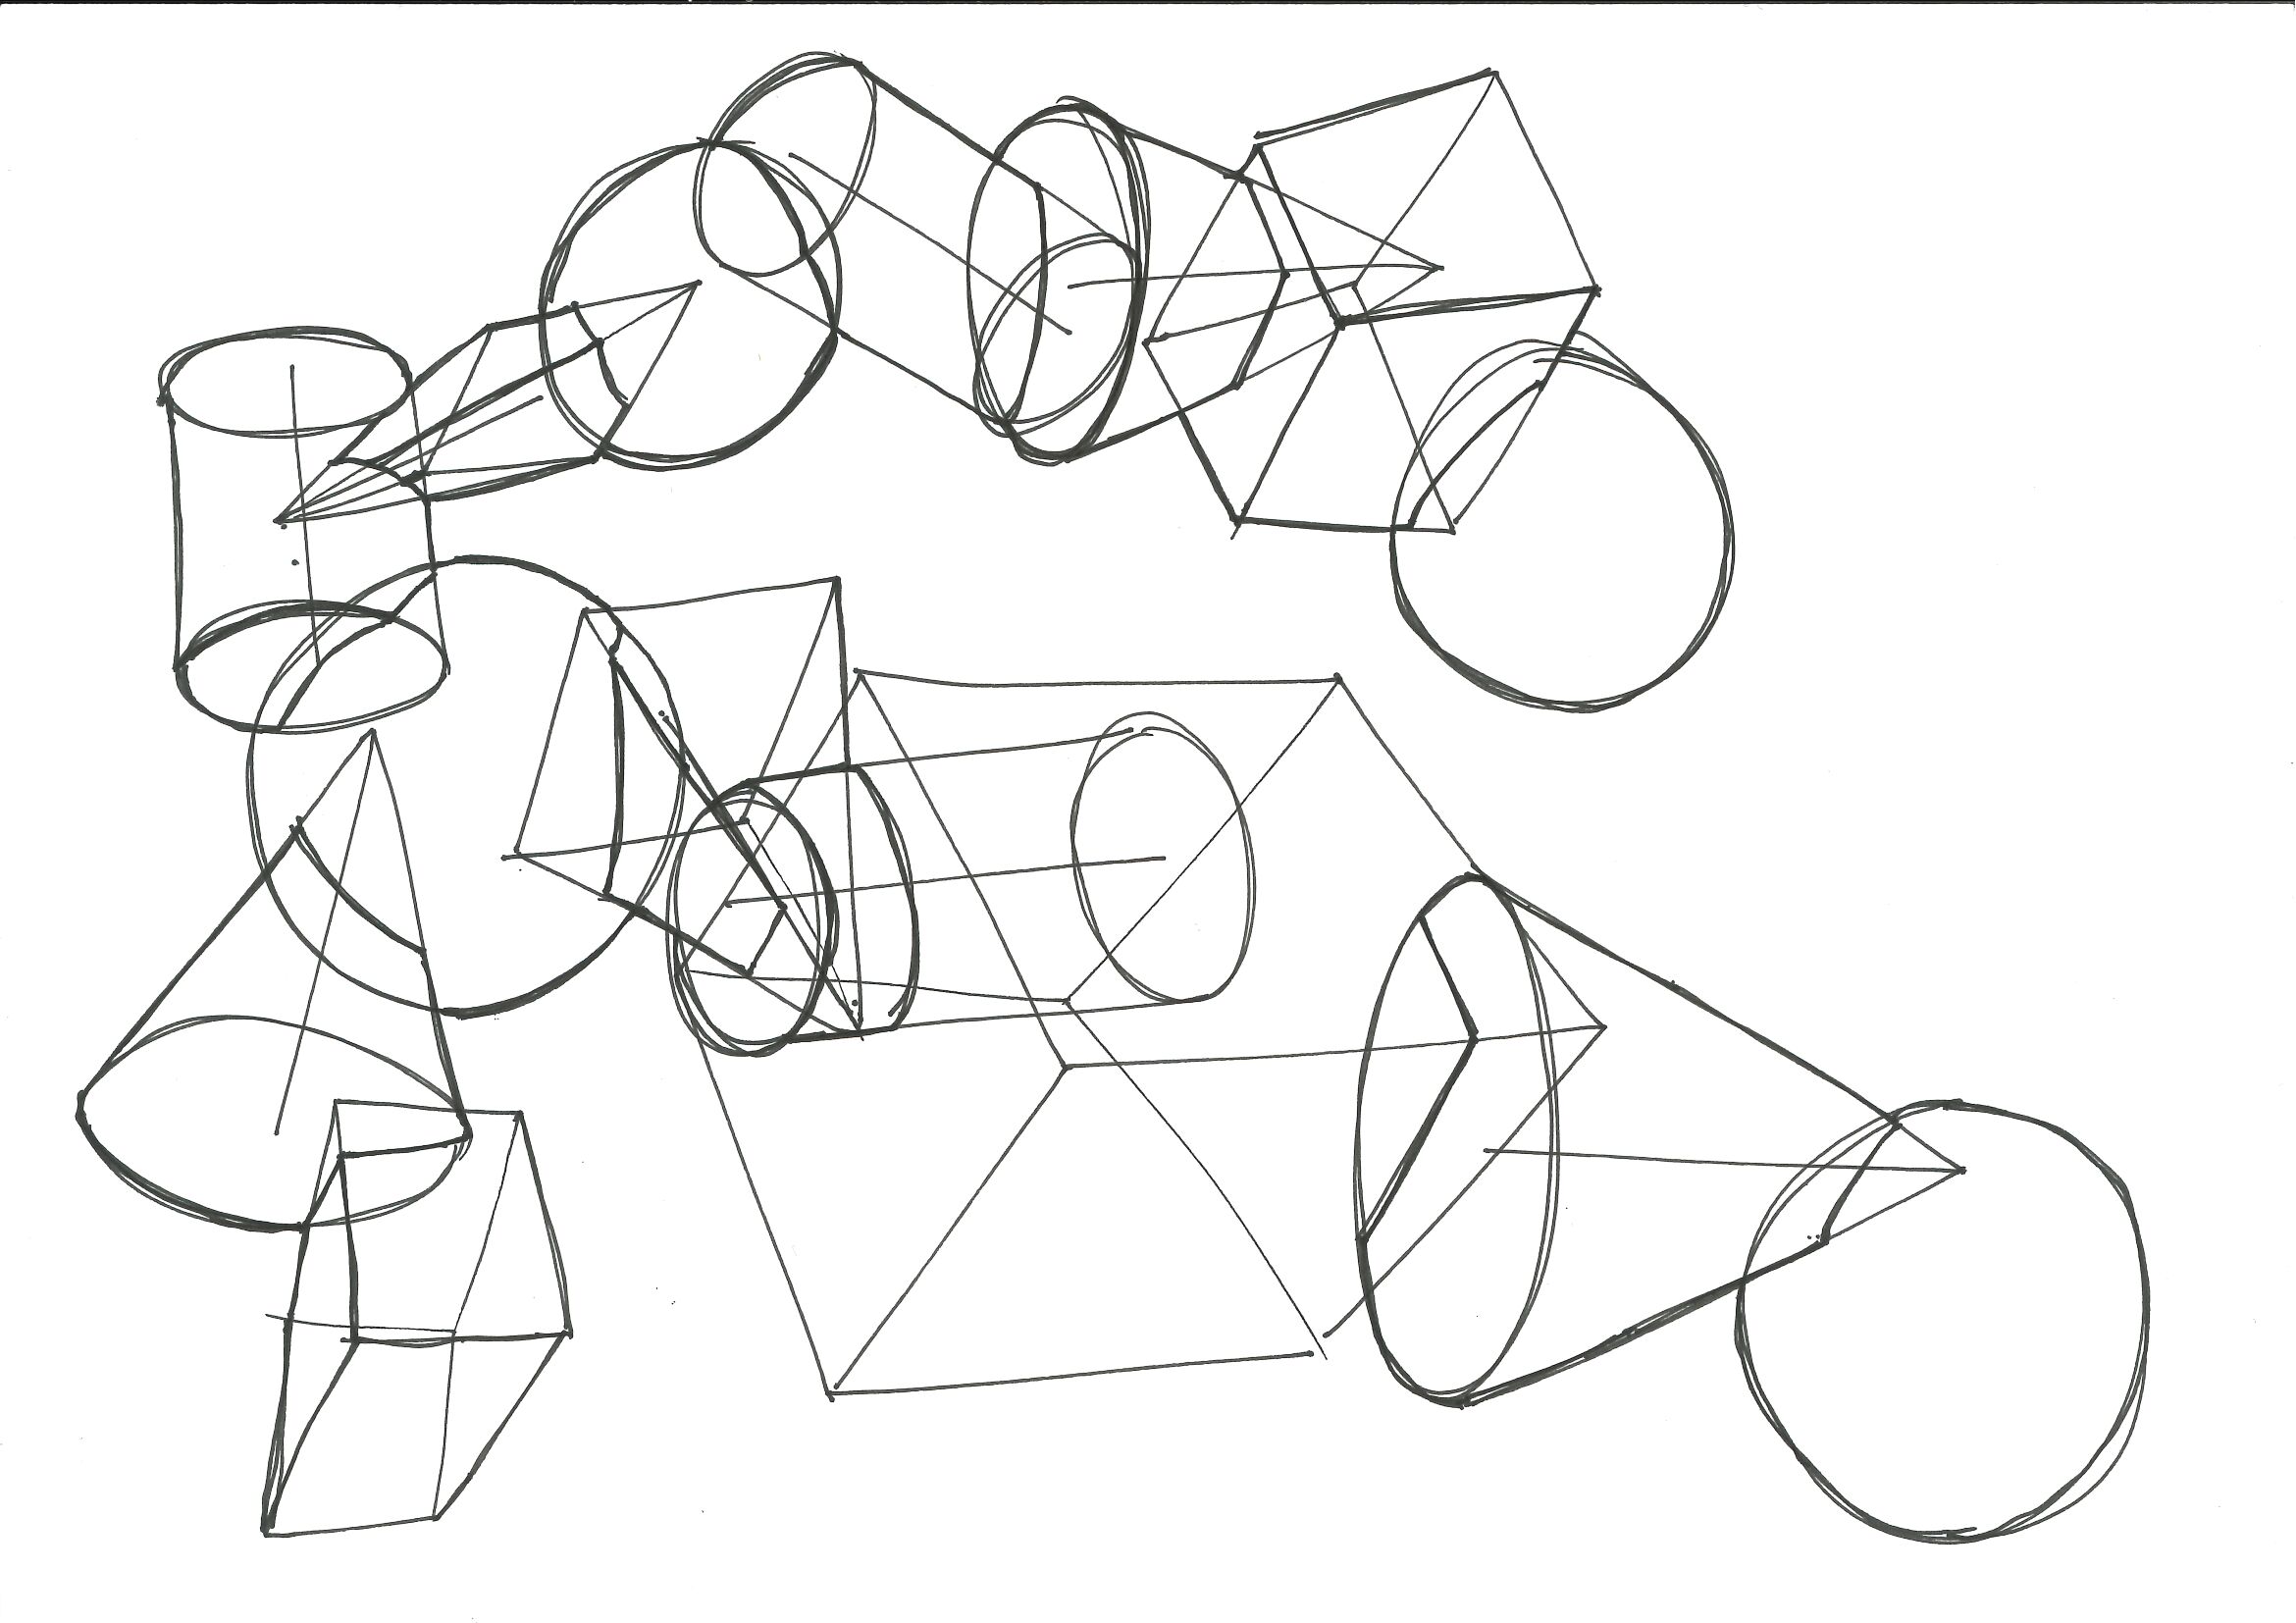
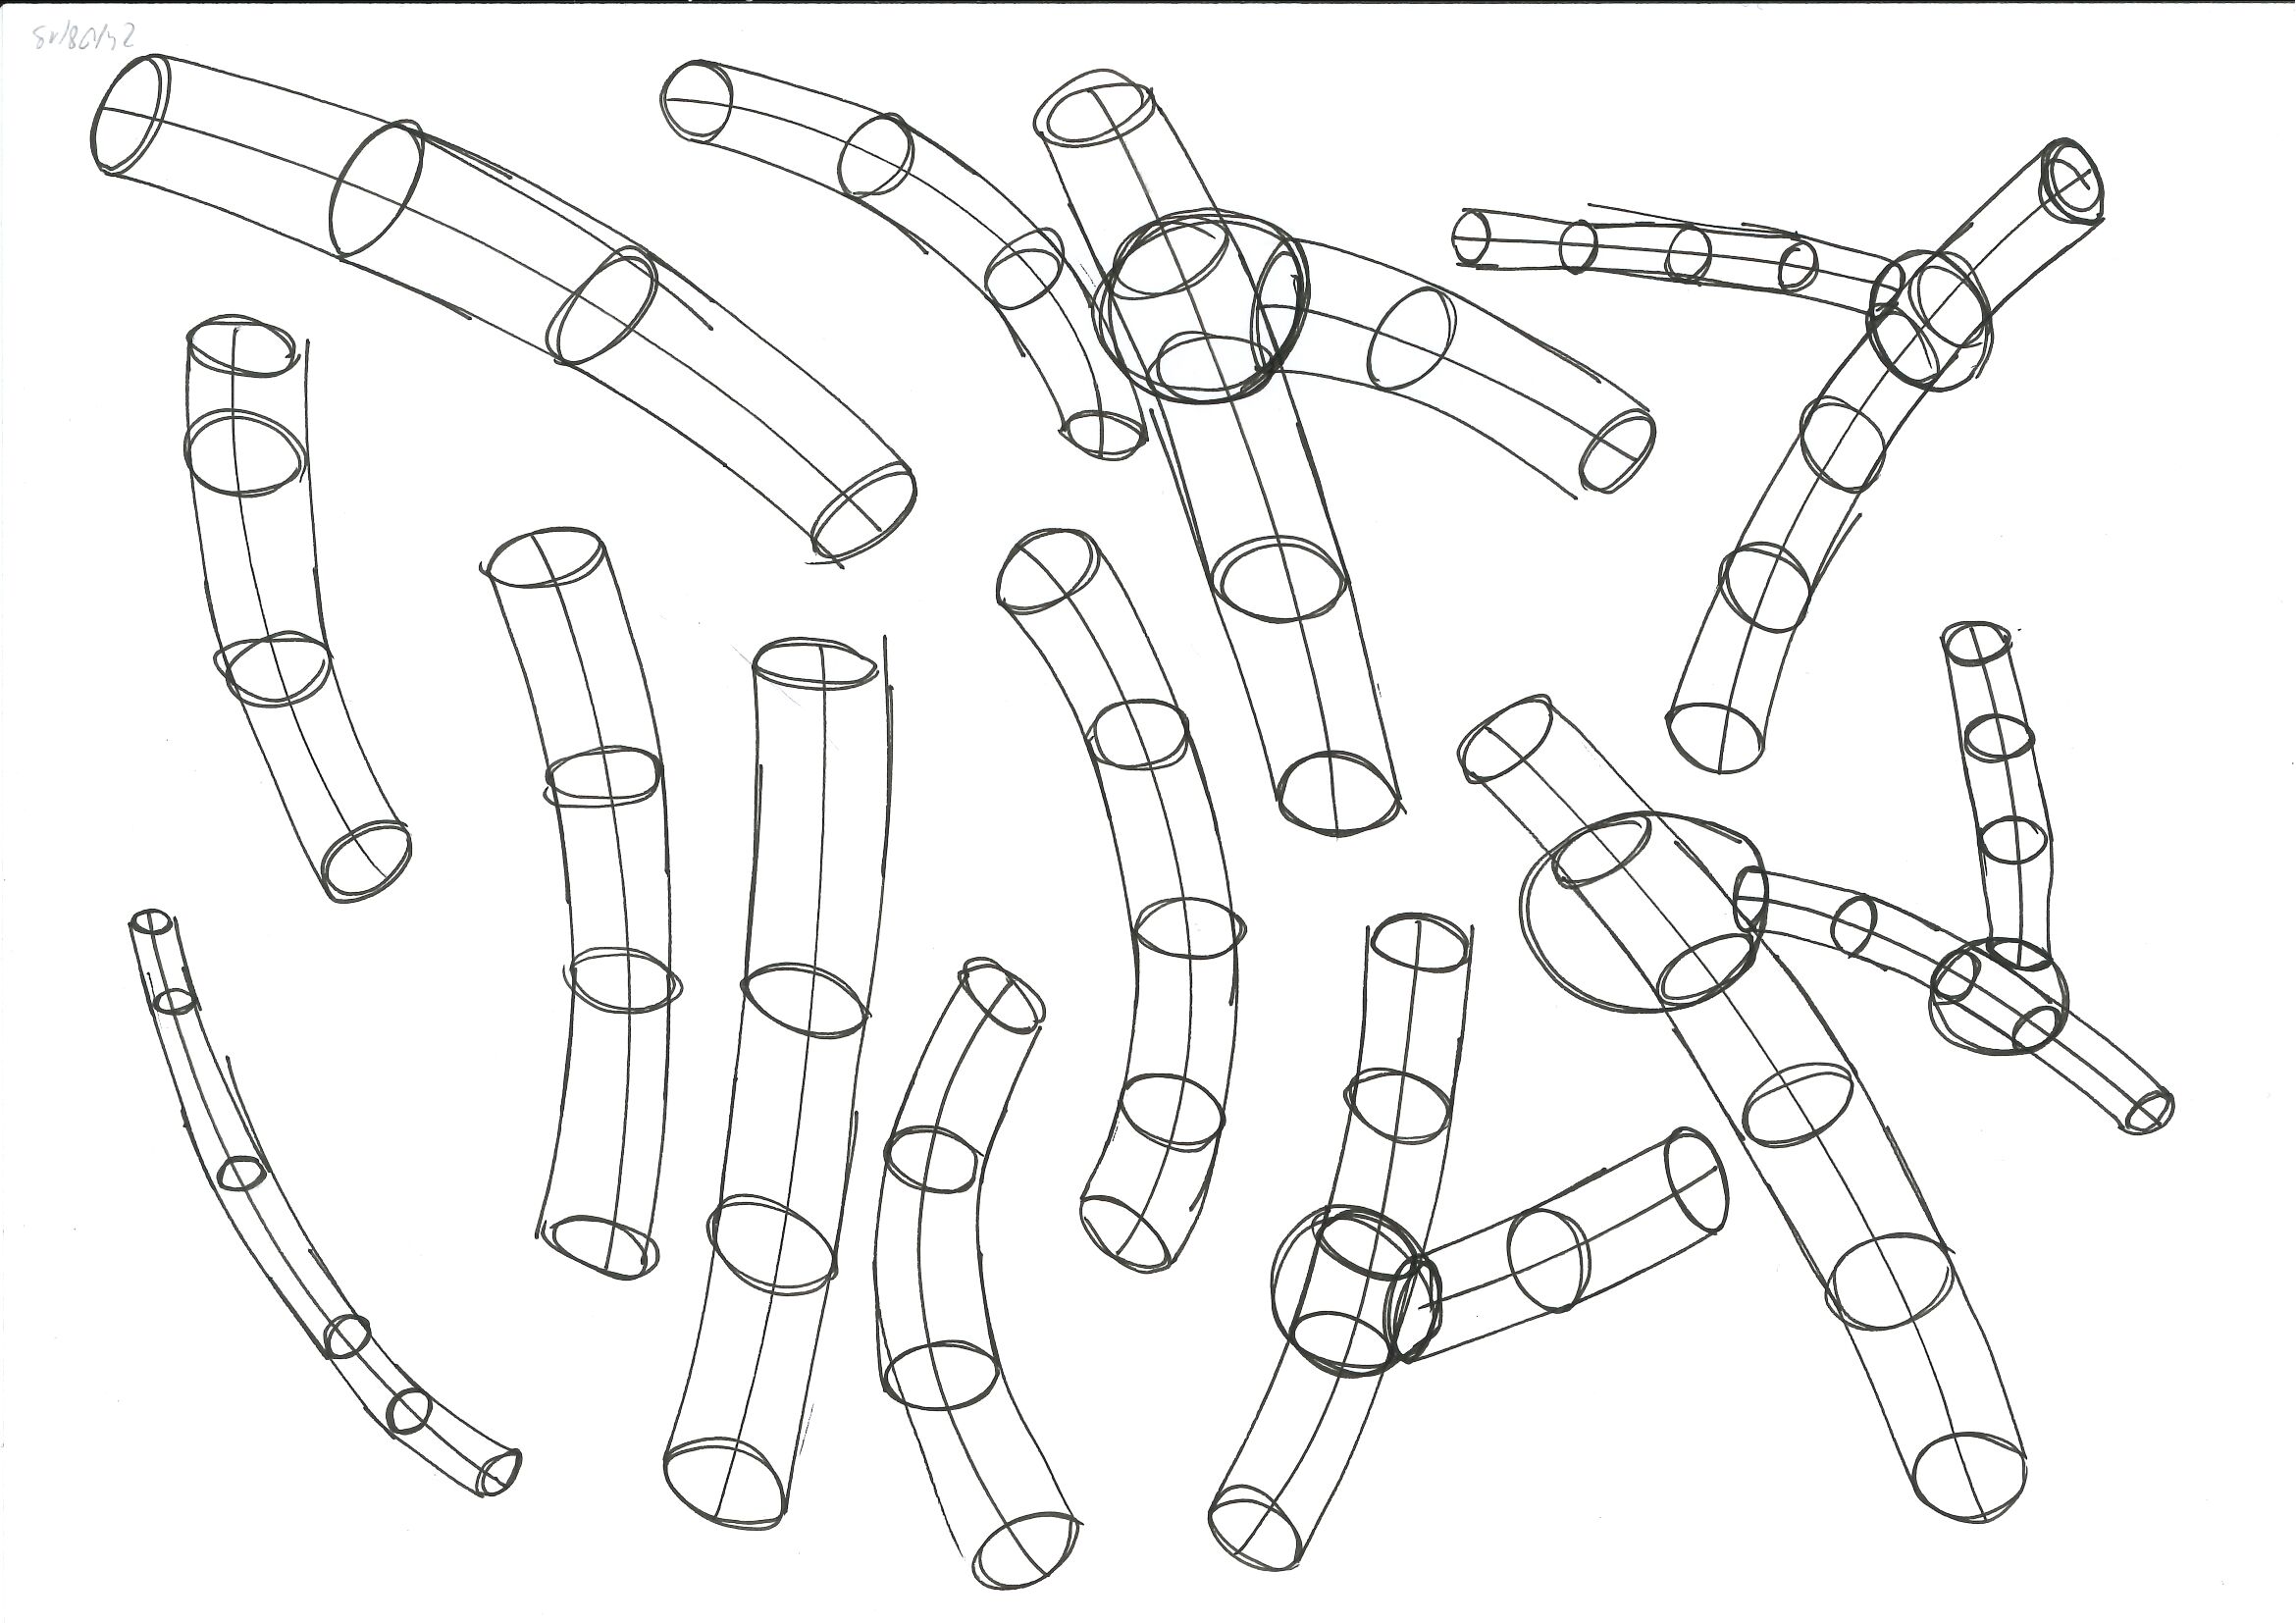
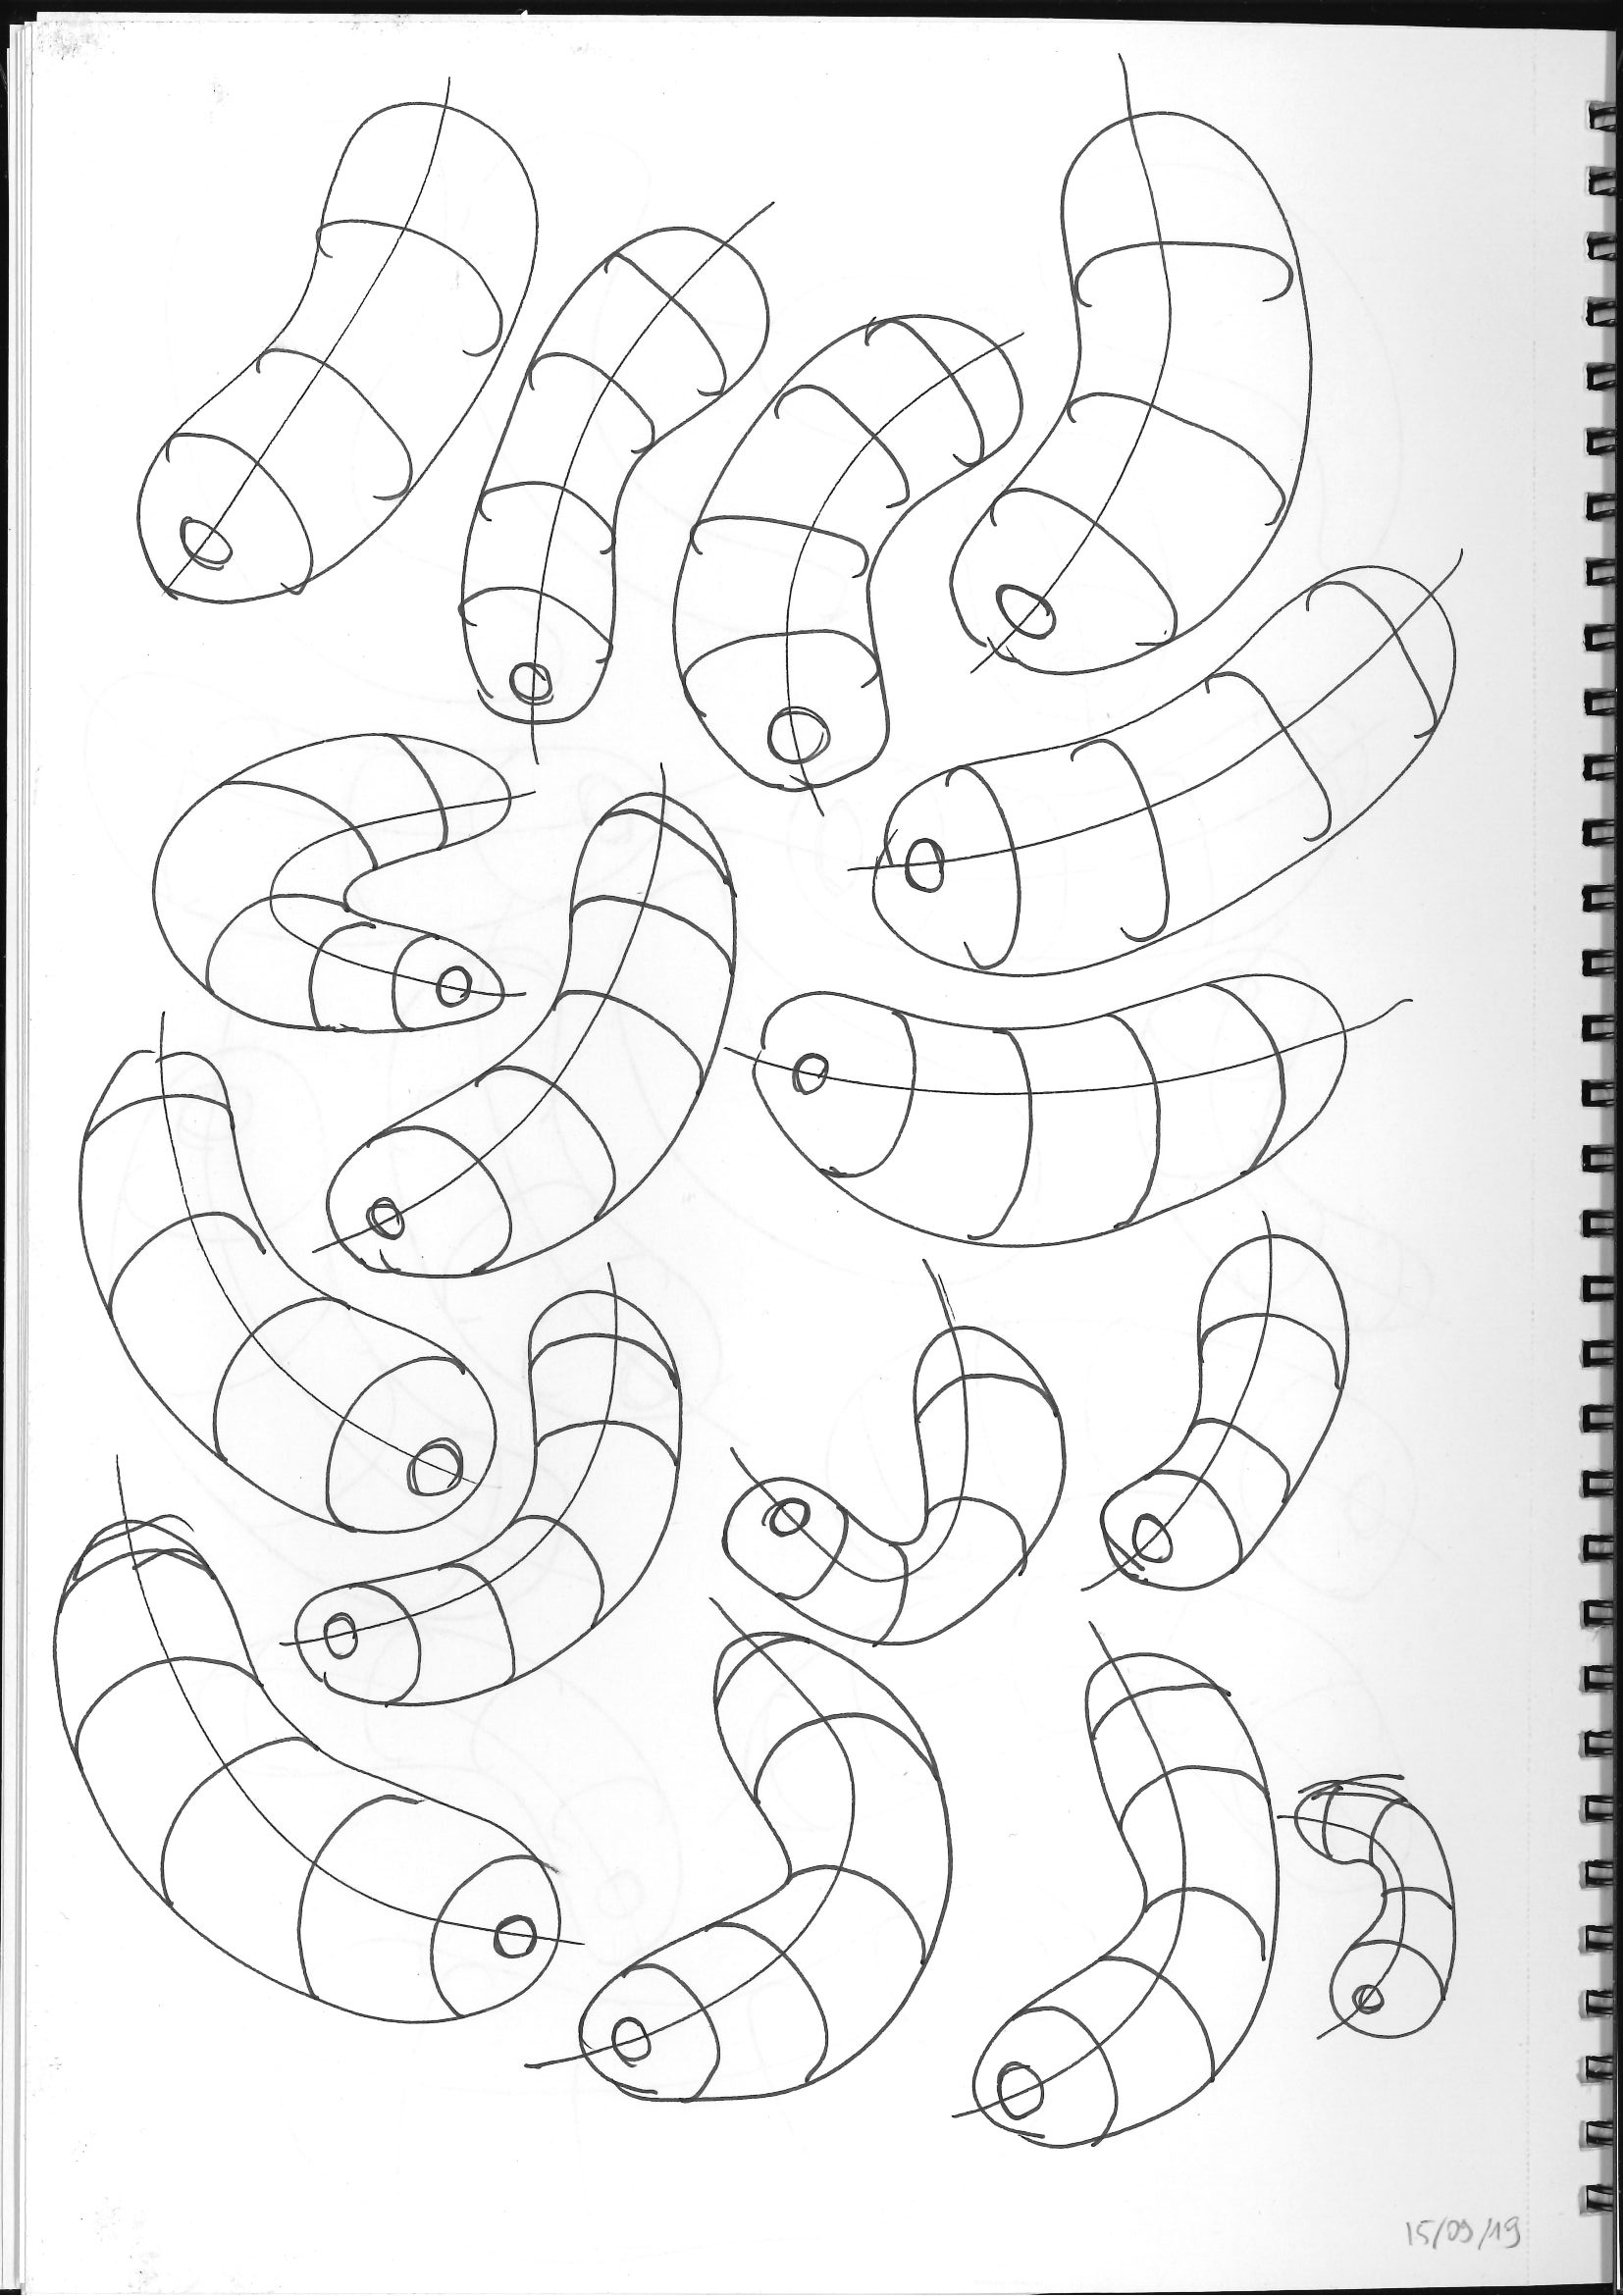
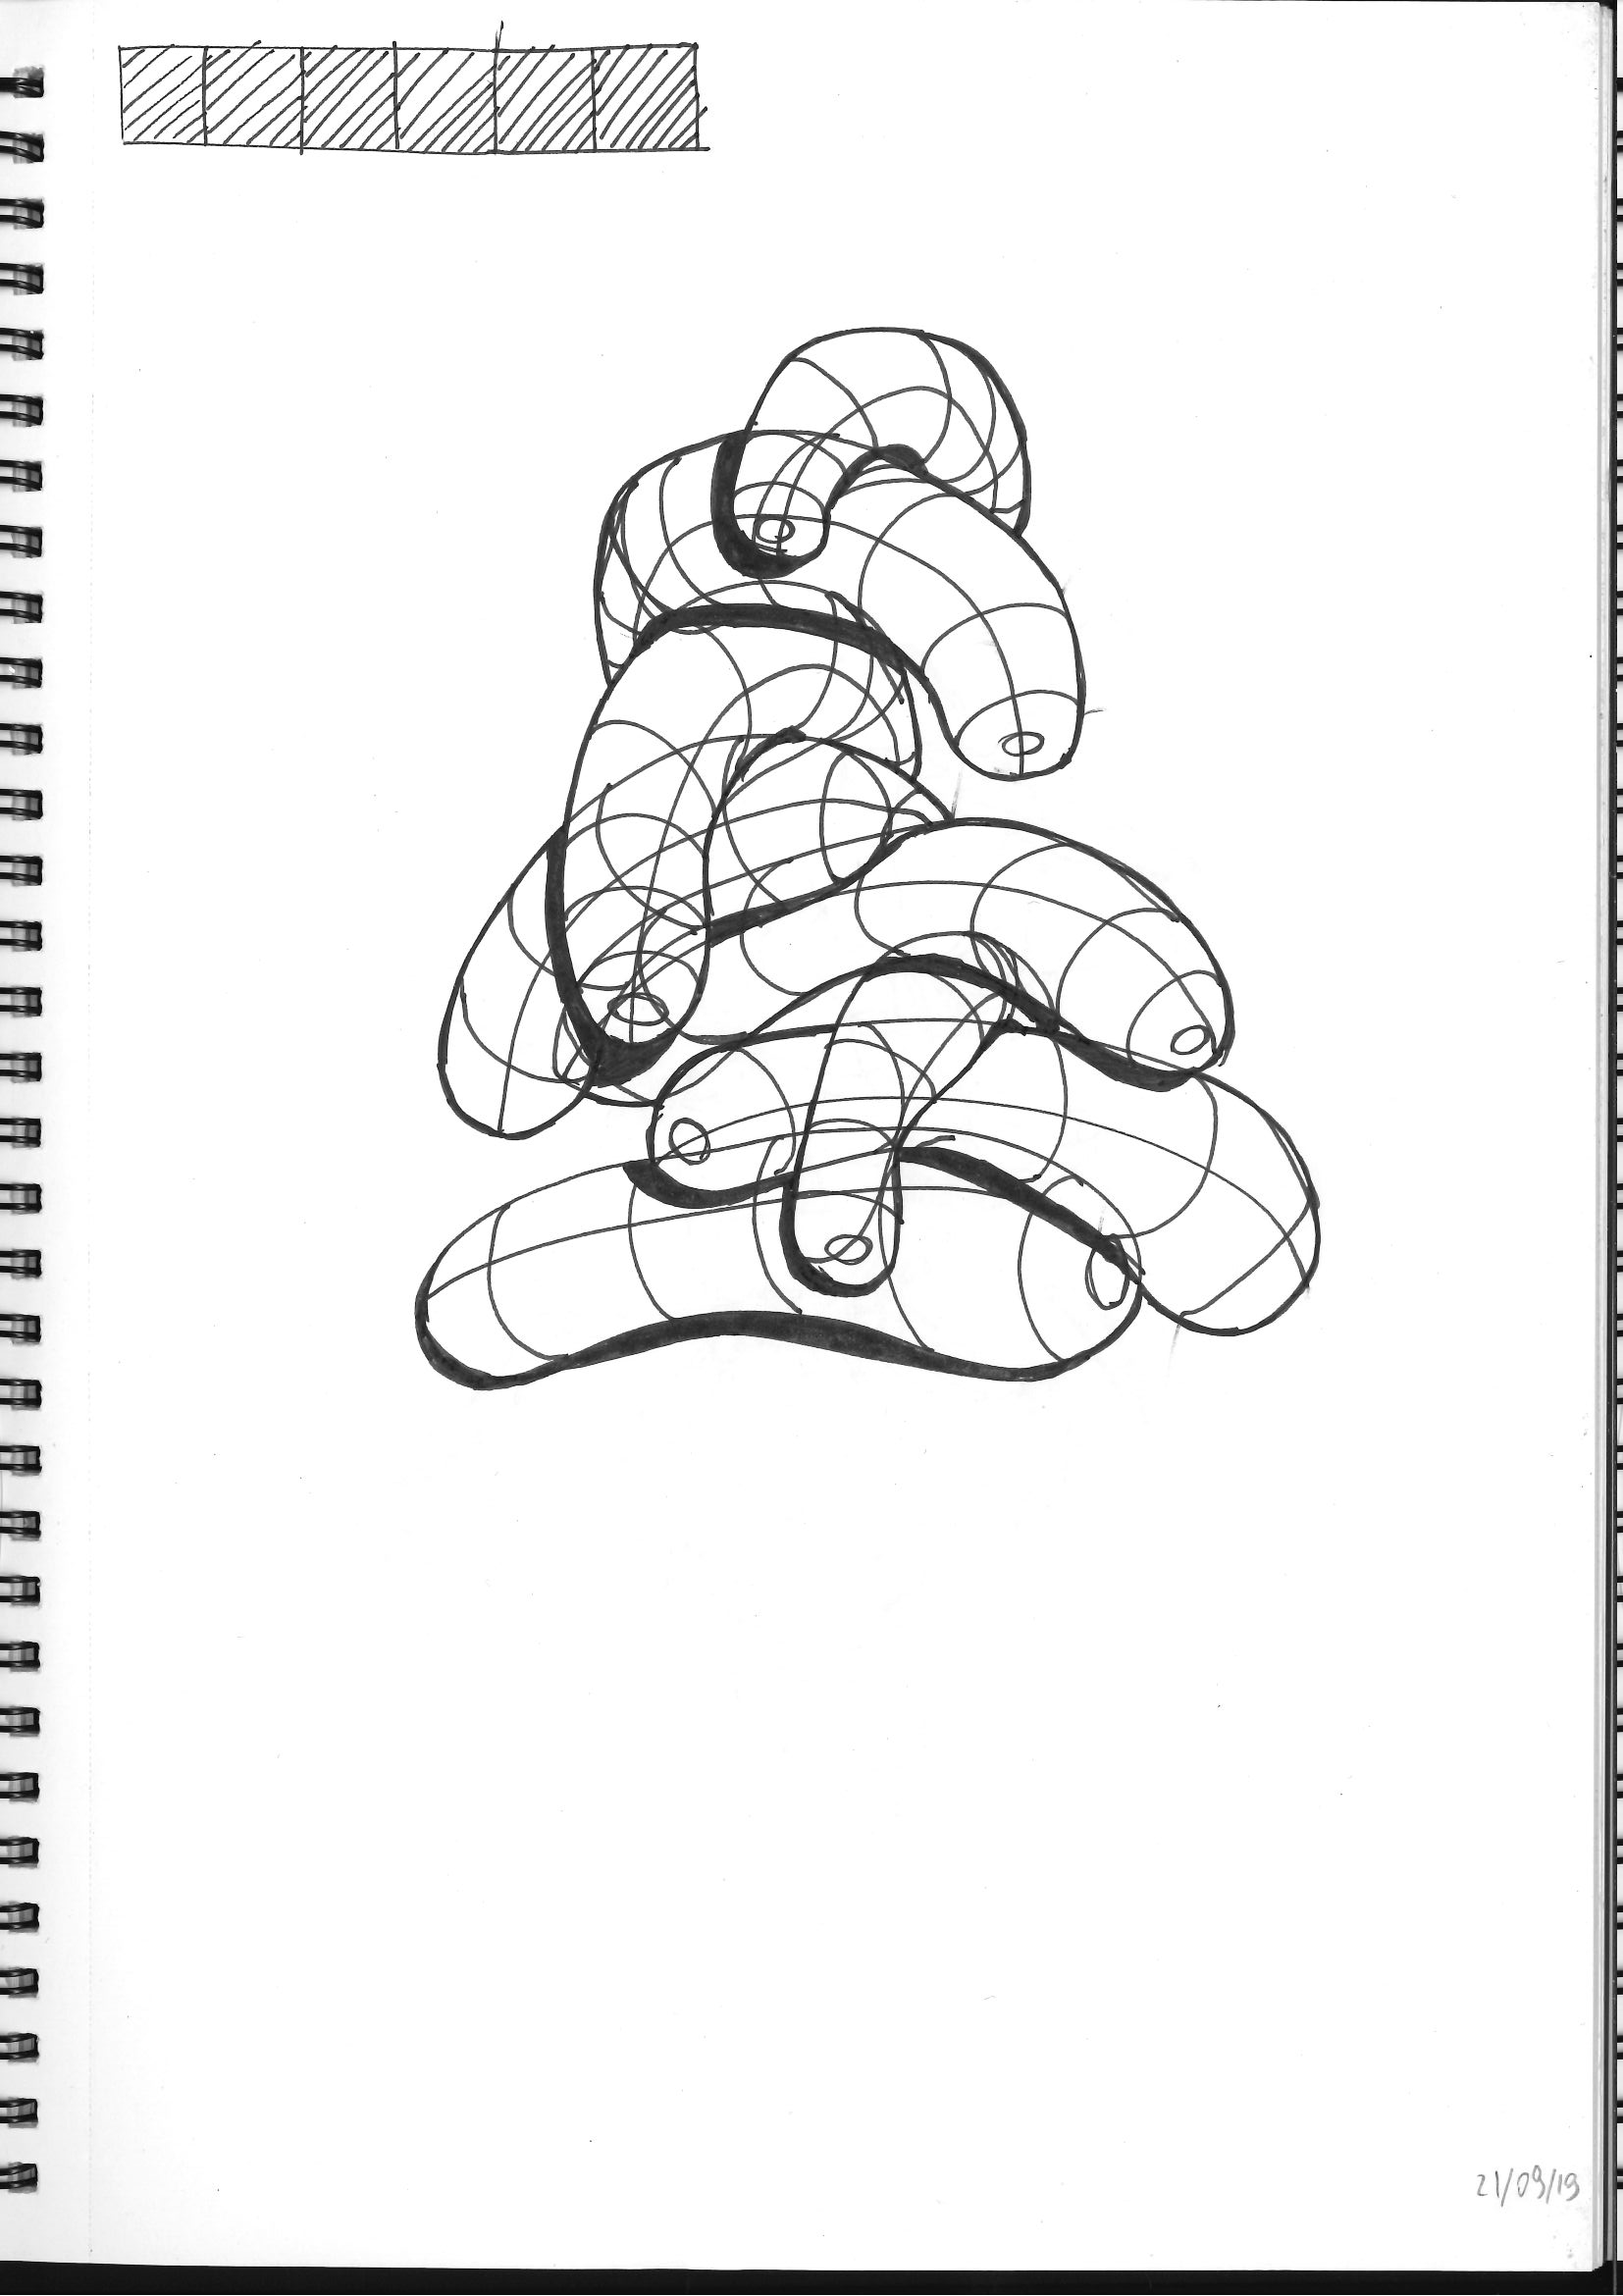
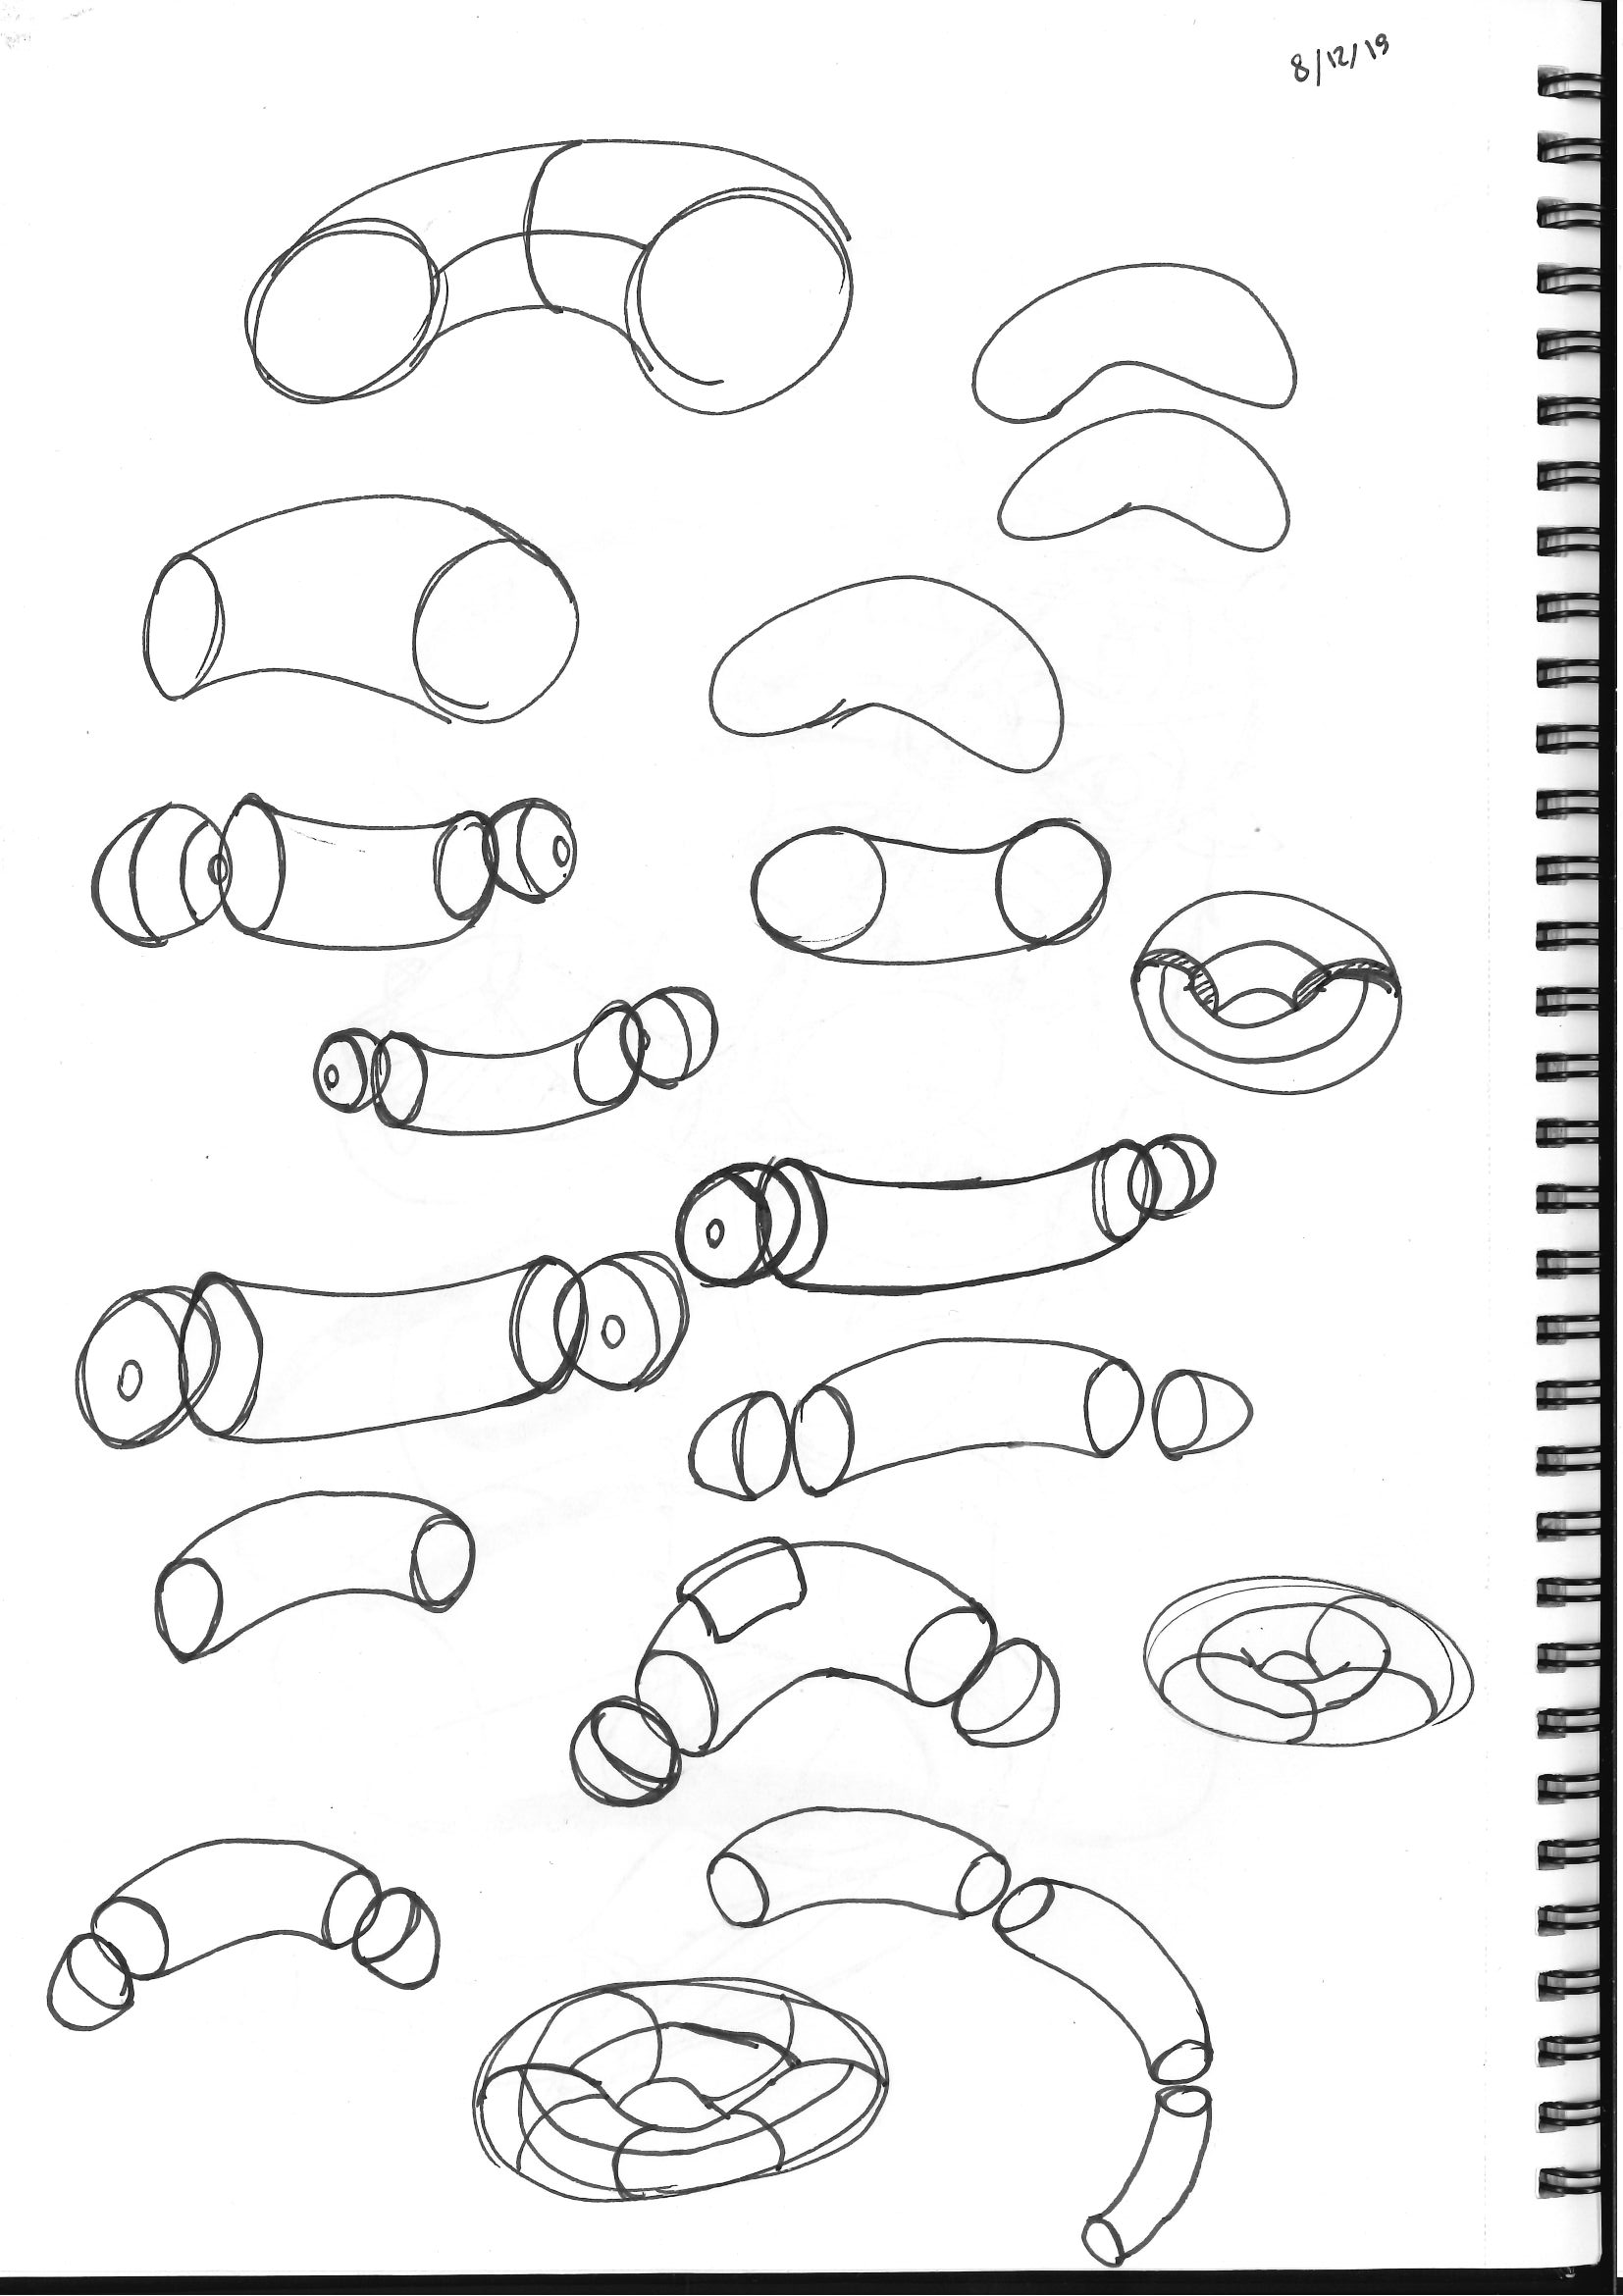
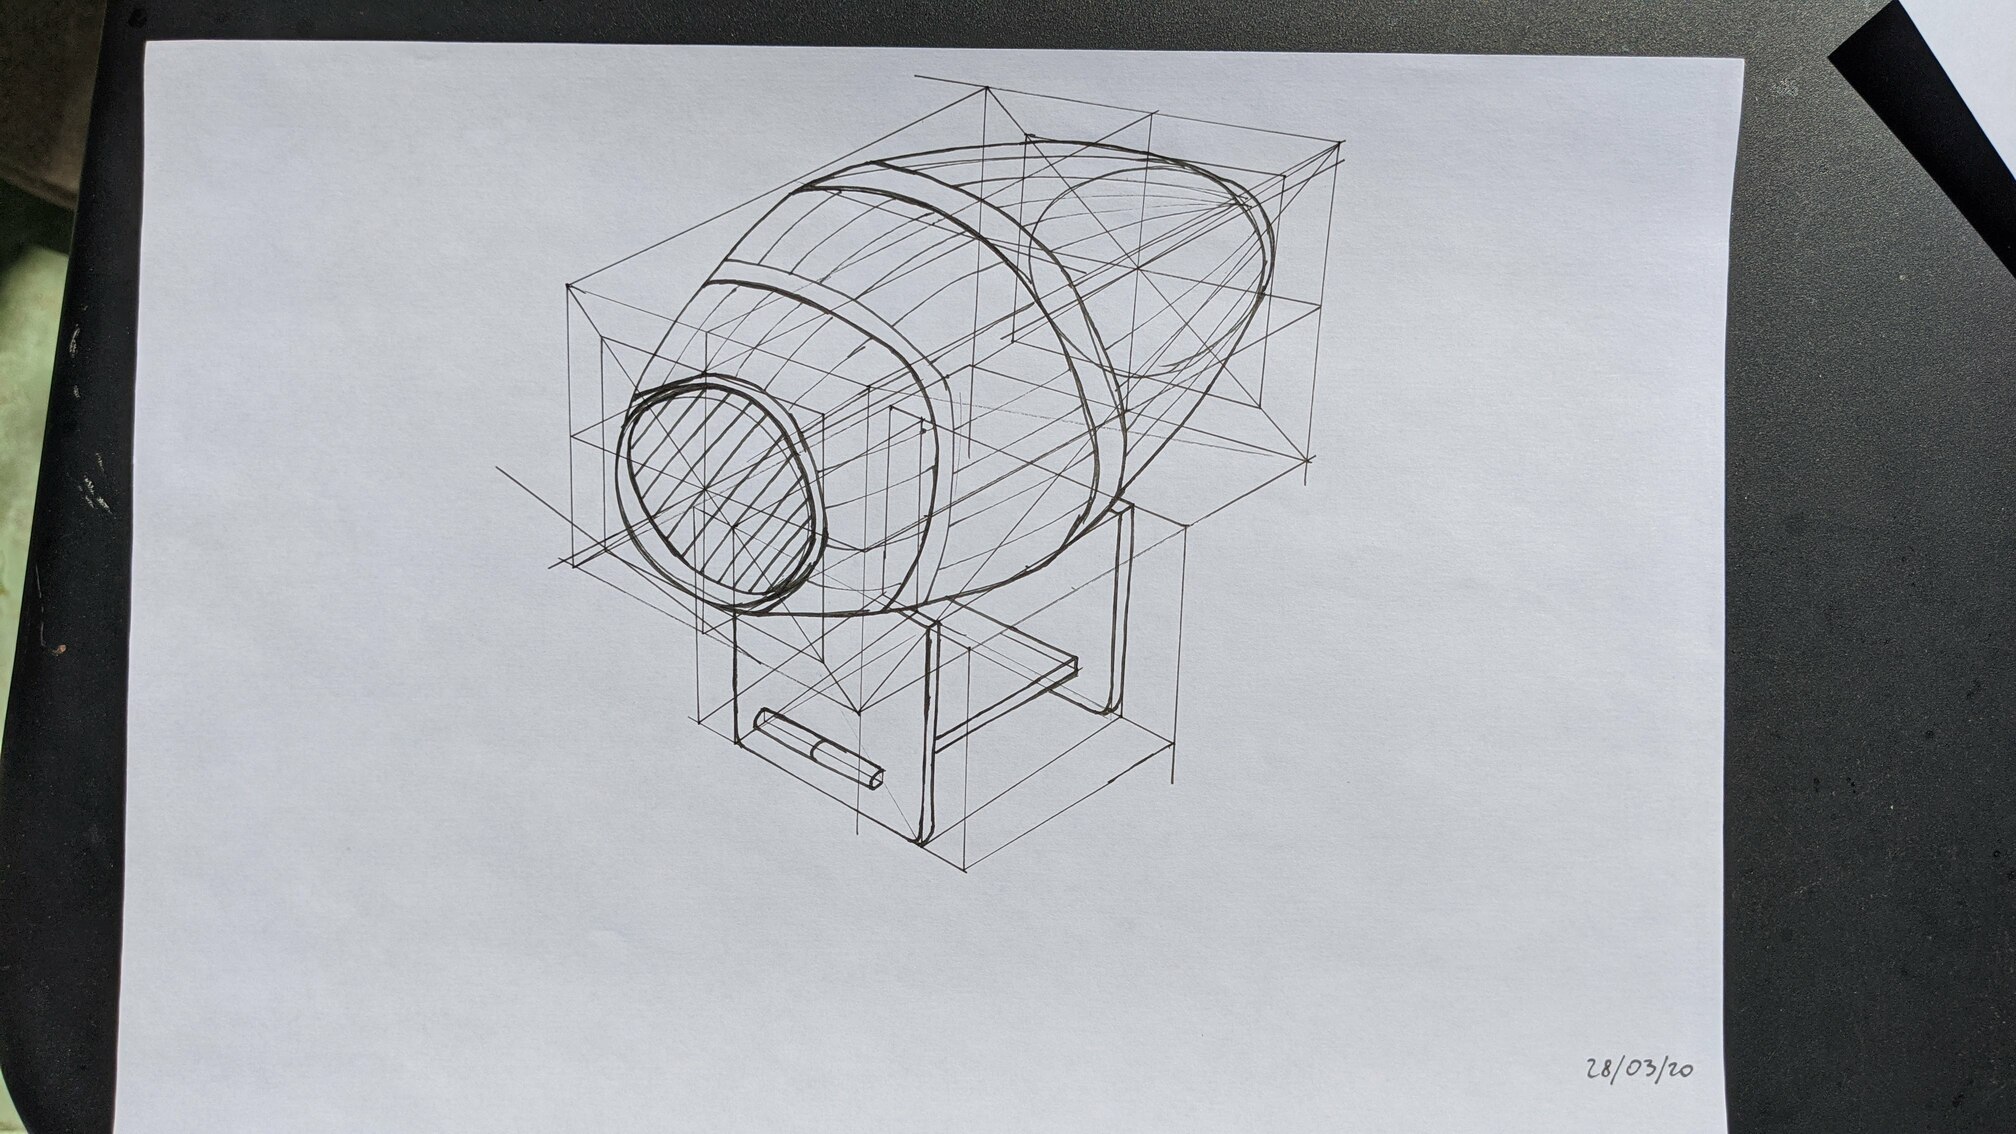
250 cylinders and wheels
Between lesson 6 and lesson 7, Uncomfortable encourages doing the 250 cylinders challenge. Similarly to the boxes’ ones, I did only a part of them: around 50–100.
One missing thing from the cylinders challenge instructions is that the checking method works only if you drew a perfect cube: otherwise, not all of the lines should converge to the VP. On the other hand, drawing perfect cubes is tricky: there is a guide on the construction in lesson 7, but it’s based on guessing a bit anyway.
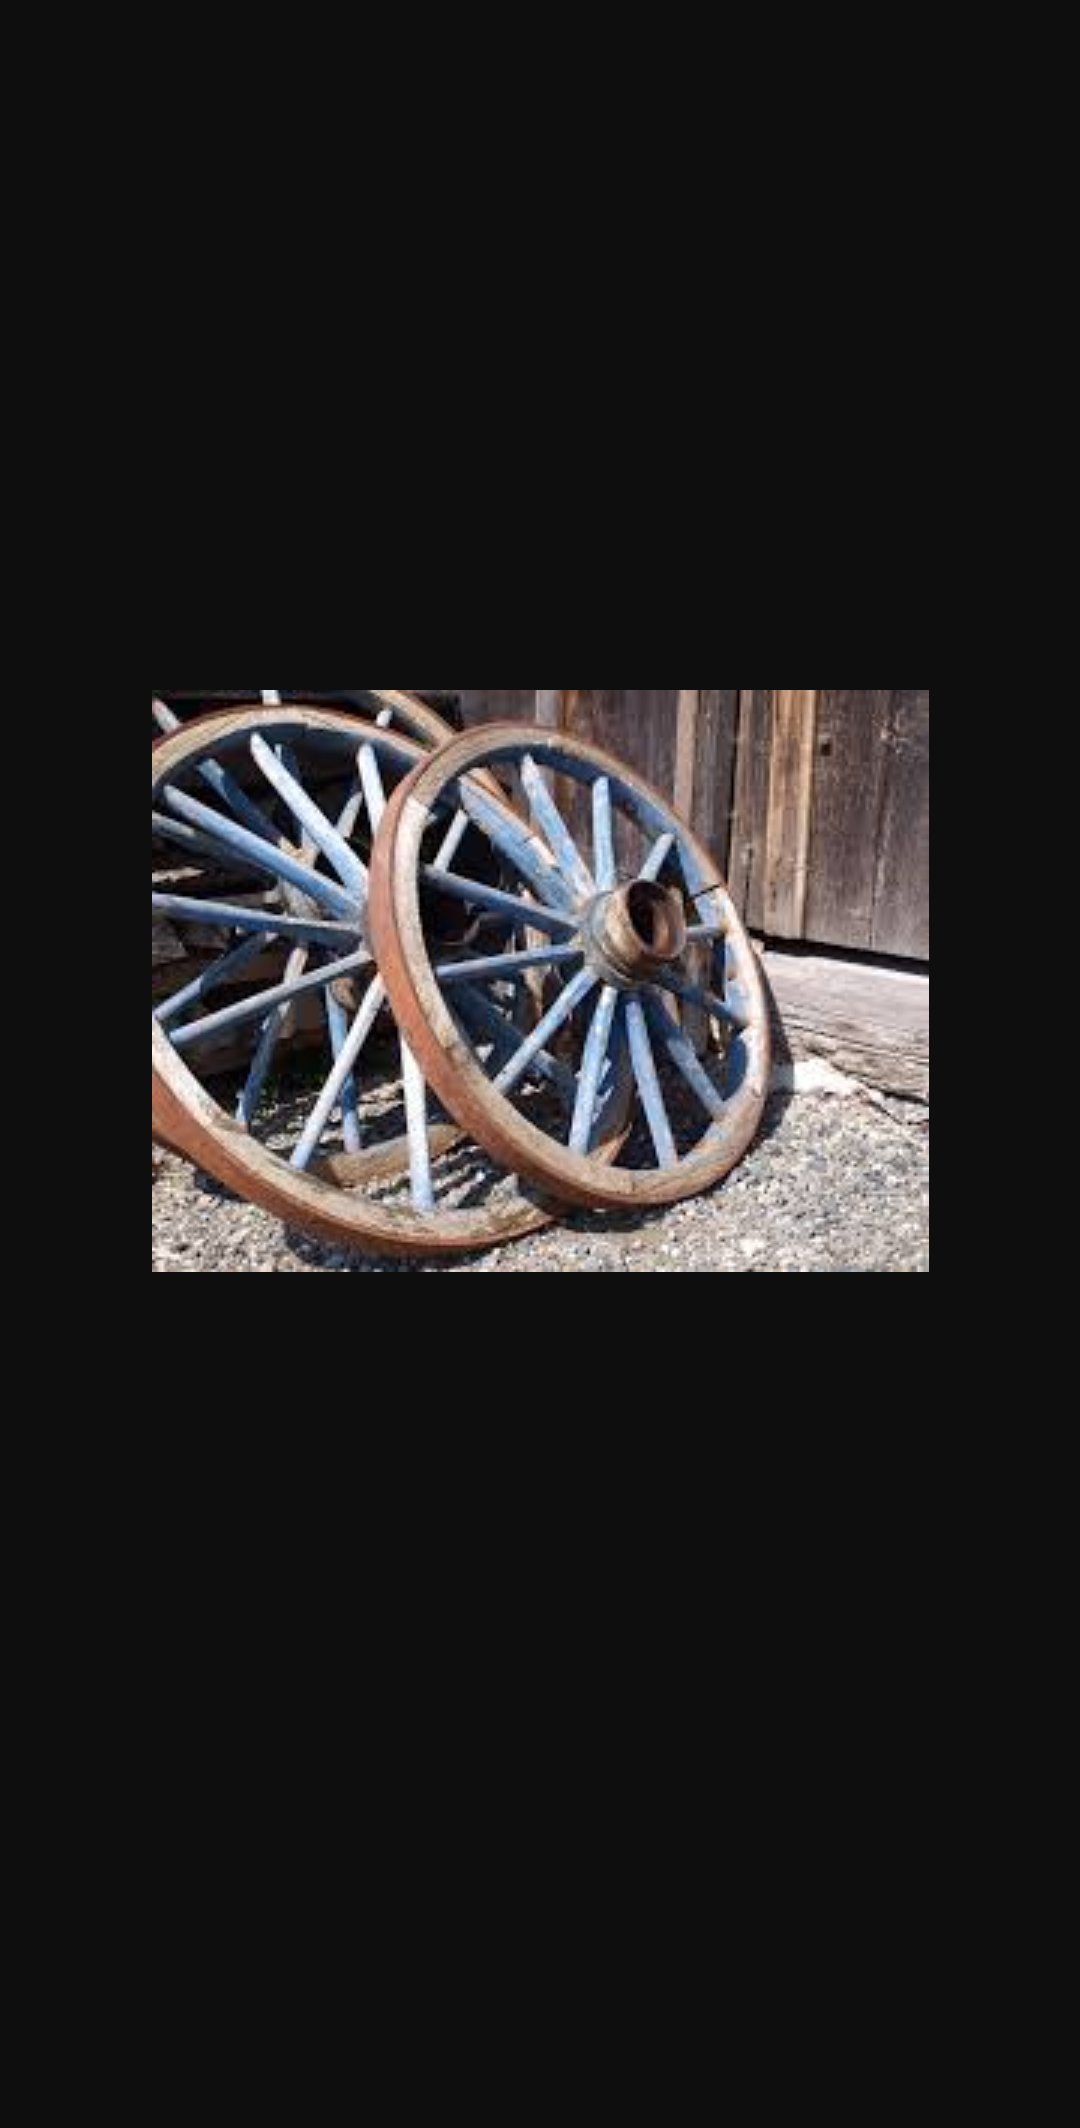
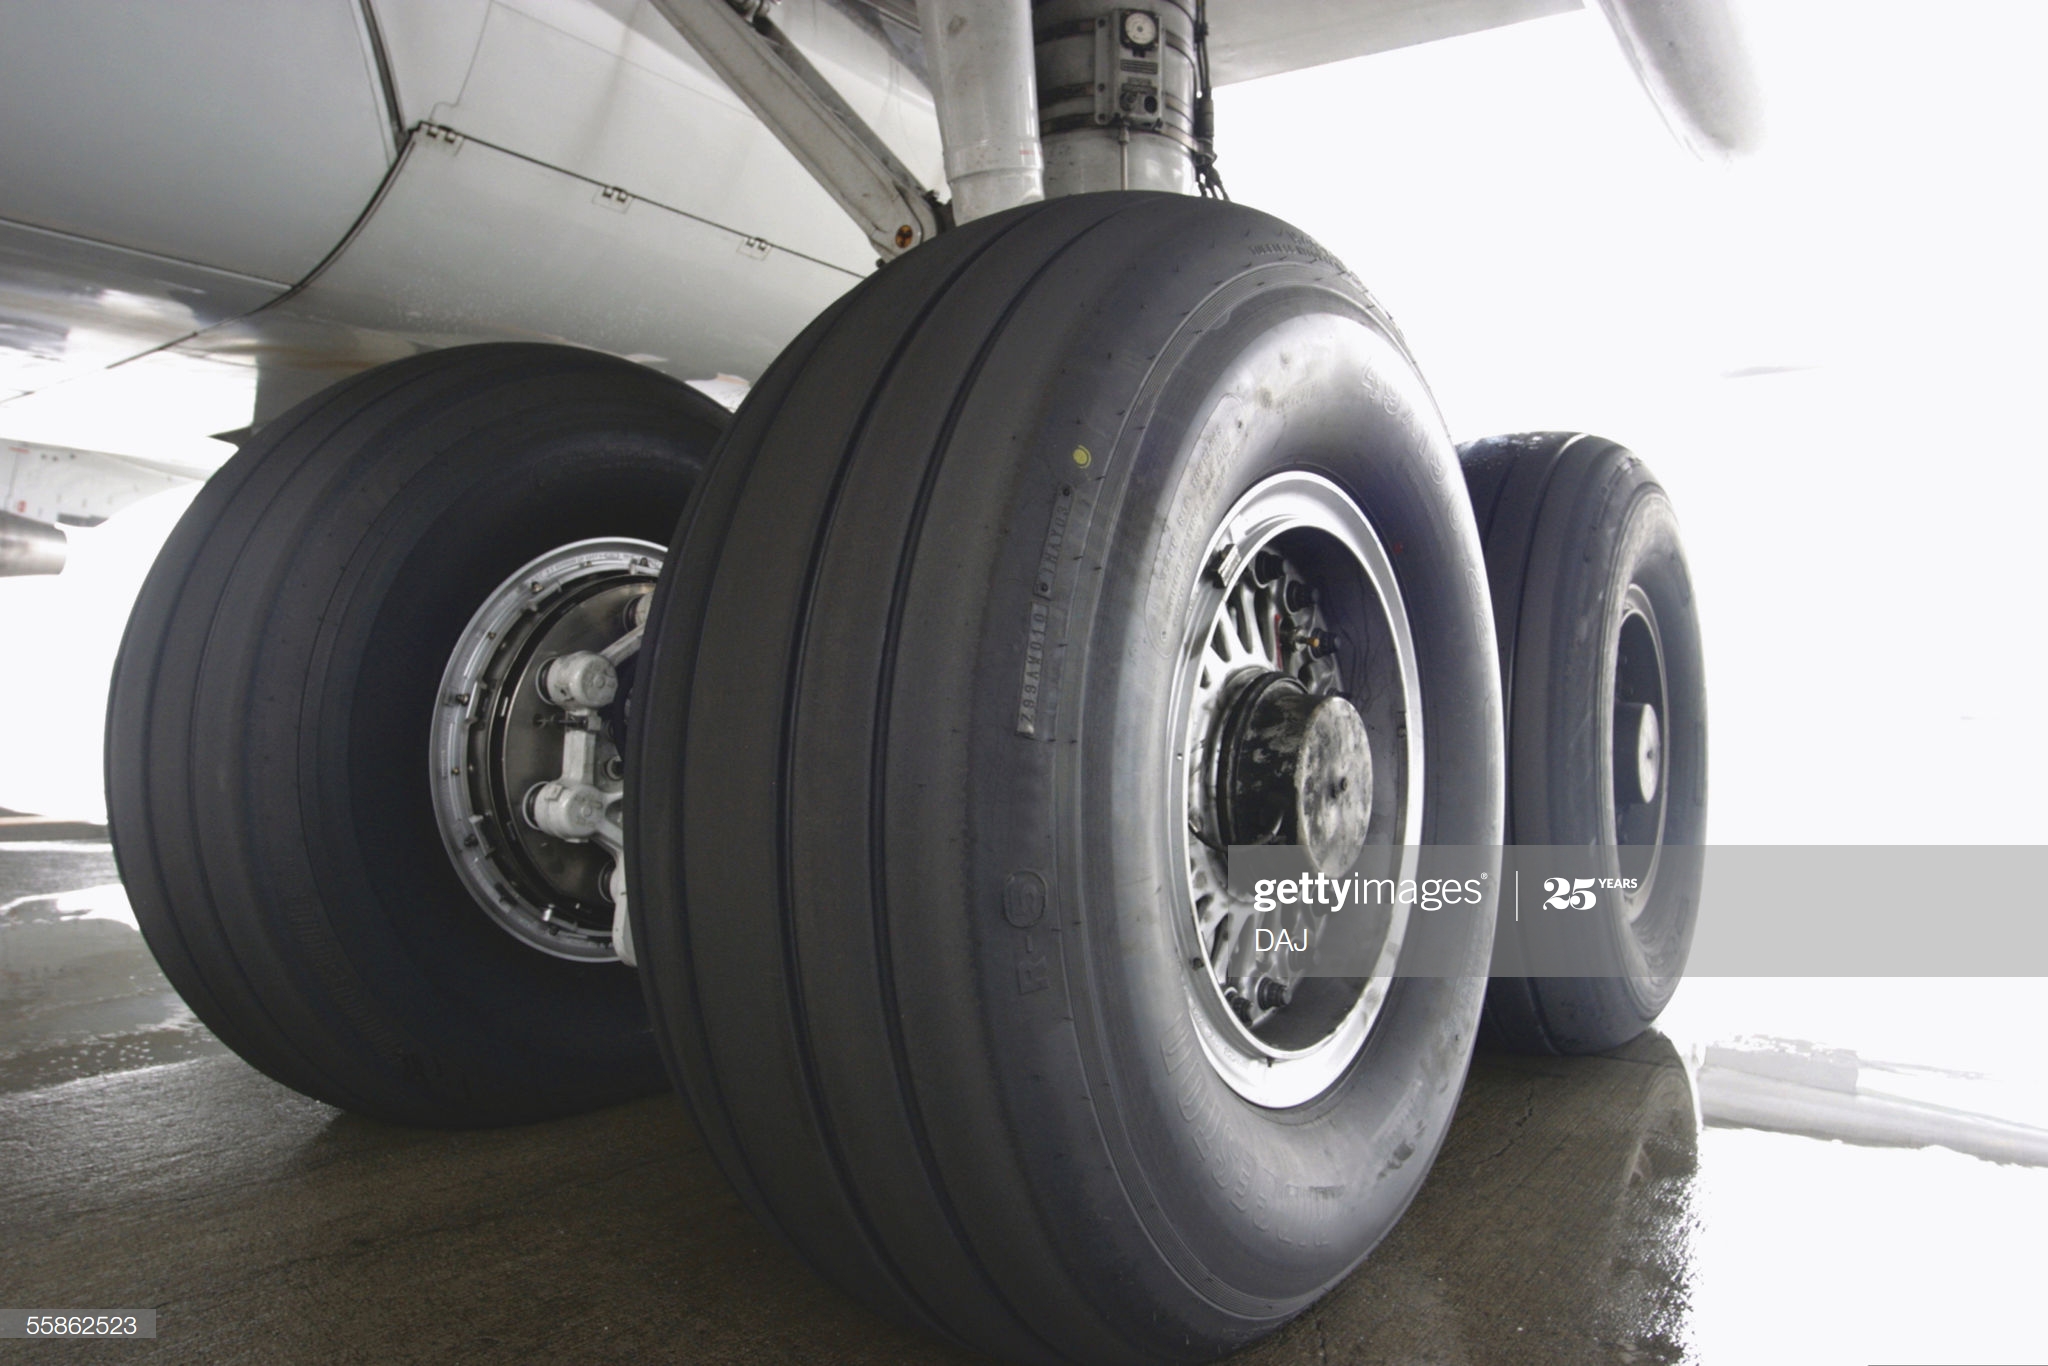
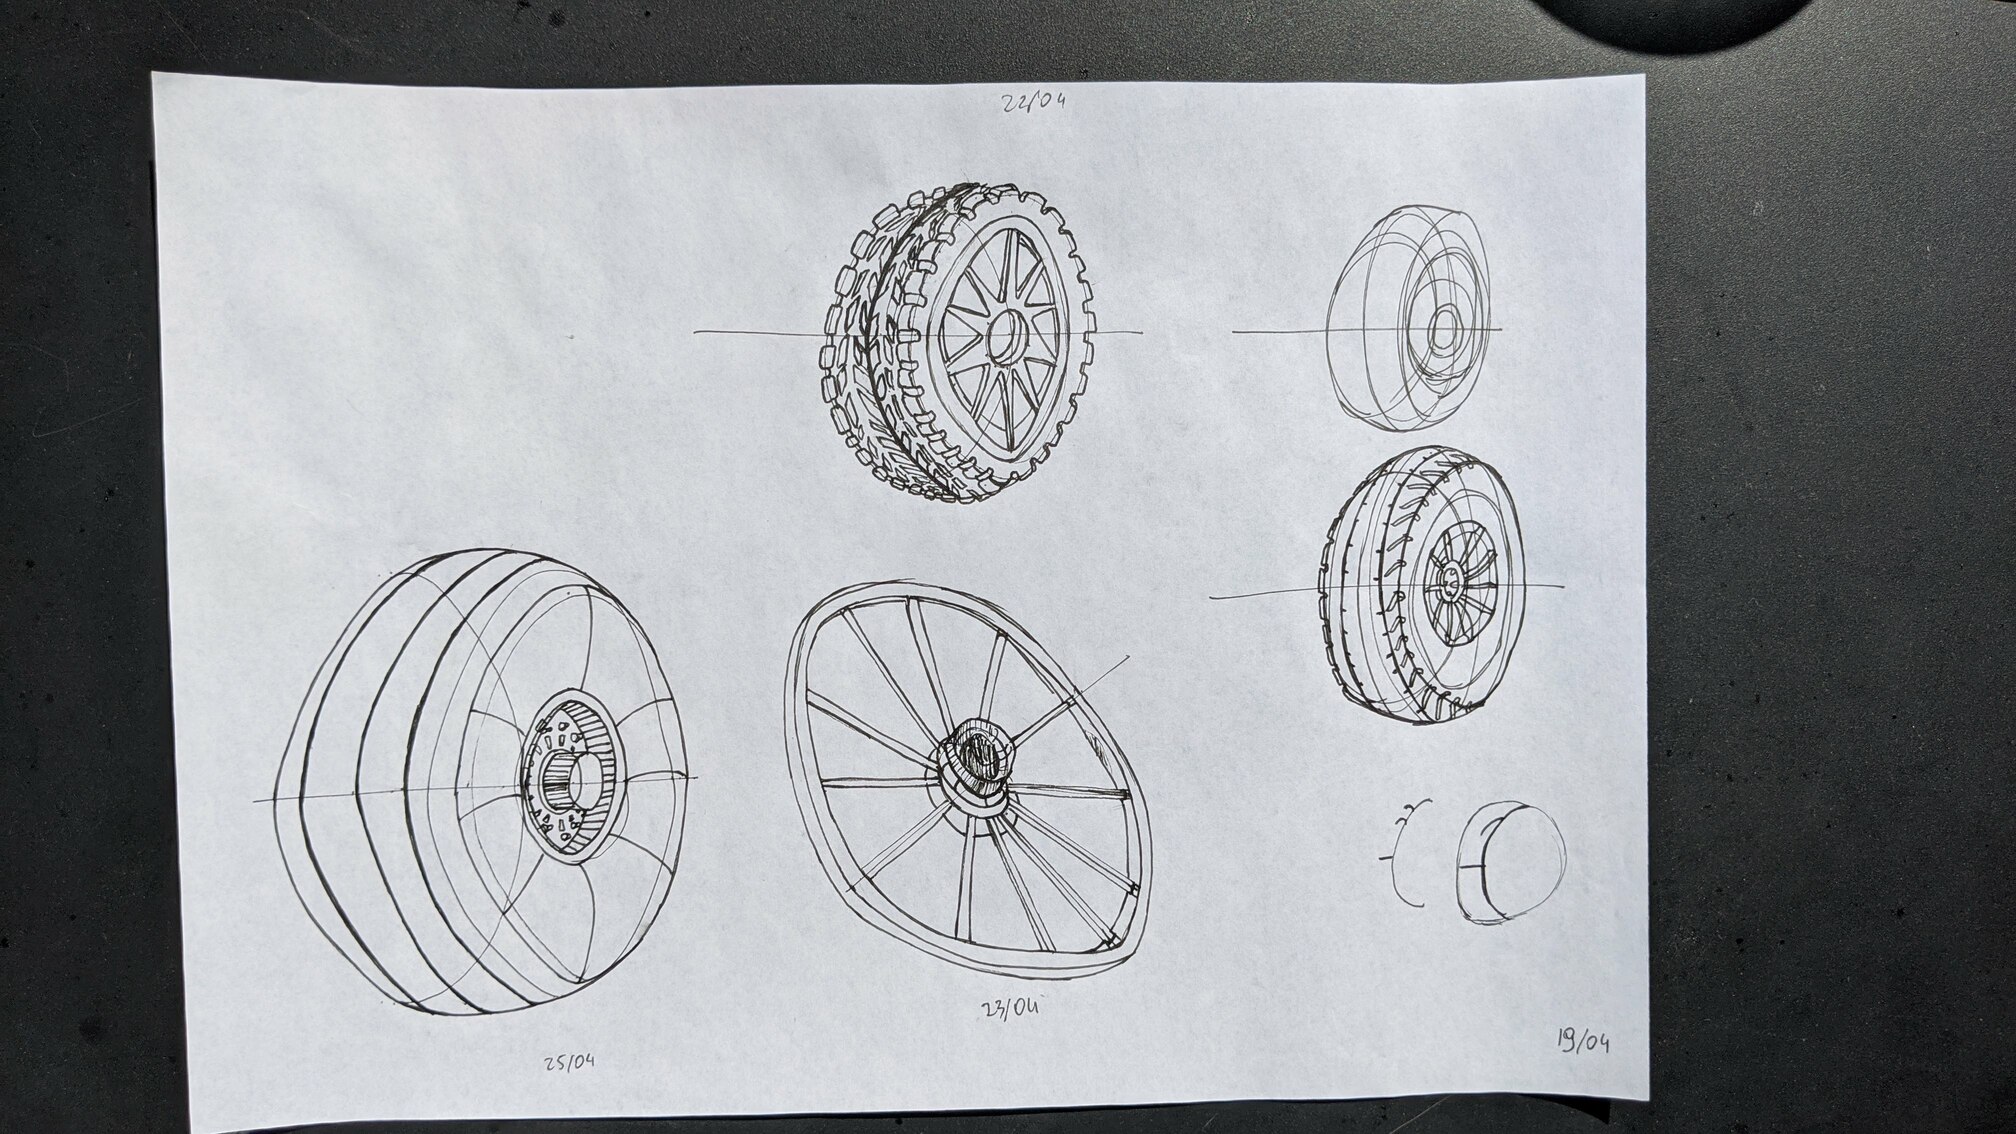
Similarly, for the wheels challenge, I only did a small subset of them: they were not perfect, but I doubt I would be able to make them more round with (the boring!) practice.
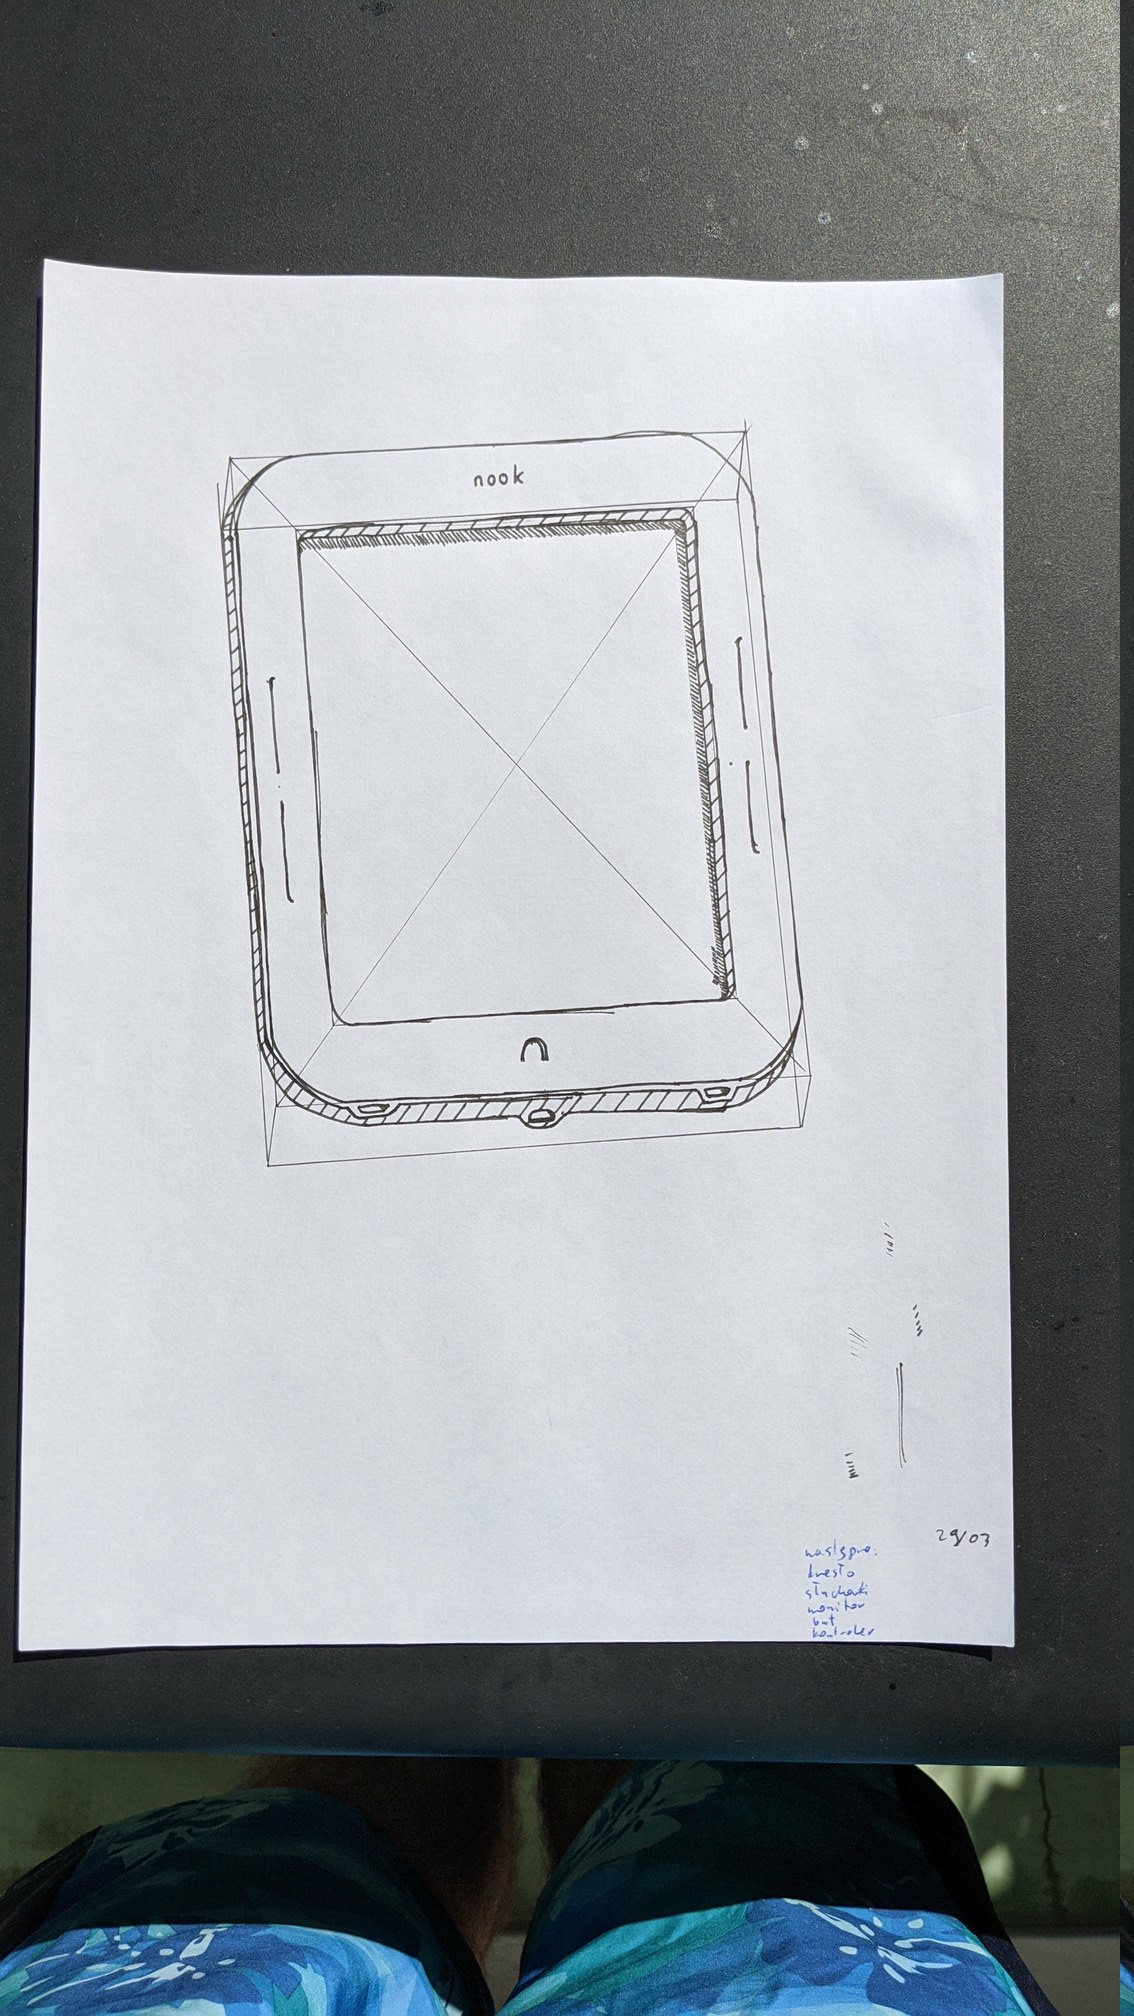
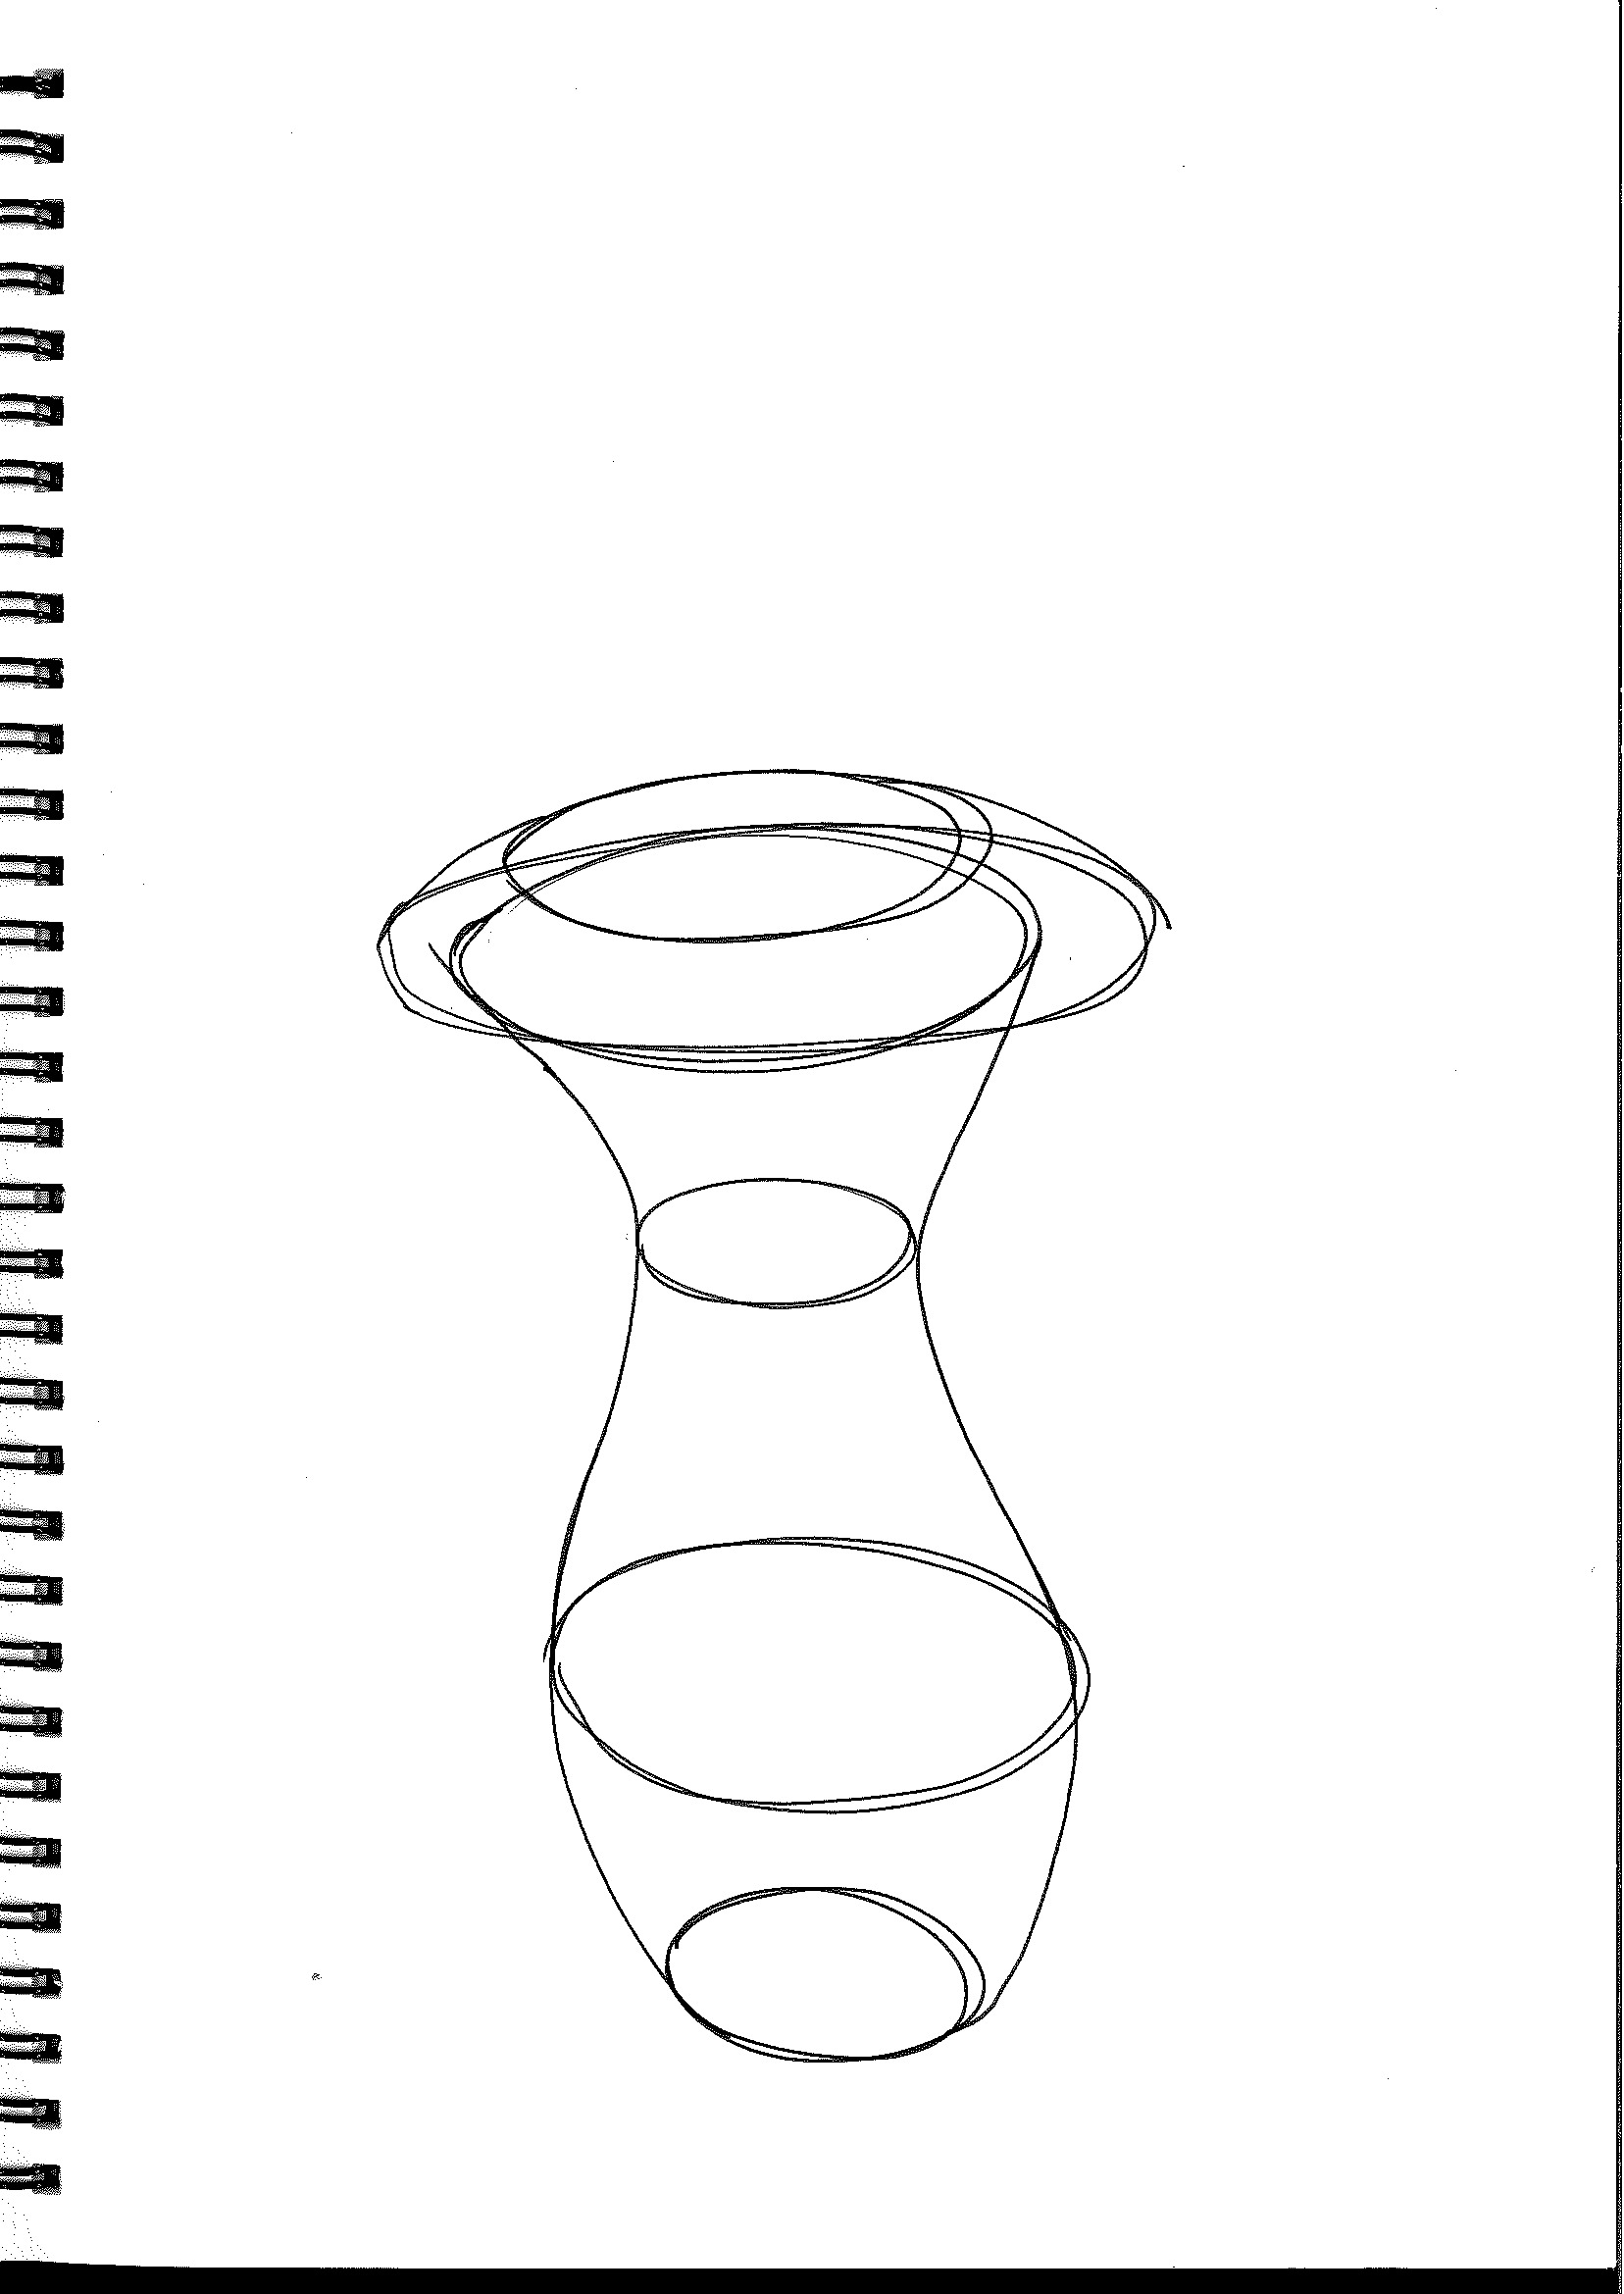
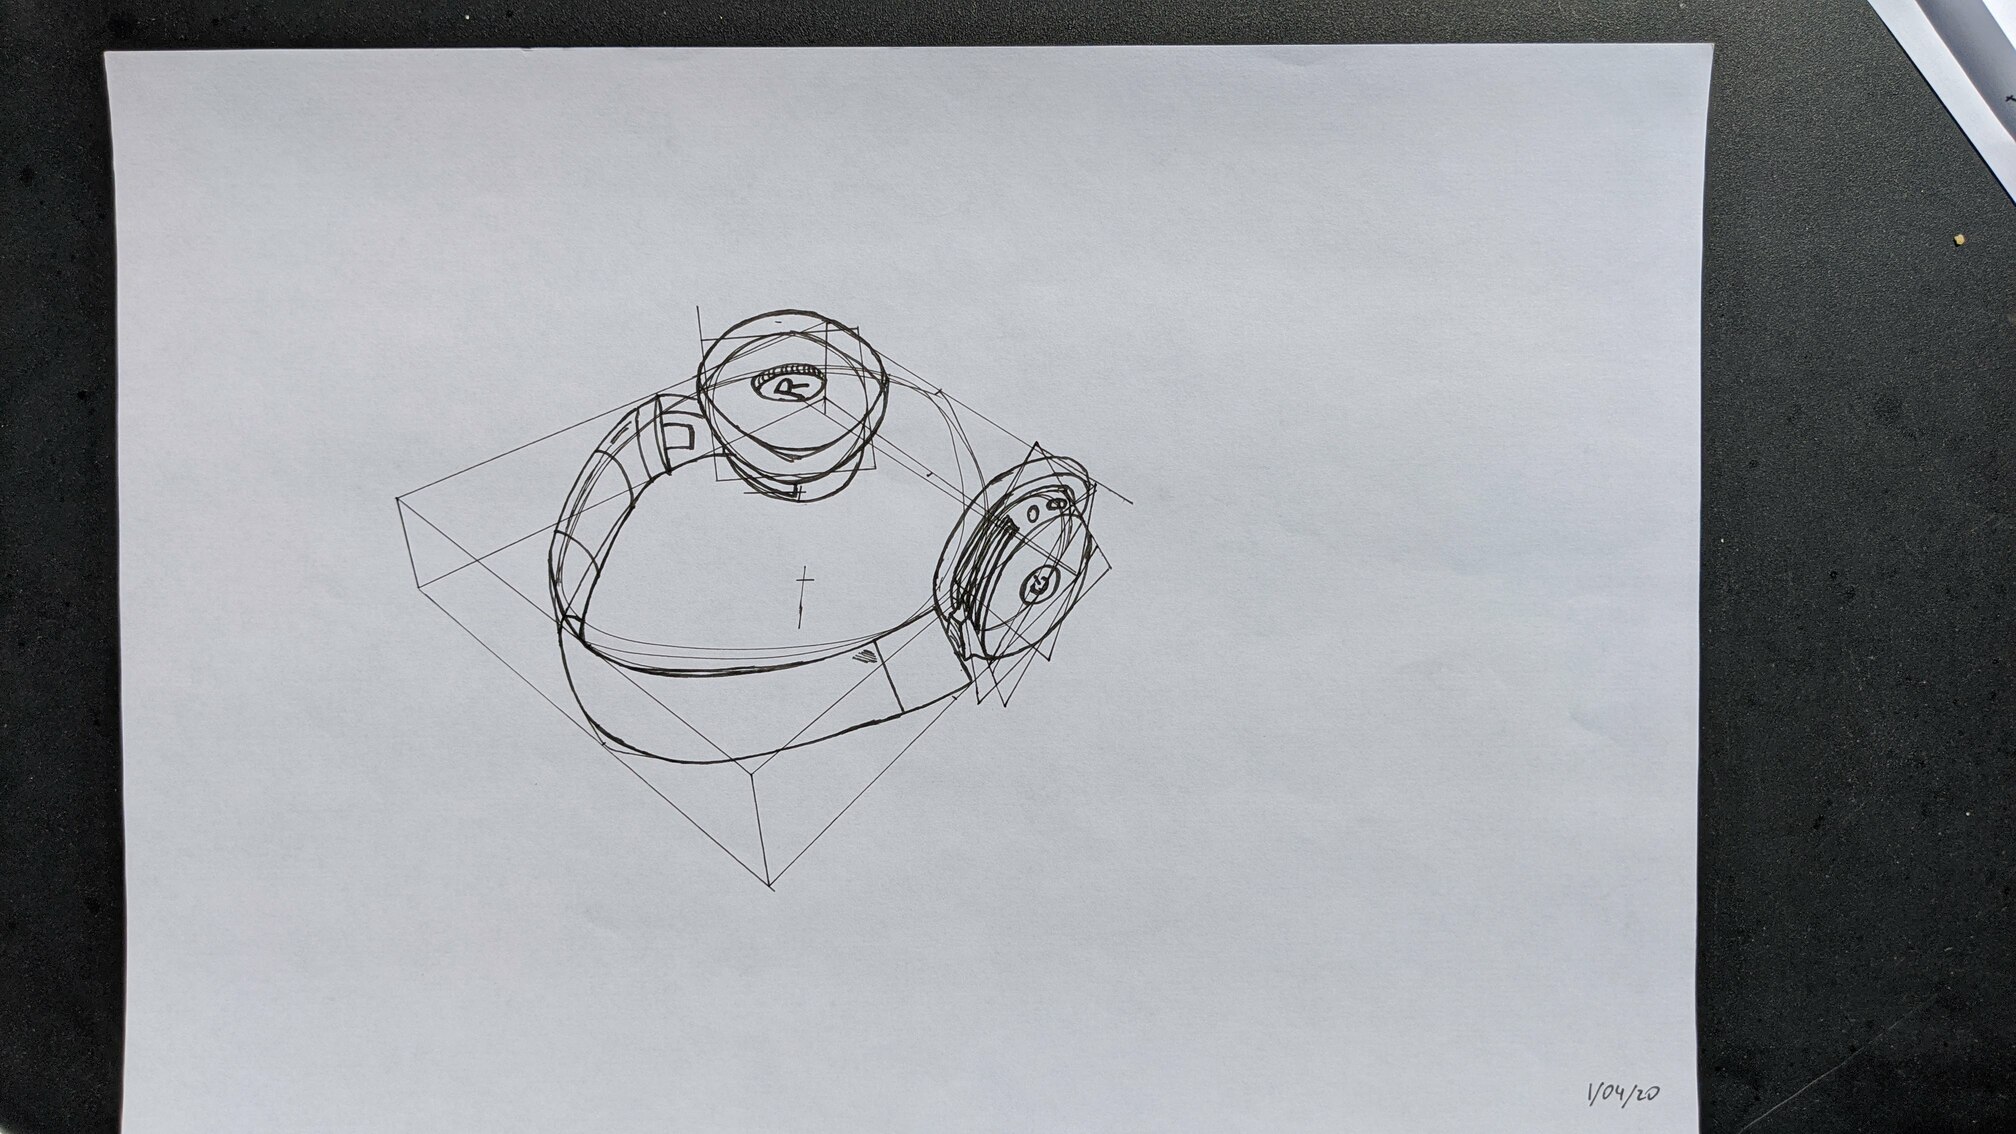
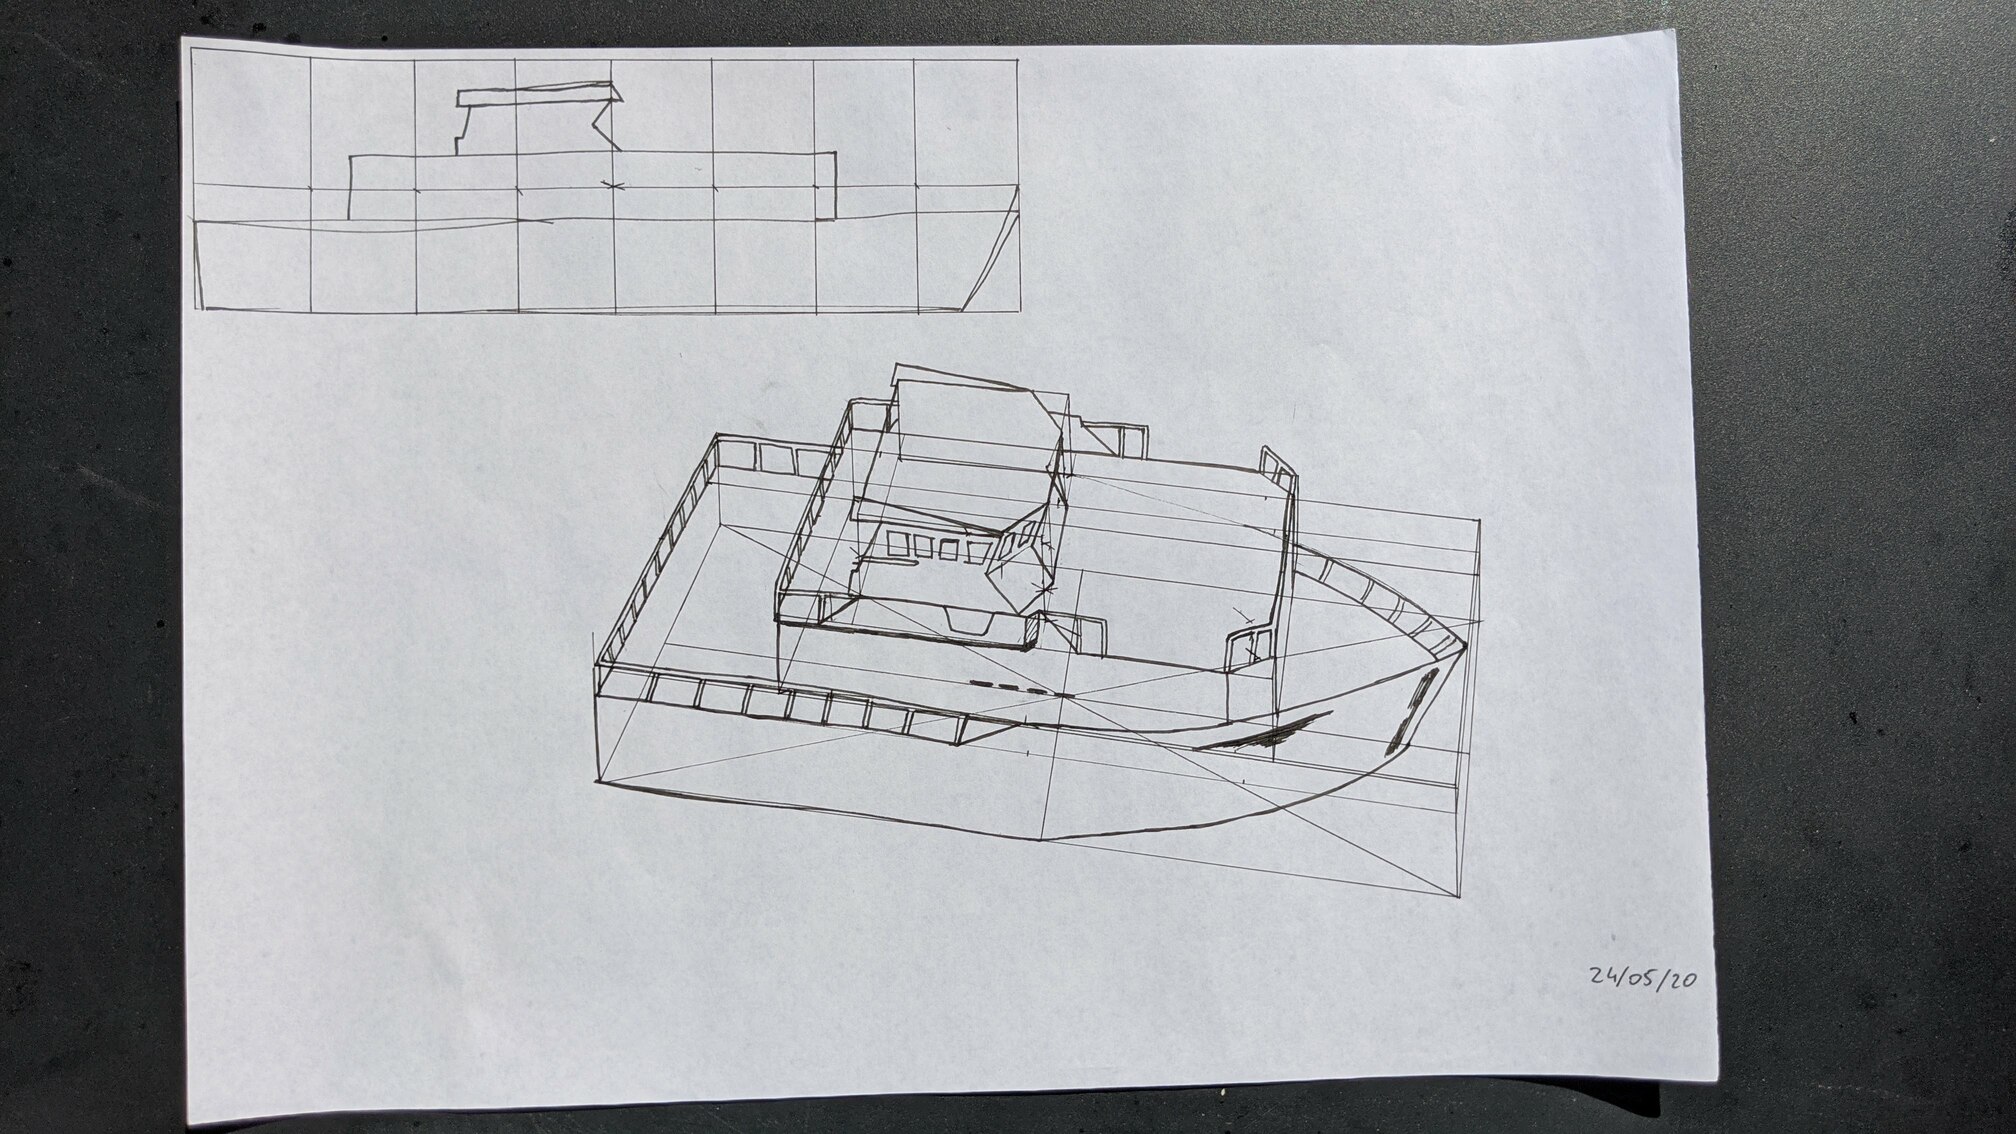
Lesson 6: Applying Construction to Everyday Objects
This is where you understand why you drew so many boxes before. On the other hand, drawing the boxes with the required shape/rotation and with a ruler is slightly different than drawing hundreds free-hand. As I’ve written above, I feel like trying to imagine a box with a given rotation and then drawing it free-hand would prepare me better for this.
Anyway, being able to use the ruler was nice: pictures immediately start to look more professional, just because the things converge to VPs, proportions are correct, etc. At the same time, I still tried to draw the final, non-construction lines free-hand: no really sure why, but using the ruler for the final lines felt like cheating.
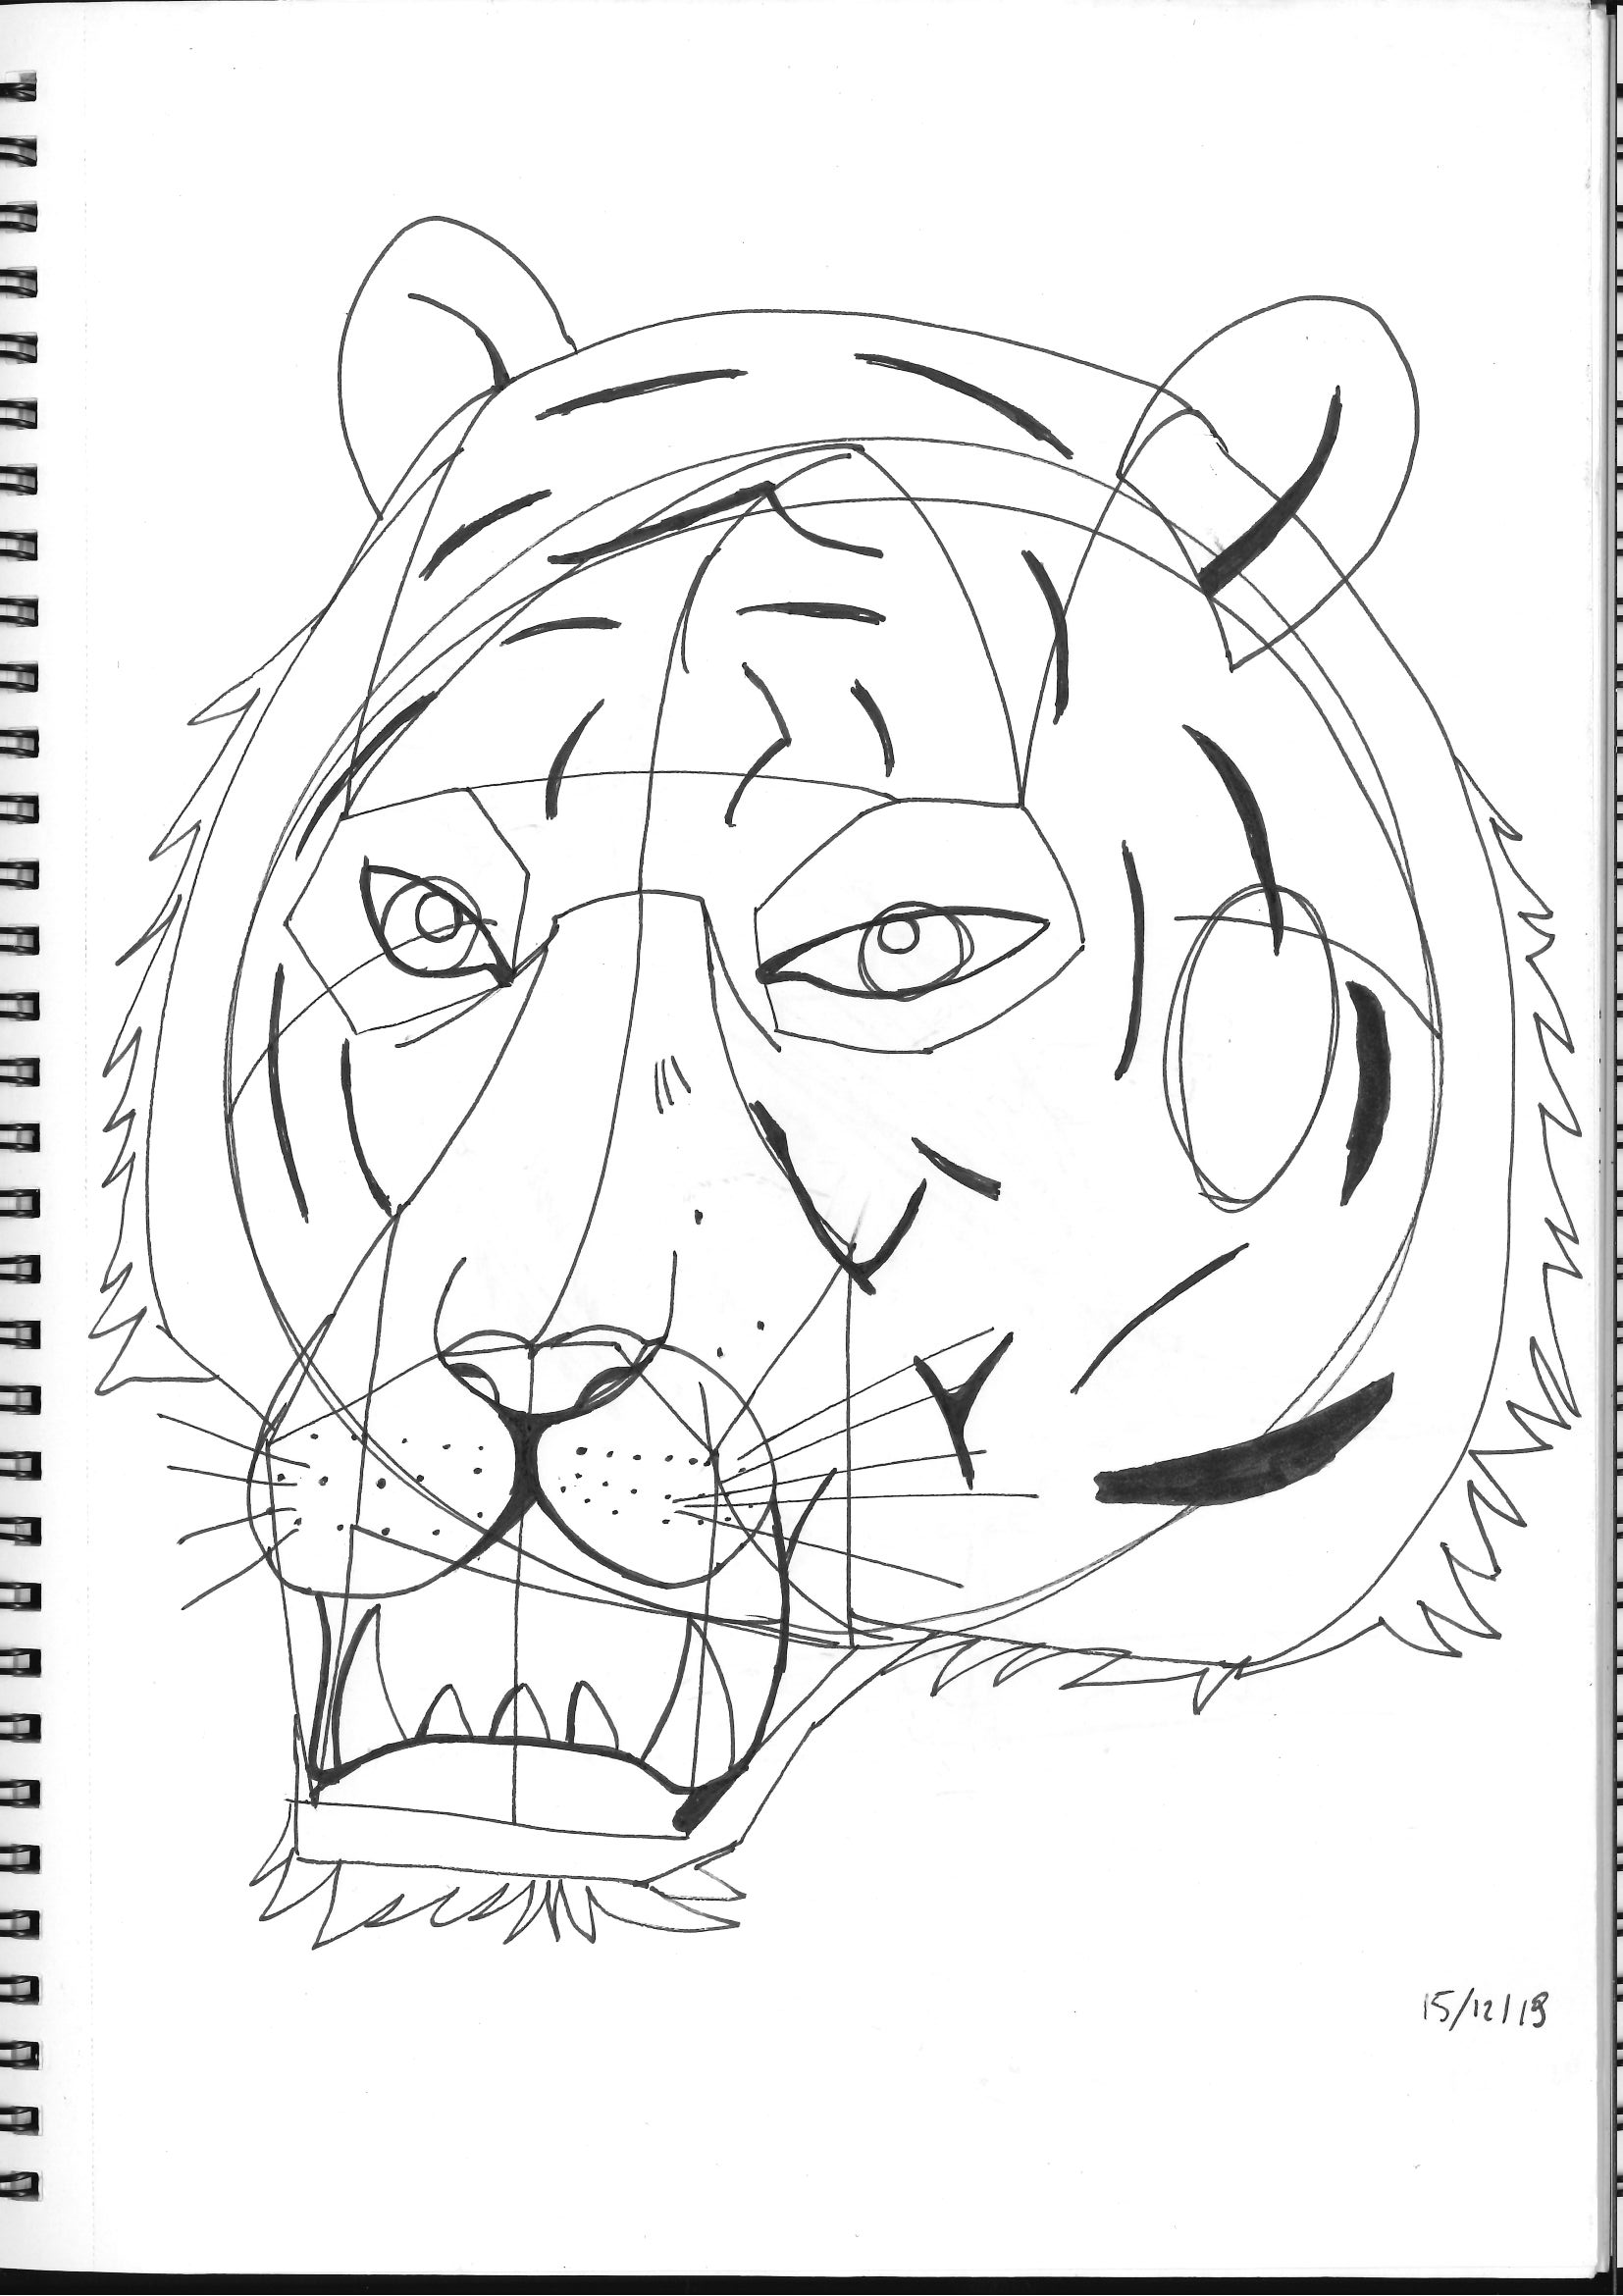
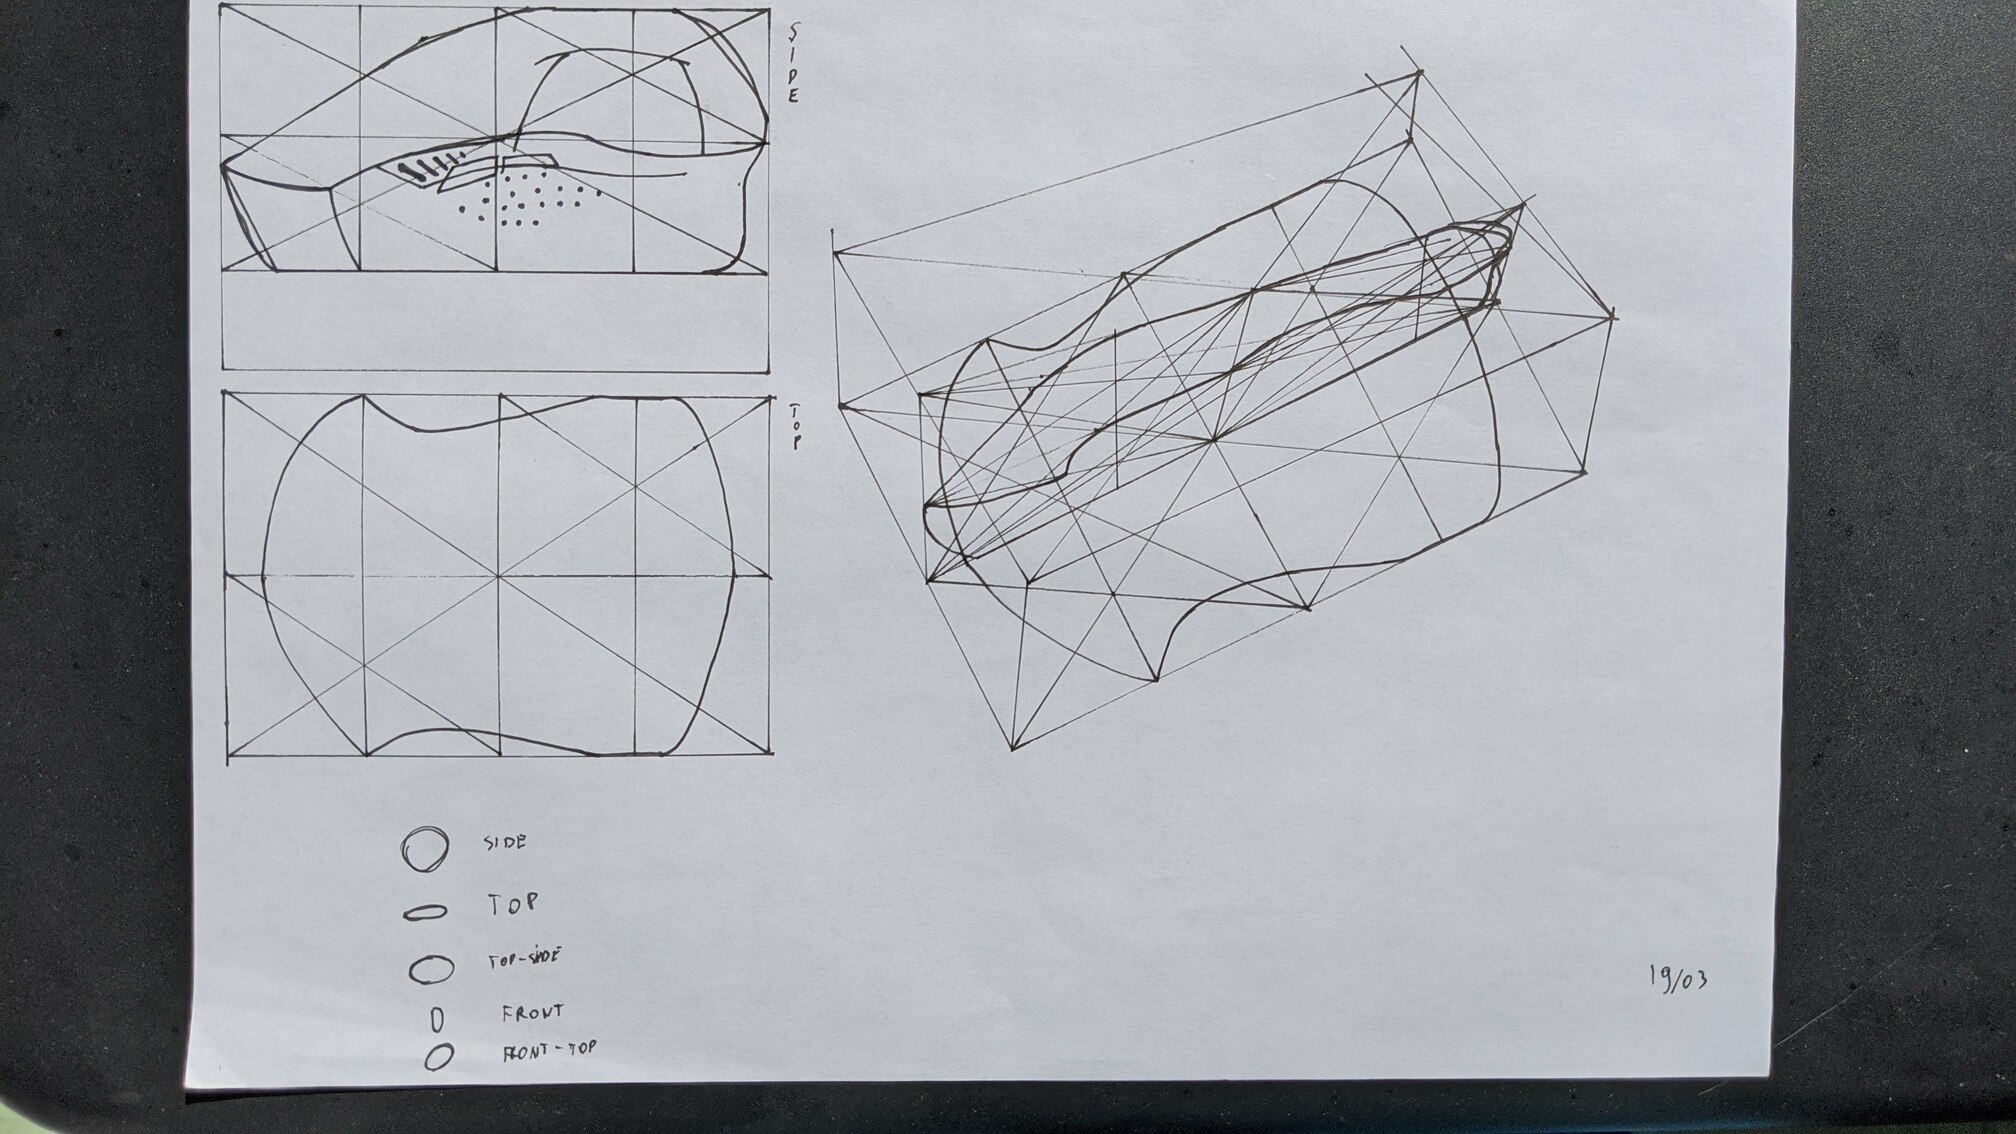
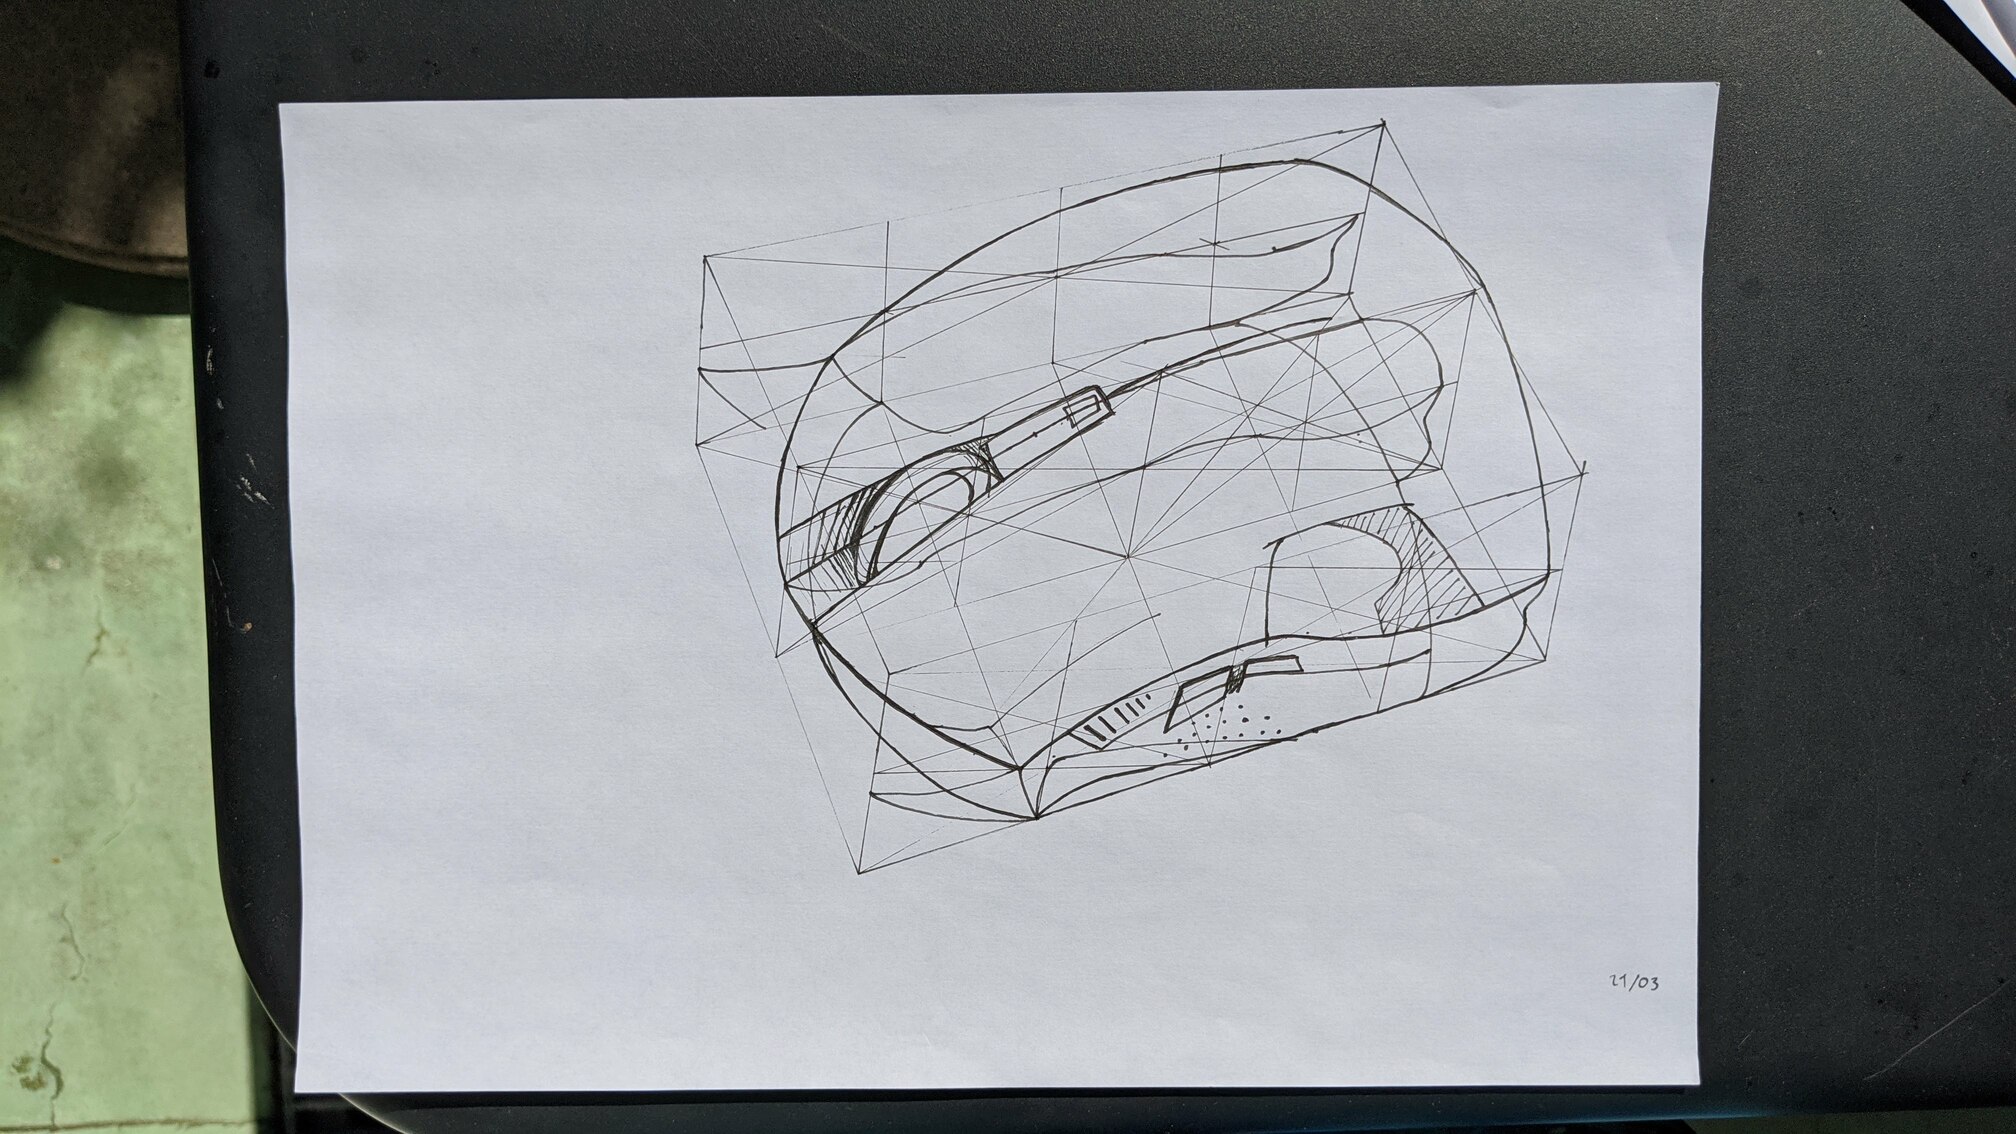
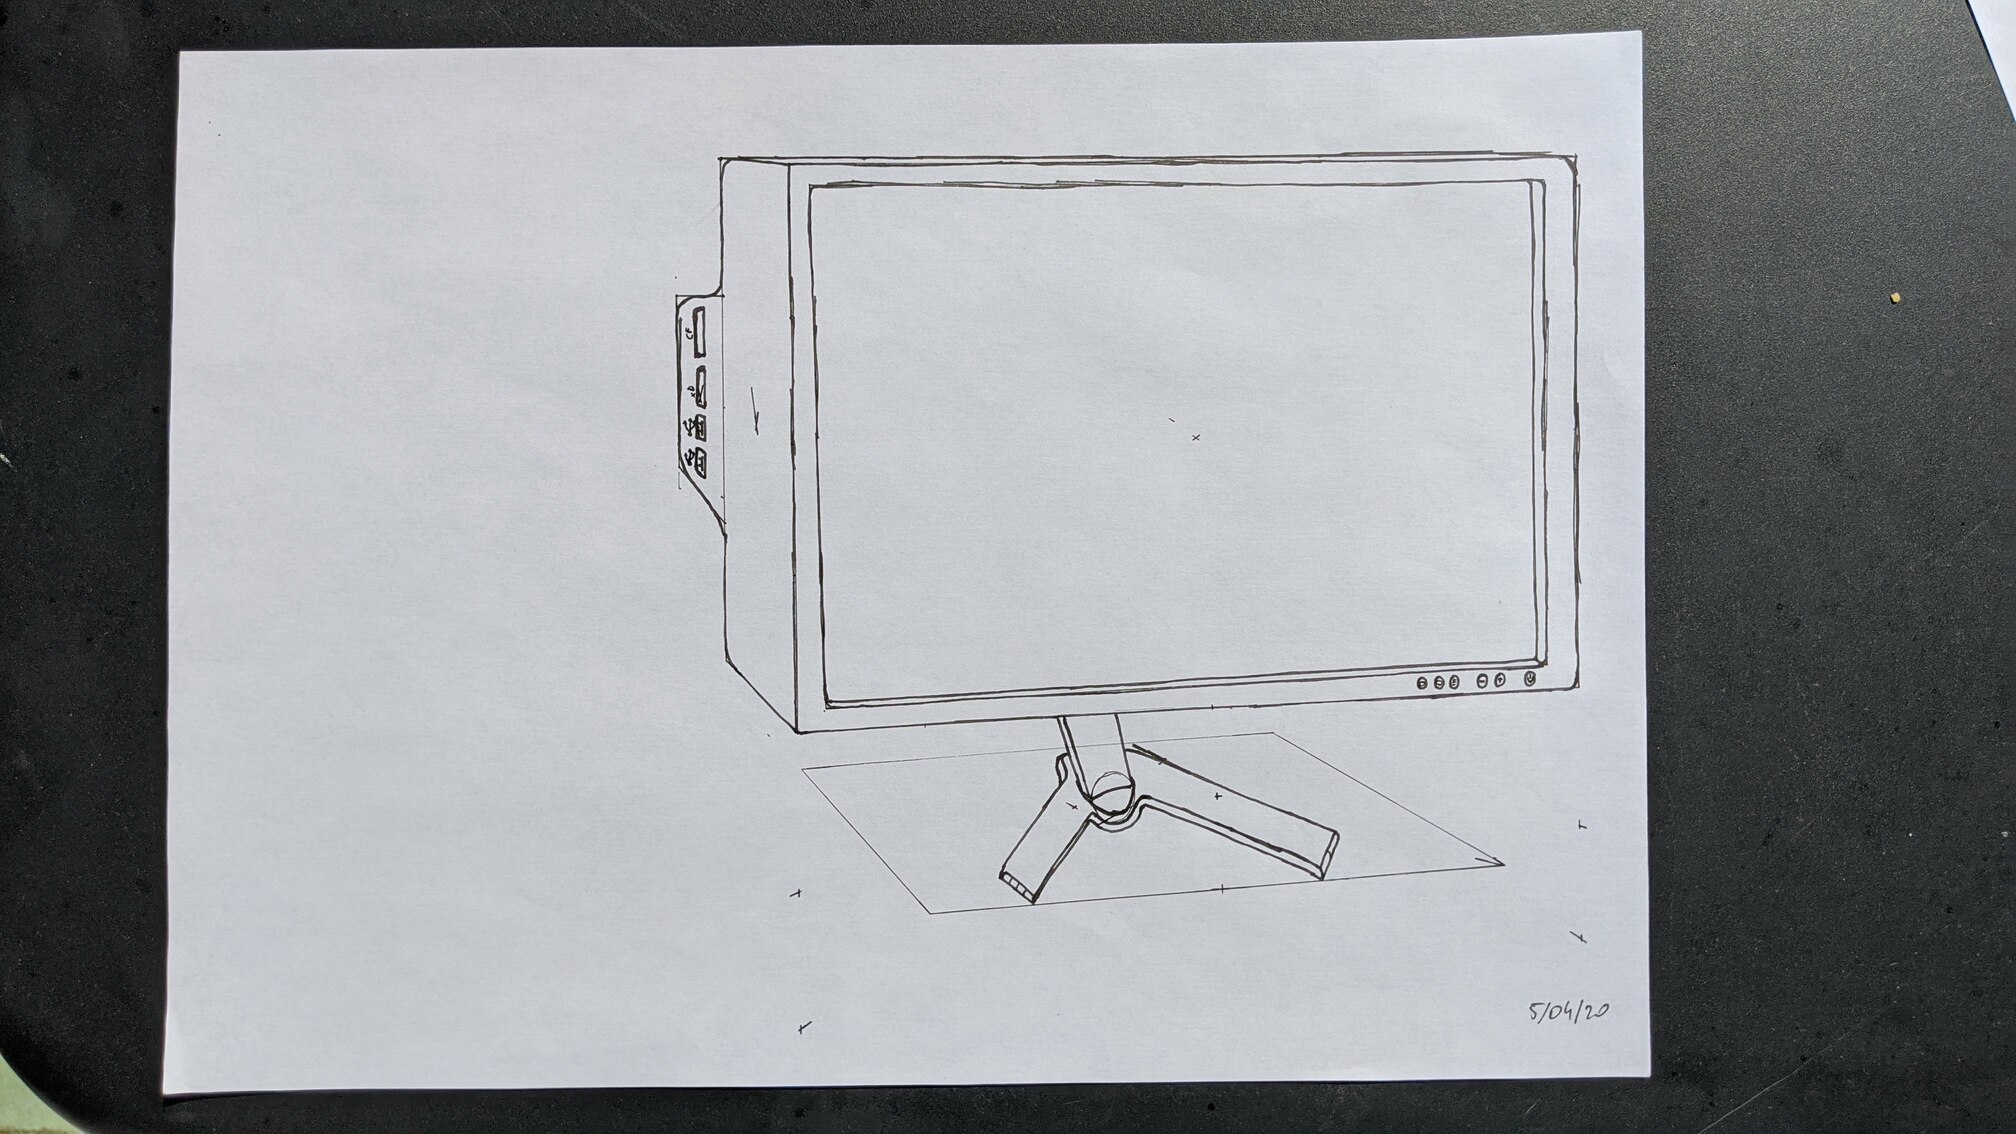
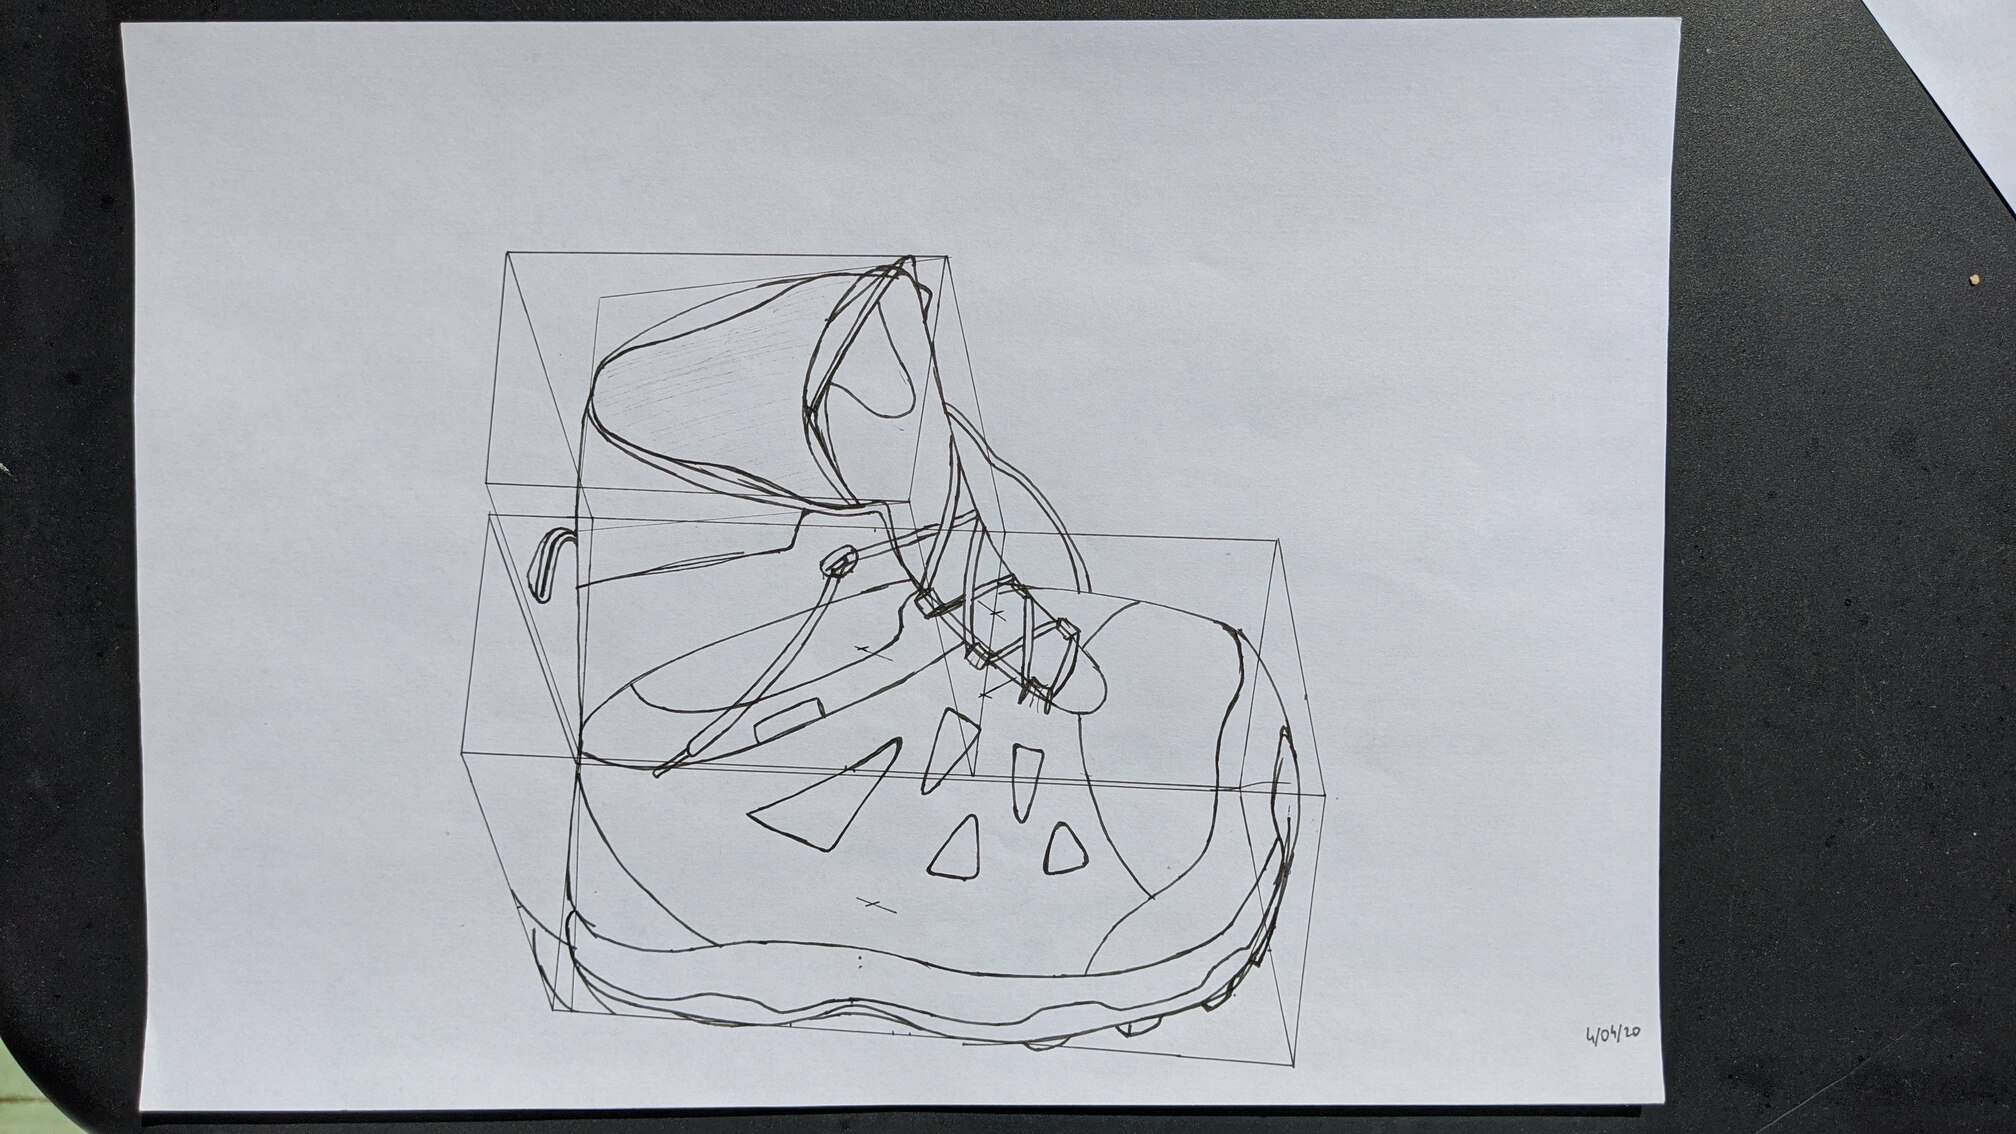
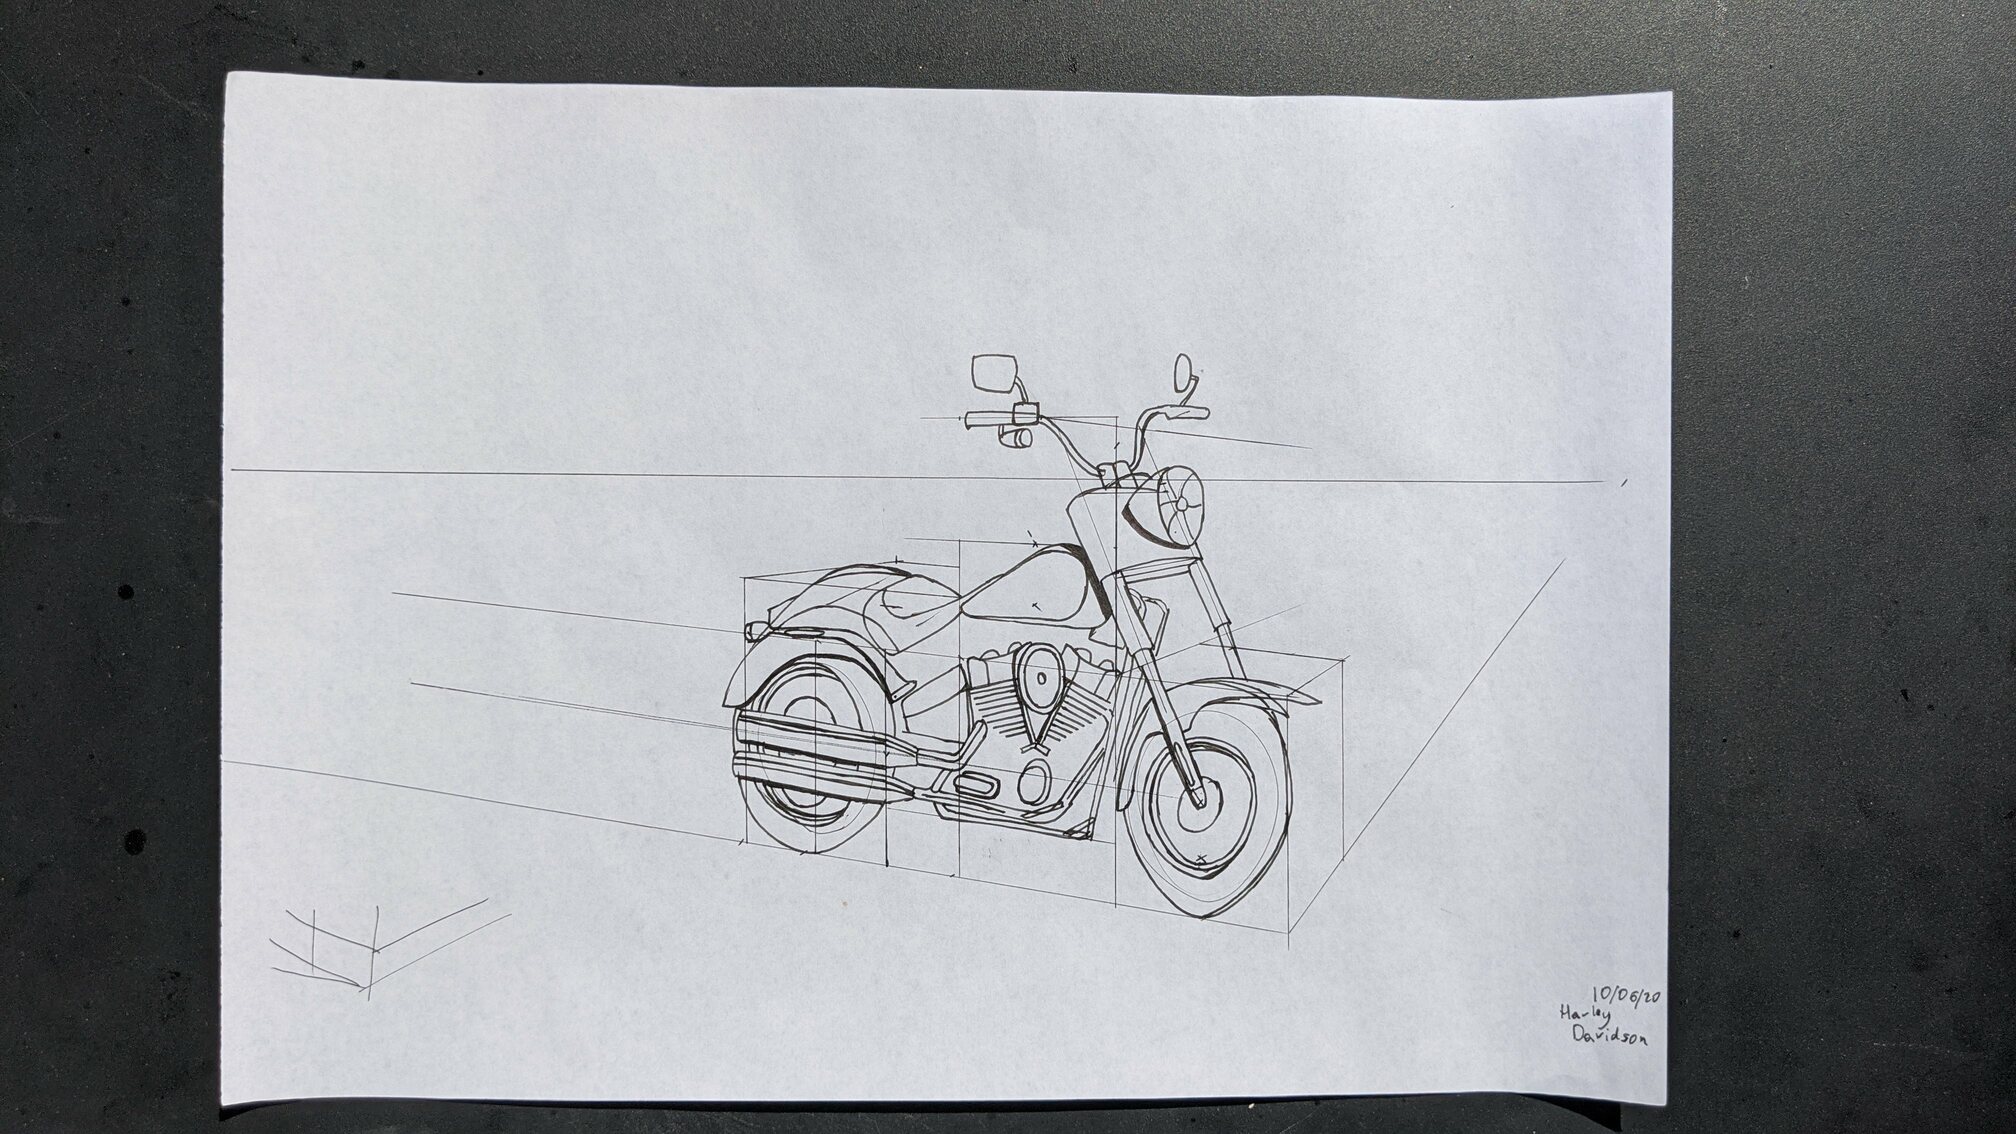
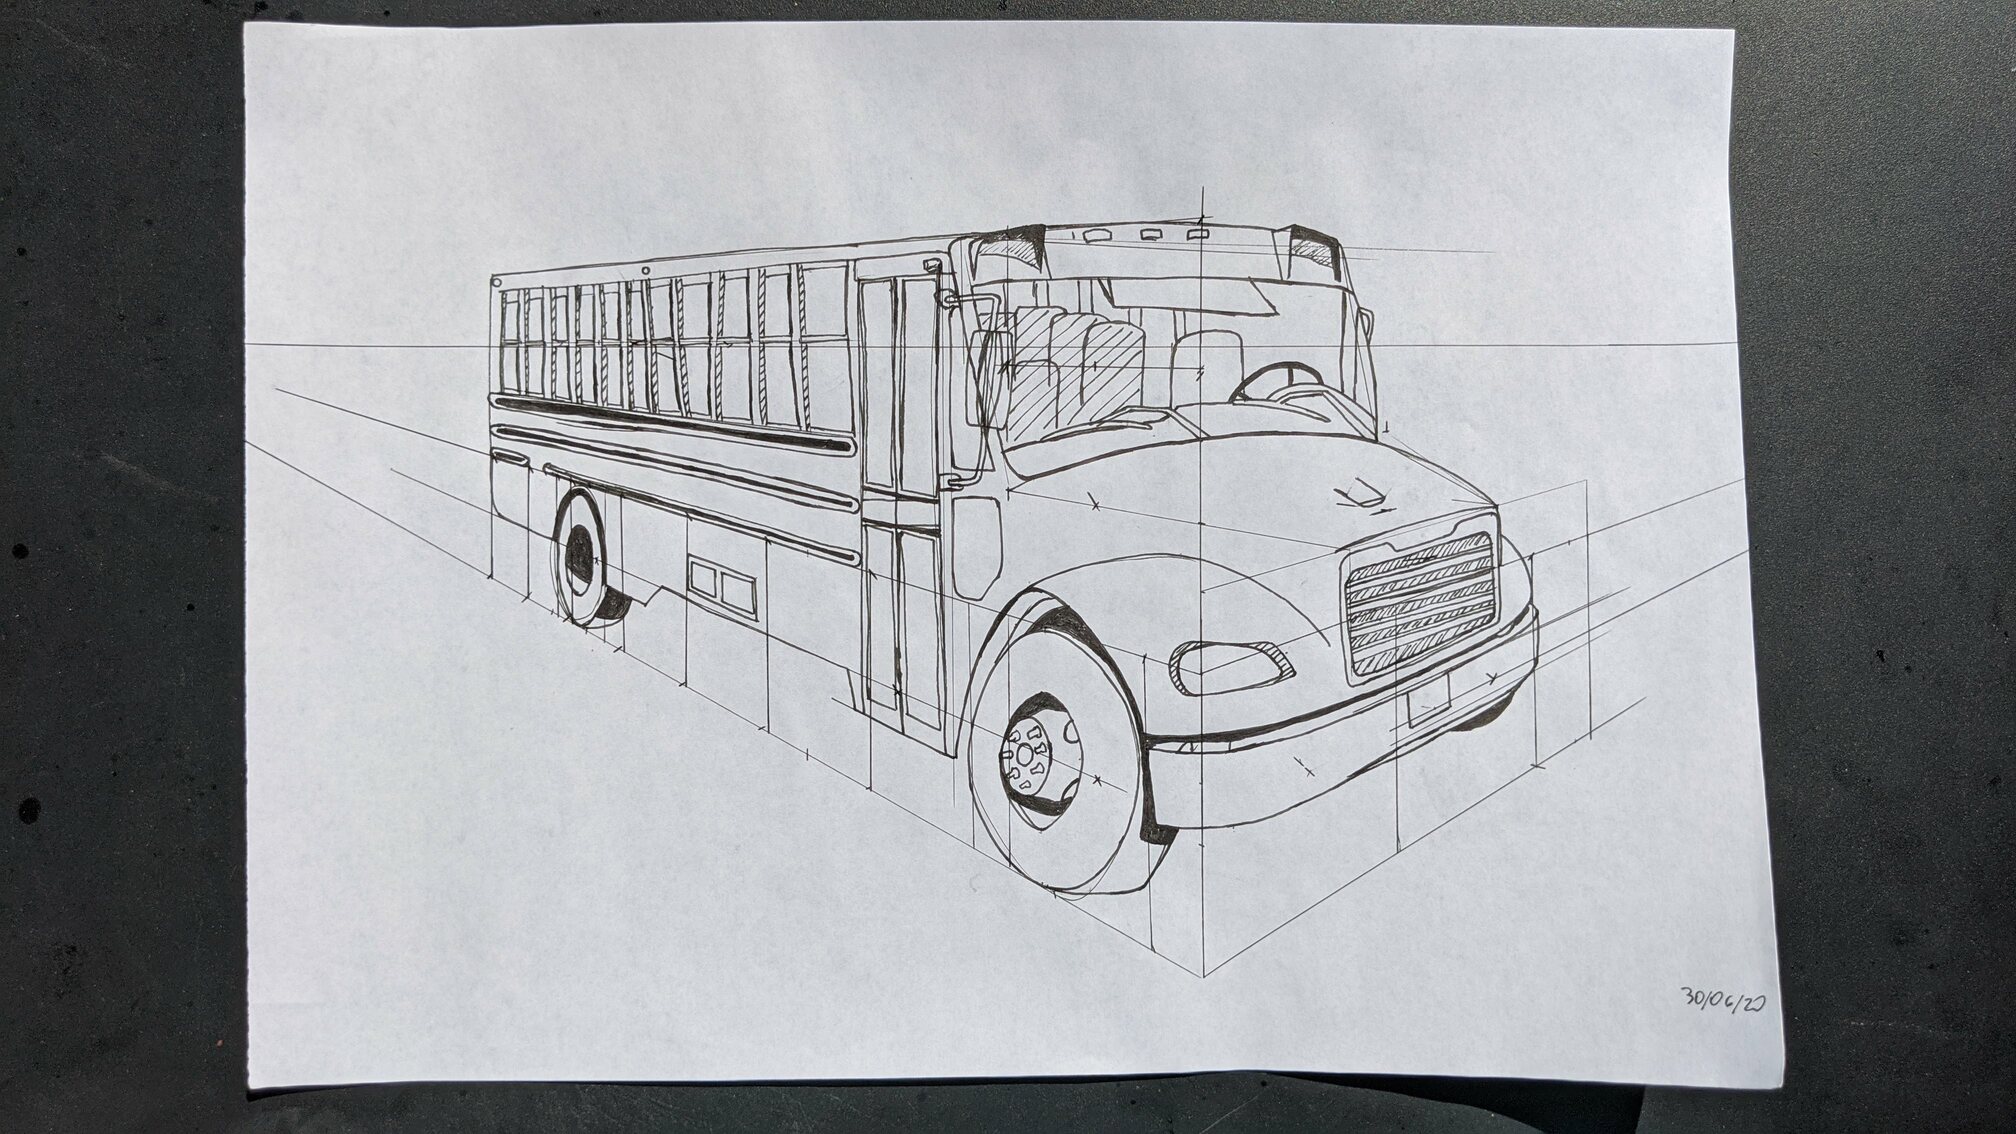
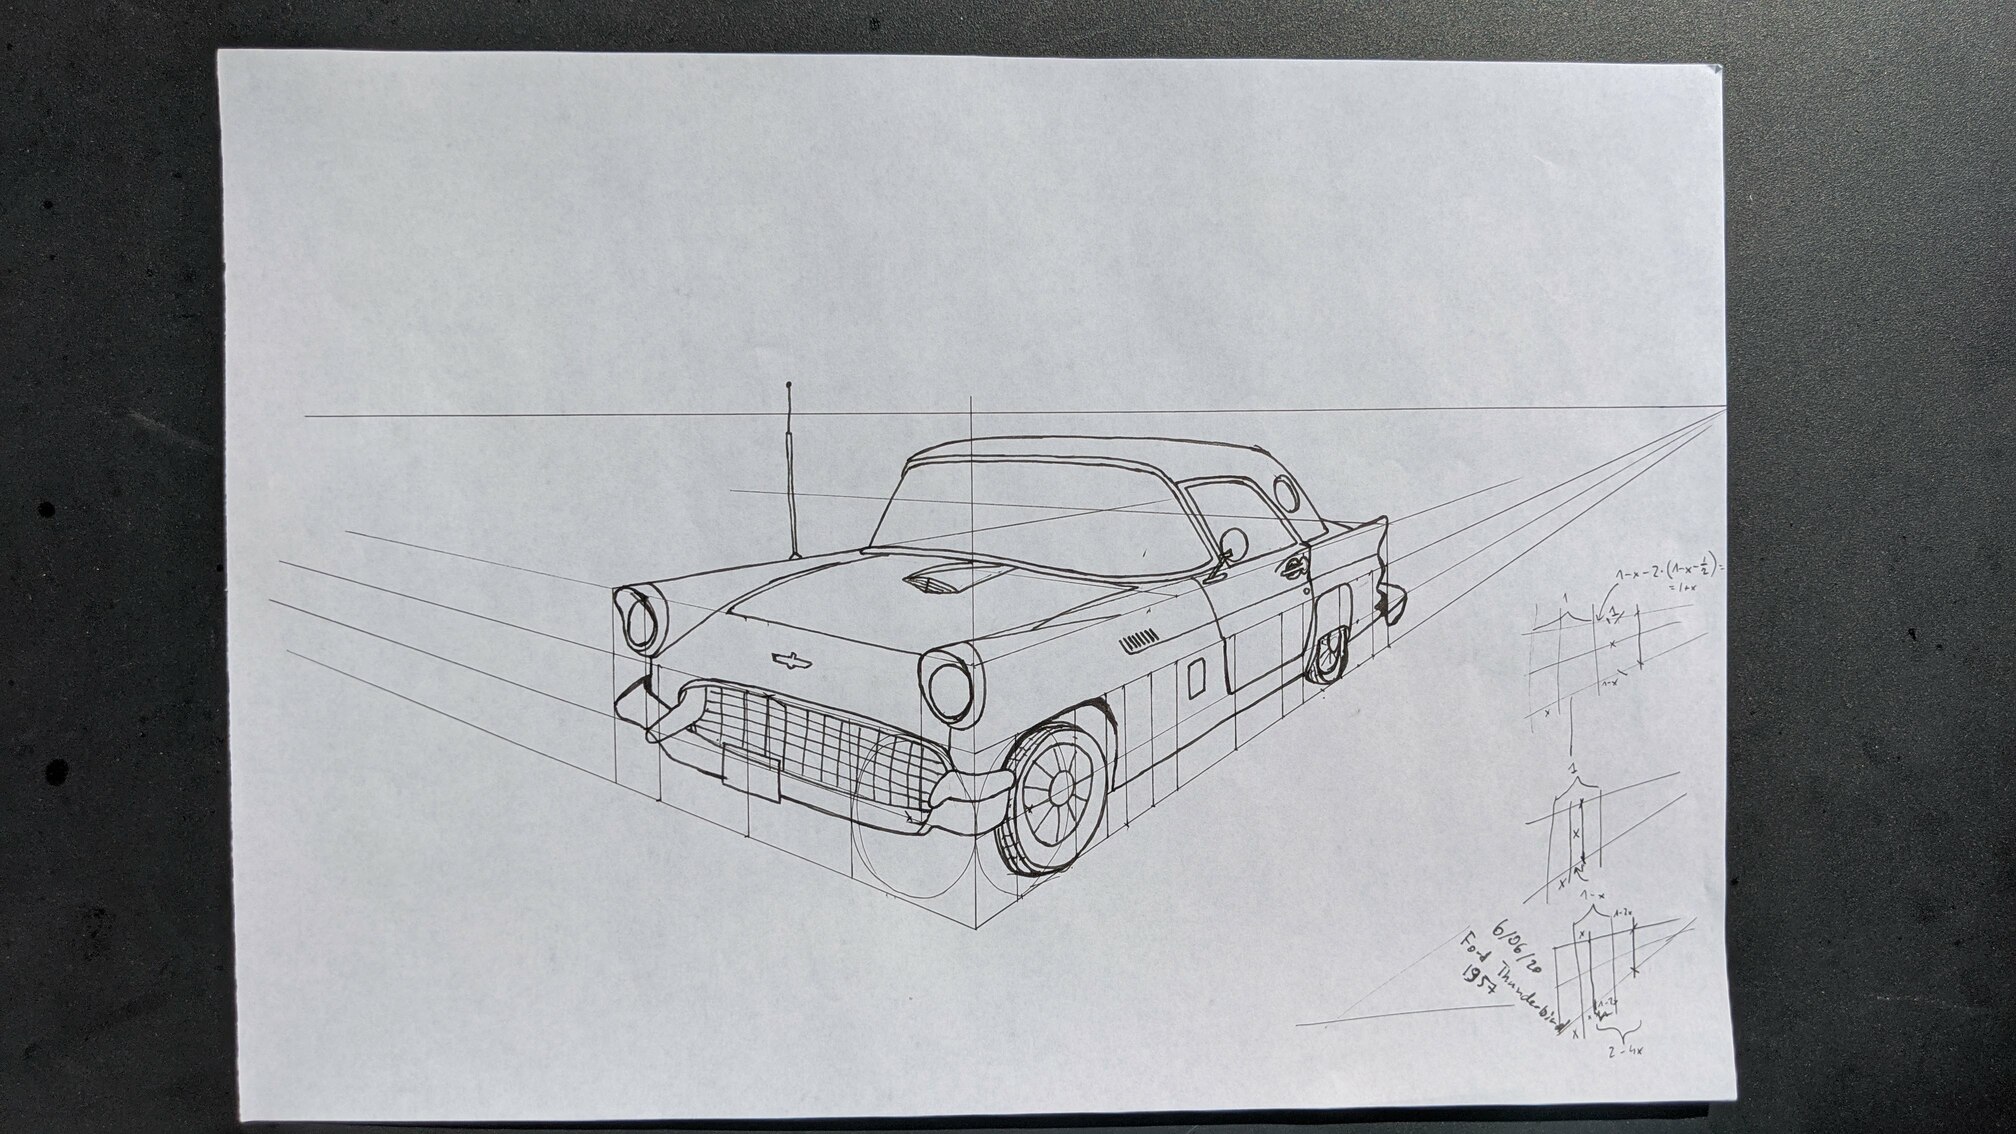
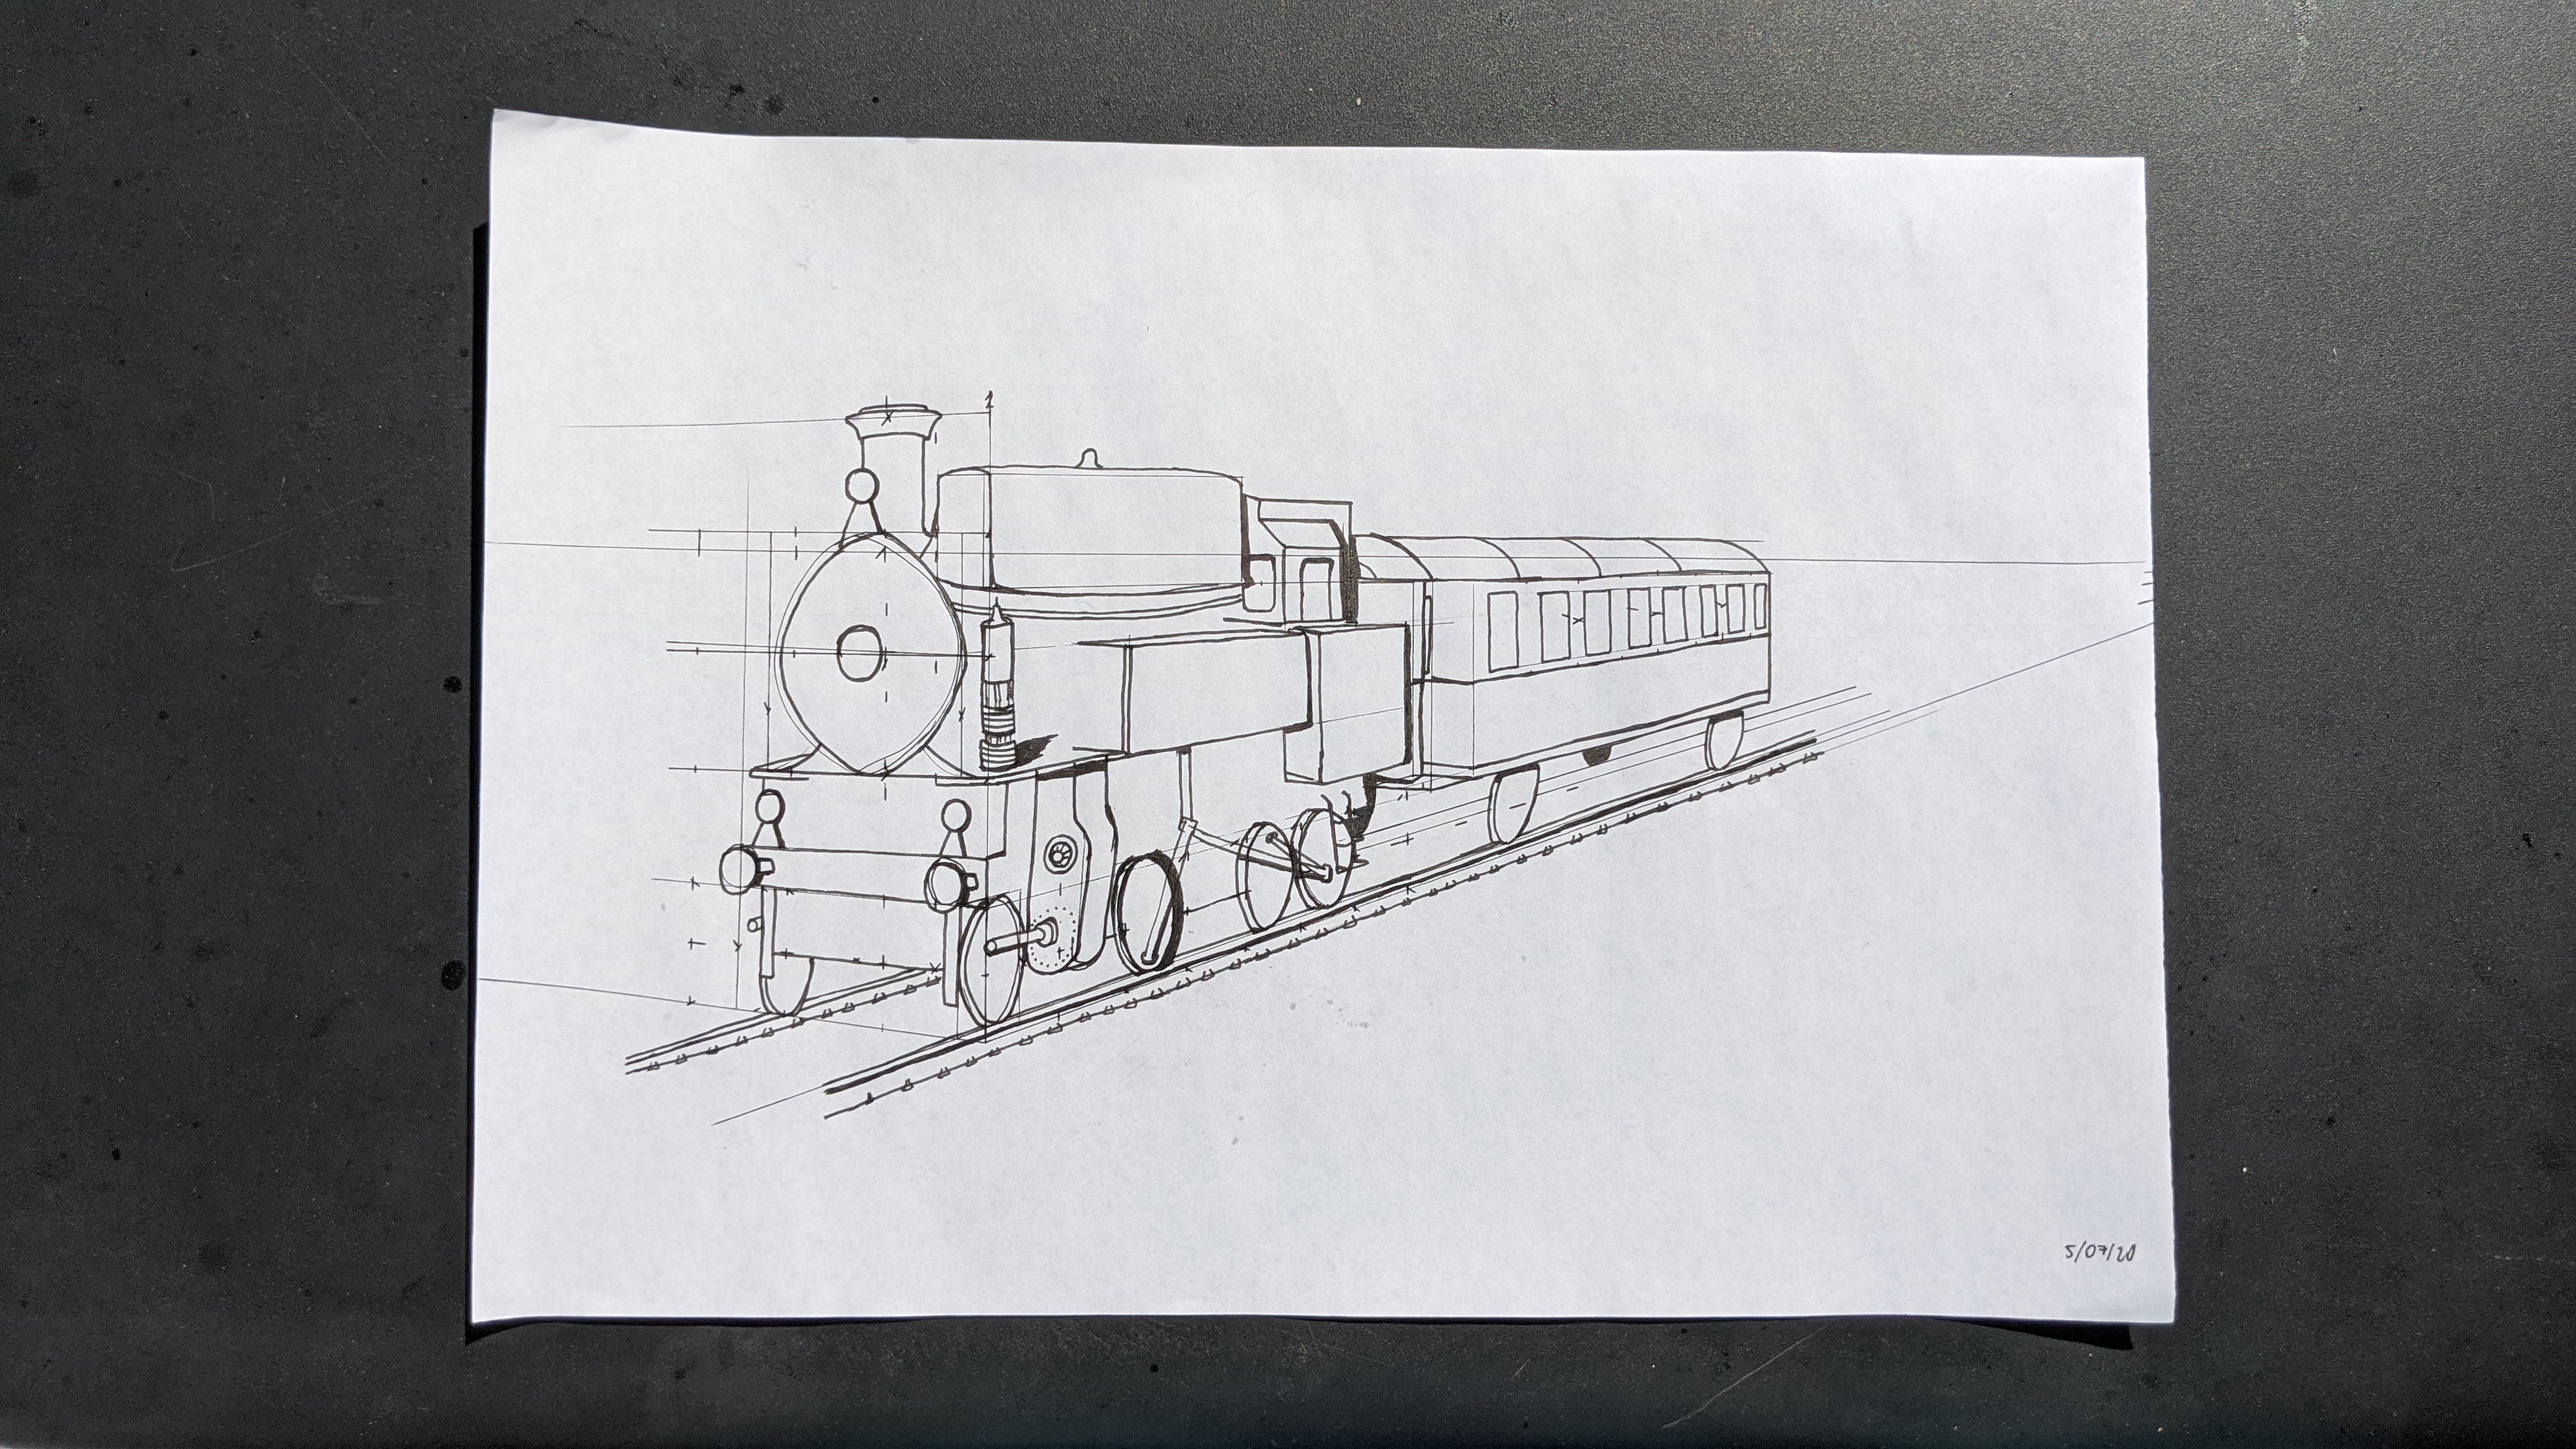
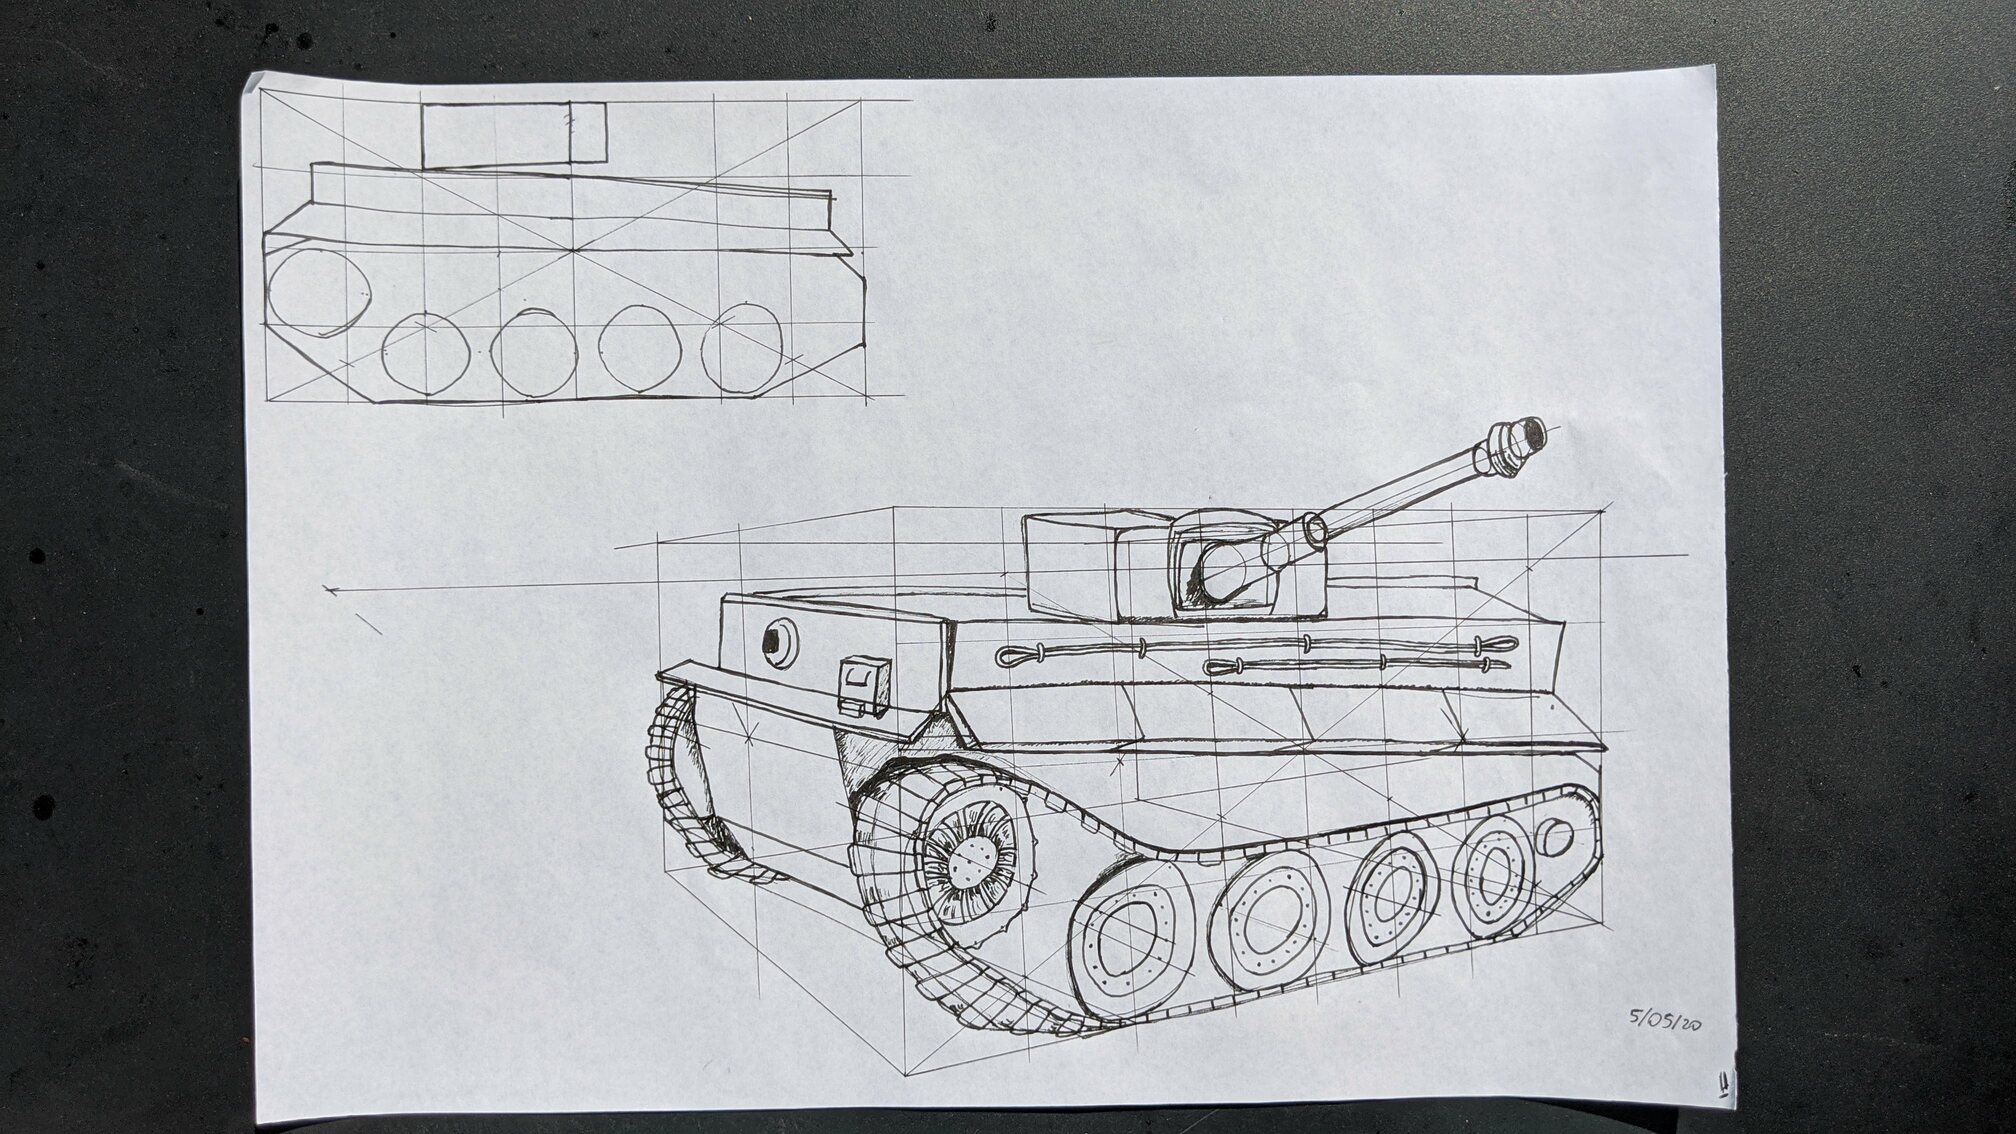
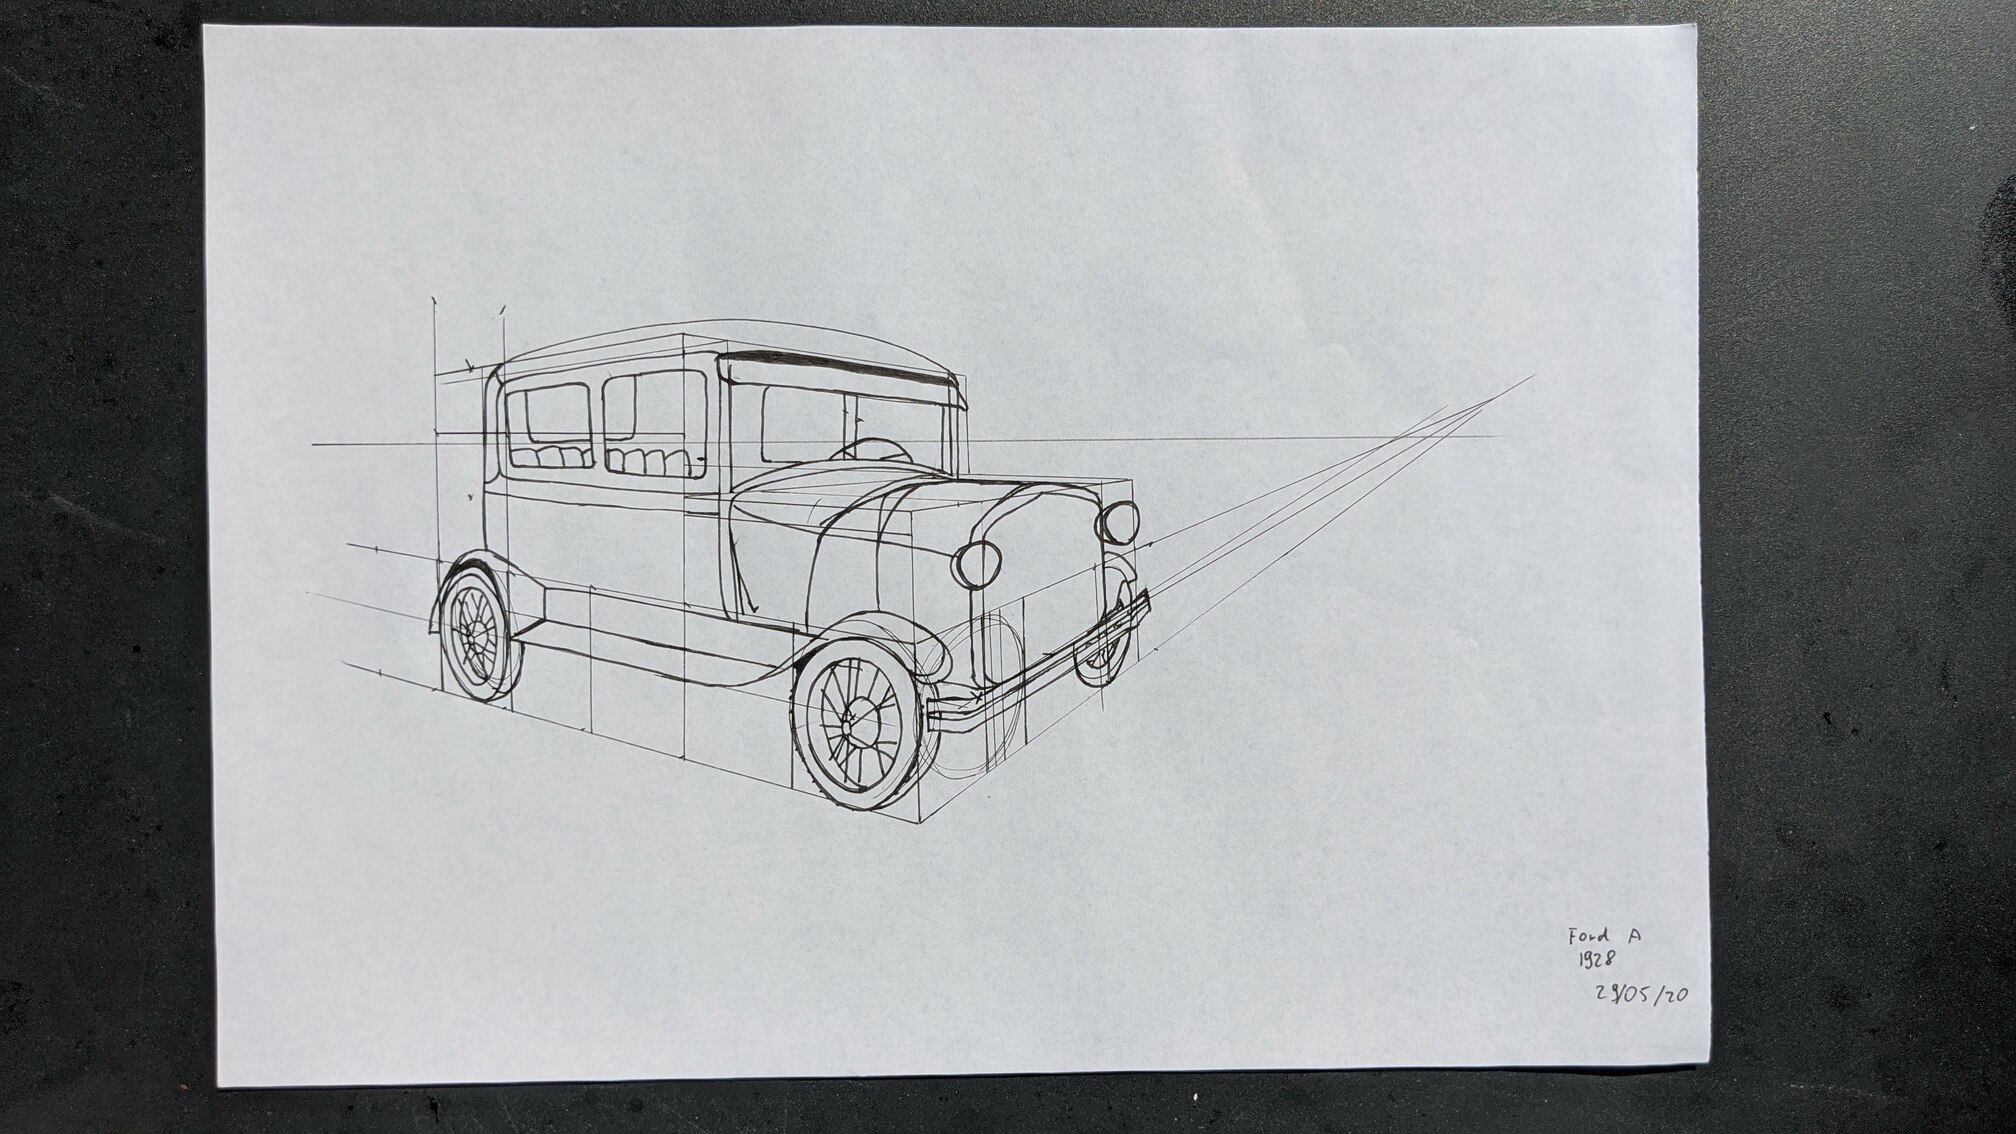
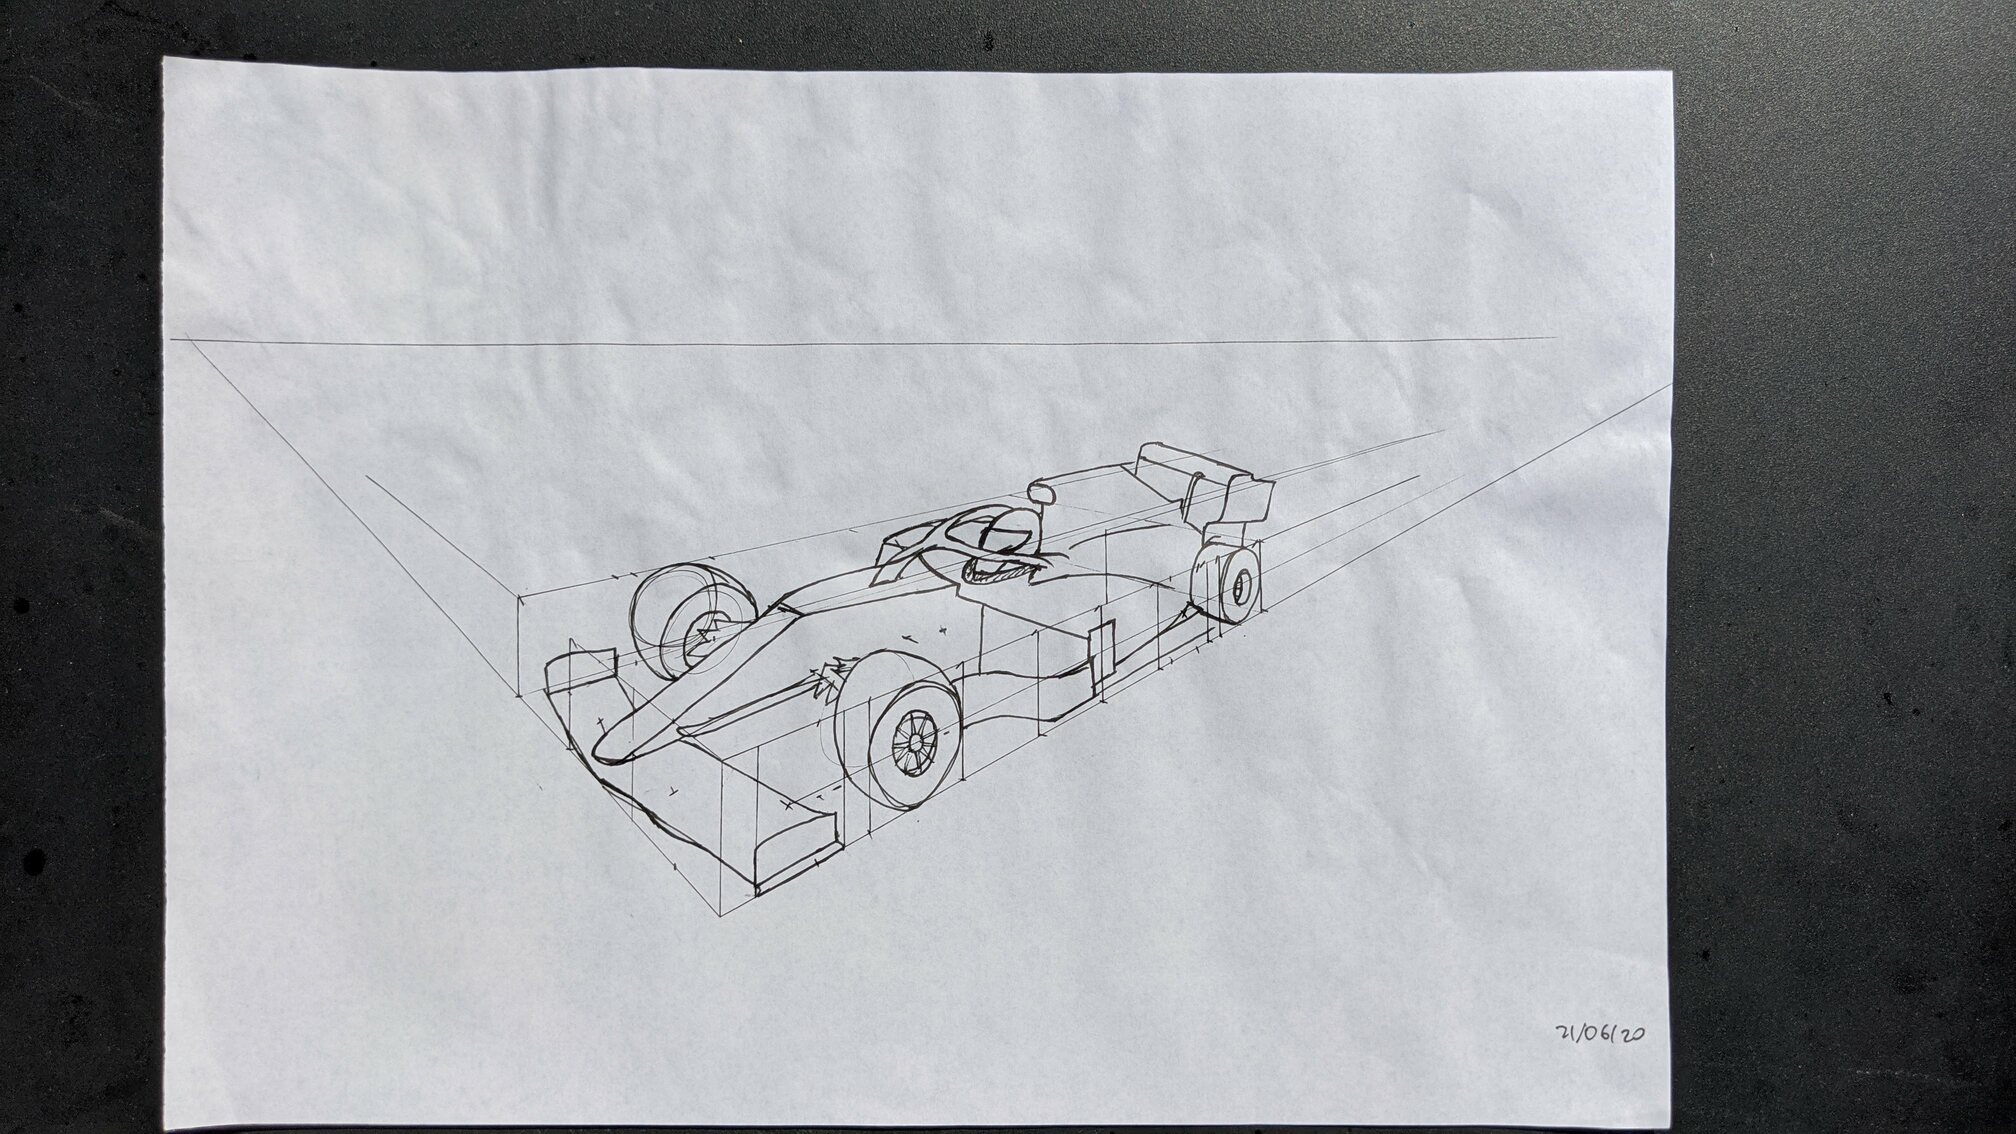
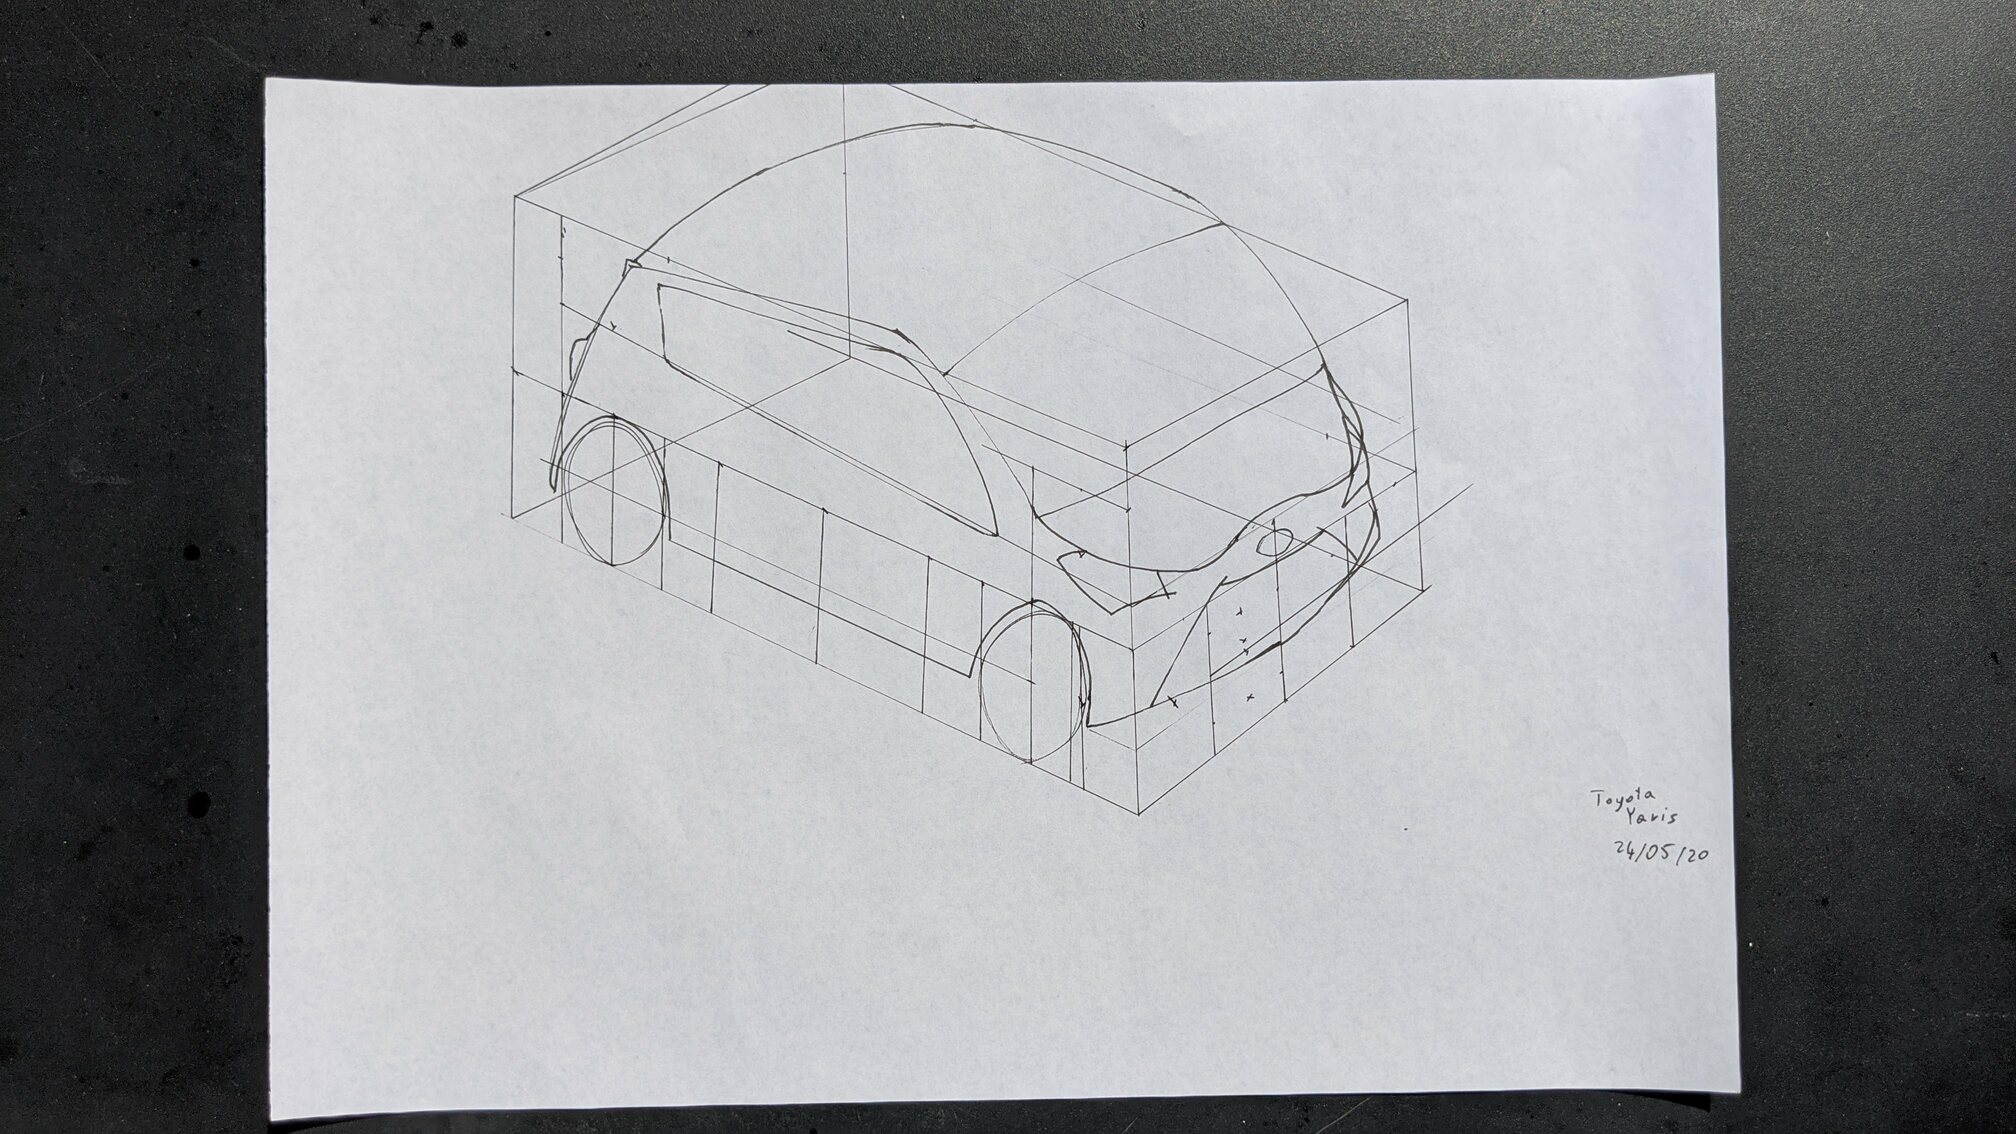
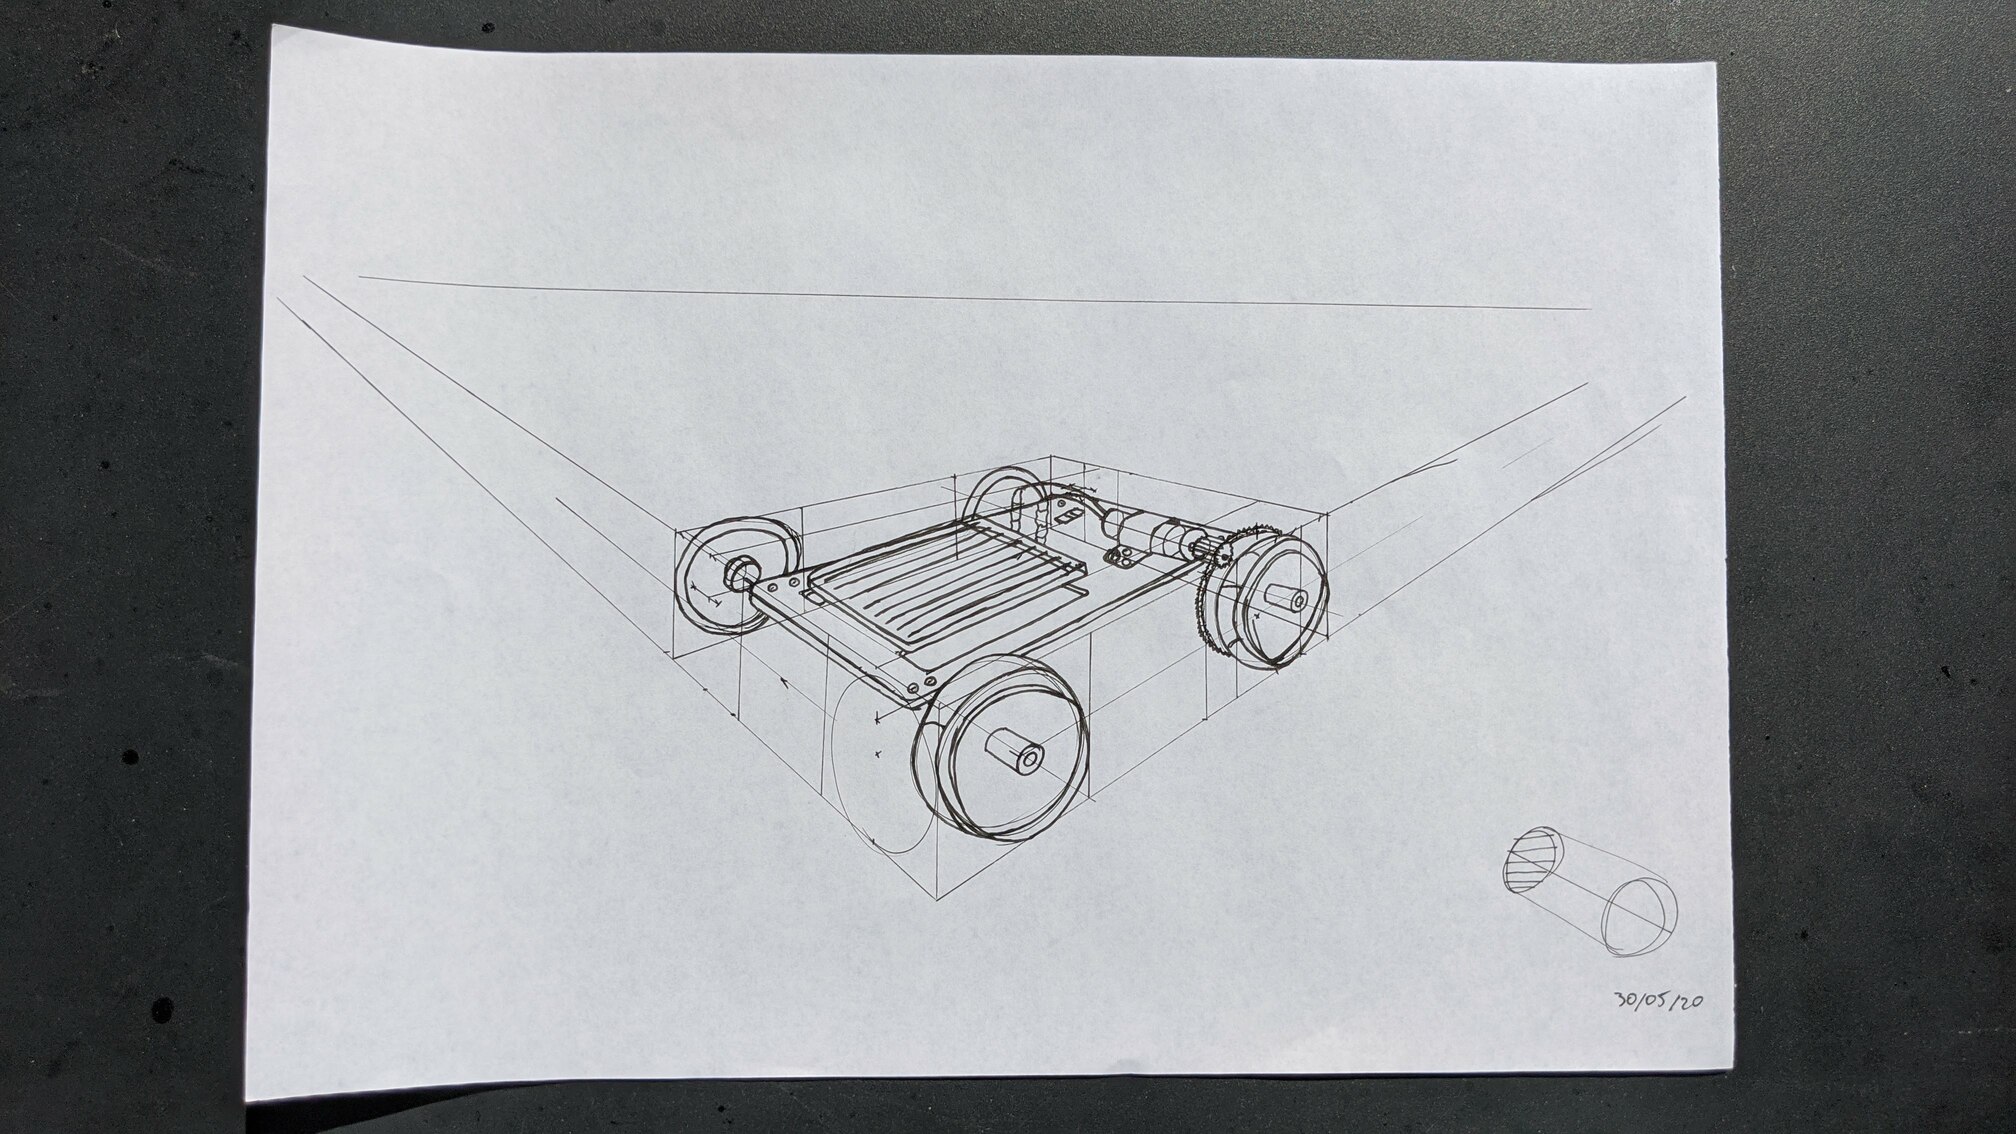
Lesson 7: Applying Construction to Vehicles
As the author of the course said, vehicles are the boss fight of the RPG that Drawabox would be. Even though it was allowed to use ballpoint pens (which would make it easier with their thin line width), I stuck to fineliners (with a 0.1mm fineliner for construction lines).
There were a lot of tricky elements, guessing the 3D shape of things, not being clear where to put the horizon line, etc. but I think that after some pictures the patterns started to appear and next pictures seem to be easier/better.
Using an ellipse guide would be super useful, but I lost access to mine due to pandemic.
One construction which I needed but was not presented in the course was how to move “one wheel” deeper from an arbitrary point (so we are at X and want to be at X + 1), which is useful when the first wheel doesn’t start at the equal number of wheels starting from the front of the box. After some trial and error, it was possible to figure this construction out, though.
Final words
As mentioned in the title, it took me 14 months to finish the course, which required making around 100 pictures. I was doing it mostly during the weekends, at most a couple of hours per week—more after the pandemics started and I got to have a lot of time :).
It was a great (and free!) course, I definitely feel like I grew from 0 to a place where I can start diving into more advanced topics. I plan to give
Proko a try next.